Apr 17, 2026
Shorts for Men: The Guide to Style & Seasonal Versatility
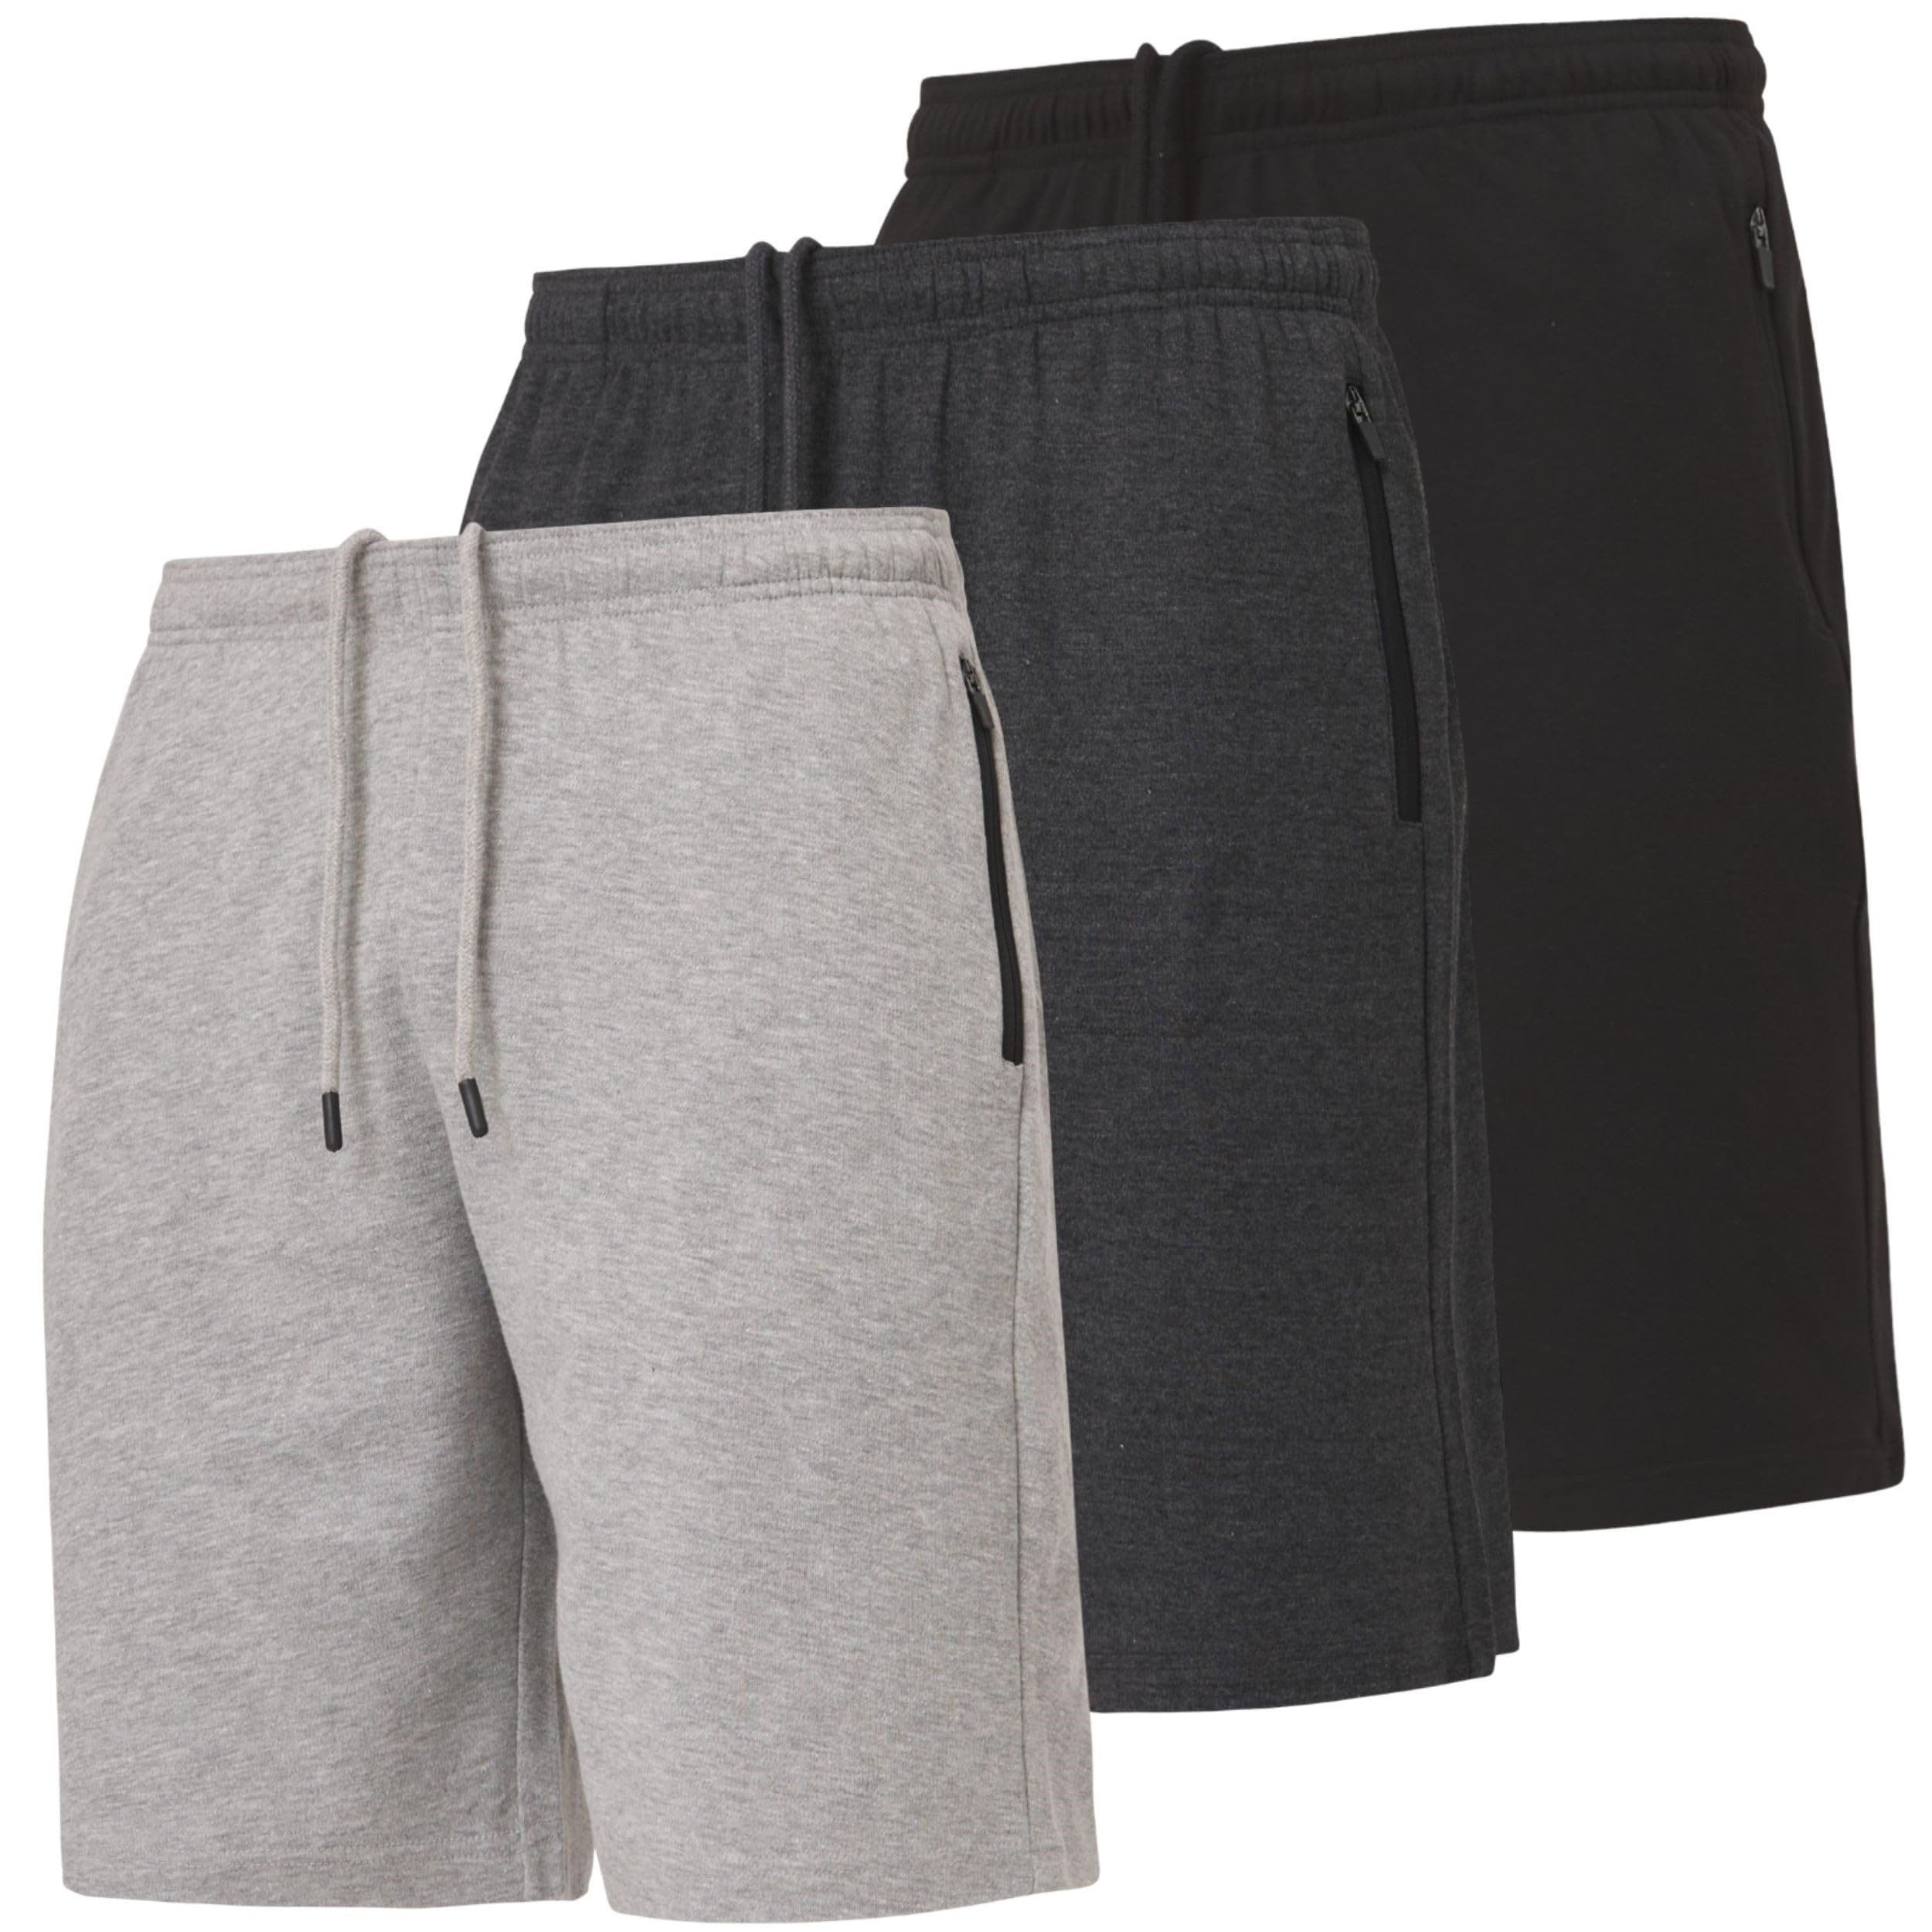
When summer arrives, one clothing item becomes essential in every man’s wardrobe—shorts for men. They offer comfort, breathability, and freedom of movement. Whether you’re heading to the beach or running errands, these garments are practical. Moreover, modern styles allow men to stay stylish while staying cool.
First, consider the variety available today. There are casual shorts, athletic shorts, cargo shorts, and even dressier chino styles. Each type serves a different purpose. Casual shorts work well for weekend outings. Athletic shorts suit workouts and outdoor sports. Cargo shorts provide extra pockets for storage. Chino shorts bridge the gap between casual and formal wear.
Second, fit plays a crucial role in comfort and appearance. Poorly fitting shorts can look sloppy or restrict movement. Always check the waist size and inseam length before buying. A relaxed fit offers more room, ideal for lounging. A tailored fit gives a cleaner silhouette, better for social events. No matter your body type, there are shorts for men that flatter your shape.
Additionally, fabric choice affects both feel and function. Cotton blends are soft and breathable. Polyester materials wick away sweat during physical activity. Some brands use stretch fabrics for added mobility. Others add UV protection for sun exposure. These features enhance usability across environments. Therefore, selecting the right material matters just as much as style.
 Why Comfort Should Be Your Top Priority
Comfort is the number one reason men choose shorts for men. Unlike long pants, they expose more skin to air. This helps regulate body temperature in hot weather. As a result, you feel cooler and less fatigued during daily tasks.
Focus on Fabric and Breathability
The fabric directly impacts how comfortable your shorts feel. Lightweight materials like cotton, linen, or moisture-wicking synthetics are top choices. Cotton feels soft against the skin and absorbs light sweat. Linen allows maximum airflow but wrinkles easily. Performance blends dry quickly and resist odor buildup.
Another factor is lining. Many athletic shorts include built-in mesh liners. These prevent chafing and support movement. For casual wear, unlined options offer a looser, breezier feel. Choose based on your planned activities. If you walk a lot, go for breathable, low-friction materials.
Importance of Proper Fit and Flexibility
Fit influences both comfort and confidence. Too tight, and the shorts restrict leg movement. Too loose, and excess fabric bunches up awkwardly. Aim for a waistband that sits securely without digging in. Elastic waists with drawstrings offer adjustable comfort.
Inseam length also affects ease of motion. Shorter lengths give greater freedom, especially when climbing or bending. Longer cuts provide more coverage and a polished look. Try different lengths to see what suits your lifestyle. Ultimately, comfort comes from combining correct size, stretch, and cut.
Different Types of Shorts for Men and Their Uses
Men’s fashion now includes many variations of shorts for men. Each style meets specific needs. Understanding their differences helps you make smarter choices.
Casual and Everyday Styles
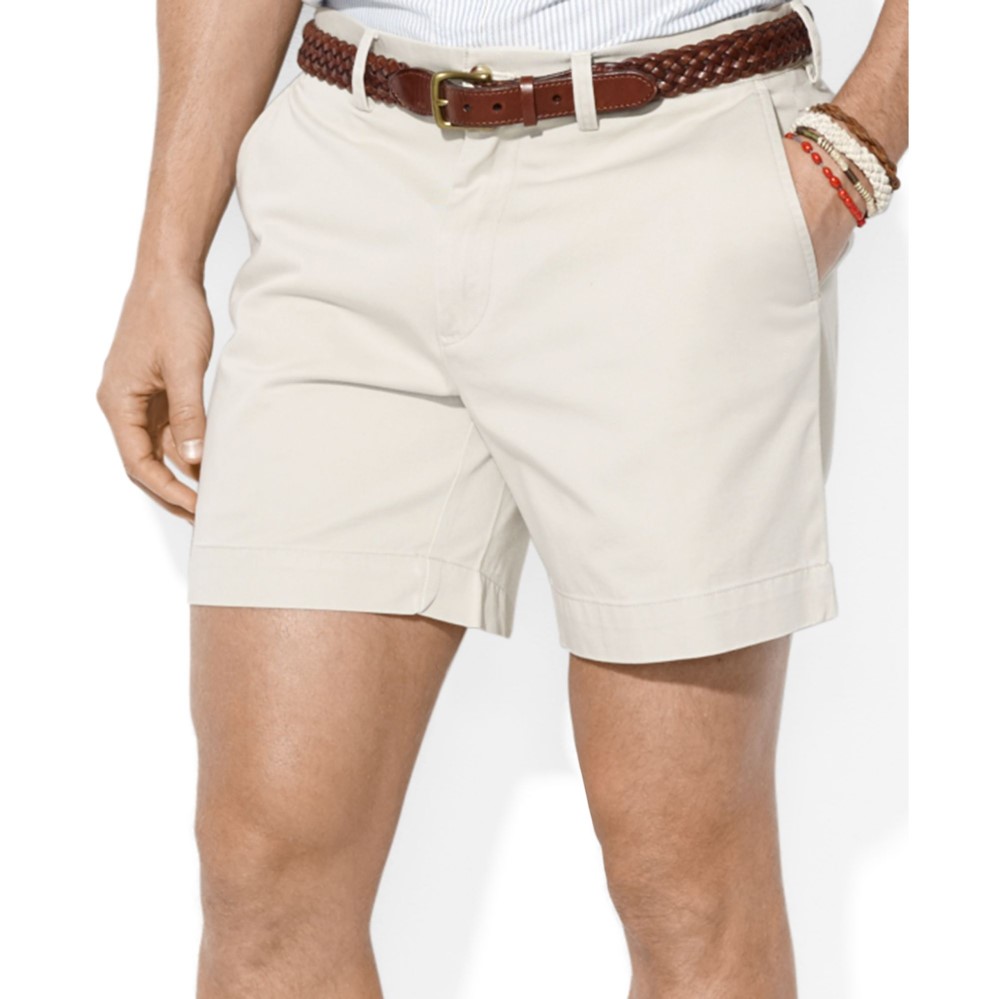
Casual shorts dominate warm-weather wardrobes. Denim shorts, also known as “jorts,” are timeless. They pair well with t-shirts and sneakers. Chino shorts come in neutral tones like khaki, navy, or olive. These transition easily from day to evening.
Board shorts are another popular option. Originally designed for surfing, they now serve as swimwear or beach cover-ups. They often feature bold patterns and quick-drying fabric. Most extend to the knee, offering modesty and comfort. These styles emphasize laid-back versatility.
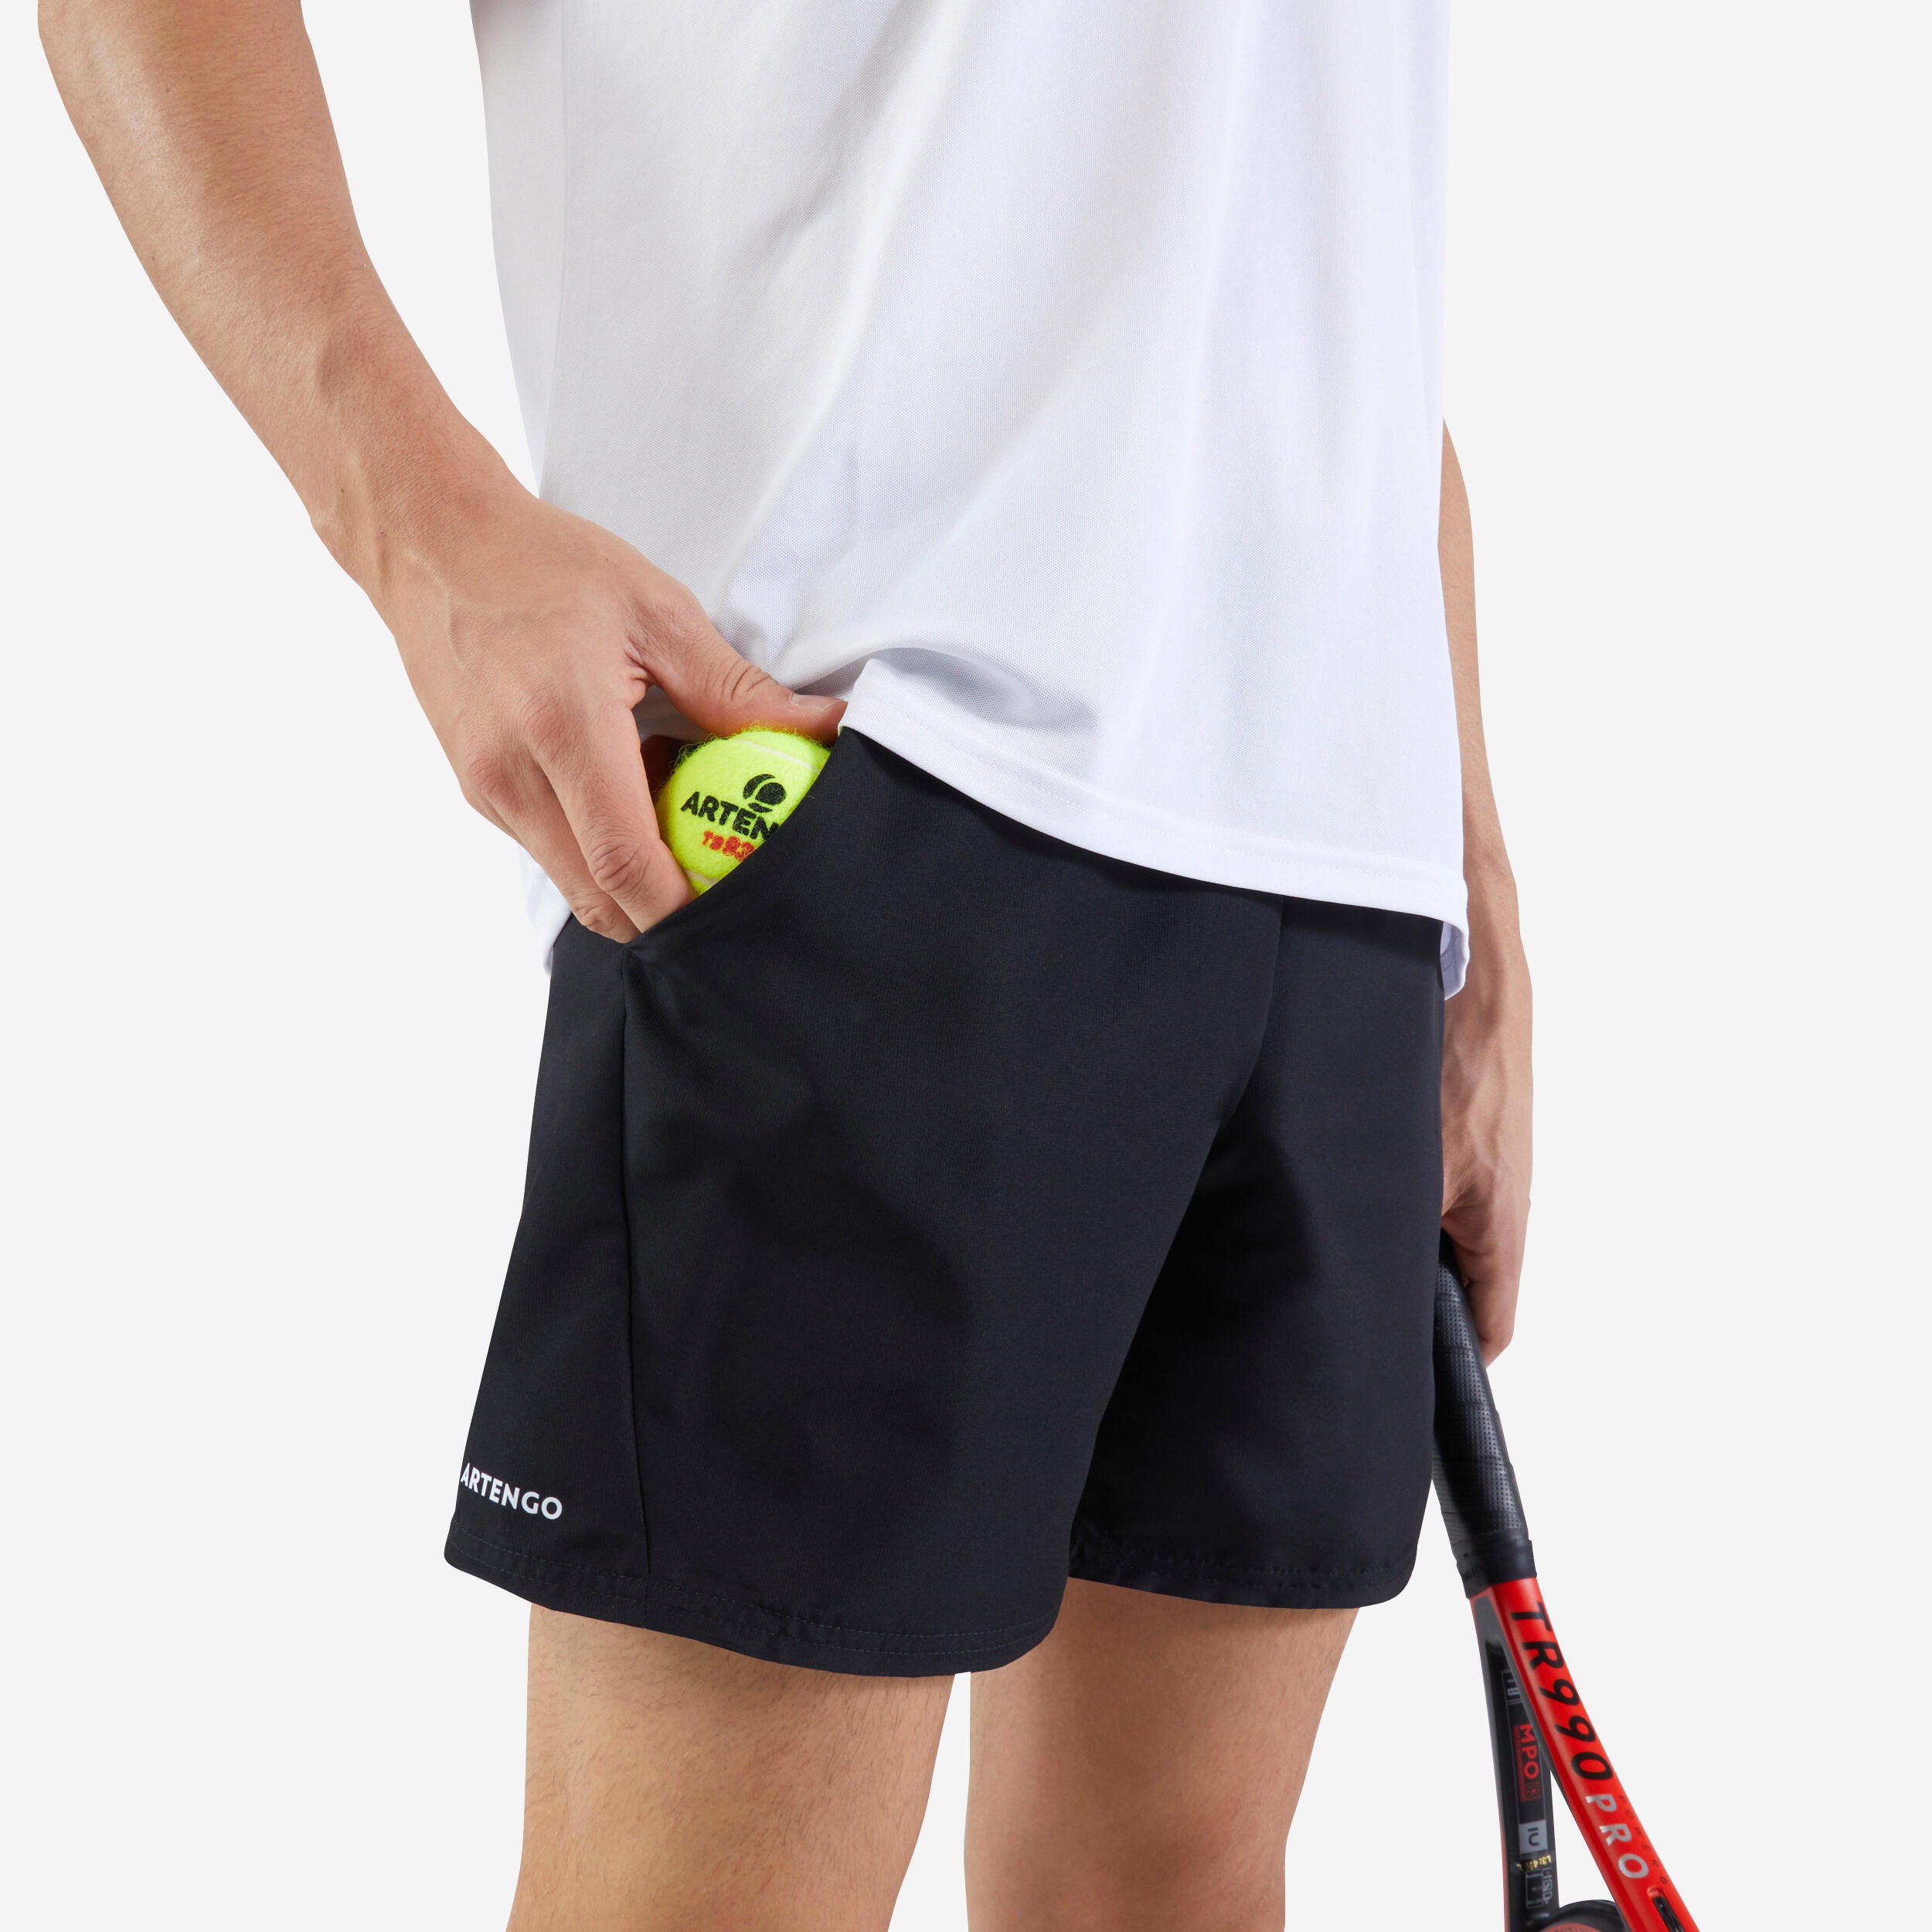
Performance and Functional Designs
Athletic shorts cater to active lifestyles. Running shorts usually have split sides and lightweight fabric. This reduces drag and increases stride efficiency. Compression shorts worn underneath provide muscle support. Gym shorts may include pockets for phones or keys.
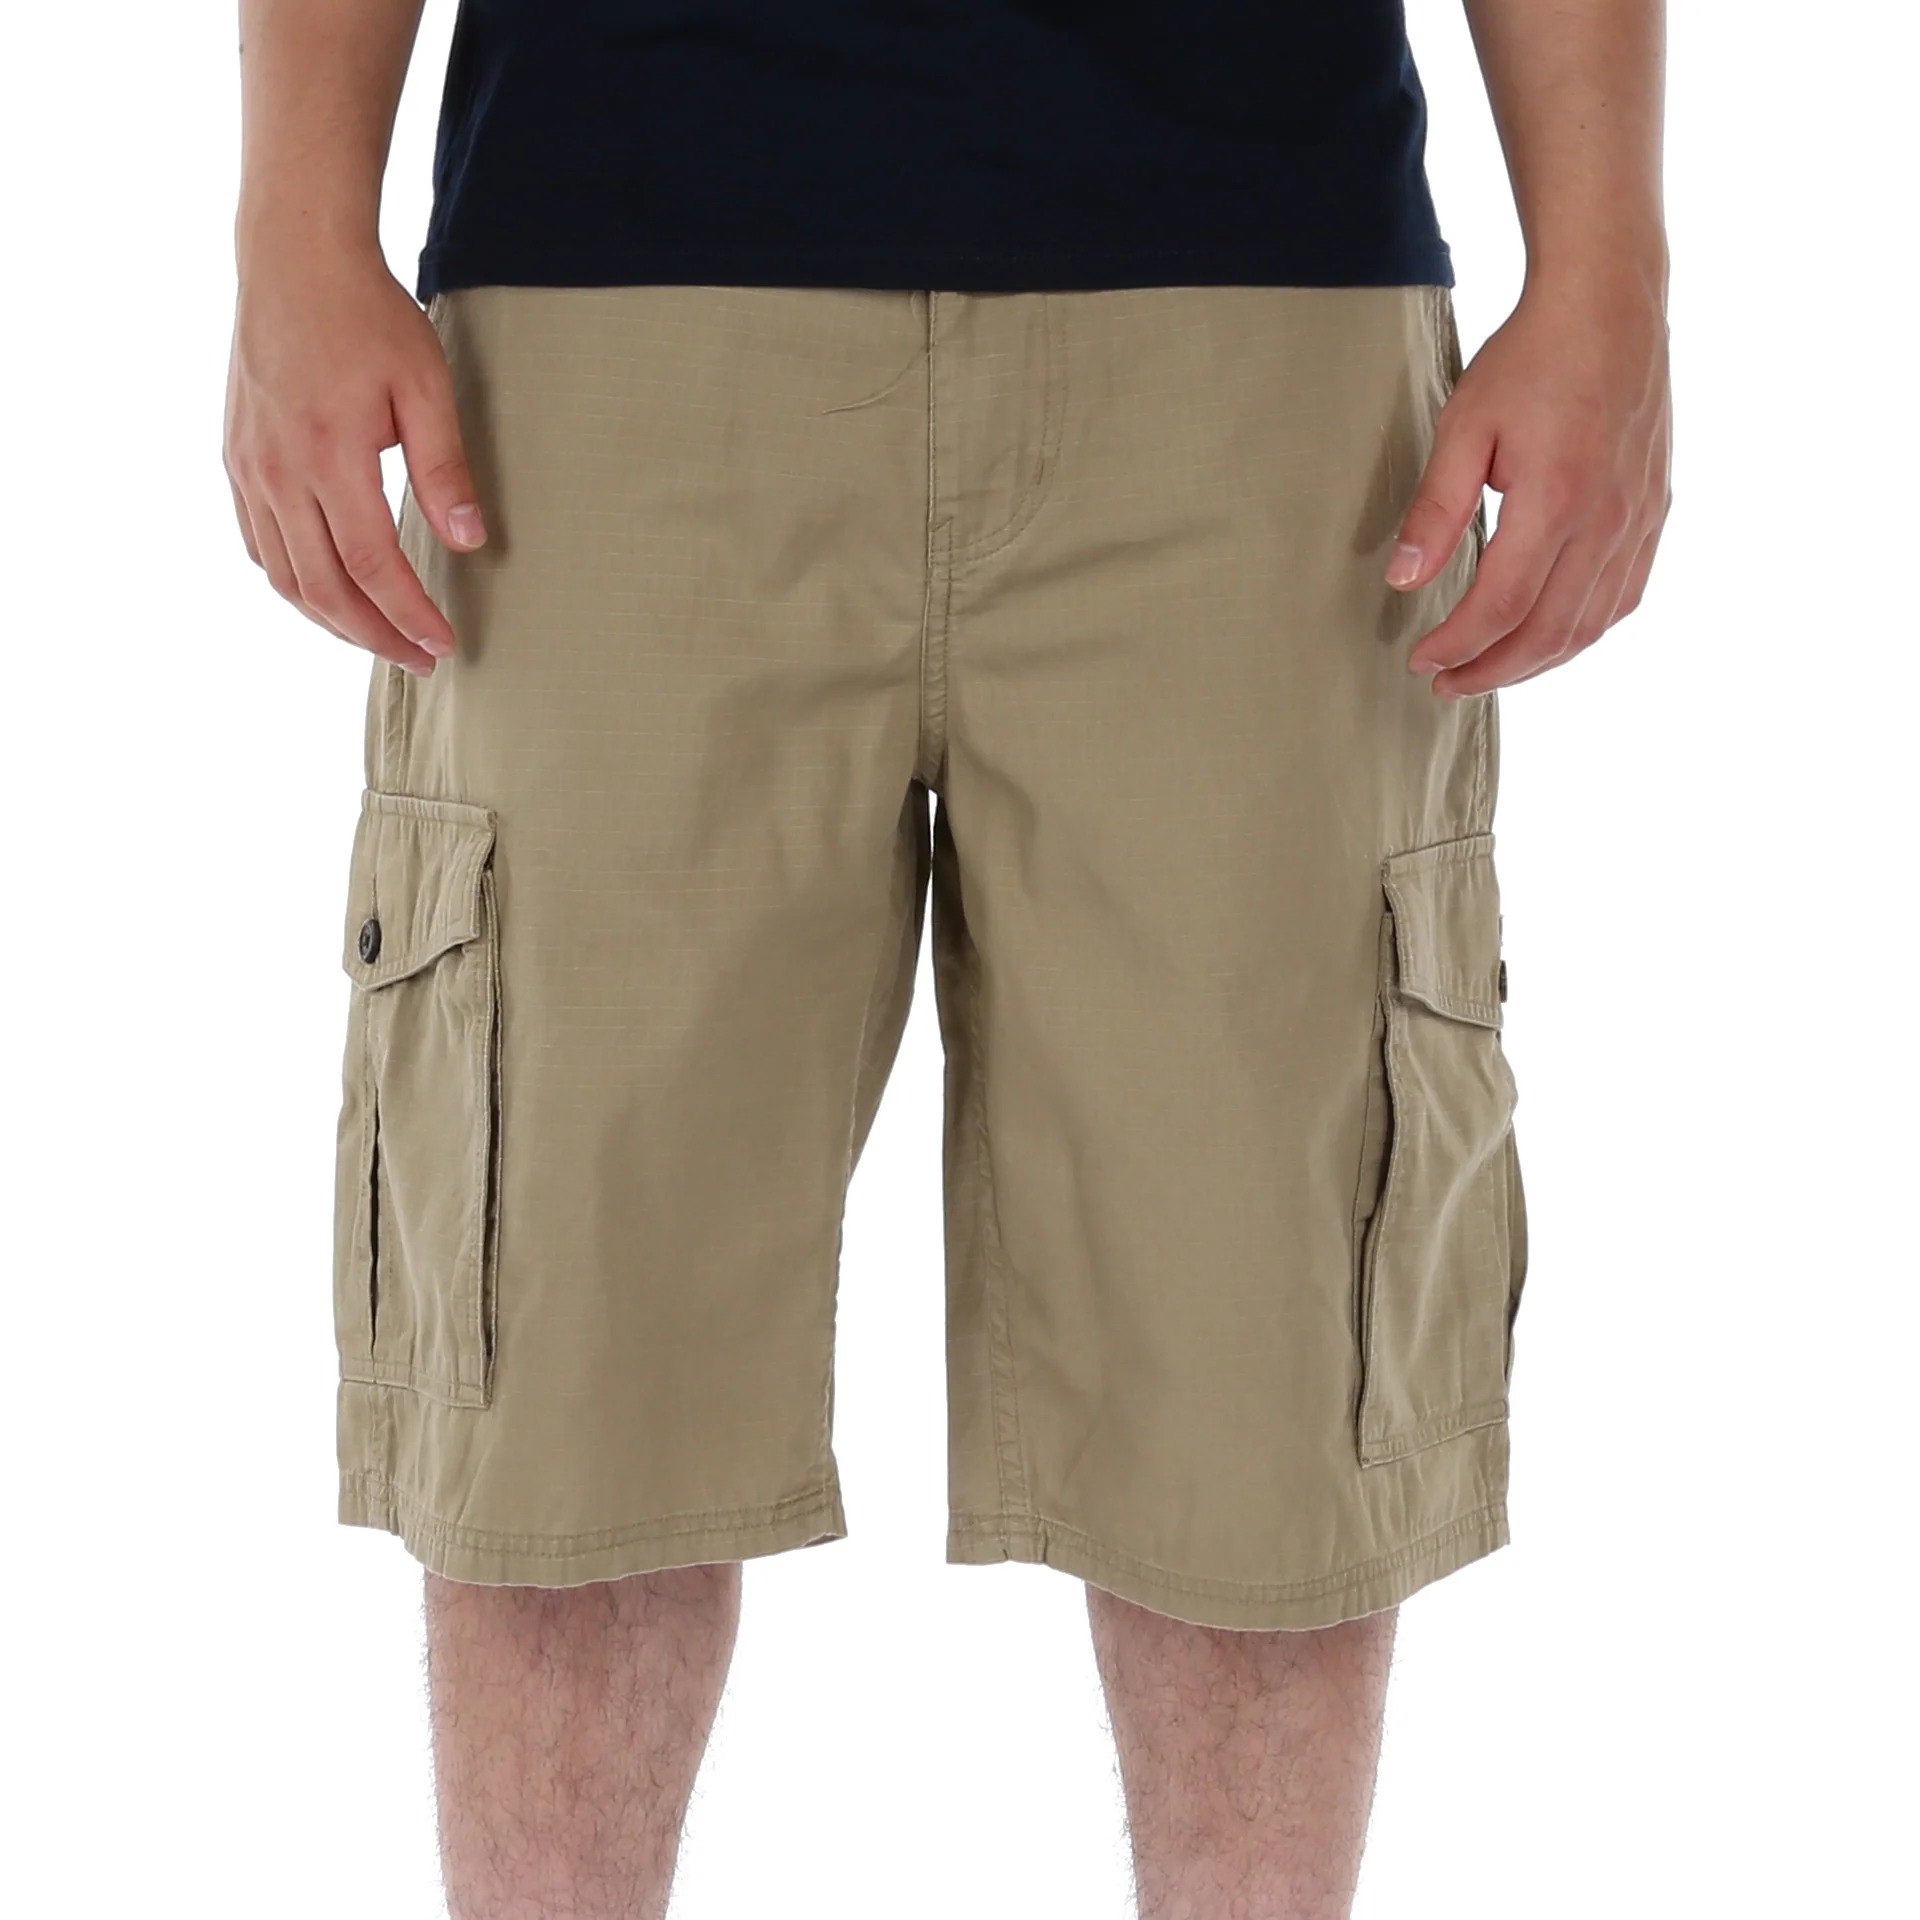
Cargo shorts stand out due to utility. Multiple large pockets store essentials like wallets, tools, or snacks. They’re ideal for hiking, camping, or travel. Made from durable cotton or ripstop nylon, they withstand rough use. Tactical versions appeal to outdoor enthusiasts needing organization.
Each type serves a unique role. By matching the short to your activity, you gain both function and style. From lounging at home to intense workouts, there’s a perfect pair of shorts for men.
 How to Choose the Right Length and Fit
Selecting the right length and fit makes a big difference. It affects not only comfort but also how put-together you appear. Many men overlook this step, leading to poor results.
Understanding Inseam Measurements
The inseam measures from the crotch seam down to the hem. Common lengths range from 3 inches (very short) to 11 inches (longer, more conservative). A 5–7 inch inseam is average and widely accepted. It hits mid-thigh, balancing coverage and ventilation.
Shorter inseams suit athletic builds and warmer climates. They allow full leg extension without restriction. Longer inseams flatter taller men or those preferring modesty. They also align better with certain shoe styles, like loafers or boat shoes.
Always refer to brand-specific sizing charts. Inseams vary between manufacturers. What’s labeled “7-inch” in one brand might be closer to 6.5 in another. Reading reviews can reveal whether a model runs long or short.
Achieving the Ideal Fit
A proper fit ensures the shorts stay in place without pinching. The waist should sit comfortably at your hips or natural waistline. It mustn’t slide down or require constant adjustment. Look for stretch panels or adjustable drawstrings for customization.
The thigh area should have slight room but not bagginess. Slim-fit shorts taper slightly from hip to hem. Relaxed fits offer more space throughout the leg. Avoid anything too tight around the upper leg—it limits walking and sitting.
Also, check how the shorts behave when seated. Some rise excessively or pull uncomfortably. Try sitting in a chair after trying them on. Movement tests reveal real-world performance. When both standing and sitting feel natural, you’ve found a good match.
Materials That Make a Difference in Men’s Shorts
Fabric defines how shorts for men perform over time. It affects durability, comfort, and care requirements. Knowing which materials work best helps you invest wisely.
Natural vs. Synthetic Fabrics
Natural fibers like cotton and linen are breathable and soft. Cotton is gentle on the skin and easy to wash. However, it holds moisture and takes longer to dry. Linen excels in heat dispersion but wrinkles quickly. Both are great for slow-paced days.
Synthetic fabrics such as polyester, nylon, and spandex bring functional benefits. Polyester resists shrinking and fading. Nylon adds strength and abrasion resistance. Spandex contributes stretch, enhancing flexibility. Blends often combine cotton with synthetics for balanced performance.
Some high-end shorts use TENCEL™ or modal for silky texture. These eco-friendly options drape well and manage humidity. Still, they may lack toughness for rugged use. Consider your priorities: softness, durability, or technical features.
Specialized and Hybrid Materials
Many brands now create hybrid fabrics. These merge comfort with performance. For example, some chino shorts use cotton with a hint of elastane. This adds stretch without sacrificing structure. Other models feature water-repellent coatings for unexpected rain.
Moisture-wicking technology pulls sweat away from the skin. It keeps you dry during hikes or city walks. Odor-resistant treatments inhibit bacterial growth. This extends wear time between washes—ideal for travel.
UV-protective finishes shield skin from sun damage. Especially useful for beachgoers or anglers. Meanwhile, anti-microbial linings reduce odor in gym shorts. These innovations elevate basic shorts into multi-functional gear. With advanced materials, shorts for men do more than just keep you cool.
 Styling Tips: How to Wear Shorts Like a Pro
Wearing shorts doesn’t mean sacrificing style. In fact, well-chosen shorts for men can elevate your entire look. Follow these tips to dress confidently in warm weather.
Pairing Shorts with Tops and Shoes
Coordination is key. Match the tone of your shorts with your shirt. Neutral-colored chinos go with almost any solid or patterned tee. Bright board shorts pair best with simple, monochrome tops. Avoid clashing colors or competing prints.
Footwear completes the outfit. Sandals and flip-flops suit beach trips or poolside lounging. Sneakers work with casual or athletic shorts. Loafers or boat shoes complement chino styles for semi-formal occasions. Socks depend on formality—go sockless with loafers, wear low-cut socks with trainers.
Avoid wearing dress shoes with casual shorts. It creates a mismatched aesthetic. Similarly, overly baggy shorts with fitted shirts disrupt visual balance. Strive for harmony in volume and style.
Accessorizing and Grooming Considerations
Accessories refine your appearance. A leather belt matches brown shoes and chino shorts. Sunglasses protect your eyes and boost style. Watches, hats, or bracelets add personality without overwhelming.
Grooming matters too. Trimmed legs aren’t required, but neat hair improves presentation. Roll hems neatly if the shorts are too long. Avoid cuffing unless it’s part of the design. Press or steam wrinkles for a sharper look.
Confidence enhances any outfit. Stand tall and move naturally. When your clothes feel right, you carry yourself better. Great style starts with thoughtful pairing and attention to detail.
Caring for Your Shorts to Extend Their Lifespan
Proper care keeps your shorts for men looking fresh. Neglect leads to fading, shrinking, or fabric breakdown. Simple habits can preserve quality over time.
Washing and Drying Best Practices
Always follow the care label instructions. Most cotton shorts tolerate machine washing in cold water. Turn them inside out to protect color and finish. Use mild detergent to avoid fiber damage.
Avoid bleach unless necessary. It weakens fabric and causes yellowing. Wash similar colors together to prevent dye transfer. Separate darks from lights. Zip up flys and empty pockets before tossing them in.
For drying, air-drying is safest. Hang them flat or on a line to maintain shape. Tumble drying on high heat shrinks cotton and degrades elastic. If using a dryer, select low or medium heat and remove promptly.
Storage and Maintenance Tips
Store clean, dry shorts in a drawer or on a shelf. Fold them neatly to prevent deep creases. Hanging works for structured chino styles. Use padded hangers to avoid shoulder marks.
Inspect regularly for loose threads or stains. Treat small issues early before they worsen. Repair minor tears or reattach buttons as needed. Rotate usage among multiple pairs to reduce wear.
Keep them away from direct sunlight for long periods. UV rays fade colors over time. Cedar blocks or lavender sachets deter moths in storage areas. With consistent care, your favorite shorts last seasons longer.
 Frequently Asked Questions
Many men have recurring questions about choosing and using shorts for men. Below are common concerns answered clearly and practically.
What is the most versatile length for men’s shorts?
A 7-inch inseam is widely considered the most versatile. It strikes a balance between style and function. This length suits most body types and occasions. It works for casual outings, shopping, or dining outdoors. Avoid extremes unless your lifestyle demands it.
Can I wear shorts to a semi-formal event?
Yes, under the right conditions. Chino shorts in neutral shades like navy, gray, or beige are acceptable. Pair them with a button-down shirt and loafers. Avoid logos, graphics, or frayed edges. Keep the overall look clean and coordinated.
Are pocketless shorts fashionable?
Pocketless designs exist, especially in swimwear or minimalist fashion. However, most men prefer functional pockets. Front slash or side pockets hold phones and wallets. Back pockets add symmetry. Cargo pockets increase utility. Functionality usually wins over pure aesthetics.
Do all shorts need a liner?
No, only certain types require built-in liners. Athletic and swim shorts often include mesh for support. Casual and chino shorts typically don’t. You can wear underwear underneath instead. Choose based on personal comfort and activity level.
How many pairs should a man own?
Aim for at least four to six pairs. Include a mix of casual, athletic, and dressier options. This covers various scenarios throughout the week. Rotate them to extend wear life and reduce laundry frequency.
Can tall or short men find flattering shorts?
Absolutely. Tall men benefit from longer inseams, like 9–11 inches. These maintain proportion and avoid looking comically short. Shorter men should opt for 5–7 inch lengths. Higher rises create the illusion of longer legs. Fit matters more than height.
 Final Thoughts: Building a Smart Shorts Wardrobe
Choosing the right shorts for men enhances both comfort and confidence. They are more than just summer wear—they reflect lifestyle and taste. With so many options, making informed decisions is essential.
Start by assessing your needs. Identify where and how often you’ll wear them. Then prioritize quality, fit, and fabric. Invest in versatile styles first. Expand with specialty pairs later. Maintain them properly to maximize value.
Ultimately, shorts for men should feel effortless to wear. They let you move freely while staying cool. Whether you’re relaxing, exercising, or socializing, the right pair makes a difference. Build your collection thoughtfully. Enjoy the freedom and style that great shorts bring. And remember—every great warm-weather outfit begins with reliable shorts for men.
More Details