Dec 26, 2024
Top 8 Christmas Gifts for Motorcycle Riders in 2024
When it comes to finding the perfect Christmas gifts for motorcycle riders, it’s essential to choose items that cater to their passion for biking and enhance their riding experience. This list will provide you with some of the best Christmas gifts for motorcycle riders, ensuring that your loved ones feel valued and appreciated during the holiday season. Here are some fantastic gift ideas that every motorcycle enthusiast will surely love!
High-Quality Motorcycle Gear
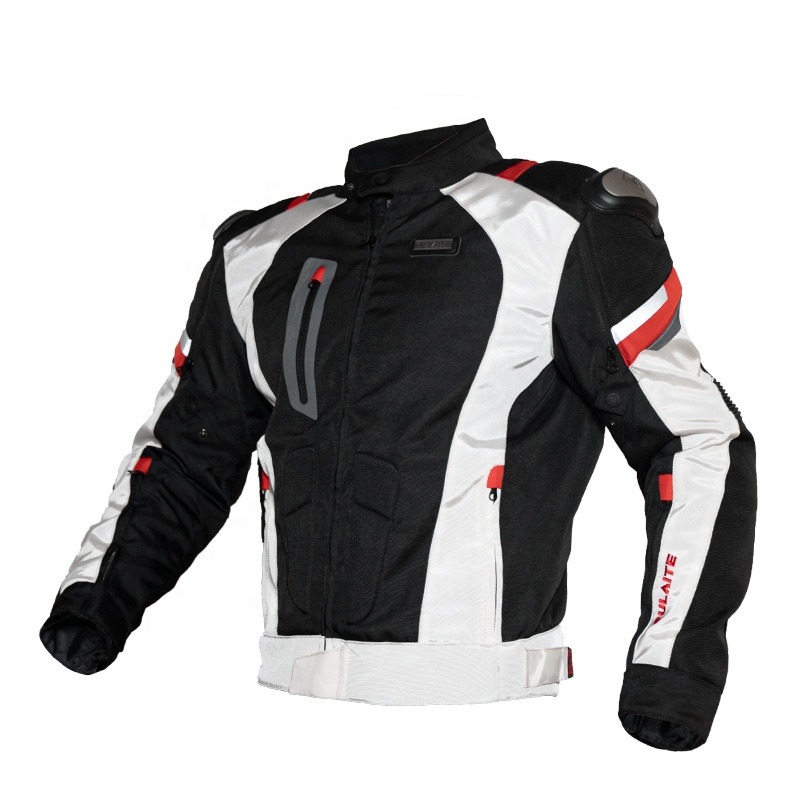
- Protective jackets: A sturdy, stylish, and protective motorcycle jacket is not just a good accessory, but also essential gear that can protect riders from the elements and in the event of a mishap. Look for options that feature abrasion-resistant materials and CE-rated armor.
- Riding gloves: Specialized riding gloves are crucial for comfort and safety. Consider gloves that offer good grip, flexibility, and protection for the hands. Many brands also provide touchscreen capabilities to operate devices without removing the gloves.
- Padded pants: To keep the lower body safe, consider buying padded or armored riding pants. They should not only be protective but also comfortable enough for long rides, and ideally, they should fit over regular clothing.
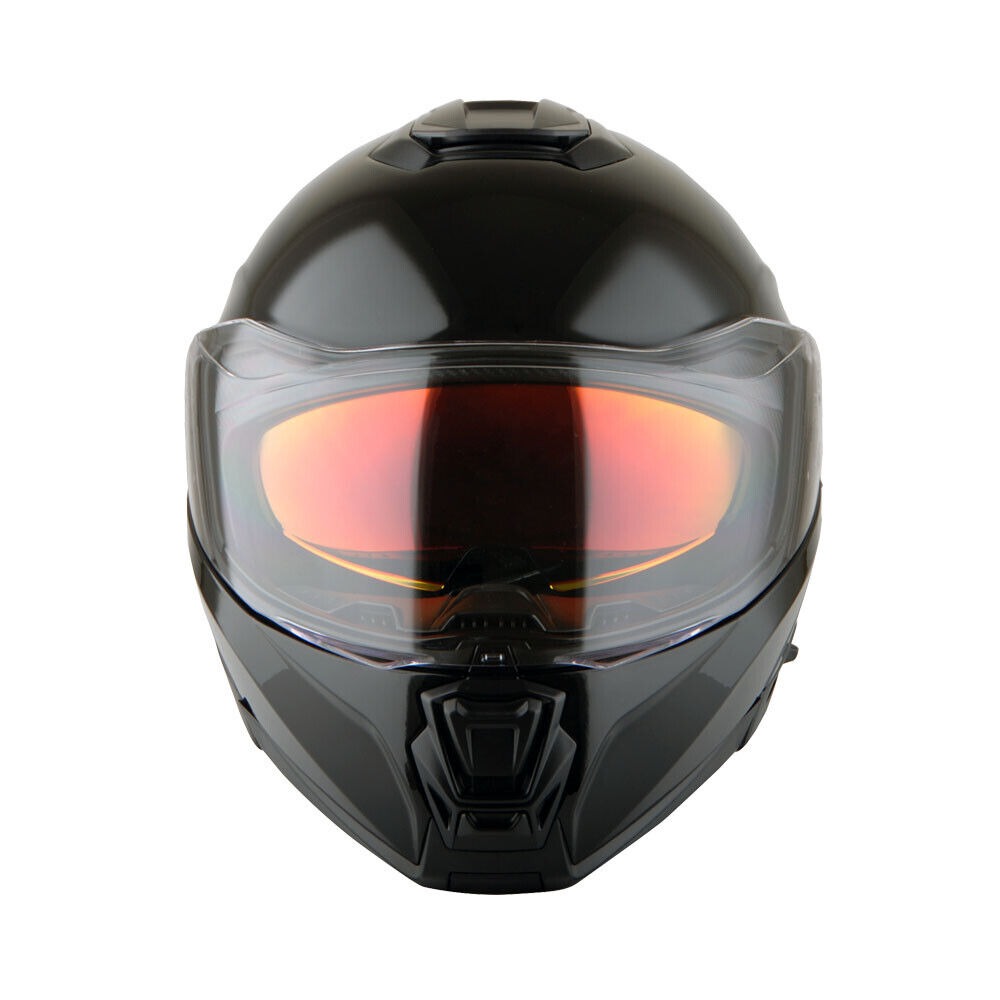
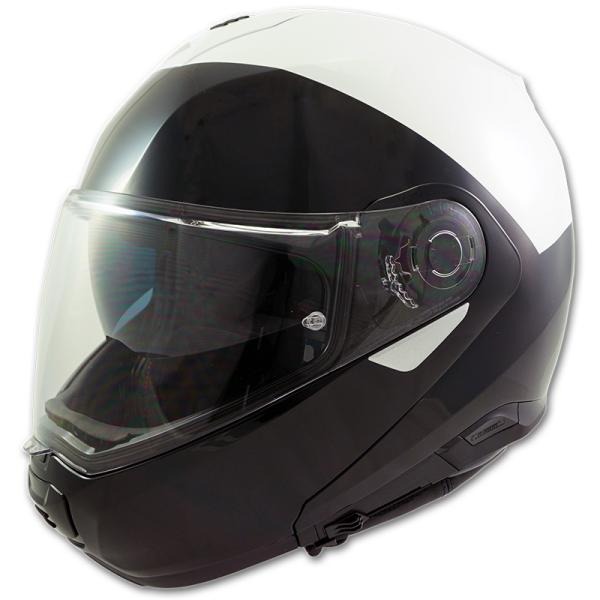
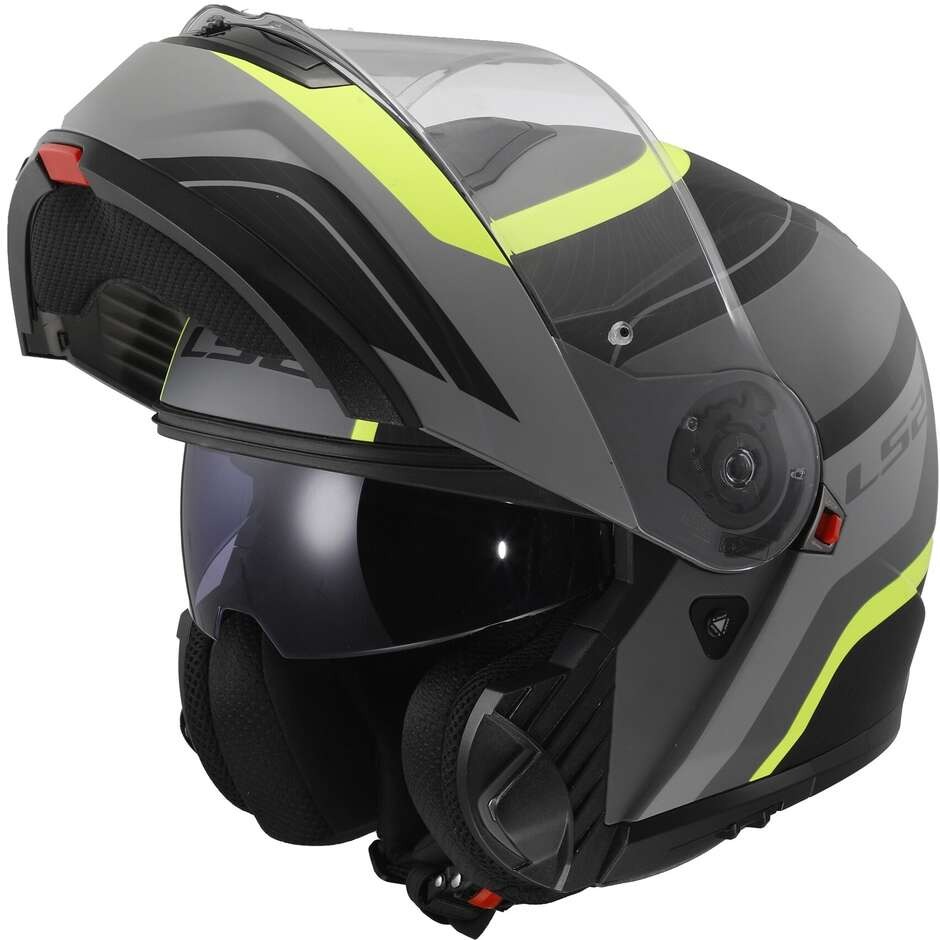
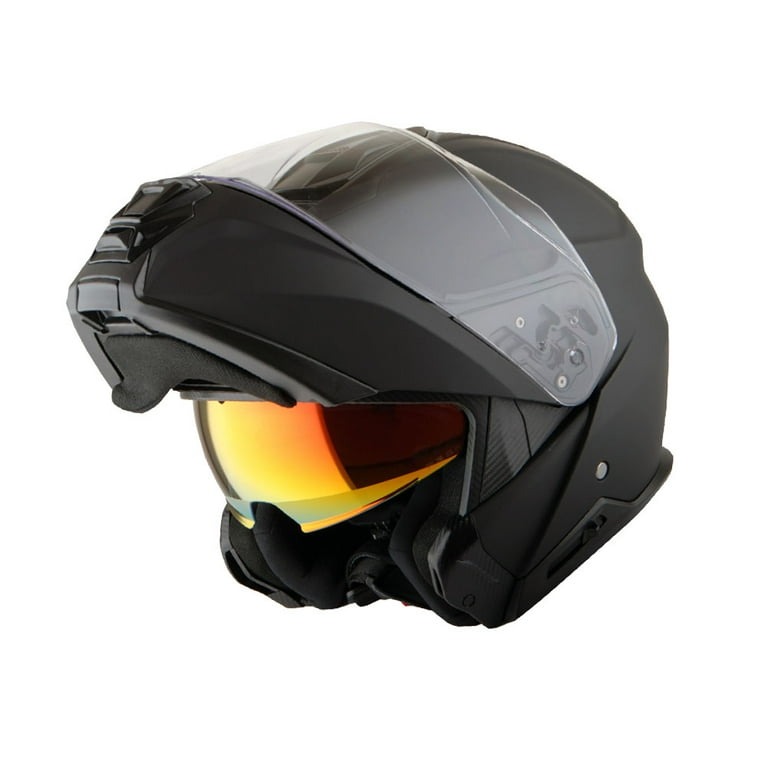
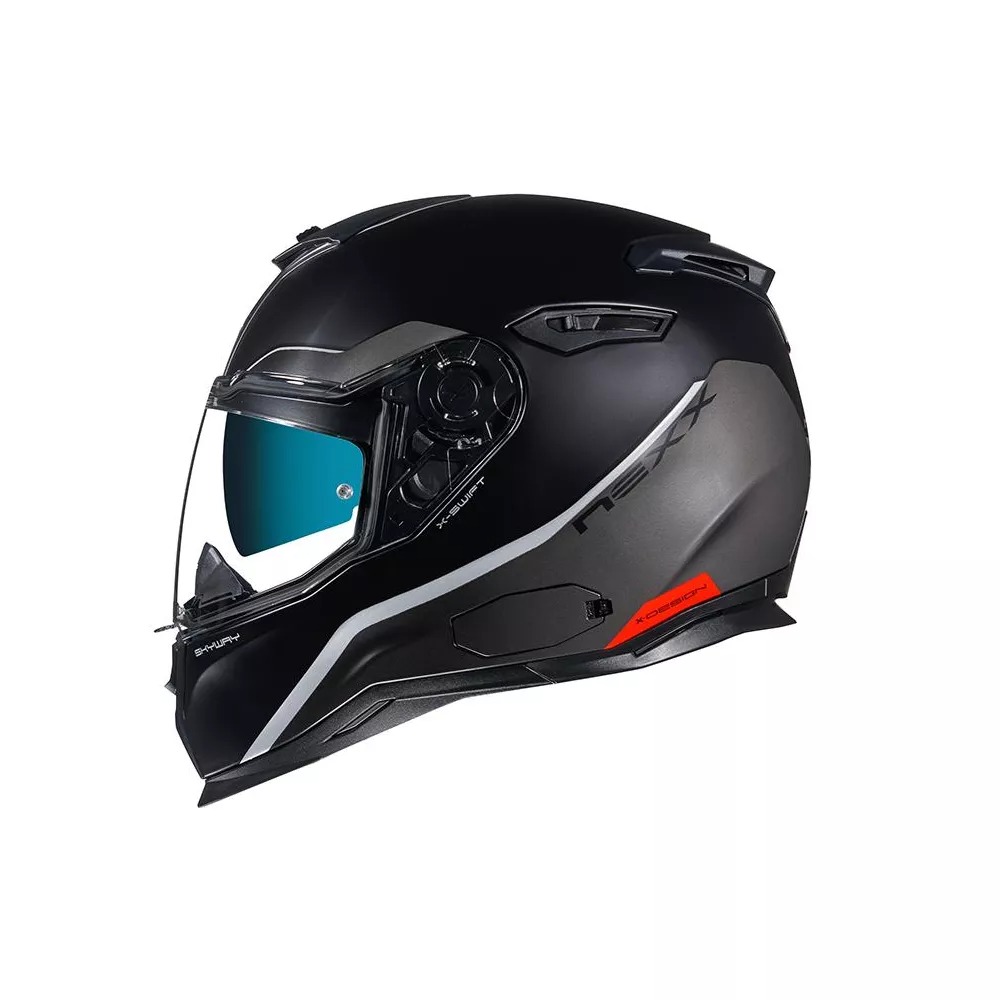
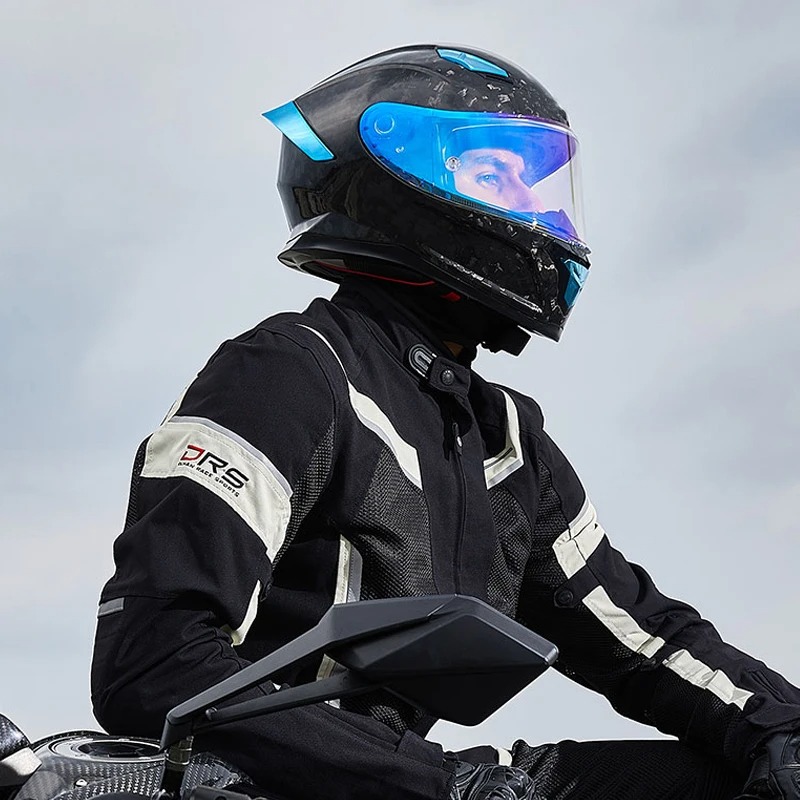
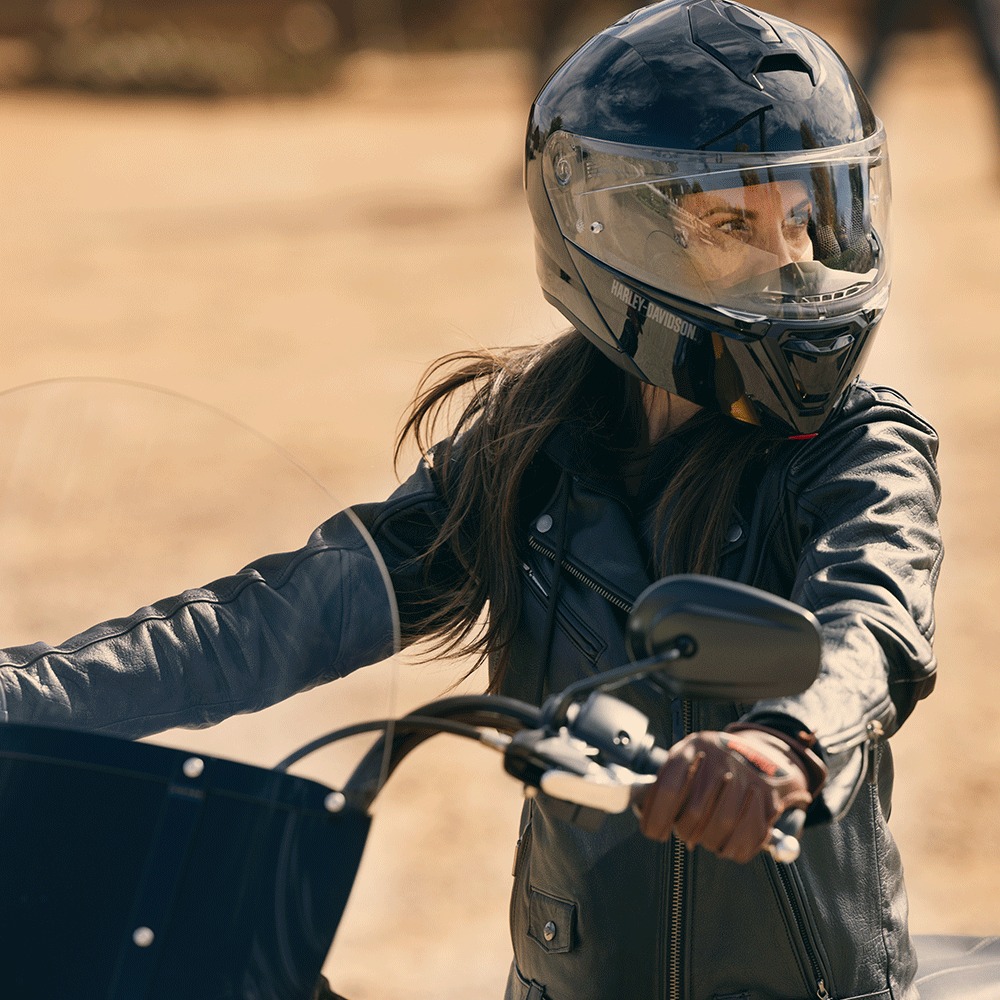
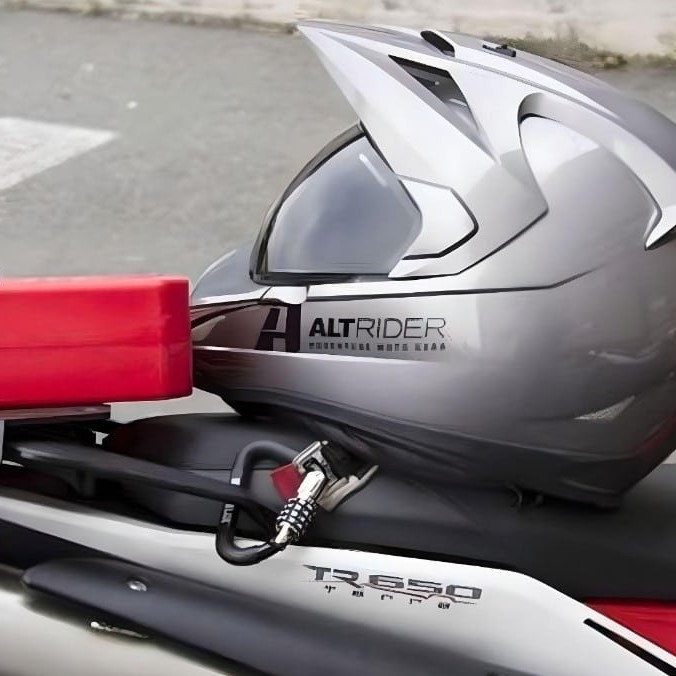
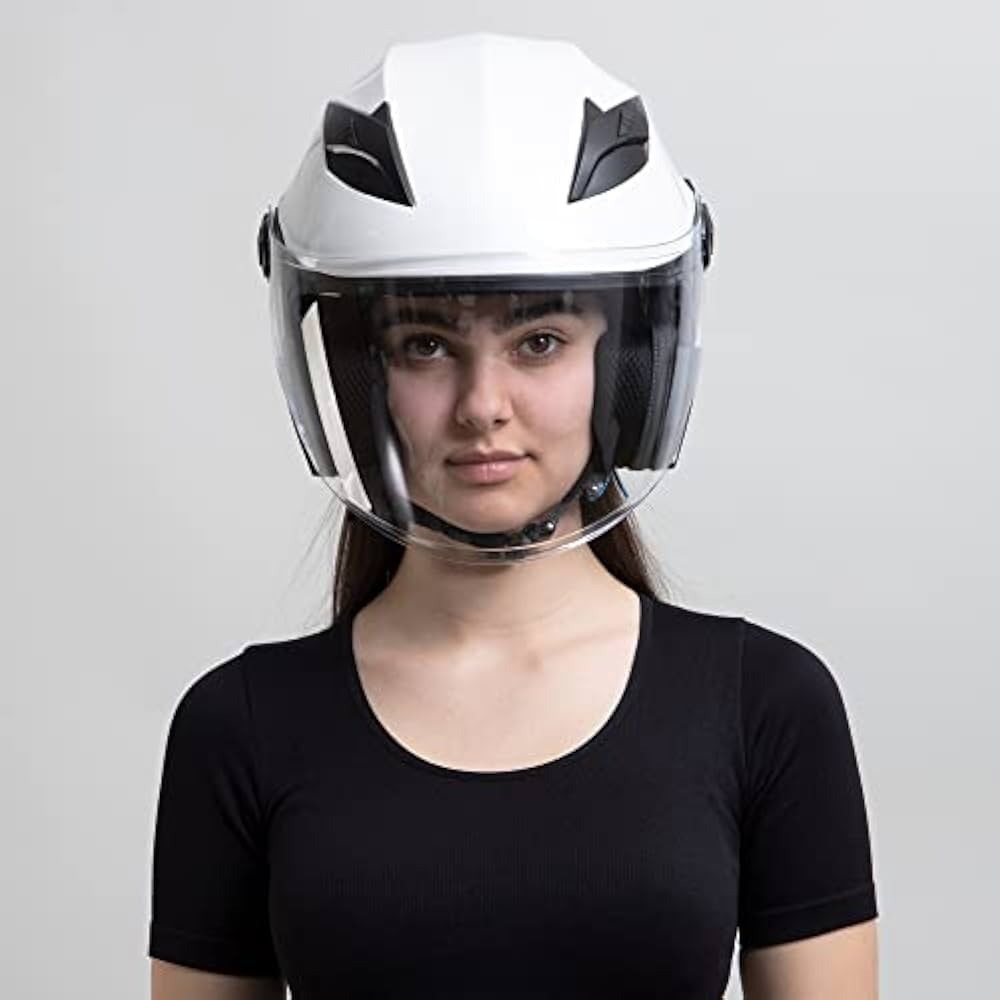
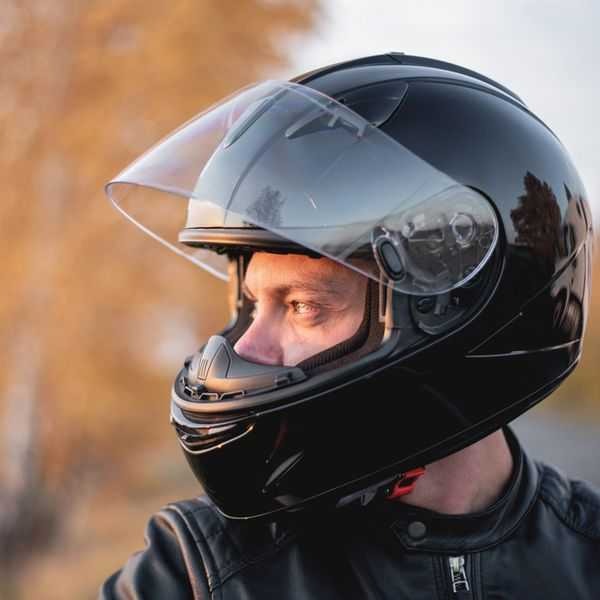
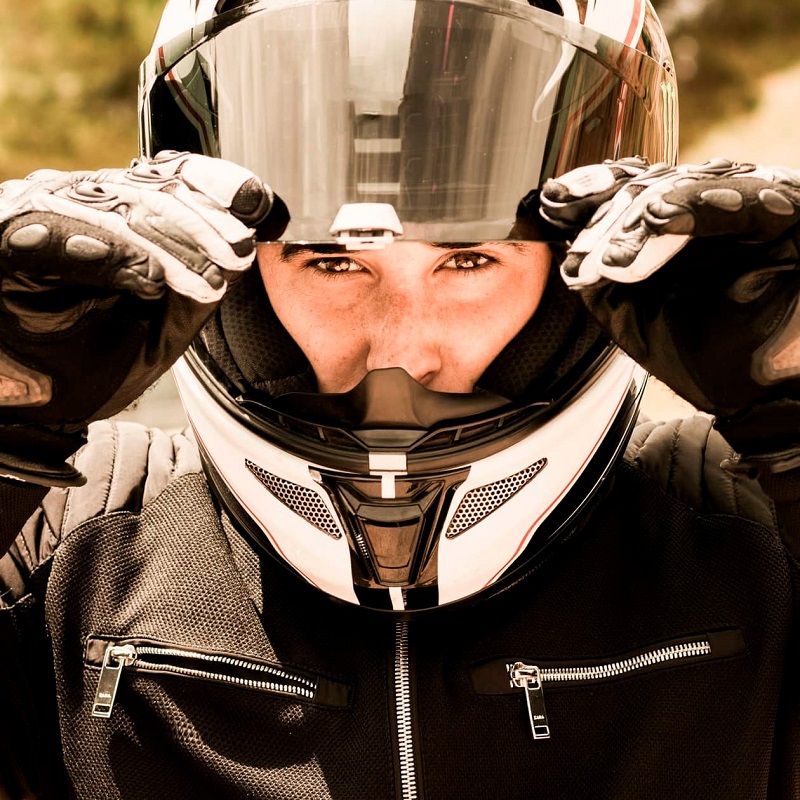
- High-performance helmets: A motorcycle helmet is a must-have, making it one of the top Christmas gifts for motorcycle riders. Look for helmets with advanced safety features, such as MIPS technology and excellent ventilation to keep the rider comfortable while ensuring maximum protection.
Advanced Riding Accessories
- GPS navigation systems: An advanced GPS device designed specifically for motorcycles can enhance group riding experiences and solo explorations. Riders will appreciate features such as route customization, lane guidance, and weather updates.
- Bluetooth communication systems: These devices allow for hands-free communication between riders and their passengers or fellow bikers. Choose a system with long-range capabilities and noise cancellation for the best experience.
- Mountable action cameras: Documenting rides will be made easy with a high-definition action camera. There are several options that can be easily mounted to a helmet or motorcycle and provide a great way to capture breathtaking views and memorable moments.
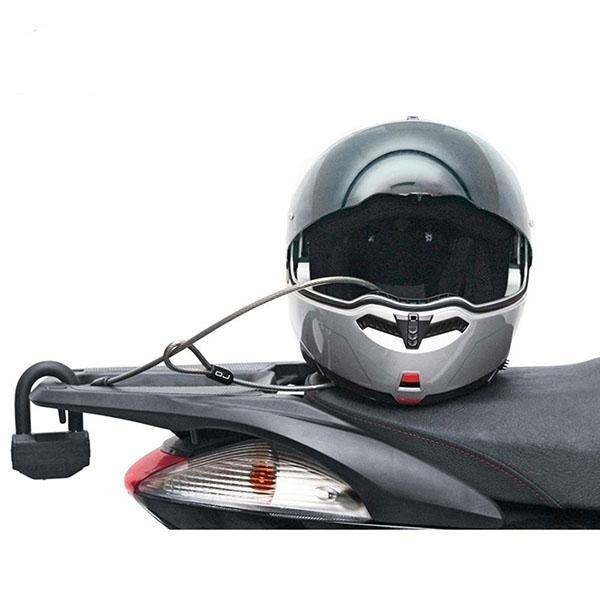
- Saddlebags and luggage solutions: Motorcycle riders often seek out practical storage solutions for their gear. A high-quality, durable saddlebag is an excellent Christmas gift for motorcycle riders, allowing them to carry essentials while on the road without compromising style.
Innovative Maintenance Tools
- Portable tool kits: A comprehensive tool kit specifically designed for motorcycle maintenance is invaluable. Look for kits equipped with essential tools for quick fixes on the go, catering to the specific bike model of the rider.
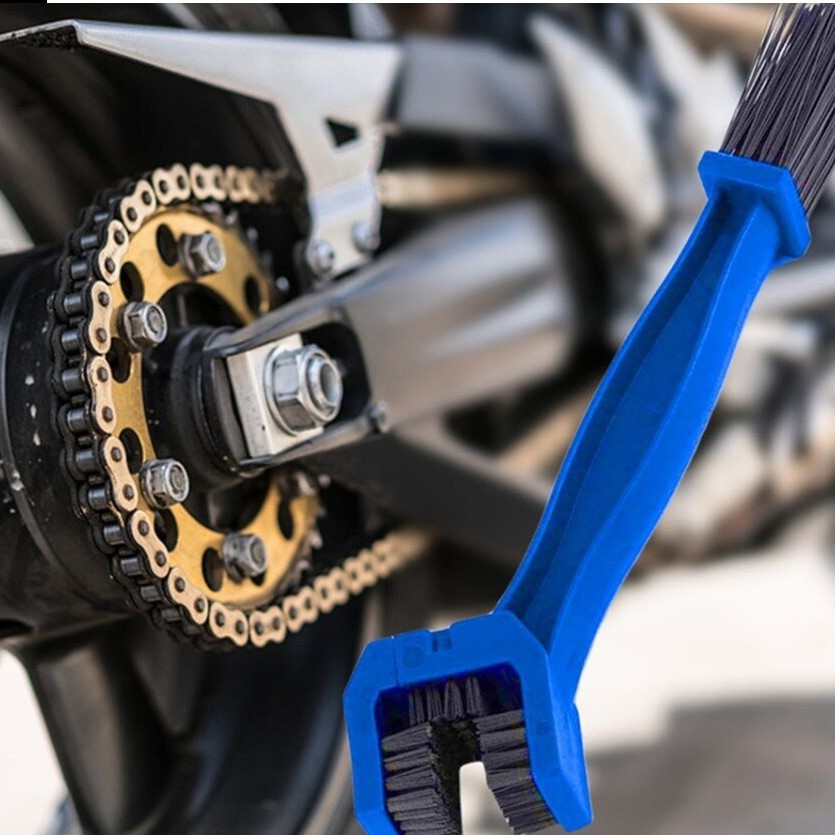
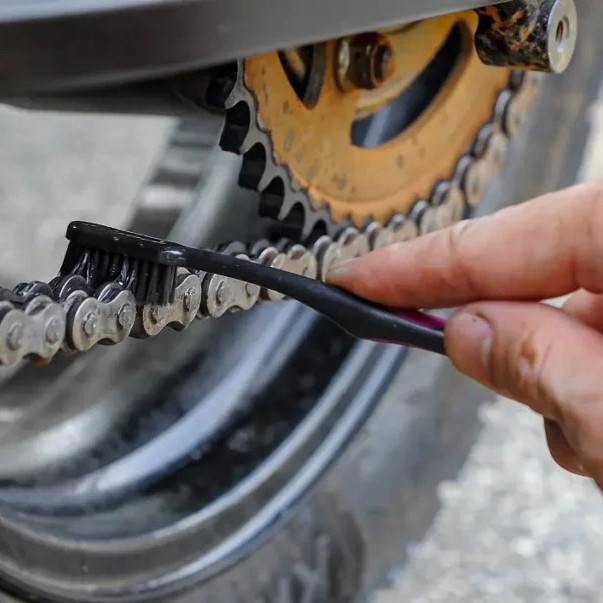
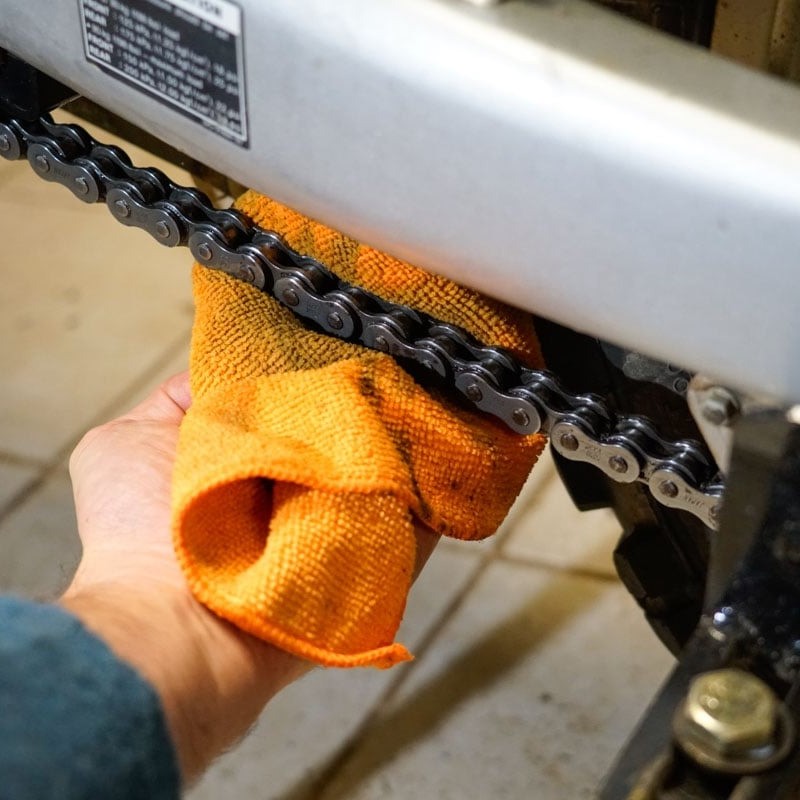
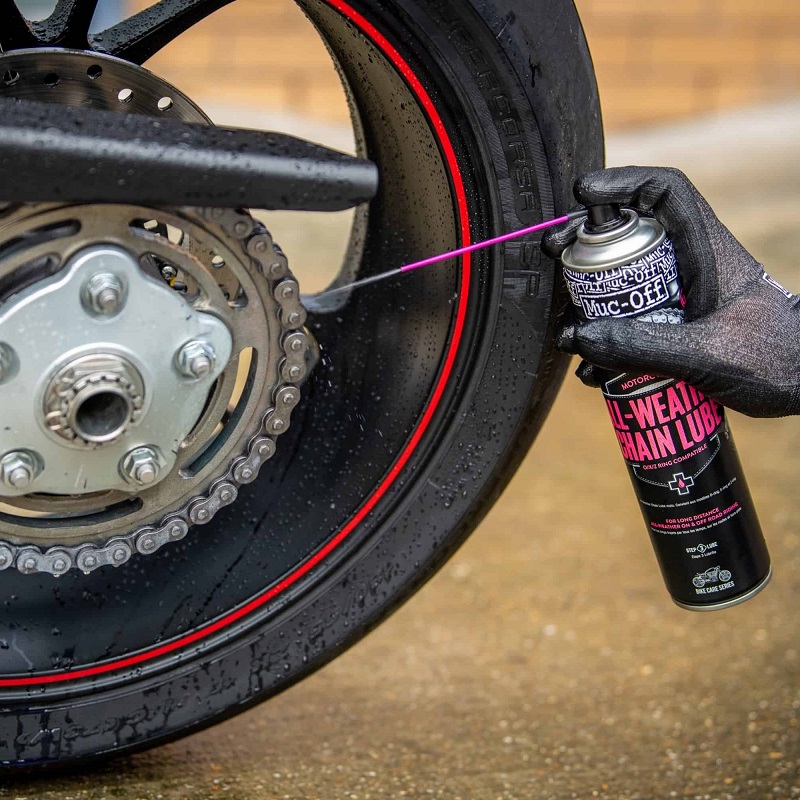
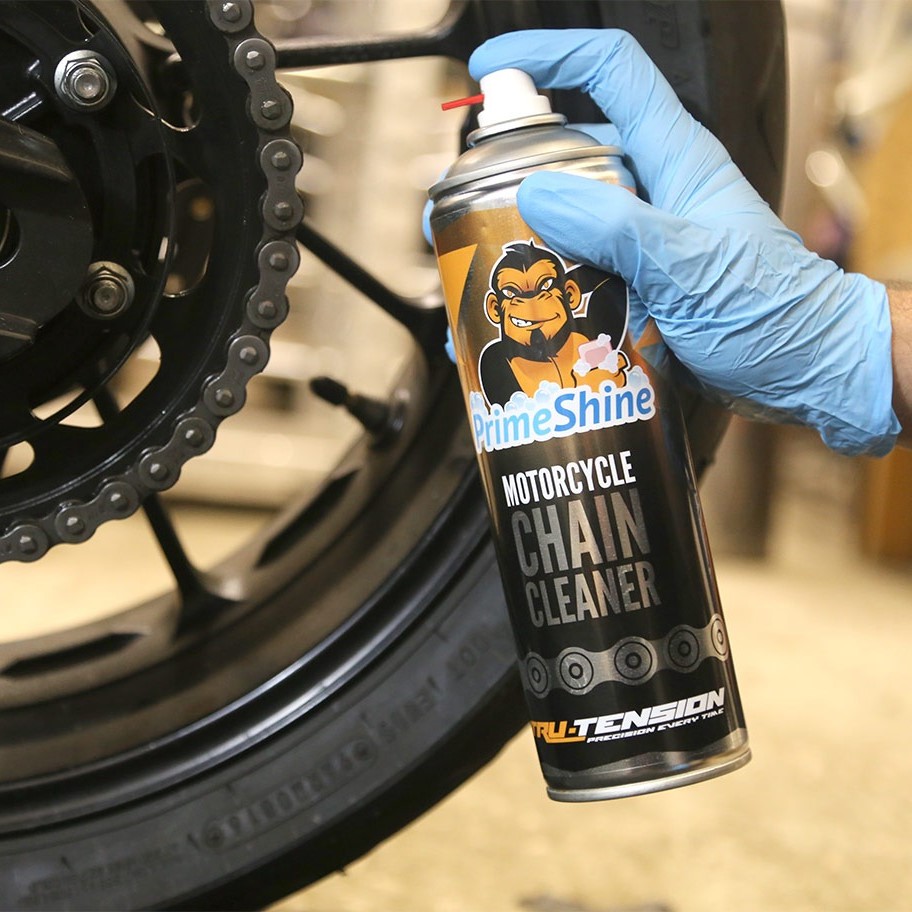
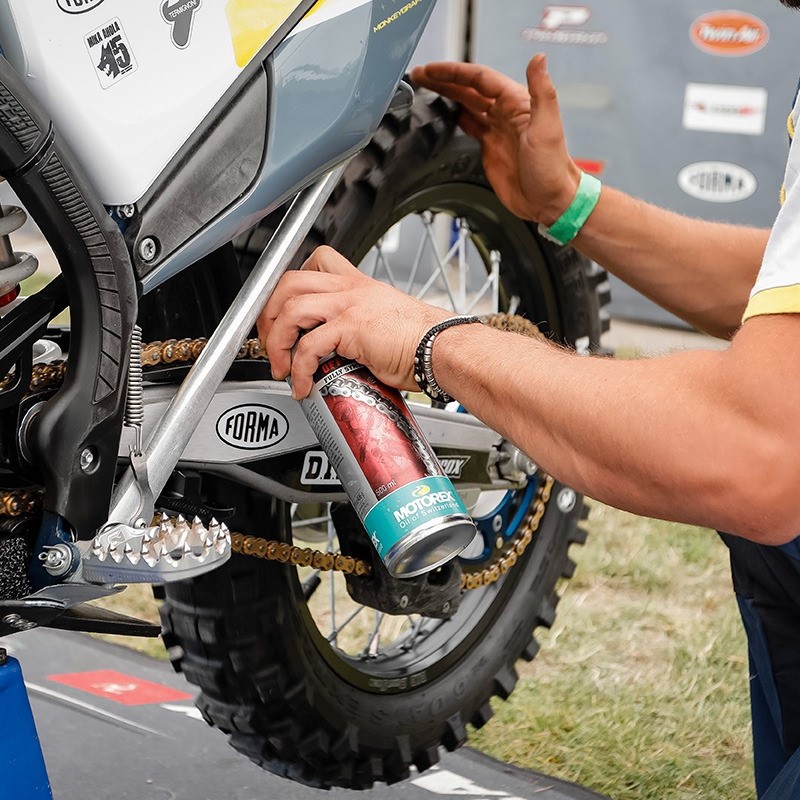
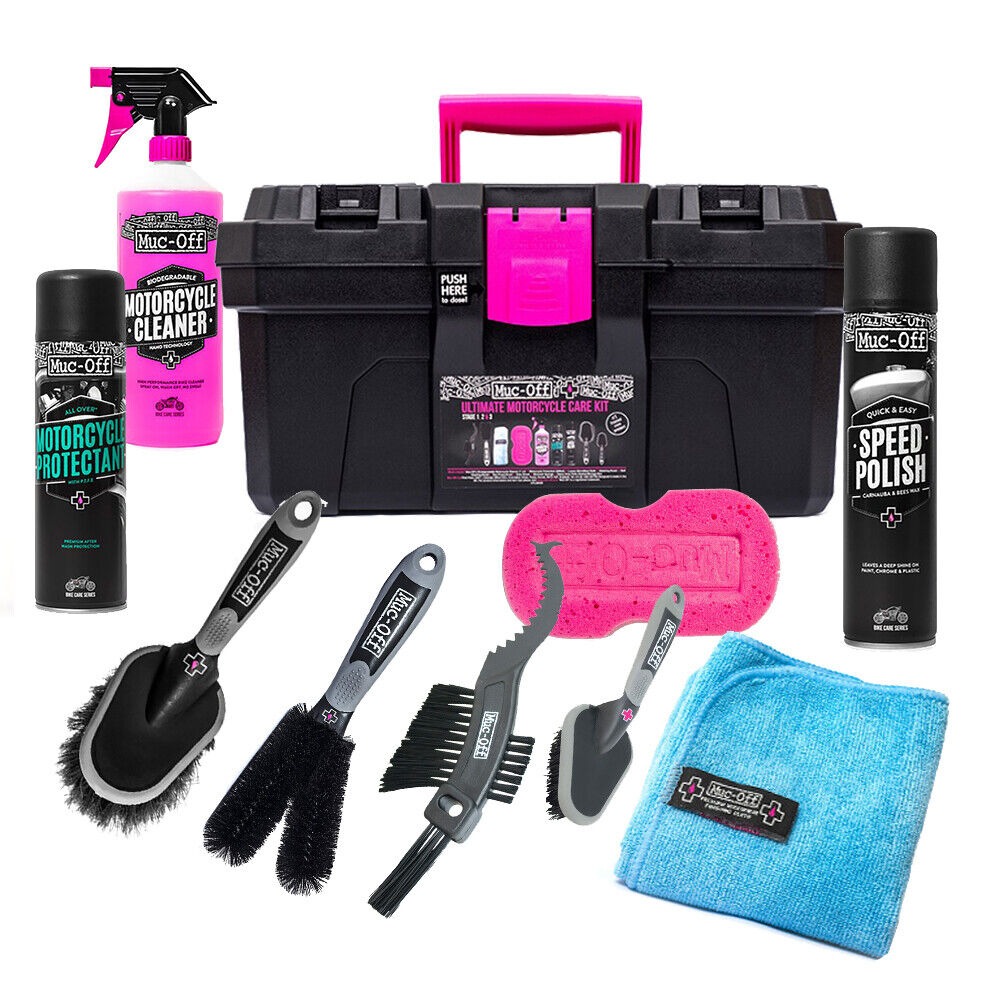
- Motorcycle cleaning supplies: Keeping a bike clean is part of motorcycle ownership. High-quality bike cleaners, microfiber cloths, and wax kits make for excellent gifts that help riders maintain their bikes while also ensuring they look brand new.
- Tire pressure monitoring systems: Safety is a high priority for riders. A tire pressure monitoring system can alert riders to changes in tire pressure, helping to prevent accidents caused by tire blowouts or poor handling.
- Oil change kits: For DIY maintenance enthusiasts, providing an oil change kit that includes oil and filters specifically tailored to their bike can be a thoughtful gift, encouraging them to keep their machines running smoothly.
Fun and Unique Motorcycle Gifts
- Personalized license plates: Custom license plates allow riders to express their personality or sense of humor. This small, thoughtful gift will add a touch of individuality to their motorcycle.
- Motorcycle-themed apparel: From t-shirts and hoodies featuring popular brands to hats and accessories adorned with fun sayings or graphics, motorcycle-themed apparel can be a great way for riders to showcase their passion off the bike.
- Artisan motorcycle artwork: A unique wall hanging or sculpture can add a touch of flair to their living space, reflecting their passion for motorcycles. Look for local artists or online shops that specialize in motorcycle-themed art.
- Books and magazines on motorcycle culture: For avid readers, consider gifting a subscription to a motorcycle magazine or a book that explores motorcycle history and culture, inspiring them to dive deeper into their beloved hobby.
Experience-based Gifts
- Motorsport event tickets: Nothing beats the thrill of experiencing motorcycle racing or exhibitions up close. Gift tickets to a local or national event so that they can indulge in the excitement of fast bikes and roaring engines.
- Motorcycle training courses: Whether they are new riders or seasoned veterans, improvement is always possible. Offer them the opportunity to enhance their riding skills through advanced training courses, which could include both on-road and off-road lessons.
- Guided motorcycle tours: Gift a voucher for a guided motorcycle tour. This unique experience allows them to explore new destinations, meet fellow riders, and create unforgettable memories on their bike.
- Membership to a motorcycle club: For the rider who enjoys camaraderie, a membership to a motorcycle club can provide a sense of community and access to exclusive rides, events, and resources.
Essential Safety Gear
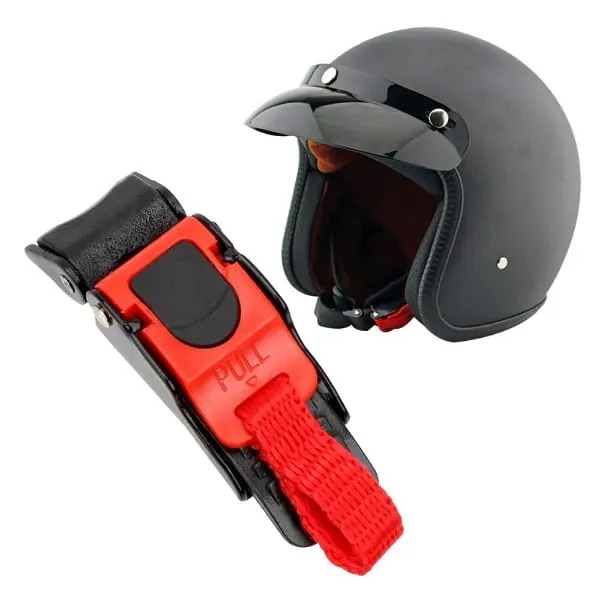
- Reflective vests and accessories: Safety is paramount for motorcycle riders. Consider gifting high-visibility jackets or reflective stickers for their helmets and bikes, ensuring they remain seen and safe during nighttime rides.
- Motorcycle boots: Protective riding boots are an essential part of safety gear. Ensure the boots provide comfort, support, and good grip, keeping the rider safe while they enjoy their passion.
- First-aid kits: A well-equipped first-aid kit specifically designed for motorcycles can be a lifesaver during emergencies. Look for kits that cater to motorcycle-specific injuries.
- Fall detection devices: Innovative fall detection technology can alert emergency contacts in case of an accident. This thoughtful gift shows how much you care about their safety while riding.
Personal Touches and Customization
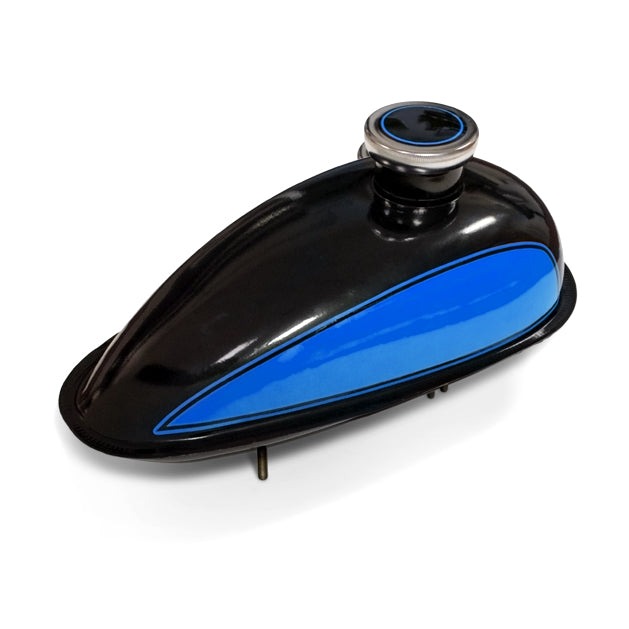
- Personalized motorcycle decals: Custom decals allow riders to personalize their bikes distinctly. Choose decals that resonate with their personality or interests, making their motorcycle truly unique.
- Customized seat covers: Seat covers that reflect their style can add flair to their ride. Look for options that provide additional comfort and support for long rides.
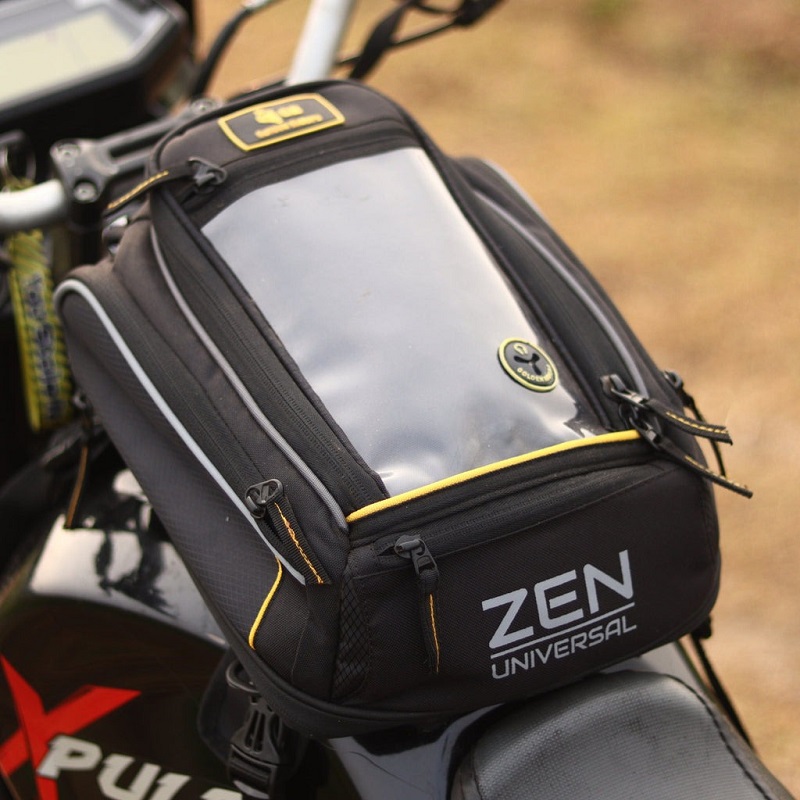
- Specialty tank bags: Look for tank bags that can be customized or personalized. They provide easy access to essentials while riding while allowing for a personal touch.
- Memory foam seat cushions: For added comfort on long rides, memory foam seat cushions can be a game-changer. Choose one that fits their bike model comfortably, giving them an extra layer of comfort.
Bonus Idea: Gift Cards to Motorcycle Retailers or Services
That’s a fantastic idea! Gift cards to motorcycle retailers or service shops can be a great way to treat a motorcycle enthusiast. Here are some suggestions on how to make the most out of this idea:
Target Popular Retailers
- National Chains: Consider gift cards from well-known motorcycle retailers like Cycle Gear, RevZilla, or Motorcycle Superstore.
- Local Shops: Support local businesses by purchasing gift cards from nearby motorcycle shops, which might offer unique gear or services.
Include Specific Services
- Maintenance Services: Look for gift cards that can be used for motorcycle maintenance or repair shops. This could cover oil changes, tire replacements, or general servicing.
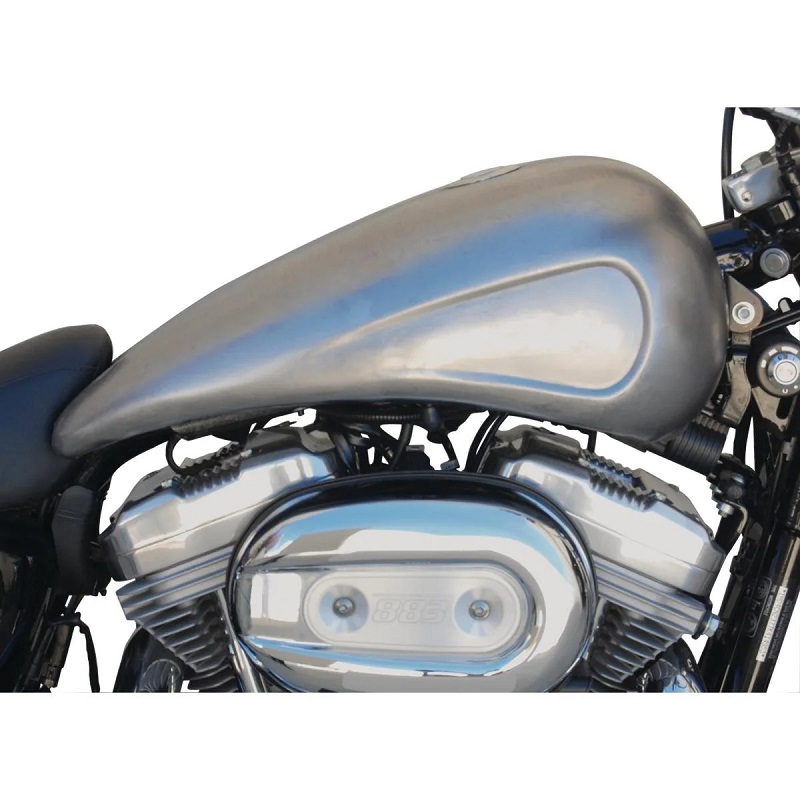
- Customization: Gift cards for shops that specialize in motorcycle customization can allow enthusiasts to personalize their bikes.
Gear and Apparel
- Riding Gear: Focus on retailers that sell helmets, jackets, gloves, and other essential riding gear.
- Casual Apparel: Consider gift cards for brands that offer motorcycle-themed clothing and accessories.
Experience Gifts
- Riding Courses: A gift card for a motorcycle safety or skill improvement course could be invaluable for new riders or those looking to hone their skills.
- Guided Tours: Some companies offer guided motorcycle tours. A gift card for such an experience could create lasting memories.
When choosing a gift, consider the rider’s specific needs, the type of motorcycle they have, and their personal style. Quality and functionality are key, ensuring that your gift will be both appreciated and regularly used throughout their riding adventures.
By choosing from these diverse categories of Christmas gifts for motorcycle riders, you will undoubtedly find something that fits your budget and affection. Whether focusing on safety, comfort, or simply fun and excitement, ensuring that the rider in your life has gifts that resonate with their passion will make this Christmas truly memorable. Remember, it’s the thought that counts, and a well-chosen gift can express just how much you care!
More Details