Aug 23, 2024
How to Wash Your Motorcycle: A Step-by-Step Guide
Your motorcycle isn’t just a vehicle; it’s an extension of your passion, a symbol of freedom and adventure. Keeping it clean isn’t just about aesthetics; it’s also crucial for its longevity and performance. A thorough wash removes dirt, grime, and corrosive elements that can damage your bike’s finish and components. Let’s delve into a step-by-step guide on how to properly wash your motorcycle and keep it looking its best.
Preparation: Gather Your Tools and Supplies
Before you begin, gather all the necessary tools and supplies to ensure a smooth and efficient washing process:
- Motorcycle-specific soap or shampoo: Avoid harsh detergents or car wash soaps, as they can strip away protective coatings and damage delicate finishes.
- Two buckets: One for soapy water and one for rinsing.
- Microfiber wash mitts or sponges: These are gentle on your bike’s finish and effectively lift dirt and grime.
- Soft-bristle brushes: Useful for cleaning hard-to-reach areas and intricate parts.
- Hose with adjustable nozzle: Provides a controlled flow of water for rinsing.
- Microfiber drying towels: Absorb water quickly and leave a streak-free finish.
- Chain cleaner and lubricant: Essential for maintaining your chain’s performance and longevity.
- Optional: Degreaser, wheel cleaner, and protectants: These can be used for specific cleaning tasks or to add an extra layer of protection to your bike’s finish.
Step 1: Pre-Rinse
Begin by rinsing your motorcycle with plain water to remove loose dirt, dust, and debris. Use a gentle spray to avoid damaging delicate components or forcing water into sensitive areas. Pay attention to areas where dirt tends to accumulate, such as the wheels, fenders, and undercarriage.
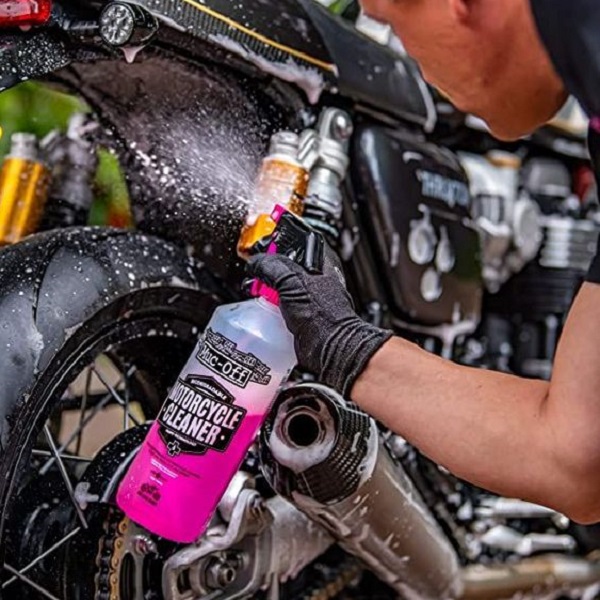
Step 2: Wash with Soapy Water
Fill one bucket with clean water and add the recommended amount of motorcycle soap or shampoo. Dip your wash mitt or sponge into the soapy water and begin washing your motorcycle from top to bottom. Use gentle, circular motions to avoid scratching the paint.
Focus on Key Areas
- Body panels: Work on one section at a time, rinsing your mitt or sponge frequently in the second bucket of clean water to avoid transferring dirt back onto your bike.
- Wheels and Tires: Use a dedicated wheel cleaner and brush to remove brake dust, road grime, and other contaminants.
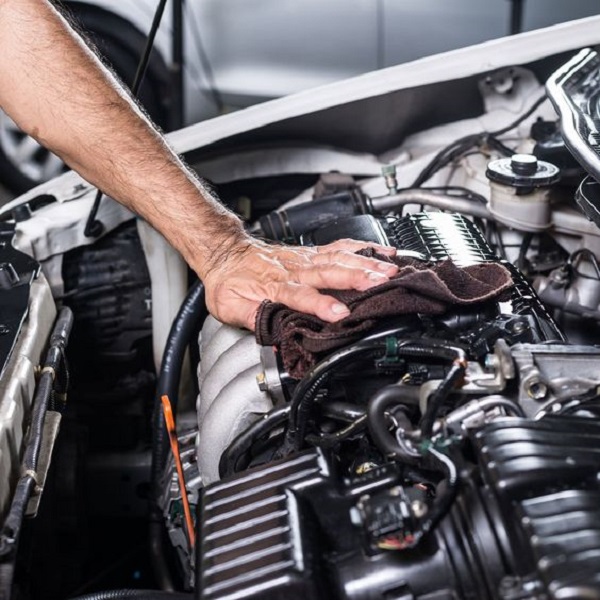
- Engine and Undercarriage: If necessary, use a degreaser and brush to remove stubborn grease and grime from the engine and undercarriage. Exercise caution around electrical components and avoid excessive water pressure.
Step 3: Rinse Thoroughly
Once you’ve washed the entire motorcycle, rinse it thoroughly with clean water to remove all soap residue. Pay close attention to crevices and hard-to-reach areas where soap might linger.
Step 4: Dry Meticulously
Use microfiber drying towels to dry your motorcycle completely. Gently pat the surface to avoid scratching the paint. Pay special attention to areas where water can collect, such as around mirrors, turn signals, and under the seat.
Step 5: Chain Maintenance
If your motorcycle has a chain drive, cleaning and lubricating it is essential for optimal performance and longevity.
- Clean the chain: Use a dedicated chain cleaner and brush to remove dirt, grime, and old lubricant.
- Lubricate the chain: Apply a suitable chain lubricant evenly to the chain, ensuring it penetrates all the links. Wipe off any excess lubricant to prevent it from attracting dirt.
Step 6: Apply Protectants
To enhance your motorcycle’s shine and protect its finish, consider applying protectants like wax or polish. Follow the product instructions carefully and apply them in a well-ventilated area.

Additional Tips for a Spotless Motorcycle
Choose the right location
Wash your motorcycle in a shaded area to prevent the soap from drying too quickly and leaving streaks.
Work in sections
Avoid letting the soap dry on any part of the motorcycle. Work in small sections, rinsing each one thoroughly before moving on to the next.
Mind the details
Pay attention to small details like the mirrors, turn signals, and license plate. These areas can accumulate dirt and detract from your bike’s overall appearance.
Regular maintenance
Regular washing and maintenance help prevent dirt and grime buildup, making future cleaning sessions easier and less time-consuming.
Washing your motorcycle is more than just a chore; it’s an act of love and respect for your machine. By following this step-by-step guide and incorporating regular maintenance into your routine, you can ensure that your motorcycle always looks its best and performs at its peak.
Remember, a clean motorcycle isn’t just a beautiful sight; it’s a testament to your pride and passion for the open road.
Special Considerations: Addressing Unique Cleaning Challenges
While the basic washing steps provide a solid foundation, certain situations require additional attention and care.
Dealing with Stubborn Grime: Bug Splatter and Road Tar
Long rides can leave your motorcycle covered in bug splatter and road tar. These stubborn substances require a bit more effort to remove.
-
Bug and Tar Remover: Apply a dedicated bug and tar remover to the affected areas. Allow it to sit for a few minutes to soften the grime before gently wiping it away with a microfiber cloth.
-
WD-40: In a pinch, WD-40 can also help loosen bug splatter and tar. Spray it on the affected areas, let it sit for a few minutes, and then wipe it off with a cloth.
Cleaning Chrome and Polished Metal: Restoring the Gleam
Chrome and polished metal parts add a touch of shine to your motorcycle, but they require special care to maintain their luster.
-
Chrome Polish: Use a dedicated chrome polish and a microfiber cloth to gently buff away any tarnish or oxidation.
-
Aluminum Polish: For aluminum parts, use an aluminum polish specifically designed for motorcycles. Avoid abrasive cleaners that can scratch the surface.
Caring for Matte Finishes: Gentle Cleaning Techniques
Matte finishes require a different approach than glossy ones.
-
Avoid Wax and Polish: Wax and polish can leave streaks and alter the matte appearance. Stick to gentle cleaning with soap and water.
-
Use a Matte-Specific Cleaner: If necessary, use a cleaner specifically formulated for matte finishes to remove stubborn dirt or fingerprints.
Electrical Components: Caution and Care
When cleaning around electrical components, exercise caution to prevent water damage.
-
Avoid Direct Spray: Don’t spray water directly onto electrical components like the battery, fuse box, or spark plugs.
-
Use a Damp Cloth: Instead, use a damp cloth to gently wipe around these areas.
-
Dry Thoroughly: Ensure all electrical components are completely dry before starting your motorcycle.
Winterizing Your Bike: Prepping for Storage
If you’re storing your motorcycle for the winter, a thorough cleaning is crucial to prevent corrosion and damage.
-
Wash and Dry Completely: Follow the steps outlined earlier to ensure your motorcycle is clean and dry before storage.
-
Apply Protectants: Apply a coat of wax or sealant to protect the paint and metal surfaces from moisture and corrosion.
-
Fog the Engine: If you’re storing your bike for an extended period, fog the engine to prevent internal corrosion.
-
Cover and Store: Cover your motorcycle with a breathable cover and store it in a dry, sheltered location.
Conclusion: A Labor of Love
Washing your motorcycle is more than just a maintenance task; it’s a way to bond with your machine and keep it in peak condition. By following these tips and incorporating regular cleaning into your routine, you’ll ensure that your motorcycle always looks its best and performs at its peak.
Remember, a clean motorcycle is a reflection of your passion and dedication. So, take pride in caring for your ride and enjoy the satisfaction of a gleaming machine that’s ready to hit the open road.
Happy riding!