Feb 7, 2025
How to Wash Motorcycle Helmet: A Comprehensive Guide
Washing your motorcycle helmet is an essential part of maintaining both its appearance and functionality. With the accumulation of sweat, dirt, and grime, learning how to wash motorcycle helmet properly can extend its lifespan and preserve your riding experience. This guide will take you through the detailed steps, considerations, and tips on how to wash motorcycle helmet effectively.
Importance of Regular Helmet Maintenance
Caring for your motorcycle helmet is crucial. It’s not just about keeping it clean. Regular maintenance ensures safety and extends the helmet’s life. Dirt, sweat, and oil can damage a helmet. They can affect its structure and function. Cleaning prevents material break down. It also ensures that the helmet can protect you fully. A well-maintained helmet provides clear vision and comfort. It reduces the risk of skin irritation. Remember, a clean helmet is a safe one. Aim to check and clean your helmet often. This way, you keep your helmet reliable, comfortable, and effective on every ride.
Pre-Cleaning Preparation
Before diving into how to wash your motorcycle helmet, some pre-cleaning steps are essential. First, gather your supplies. You will need a mild soap or helmet cleaner, microfiber cloths, and a soft brush. Remove any electronic components or accessories. This includes Bluetooth devices and cameras. Check the manufacturer’s instructions. Some helmets have removable liners and cheek pads. If yours does, take them out. They often require separate cleaning. Wipe off any loose dirt or bugs from the helmet’s surface. This step prevents scratching during the wash. Next, place your helmet on a stable, clean surface. Make sure it won’t roll away or fall. Now, you’re ready to start the actual cleaning process. Remember, careful preparation leads to effective cleaning.
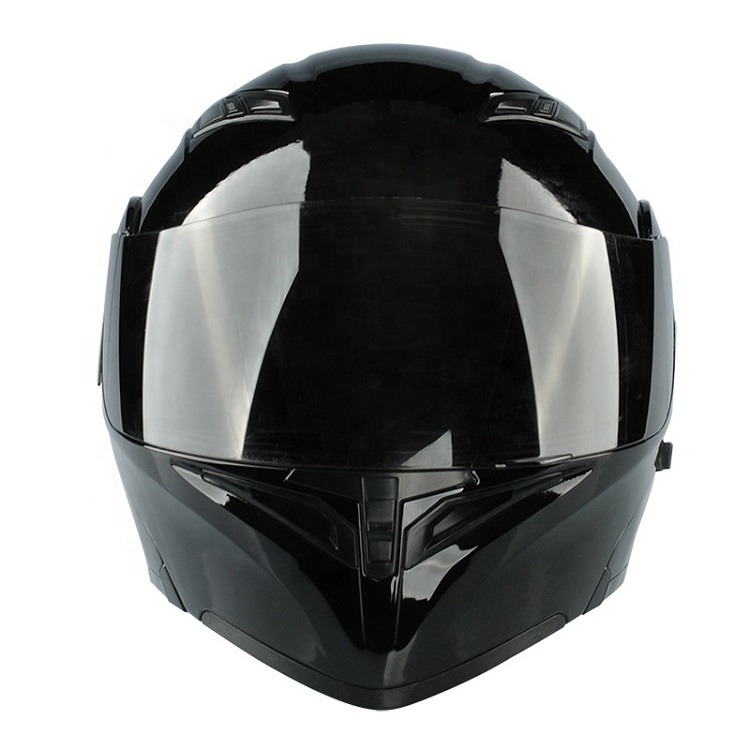
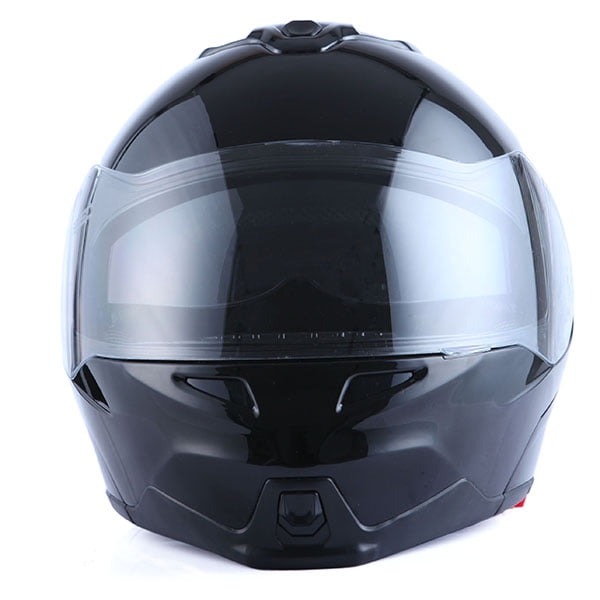
Exterior Cleaning Process
After preparing your cleaning materials, we now focus on the helmet’s exterior. Use microfiber cloths for initial wiping. Gently remove any dirt, dust, or bugs stuck to the surface. Next, apply a mild soap or helmet cleaner solution. Use water sparingly to avoid seeping into unwanted areas. Employ a soft brush for hard-to-remove stains. Do not scrub aggressively. This protects the helmet’s finish. Pay special attention to vent areas. These spots trap dirt and affect airflow. Flush out debris gently. After cleaning, rinse the helmet with a damp cloth. This removes any soap residue. Never soak the helmet. Water can damage its inner materials. Once rinsed, use a dry microfiber cloth. Pat the surface to remove excess water. Ensure you handle all parts with care. A thorough exterior clean not only preserves appearance. It also maintains the helmet’s integrity for safe riding.
Interior Cleaning Methodology
To clean the inside of your motorcycle helmet, begin with a gentle approach. First, if the interior lining is removable, take it out. You can wash these parts separately. Use mild soap and cool water for the wash. Let them soak for a short time. This helps loosen dirt and oils. Hand wash them with care. Avoid using strong chemicals. They can damage the lining material.
For non-removable interiors, use a damp cloth. Choose a cloth with soft fibers. Dip it into soapy water. Wipe the inside surfaces of the helmet gently. Focus on areas where sweat accumulates most. This includes the forehead and neck pads. Do not soak the interior. Too much water can ruin it.
For hard-to-reach spots, use a soft-bristled toothbrush. Dampen it with soapy water. Brush these areas lightly. This method helps remove stubborn grime. Rinse all the loose dirt away using a damp cloth. Be sure you do not drench the helmet’s interior. Keep water usage to a minimum.
Finally, wipe the interior with a dry cloth. This absorbs the last bits of moisture. A dry cloth also picks up any leftover dirt. Remember to treat all parts of the interior with care. This ensures a complete clean without damage.
Drying and Conditioning the Helmet
After cleaning, drying your motorcycle helmet is next. Proper drying prevents mold and bad smells. Start by gently wiping with a soft towel to remove excess water. Avoid using heat or direct sunlight to dry it. Those can warp the helmet material and affect safety. Let the helmet air dry on a towel in a well-ventilated area. Make sure the helmet’s inside is facing up. This way, the air flows freely and helps to dry the padding faster.
Conditioning the helmet helps maintain its quality. Use a helmet-specific conditioner for the exterior shell. This protects it from UV damage and keeps it looking shiny. For the helmet’s interior, a mild fabric freshener will work. This keeps it smelling clean. However, only use products that are safe for helmet materials. Avoid petroleum-based or harsh chemicals. They can degrade the helmet’s protective features.
Remember, a well-dried and conditioned helmet ensures comfort and safety. It keeps your gear in the best condition for your next ride.
Maintaining Helmet Visor Clarity
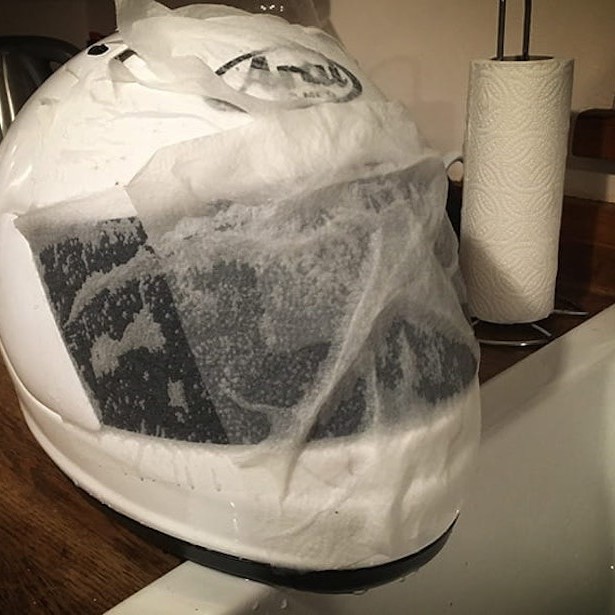
Keeping your helmet’s visor clear is essential for safe riding. A dirty visor can impair your vision. This can lead to dangerous situations. To maintain clarity, start with a soft cloth or sponge. Use a mild soap and warm water mix. Gently clean the visor’s surface with circular motions. Avoid using rough materials. They can scratch the visor. Always rinse the visor with clean water to remove soap. Dry it with a soft, lint-free cloth. Make sure the visor is fully dry before reattaching it to the helmet.
For tougher spots, like bug splats, use a designated visor cleaner. Spray a small amount onto the visor. Let it sit for a minute. This loosens the dirt. Wipe it clean with a microfiber cloth. If you ride often, clean your visor regularly. This avoids dirt buildup. It keeps your vision unobstructed.
Avoid household glass cleaners. They may contain chemicals that can damage the visor. Stick to motorcycle-specific products. These are safer for your helmet’s visor. Use anti-fog treatments if your visor fogs up often. This provides clear vision in various conditions.
Remember to handle the visor with care during maintenance. Be gentle to increase the lifespan of your visor. A clear visor means safer rides. It helps you see the road and react swiftly to hazards.
Tips for Long-term Helmet Storage
When not using your motorcycle helmet, store it properly to keep it safe. Follow these tips to ensure your helmet remains in top condition:
- Choose a Cool, Dry Place: Store your helmet in a cool, dry area away from direct sunlight. Heat and moisture can damage the helmet materials over time.
- Use a Helmet Bag: If available, place your helmet in a helmet bag. This keeps dust and dirt away. A breathable bag is best to prevent moisture build-up.
- Avoid Pressure: Do not put heavy objects on or against the helmet. Constant pressure can deform the helmet’s shape, reducing its protective capabilities.
- Keep It Clean: Before storing, ensure your helmet is clean. Follow the ‘how to wash motorcycle helmet’ steps outlined before for best results. Dirt and oils left on a helmet can degrade materials.
- Away from Chemicals: Store your helmet away from chemicals like solvents and gasoline. These can weaken the helmet’s structure.
- Use a Helmet Stand: A helmet stand can prevent distortion of the padding inside. If you don’t have a stand, place it on a flat surface.
- Check for Vermin: Occasionally check your storage area for insects or rodents. They can damage the lining or other parts of your helmet.
Remember, proper storage is as important as regular cleaning. It extends the life of your helmet and ensures it’s ready for your next ride.
Safety Checks and When to Replace Your Helmet
Proper safety checks are key to helmet care. Regularly inspect your helmet for signs of wear and damage. Look for cracks, dents, and any sign of impact. Check the straps and buckles for frays or breaks. If you find any, replace these parts if possible or get a new helmet.
Foam compression is another concern. If the lining feels softer or more compressible, it may not provide enough protection. This can happen after a crash or from regular use over time.
Scratches on the visor can also reduce safety by impairing your vision. Small scratches might be okay, but deep or numerous ones mean it’s time for a new visor or helmet.
When should you replace your helmet? Most manufacturers recommend every five years. But replace it sooner if you’ve been in a crash, even if it looks okay. Impacts can compromise the helmet’s structure and your safety in ways you can’t see.
Staying aware of the helmet’s condition ensures you will ride safe. It also helps you know when it’s time for an upgrade. Remember, a helmet is an investment in your safety. It’s worth the care and attention.
In conclusion, knowing how to wash a motorcycle helmet is an integral skill for any rider aimed at combining safety with style. By following these detailed steps and avoiding common pitfalls, you can maintain a helmet that not only looks pristine but also functions optimally for many rides to come.