Mar 4, 2025
A Complete Guide to Measure Head for Motorcycle Helmet
Importance of a Proper Helmet Fit
Ensuring a proper helmet fit is crucial for any motorcycle rider. A well-fitting helmet can mean the difference between minor injuries and severe trauma in the event of an accident. It not only protects your head during impacts but also enhances comfort during long rides. An ill-fitting helmet can distract a rider, leading to accidents due to lack of focus. A helmet that’s too tight can cause headaches, while one that’s too loose could slip off or obstruct vision. For these reasons, taking the time to measure head for motorcycle helmet accurately is essential.
A proper helmet fit also affects the effectiveness of the helmet’s safety features. Helmets are designed with layers of protection, such as impact-absorbing liners and sturdy outer shells. These elements work best when the helmet is correctly positioned on your head. If a helmet is not fitting snugly, it cannot adequately protect you. Additionally, noise reduction and aerodynamics are optimized when the helmet fits well, making for a quieter and more stable ride.
A correctly sized helmet will also ensure that any additional features, like visors and ventilation systems, function as intended. A visor that doesn’t seal properly because of an incorrect fit can allow wind and debris to enter the helmet, compromising both safety and comfort. In conclusion, investing time to measure your head for a motorcycle helmet is not just about comfort; it is a critical step towards ensuring your safety on the road.
Tools Required for Measuring Your Head
When you’re ready to measure head for motorcycle helmet, gather a few simple tools. You will need:
- A soft measuring tape: This is the main tool you will use. Make sure it has clear markings for inches or centimeters.
- A mirror: It’s useful to have a mirror nearby. You can check to ensure the tape is level around your head.
- A helper: While it’s possible to measure your head alone, an extra pair of hands can help. A helper can make sure the tape remains in the correct position.
- A notepad and pen: Record your measurement as soon as you take it. This avoids any memory errors later on.
These items will help you achieve an accurate head measurement. Remember, precision is key for a helmet that fits well and provides the best protection. Ensure that the measuring tape wraps around the largest part of your head, usually just above your eyebrows and ears. Keep the tape snug, but not too tight. Use a mirror or a helper to confirm that the tape is straight and level. Write down the measurement right away to prevent any mix-ups. With these tools, you’re set to find your correct helmet size.
Step-by-Step Guide to Measuring Head Size
Measuring your head correctly is the first step in finding a helmet that fits well. Here’s a simple guide to help you measure head for motorcycle helmet effectively:
- Position the Tape Correctly: Stand in front of a mirror. Place the end of the measuring tape at a point on your forehead just above your eyebrows and ears. This is commonly the widest part of the head.
- Wrap the Tape: Carefully wrap the tape around the fullest part of your head. Make sure it’s snug but not tight. The tape should lie flat against your head without any twists.
- Level the Tape: Check in the mirror to ensure the tape is straight and level all around. If it tilts, you won’t get an accurate measurement. A helper can be very useful for this step.
- Take the Measurement: Once the tape is in the right position, take note of the measurement where the tape overlaps. Read the number at the point where the tape meets the zero. Use centimeters for more precision.
- Double-check: It’s a good idea to measure at least twice to make sure you get the same reading. Small discrepancies can make a big difference in helmet fit.
- Record Your Size: Write down the measurement immediately. This ensures you remember the correct size when purchasing your motorcycle helmet.
By following these simple steps, you can accurately measure head for motorcycle helmet. An accurate measurement is crucial for a helmet that offers both safety and comfort. Ensure you repeat the process if you’re unsure about the results to maintain accuracy.
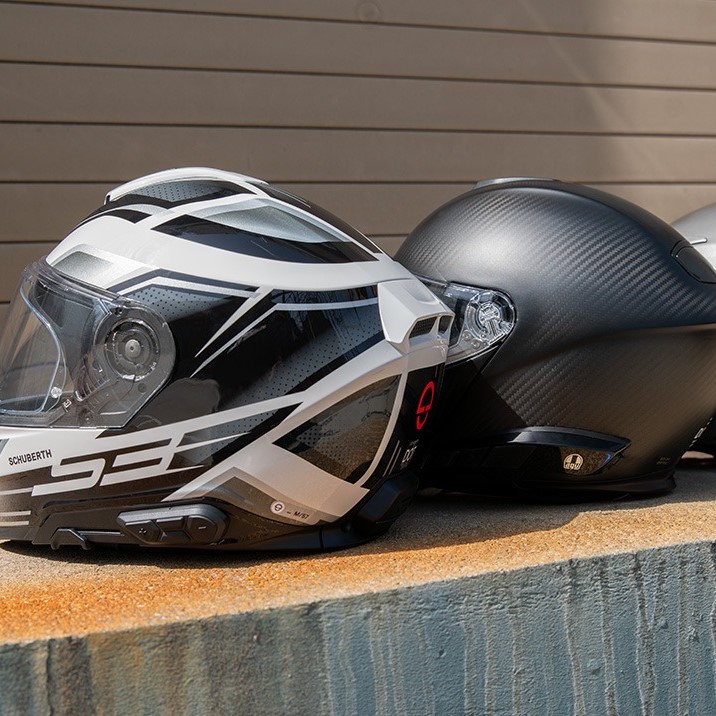
Understanding Helmet Shapes and Sizes
Motorcycle helmets come in various shapes and sizes. It’s key to know these before buying a helmet. Every rider’s head is unique, and manufacturers design helmets to accommodate different head shapes. These are generally categorized as round oval, intermediate oval, and long oval. The round oval shape fits heads that are as wide as they are long. The intermediate oval is for heads slightly longer than they are wide. It is the most common head shape. The long oval shape suits heads that are noticeably longer front to back than side to side.
When you measure head for motorcycle helmet, consider which helmet shape matches yours. This ensures a snug fit all around. Size charts are available once you know your head measurement. But, each brand may differ in sizing. It’s often not enough to know your head size. You must also try on different helmets to find the best match.
Sizes usually range from extra small (XS) to extra large (XL) or even bigger. Remember, helmet sizes can differ even if they have the same measurement. It’s due to the helmet brand and model. Sizes across brands are not always the same. Always check the brand’s fitment guide. A helmet that fits well in one brand may be too tight or too loose in another.
In short, understanding helmet shapes and choosing the right size is critical. It ensures the helmet works well in protecting you. With the right shape and size, you’re ready to pick a helmet that fits just right.
Tips for Trying on Helmets
After you measure head for motorcycle helmet, the next step is trying on helmets. Finding a helmet that feels comfortable and secure is important. Here are tips to guide you during the process:
- Wear the Helmet for Several Minutes: Keep it on for at least five minutes. This ensures it remains comfortable over time.
- Check for Pressure Points: Pay attention to any spots that feel tight. A helmet should not cause discomfort.
- Assess the Fit: The helmet should sit snugly on your head. It shouldn’t tilt or move when you shake your head.
- Strap it On: Fasten the helmet strap. A loose strap can mean a loose fit in times of need.
- Look for Slippage: A well-fitted helmet will not slip off easily. Pull the helmet up from the back. If it comes off, it’s too big.
- Mind the Cheek Pads: The cheek pads should touch your cheeks without pressing too hard.
- Check Your Field of Vision: You must be able to see out of the corners of your eyes.
- Wear Glasses If You Use Them: Check how the helmet fits with your glasses on if you wear them while riding.
By following these tips, you can find a helmet that fits well after you measure head for motorcycle helmet. A helmet that feels right will enhance safety and comfort on the road.
Adjusting the Fit: Tightening and Loosening Techniques
After you measure head for motorcycle helmet and pick one out, it might need small adjustments. Here’s how you can make it fit just right.
- Tighten the Chin Strap: The chin strap keeps the helmet secure. Pull it till snug but comfortable.
- Adjust the Pads: Some helmets have removable pads. You can swap these for a tighter or looser fit.
- Use the Fitment System: Many helmets have a dial or a ratchet system. Twist it to fine-tune the fit around your head.
- Check the Retention System: Make sure the retention system at the back is tight enough. It should not pull the helmet down.
- Loosen if Too Tight: If the helmet presses on your head, try looser cheek pads. A helmet should never cause headaches.
- Wear a Skull Cap: A thin skull cap can make a loose helmet fit better. It also keeps your helmet clean.
- Do Not Modify the Helmet: Never cut or alter the helmet’s structure. It’s dangerous and voids the warranty.
By adjusting the helmet using these methods, you can achieve a perfect fit. A good fit means more comfort and better safety when riding your motorcycle. Remember, never compromise on fit. If you can’t get it right, look for a different helmet or consult with an expert.
When to Replace Your Motorcycle Helmet
Knowing when to replace your motorcycle helmet is as important as measuring your head correctly. A helmet’s protective abilities can deteriorate over time, even if it looks fine on the outside. Here are key points to remember about helmet replacement:
- After an Impact: If your helmet has taken a hit in an accident, replace it immediately. Impact can compromise its integrity.
- General Wear and Tear: Scratches, dents, or fading indicate wear. The helmet’s materials break down, reducing safety.
- Expiration Date: Helmets generally have a lifespan of about 5 years from the production date. Check the manufacturer’s information.
- Change in Standards: Sometimes, safety standards update. If your helmet isn’t up to the latest standards, consider upgrading.
- Fit Changes: A helmet that no longer fits well needs replacement. This can happen from padding compression or changes in your head size.
- Strap or Lock Issues: If the chin strap or locking mechanism fails, don’t use the helmet. A secure fit is crucial.
- After Many Rides: Materials degrade with use. Helmets worn frequently may need sooner replacement.
Regular inspection keeps your helmet ready to protect. When measuring for a new one, use the same careful process to ensure safety and comfort on your rides.
Common Mistakes to Avoid When Measuring
Measuring your head for a motorcycle helmet should be done with care to avoid common errors. Here are mistakes you should steer clear from to ensure a perfect fit:
- Not Using a Proper Measuring Tape: Employ a soft measuring tape instead of a rigid one. Rigid tapes can’t curve smoothly around the head, leading to inaccurate measurements.
- Measuring Alone: It’s best to have a helper. They can ensure the tape stays level and correctly positioned as you measure head for motorcycle helmet.
- Tape Placement: Don’t place the tape too high or too low. It should go over your forehead and the widest part of your skull.
- Incorrect Tension: Avoid pulling the tape too tight or leaving it too loose. The tape must sit snug against your head, without creating pressure.
- Ignoring Head Shape: Remember, head shape influences helmet fit. Don’t just focus on the measurement; consider the shape for a true fit.
- Forgetting to Double-Check: Measure at least twice. Consistent readings confirm accuracy.
- Rushing the Process: Take your time. Hasty measurements can lead to mistakes.
- Recording Errors: Write down your measurement immediately. Relying on memory can result in wrong numbers.
By avoiding these pitfalls, you can measure head for motorcycle helmet accurately. An accurate measure is vital for comfort and safety on your rides.
More Details