Mar 4, 2025
How do You Measure Your Head for a Motorcycle Helmet
Importance of Correct Helmet Sizing
When it comes to motorcycle safety, a well-fitted helmet is vital. The right helmet size ensures protection, comfort, and effectiveness. If your helmet is too tight, it can cause headaches. If it’s too loose, it may not provide protection in a crash. Proper helmet sizing affects how well the helmet can absorb impacts. It also reduces the risk of the helmet coming off during an accident. It’s crucial for the helmet to stay in place and cushion the head. This is why knowing how do you measure your head for a motorcycle helmet is essential. To sum up, a correctly sized helmet can save your life. It can also make your ride more enjoyable by preventing discomfort and distraction. Always choose a helmet that fits snugly and feels secure.
Step-by-Step Guide to Measuring Head Size
Effectively measuring your head for a motorcycle helmet involves a few simple steps. Following this guide will help ensure that you select a helmet that provides both comfort and safety. Here are the key steps to accurately determining your helmet size:
- Find a Tailor’s Tape Measure: Use a flexible tailor’s tape measure for the most accurate results. Do not use a straight ruler as it won’t contour to your head.
- Position the Tape Measure: Place the tape measure about one inch above your eyebrows. This is generally the largest part of your head. Ensure the tape is level and snug, but not too tight.
- Measure Your Head: Wrap the tape measure around your head. Make sure it is above your ears and the nape of your neck. Write down the measurement where the tape overlaps.
- Check the Measurement: Repeat the measurement two or three times for consistency. If you get different measurements, use the largest one.
- Record Your Head Size: Write down your measurement in both inches and centimeters. Helmet sizes may vary by measurement units, so having both is useful.
- Consult a Size Chart: Look at the size chart provided by the helmet manufacturer. Compare your head measurement to the chart to find the appropriate size.
- Consider the Shape of Your Head: Remember that head shape can affect how a helmet fits. Assess whether your head is round, oval or somewhere in between.
Following these steps on how do you measure your head for a motorcycle helmet will help you in selecting a snug and secure fit. Repeat the process if you change your hair style or length significantly, as this can alter the fit of a helmet. Keep in mind, a properly fitted helmet is crucial for your safety on the road.
Understanding Helmet Shapes and Why They Matter
A good helmet fit depends on more than just size. Head shape plays a key role, too. Helmets come in different internal shapes to match the three main head shapes: round, intermediate oval, and long oval. An incorrect match can mean discomfort or even a loose fit.
The Three Main Head Shapes:
- Round Oval: This shape is close to a circle. If your head is as wide as it is long, this is your shape.
- Intermediate Oval: This is the most common head shape. It is slightly longer front to back than side to side.
- Long Oval: If your head is notably longer than it is wide, this shape fits you best.
To find your shape, you can take a photo from above your head. Compare this to shape guides online or ask a professional for help. A helmet must fit snugly around your entire head, not just the front and back or sides. Make sure you test different shaped helmets when you shop. Remember, a helmet that matches your head shape will give you the best protection. And it will be more comfortable to wear for long rides.
Tips for Trying on Motorcycle Helmets
After measuring your head for a motorcycle helmet, the next step is to try on helmets. Here are some tips to make sure you find the best fit:
- Choose the Right Store: Pick a store with a wide range of helmet brands and sizes.
- Wear Your Riding Gear: Put on the clothes you typically wear when riding. This ensures the helmet’s fit is comfortable with your usual gear.
- Take Your Time: Don’t rush the process. Wear each helmet for a few minutes to check for pressure points.
- Check for Movement: While wearing the helmet, shake your head from side to side. A good fit will stay snug, with minimal movement.
- Note the Cheek Pads: The helmet should press against your cheeks. However, it should not cause pain or biting into the skin.
- Look for a Good Seal: The helmet should seal around the neck and ears well. This keeps out wind noise and provides better protection.
- Consider Glasses or Goggles: If you wear them, put them on with the helmet. Ensure there is enough space and comfort.
- Open and Close the Visor: Make sure the visor moves easily. It should stay in place once adjusted.
- Check Field of Vision: You should have a wide field of vision. Side vision is just as important as the front.
- Use the Retention System: Fasten the chin strap and move your head forward. A proper helmet won’t come off or move excessively.
Always try several helmets before making a decision. Comfort and safety go hand in hand. A snug fit is your top priority. Keep in mind the guidelines on how do you measure your head for a motorcycle helmet while trying on. This will help you in selecting a helmet that provides both comfort and safety.
Adjusting to the Right Fit: Helmet Padding and Straps
Once you find a helmet that seems to match your head size, fine-tuning the fit is crucial. Here’s how to adjust helmet padding and straps for the best fit:
- Assess the Padding: The padding should feel snug around your head. There should be no gaps between the padding and your head. If there are, the helmet is too big.
- Adjust the Cheek Pads: Some helmets come with removable pads. You can replace them with thicker or thinner ones to get the right pressure on your cheeks.
- Check the Chin Strap: The strap should fit firmly against your chin. It should have no slack, but you should be able to move your mouth comfortably.
- Test the Rear Strap: This strap sits at the back of the head. Ensure it’s tight enough to keep the helmet secure without causing discomfort.
- Tighten the Retention System: If your helmet has a dial or a ratchet system, adjust it for a snug fit. Do this until the helmet does not wobble.
- Test the Fit: Once all straps are adjusted, try moving the helmet again. It should stay in place even with sharp movements.
Remember, the right fit means the helmet sits level on your head. It should not tilt backward or forward. Each adjustment serves to make how you measure your head for a motorcycle helmet even more precise. It’s not just about measurement. The straps and padding play a key role in how well your helmet protects you. Make sure you revisit these steps if you change your hairstyle or after wear and tear on the padding.
Common Mistakes to Avoid When Measuring
When learning how do you measure your head for a motorcycle helmet, it’s crucial to avoid common mistakes that can lead to inaccurate measurements and a poor helmet fit. Here are the pitfalls to steer clear of:
- Not Using a Tailor’s Tape Measure: A tailor’s tape measure is designed to contour to your head. Avoid using a rigid ruler or non-flexible tape; they won’t give an accurate measure.
- Measuring Too High or Too Low: The tape must sit one inch above your eyebrows and above the ears. Placing it too high or low can result in an incorrect size.
- Placing the Tape Too Loose or Tight: A proper measurement requires a snug, level tape, not tight or loose. Otherwise, you might choose a helmet that’s too small or big.
- Using a Single Measurement: Heads are not always uniform. Measure multiple times to find the most consistent and largest size.
- Ignoring Head Shape: Different head shapes need different helmet shapes. Not considering this can make even the right size feel uncomfortable.
- Overlooking Hair Thickness: If you have thick hair, it may affect the helmet’s fit. Consider your hair thickness and potential changes in hairstyle.
- Forgetting to Record in Both Units: Helmet sizes could be listed in inches or centimeters. Record your measurement in both to compare with size charts accurately.
Following these tips will help ensure that your head measurement for a motorcycle helmet is precise. This precision is vital for both your comfort and safety while riding.
Selecting the Right Helmet: Safety Ratings and Standards

Once you’ve learned how do you measure your head for a motorcycle helmet, the next step is selecting a safe helmet. Understanding safety ratings and standards is key. Here is what to look for:
- Look for Certification Labels: Certified helmets will have labels showing they meet specific safety standards. These might include DOT, ECE, or Snell.
- Understand the Ratings: DOT stands for Department of Transportation and is a U.S. standard. ECE is a European standard, and Snell is a non-profit organization that offers voluntary standards.
- Consider the Safety Features: Look for features like energy-absorbing liners, sturdy straps, and adequate ventilation.
- Check the Helmet’s Condition: If it’s used, inspect it for damage. Even small cracks can reduce its effectiveness.
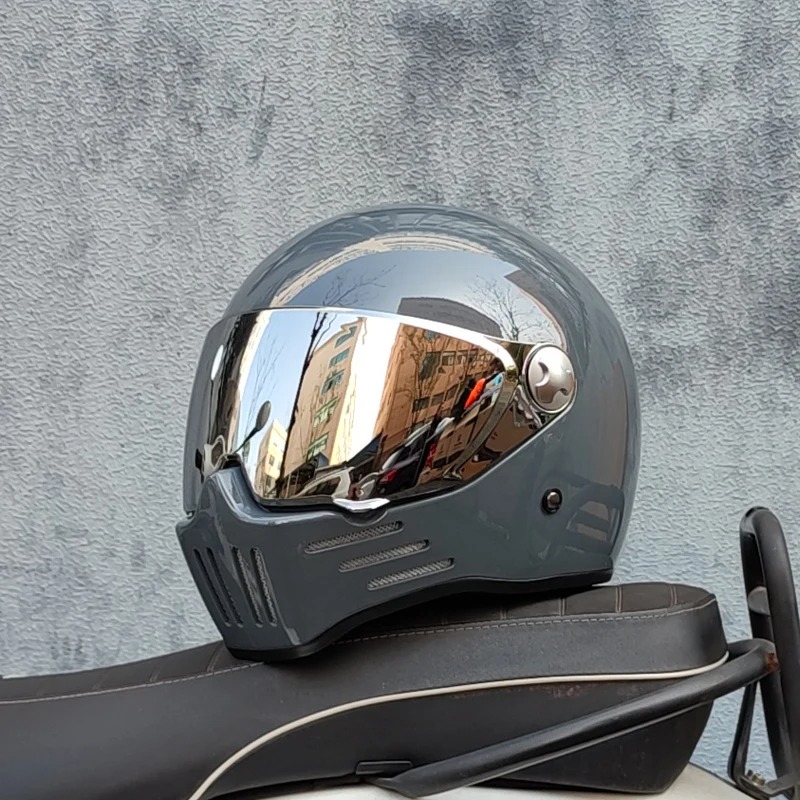
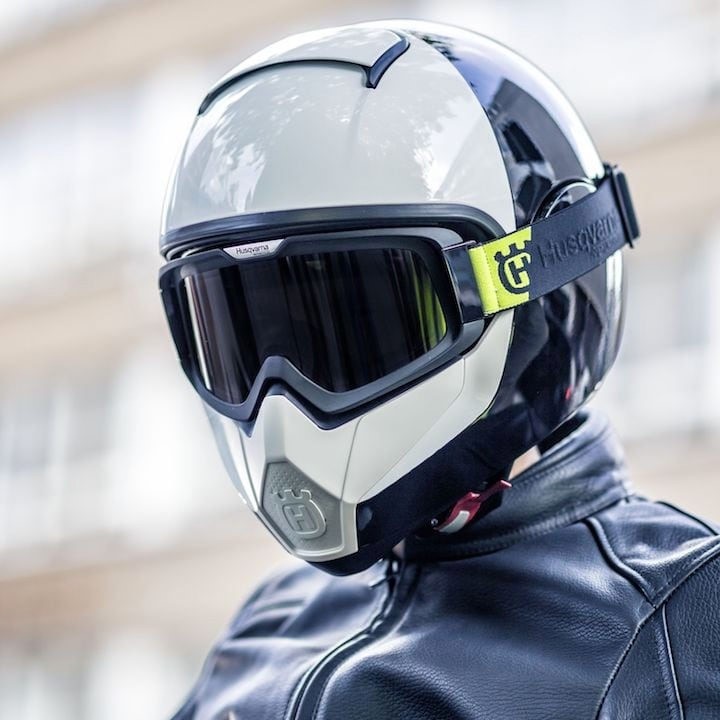
- Prioritize Full-face Helmets: These provide more protection for your face and jaw in case of an accident.
- Think about the Visor: It should be scratch-resistant and provide clear vision. Some visors also have anti-fog technology.
- Ensure Comfort: A helmet that’s uncomfortable can distract you while riding. Make sure it feels good for the long haul.
When you’ve found a helmet that fits, has the right shape, and meets rigorous safety standards, you’ve taken a big step to protect yourself while riding. Remember, your safety on the road is priceless.
Maintenance and Replacement: Ensuring Ongoing Safety
Once you’ve picked out the perfect helmet using the guidance on how do you measure your head for a motorcycle helmet, maintaining its condition is essential for ongoing safety. Here are vital maintenance and replacement tips:
- Regularly Inspect Your Helmet: Check for any signs of wear or damage. Look for cracks, loose padding, or frayed straps.
- Clean Your Helmet Properly: Use mild soap and water to clean the shell and inner lining. Avoid harsh chemicals that can degrade the helmet materials.
- Store It Properly: Keep your helmet in a cool, dry place away from direct sunlight. UV rays can weaken the helmet’s structure over time.
- Replace After Impact: If your helmet takes a hit in a crash, replace it. Even if it looks okay, the internal structure may be compromised.
- Follow the Five-Year Rule: Replace your helmet every five years, even if it appears to be in good shape. The materials can deteriorate over time.
- Be Mindful of Upgrades: If you get new add-ons like visors or camera mounts, make sure they don’t affect the fit or safety of your helmet.
- Consult the Manual: Refer to the manufacturer’s guidelines for specific maintenance and replacement advice.
Taking care of your helmet is as important as the initial step of measuring your head for the right fit. A well-maintained helmet ensures maximum protection every time you ride.
More Details