Mar 5, 2025
How to Customize Motorcycle Helmet: A Step-by-Step Guide
Introduction to Custom Helmet Designs
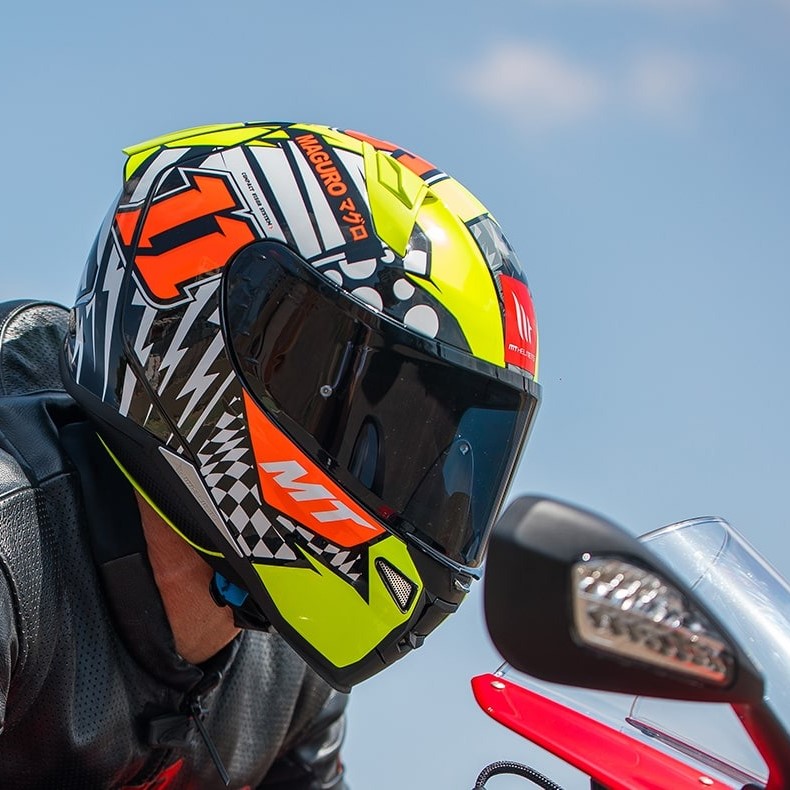
How to customize motorcycle helmet? Custom helmet designs give riders a chance to express themselves. Do you want your helmet to stand out? Then, customizing is the key. This art merges style with personal flair. It’s not just about looks, though. These helmets show your personality on the road. They can also increase visibility, which is a safety bonus.
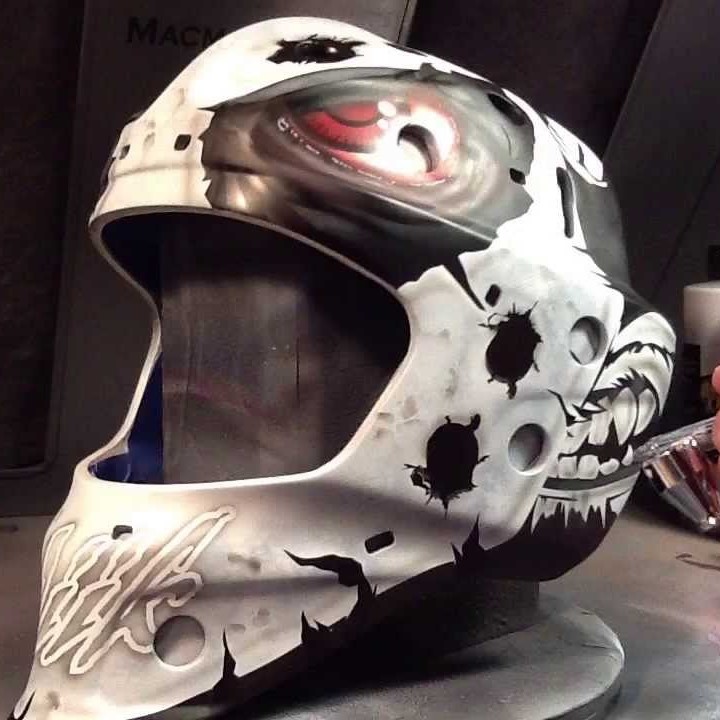
Customization ranges from simple stickers to full paint jobs. Some choose images that have meaning to them. Others add unique color schemes. And a few go all out. They use custom airbrushing, 3D elements, or high-tech lights. Don’t forget, it’s not just aesthetics. Function matters, too. Imagine padding changes or aerodynamic tweaks. Even these can be part of your custom design.
Why (and how) do riders customize? Some do it for the joy of creating something unique. Others aim to match their bike’s design for a cohesive look. There are those who want to support a cause or display their allegiances. And then there are riders who see their helmet as a canvas. A canvas for personal stories or milestones. Social media has fueled this trend, with sharing ‘helmet selfies’ becoming popular.
In this guide, we will discuss how to customize a motorcycle helmet. We will cover choosing the right helmet, collecting materials, preparation, painting methods, decals, personal touches, safety, and care. Each step will help bring your vision to life. Get ready to turn your helmet into a personal statement on the road. Stay tuned for insights, techniques, and tips on how to customize your motorcycle helmet.
Choosing the Right Helmet for Customization
Choosing the right helmet is your first essential step. Remember, not all helmets should or can be customized. Some factors determine a good candidate.
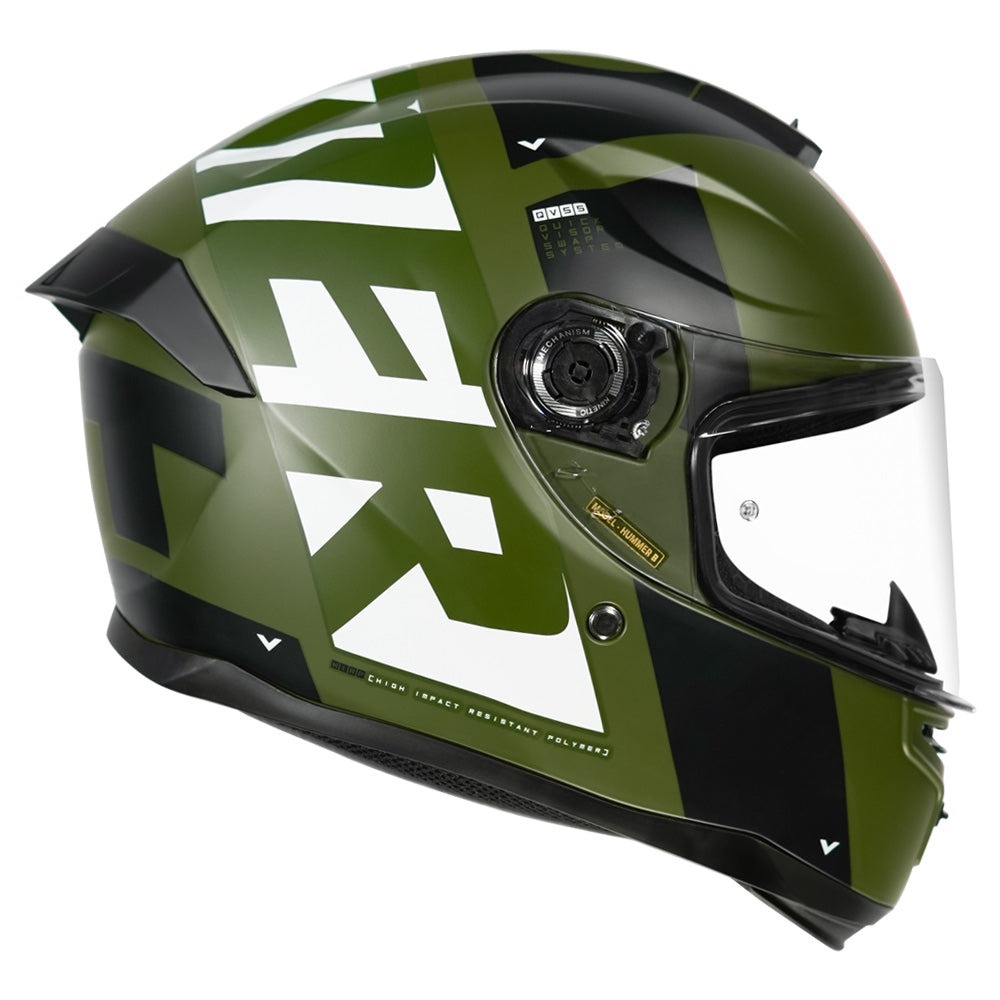
Before buying, think about the helmet type. Full-face, open-face, or modular? Full-face helmets offer a larger canvas for art. Yet, some prefer the look of customized open-face helmets.
Material matters too. Polycarbonate, fiberglass, or carbon fiber helmets? Each reacts differently to paint and adhesives. Research what works best with your customization plan.
Check the helmet’s surface. Does it have a lot of curves and vents? These might challenge your design plans. A smoother surface could make painting and applying decals easier.
Size and fit are crucial. A helmet that’s too loose or tight is bad news. Ensure a proper fit before considering its potential for customization.
Lastly, look at the color. Light-colored helmets are easier to paint over than dark ones. But, if you love a challenge, any color can work with the right preparation.
In short, the right helmet should be a good fit, suitable for your design, and made from the right materials. Make your choice wisely to ease your customization journey.
Gathering the Necessary Materials and Tools
Before diving into the art of customizing your motorcycle helmet, you need the right materials and tools. Here’s what you’ll typically need:
- Safety Equipment: Always wear gloves and a mask to protect yourself from fumes and chemicals.
- Paints: Use paints designed for helmets. They should interact well with your helmet’s material.
- Brushes and Airbrush Kit: For detailed art, high-quality brushes and an airbrush kit are vital.
- Sandpaper: Smoothens the helmet’s surface before painting.
- Tape: Masking tape helps shield areas from accidental paint.
- Cleaners: Use to clean the helmet’s surface. Make sure it is free from oils and dirt.
- Decals and Stickers: Choose quality ones that won’t peel off easily.
- Sealant: A clear coat sealant will protect your paint job from scratches and weather.
- Creativity: Most important of all is your creative flair and patience.
Gather these items before starting. Work in a well-lit, well-ventilated space. Make sure you have plenty of time. This ensures you don’t rush the process. Customizing a motorcycle helmet takes precision. But with the right setup, it turns into an enjoyable and rewarding experience.
Preparing Your Helmet for Customization
Before you start painting and decorating, preparing your helmet is key. Here’s how to get your helmet ready for customization:
- Clean the Helmet: Start by cleaning your helmet with a mild cleaner. This removes oil and dirt. The surface must be spotless for paint to stick properly.
- Sand the Surface: Use fine-grit sandpaper to lightly sand your helmet. This makes the surface rough enough for paint to adhere better. Be gentle to avoid damage.
- Wash Again: After sanding, wash the helmet once more. You want to get rid of any dust from sanding.
- Tape Off Areas: Use masking tape to cover parts you don’t want painted. This includes visors, vents, and edges. Taping helps you avoid mistakes during the painting process.
- Apply Primer: If your helmet’s color is dark or you’re making a drastic color change, apply a primer. This helps your main paint color stand out. Let it dry as instructed.
- Check and Fix: Look for any imperfections. Fix them now before you add paint or decals. Once you start, it’s harder to make corrections.
Proper preparation is a mix of thorough cleaning, smoothing the surface, and protecting areas from unwanted paint. Give attention to every detail to ensure the best results. Now, your helmet is set for the next step. Get your paints and tools ready!
Painting Your Helmet: Techniques and Tips
When you’re set to paint your motorcycle helmet, following the right techniques is vital. This stage transforms your helmet into a reflection of your style. Let’s look at some tips and methods you should know:
- Choose Helmet-Friendly Paint: To start, pick paint that’s formulated for helmets. These paints bond better and last longer.
- Test Colors First: On another surface, test your chosen colors. This helps avoid surprises on the actual helmet.
- Thin Coats: Apply several thin layers of paint rather than a few thick ones. Thin coats dry faster and look smoother.
- Patience is Key: Allow each coat of paint to dry fully before applying the next. It avoids smudges and drips.
- Airbrush for Details: For intricate designs, use an airbrush. It offers precision and can create gradients and shading.
- Steady Hand: Whether using a brush or an airbrush, keep your hand steady. Take breaks if you need to maintain control.
- Tape for Clean Lines: Use masking tape for sharp, clean lines. Press it down well to prevent paint bleeding through.
- Protective Clear Coat: After painting, apply a clear coat sealant. This adds shine and protects your design from chips and weather.
Remember, take your time. Custom painting a motorcycle helmet is not a race. Work in a calm and patient manner for the best results. With these techniques and tips, your helmet will not only look great but will also have a lasting finish. Next, we’ll move on to applying decals and stickers for additional personalization.
Applying Decals and Stickers
Once your helmet’s paint has dried, it’s time for decals and stickers. These add extra flair to your custom design. Follow these simple steps to apply them:
- Choose Quality Decals: Pick decals and stickers that are durable and designed for use on helmets. High-quality options resist weather and wind.
- Plan Your Design: Lay out your decals on a flat surface first. Arrange them how you want them on your helmet. This helps you visualize the final look.
- Clean the Area: Before applying, clean the helmet’s surface again. Any dust or dirt can prevent adhesion.
- Peel and Stick: Carefully peel the backing off the decal. Align it on your helmet and smooth it down gently to avoid air bubbles.
- Use a Squeegee: A squeegee or credit card can help smooth out decals. This tool makes sure there are no wrinkles or bubbles.
- Heat for Curves: For curved areas, use a hair dryer. The gentle heat helps the decal mold to the helmet’s shape.
- Seal the Deal: After applying, consider a sealant spray to lock decals in place. This extends the life of your design.
Applying decals and stickers is a straightforward process, but requires precision. Patience ensures your design looks professional and stays put. Now, your motorcycle helmet is truly unique. Enjoy your personalized gear and ride with pride!
Adding Personal Touches and Accessories
After painting and applying decals, it’s time for personal touches. These could be items that reflect your interests. Here are steps to make your helmet truly one-of-a-kind.
- Consider 3D Elements: Add spikes, mohawks, or other 3D attachments. Think about what fits your style. Make sure they’re helmet-safe.
- LED Lights: For visibility at night, try LED lights. Check that they’re lightweight and won’t affect helmet balance.
- Reflective Tape: This adds safety and style. Put strips on the helmet’s back or sides. They shine bright in headlights.
- Bluetooth Device: Install a device for music and calls. Pick a compact model. Attach it without affecting the helmet’s integrity.
- Custom Padding: Add padding for better comfort or fit. Choose materials that keep you safe and feel good.
- Visor Details: Engrave or stick a film on your visor. It can show a design or pattern. Make sure you still see clearly.
Each addition should serve a purpose. It should look good and not compromise safety. Think about why you’re adding it. Does it make your rides better or safer? If yes, go for it. If it’s just for looks, make sure it won’t cause harm.
In short, aim for accessories that highlight your personality. At the same time, they should keep the helmet fully functional. Your helmet can be both a statement and a safety gear. Keep this balance in mind as you add each new element. Your creativity is the limit!
Safety Checks and Final Touches
Once you’ve applied the decals and personal touches, don’t race to hit the road just yet. Safety checks are crucial. Here’s what to do to ensure your custom helmet is road-ready:
- Inspect Thoroughly: Look over your helmet. Check each added element. Confirm nothing’s loose or peeling.
- Test the Fit: Put on the helmet. Adjust straps and padding. It should feel snug, not tight.
- Check Visibility: Make sure your visor or sunglasses are clear. Your vision must be unblocked.
- Test Helmet Functions: If you’ve added tech, test it. Lights, Bluetooth—ensure they work well.
- Weigh Your Helmet: Heavier helmets tire you out. Check that extra features haven’t added too much weight.
After safety checks, add some finishing touches. Clean your helmet’s surface. Polish it to a shine. This makes it look its best. Finally, take a picture. Share your creation online or with friends. Your custom helmet displays your skill and style. Now, you can ride in style, assured of your safety.
Maintenance and Care for Your Custom Helmet
Once you’ve created a unique motorcycle helmet, it’s essential to maintain it properly. Here’s how to keep your custom helmet in top shape:
- Clean Regularly: Wipe your helmet with a soft cloth. Use mild soap and water for a deeper clean. Avoid harsh chemicals.
- Store Safely: Keep your helmet in a cool, dry place. Direct sunlight or high heat can damage the paint and materials.
- Check for Damage: Regularly inspect for scratches or wear. Touch up paint and replace decals if needed.
- Handle With Care: Treat your helmet gently. Dropping it or rough handling can cause unseen damage.
- Avoid Modifications: Don’t drill holes or make changes. This can weaken the helmet’s structure and safety.
- Follow Manufacturer’s Instructions: For cleaning methods, refer to the helmet’s manual. Some materials need special care.
- Sealant Reapplication: Over time, the sealant may wear off. Reapply it to protect the finish and decals.
By following these simple steps, your custom motorcycle helmet will stay looking great and functioning safely for years to come. Regular maintenance is the key to preserving both the aesthetics and the integrity of your personalized headgear.
More Details