Dec 8, 2025
Motorcycle Camping Setup: How to Pack Light and Ride Far
Introduction to Motorcycle Camping
The Thrill of Adventure
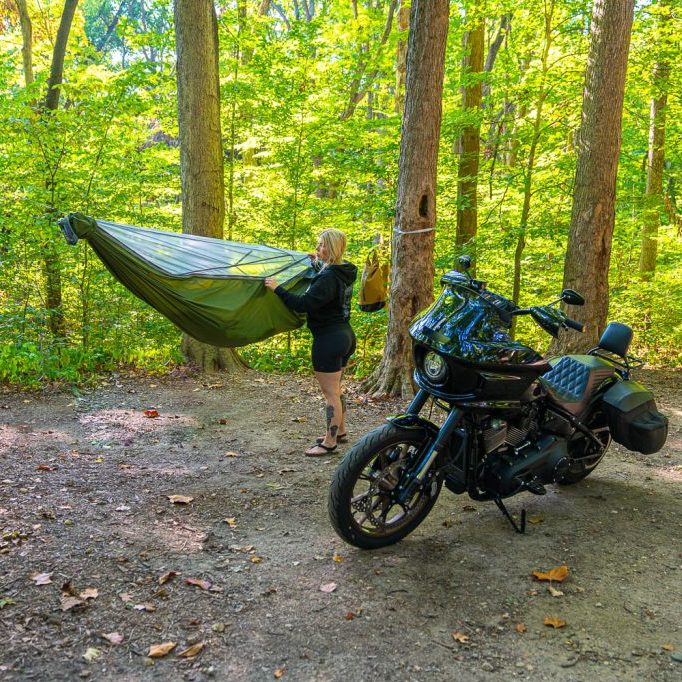
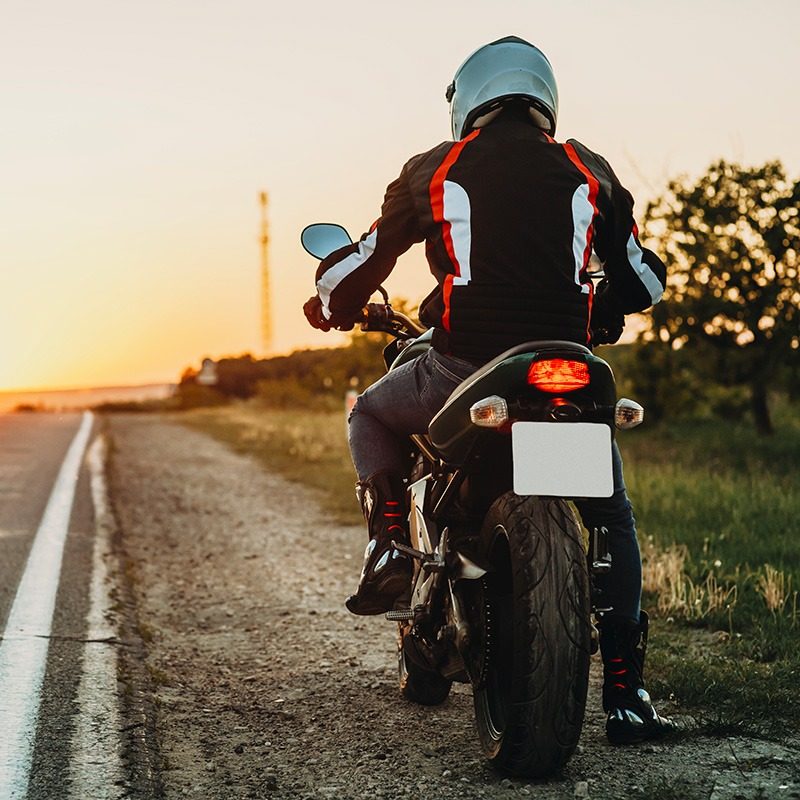
Motorcycle camping setup is an exhilarating way to experience the outdoors. It combines the freedom of riding with the joy of camping. For motorcycle enthusiasts, there is something uniquely thrilling about hitting the open road and setting up camp in beautiful, remote locations. This adventure allows riders to explore nature while connecting with their bikes in a meaningful way. The sense of independence and the fresh air enhance the overall experience, making it memorable.
The Appeal of Packing Light
Packing light is essential for motorcycle camping. Unlike car camping, where space is less of an issue, motorcycles have limited storage capacity. This limitation means riders must carefully consider what to bring on their trips. Packing light allows for greater maneuverability on the bike and an enjoyable ride without being weighed down. By minimizing gear, riders can focus more on the journey rather than the logistics.
Purpose of This Article
This article will provide a comprehensive guide to setting up for motorcycle camping. We will cover essential gear, packing tips, and techniques to maximize space. Strategies for cooking, sleeping, and staying organized while on the road will also be discussed. By the end of this guide, readers will feel confident in their ability to pack efficiently and embark on memorable motorcycle camping adventures.
Essential Gear for Motorcycle Camping
Choosing the Right Tent
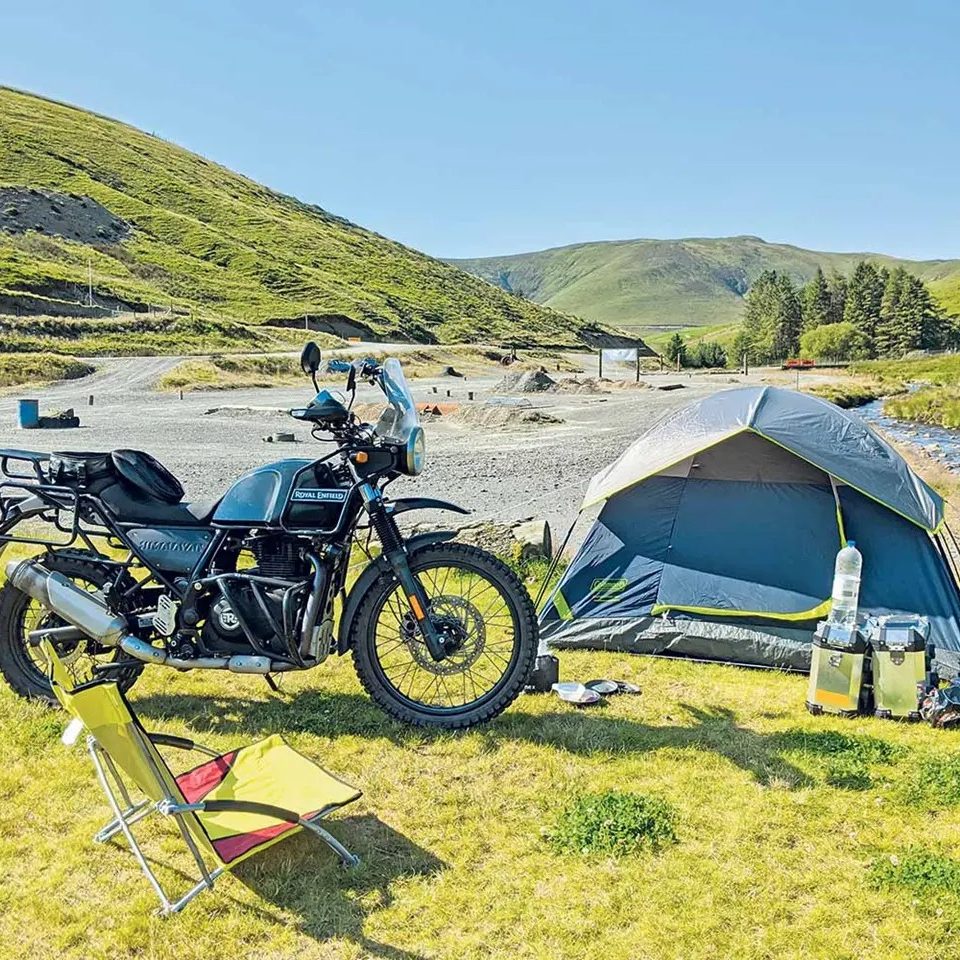
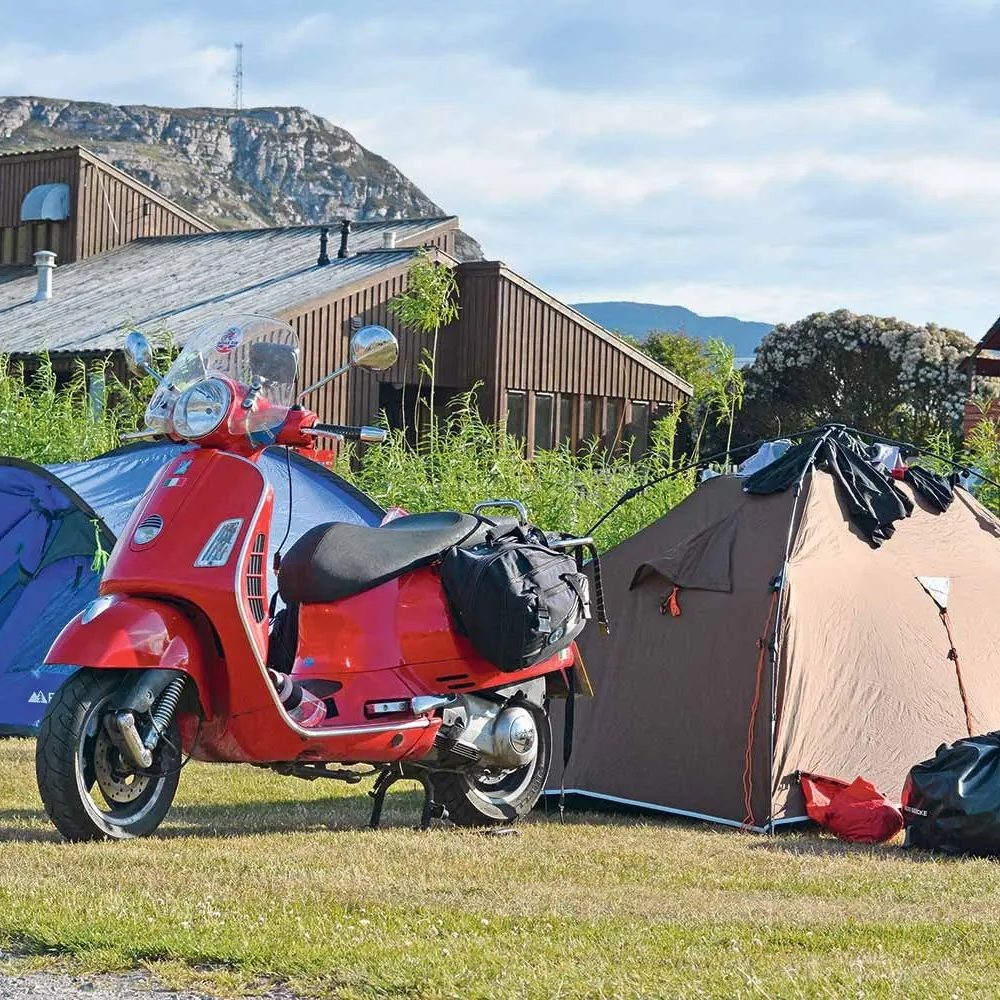
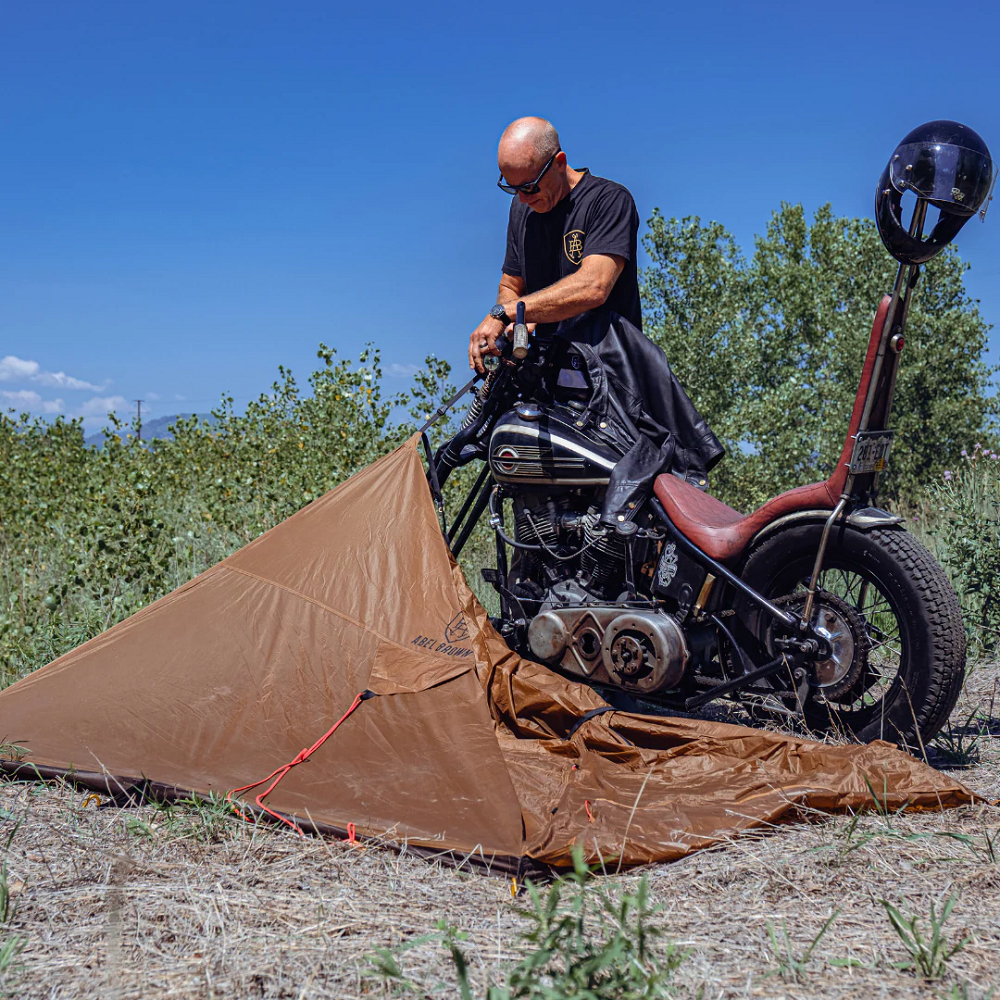
Selecting the right tent is crucial for successful motorcycle camping. A good camping tent should be lightweight, durable, and easy to set up. Two-person tents are a popular choice for solo travelers, offering enough space for gear while remaining compact. Look for features such as waterproof materials and good ventilation. Additionally, consider the packing size; it should fit easily within your motorcycle’s storage space.
Sleeping Bags and Sleeping Pads
A comfortable sleeping setup can significantly enhance your camping experience. Opt for a sleeping bag that is lightweight and tailored for the season. Mummy-shaped sleeping bags are great for minimizing weight and maximizing warmth. Pair your sleeping bag with a sleeping pad for added comfort and insulation from the ground. An inflatable or foam sleeping pad can easily be packed and provides an excellent night’s sleep after a long day of riding.
Cooking Equipment
Preparing meals while camping adds to the experience and sustains you for the journey ahead. A compact camping stove is a worthy investment for cooking on the road. Look for stoves that are easy to assemble, disassemble, and pack. Additionally, lightweight cookware and reusable utensils will minimize bulk. Don’t forget to carry a compact cooler to store perishable items, as it can make meal prep much more enjoyable.
Packing Tips for Lightweight Travel
Use Soft Luggage
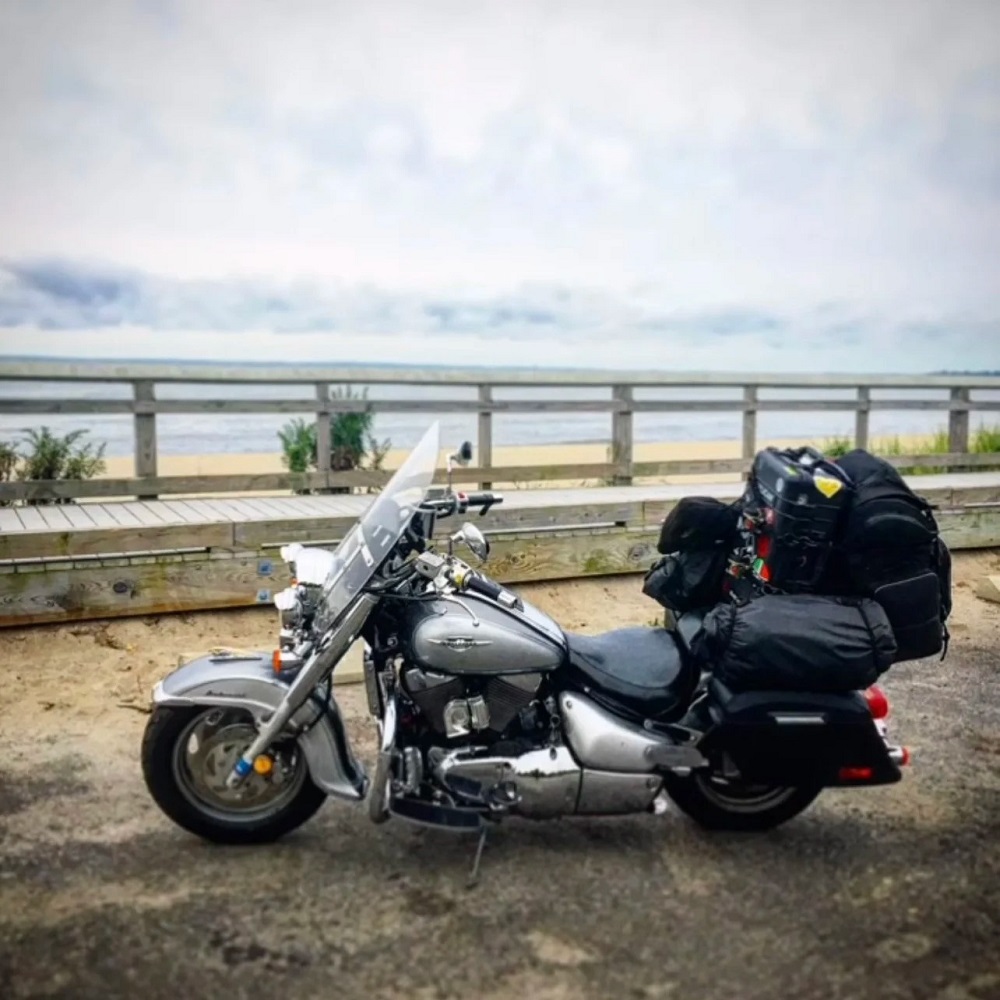
When packing for motorcycle camping, soft luggage options, such as saddle bags or dry bags, can be beneficial. Soft bags are flexible and can fit into the unique spaces on your motorcycle. They minimize the risk of damaging your bike. Pack items strategically, keeping the weight balanced to maintain stability while riding.
Prioritize Multi-Functional Items
To further reduce bulk, prioritize multi-functional items when packing. For example, choose a camping tool that doubles as a knife and screwdriver, or select clothing that is suitable for both riding and leisure. A lightweight jacket that protects against wind and rain can also serve as a casual wear option. By packing versatile gear, you can save space while ensuring you have everything needed for your adventure.
Create a Packing List
Crafting a detailed packing list prevents overpacking and helps ensure you bring only necessary items. List essential gear, clothing options, cooking supplies, and personal items. Check items off as you pack to ensure nothing is forgotten. This organized approach can make packing more efficient and less stressful.
Organizing Your Motorcycle Setup
Positioning Gear on the Motorcycle
Properly positioning your gear on the motorcycle enhances comfort and stability. Place the heaviest items at the bottom to maintain a low center of gravity. Distributing weight evenly on both sides of the bike will enhance balance during your ride. Additionally, ensure that easy-access items, such as tools or snacks, are placed where you can reach them without unpacking everything.
Securing Your Load
Safety is vital when riding with a load. Ensure that all items are securely fastened to prevent them from shifting during your ride. Use bungee cords, straps, or motorcycle nets to hold items in place. Regularly check the load during breaks to keep everything secure and in good condition. Properly securing your gear allows for a safer and more comfortable journey.
Using Tank Bags and Backpack Options
Tank bags and backpacks can provide additional storage for smaller items. Tank bags offer easy access to essentials while riding, such as maps or snacks. Some models even feature clear pockets for smartphones or GPS devices. A well-fitted backpack can hold personal items like clothing or a hydration system. Utilizing these options can enhance convenience on the road.
Cooking on the Road
Preparing Simple Meals
Cooking while camping can be both simple and rewarding. Focus on preparing easy meals that require minimal preparation and cooking time. Dishes such as pasta, one-pot meals, or campfire-grilled items are ideal for a few reasons. They often require limited ingredients, one pot, or pan, which minimizes cleanup after cooking.
Utilize Portable Cooking Equipment
Investing in portable cooking equipment can make meal preparation easy. Compact camping stoves, small pots, and lightweight utensils can be packed without taking up much space. Additionally, consider employing reusable bags for transporting food and leftovers, reducing trash. The goal is to create nourishing meals with the least effort while camping.
Safe Cooking Practices
When cooking outdoors, practicing food safety is crucial. Ensure that food is stored properly to prevent spoilage. Use coolers and insulated bags to keep perishable items fresh. Be mindful of cleanliness by carrying essential cleaning items like wipes or biodegradable soap. This attention to hygiene keeps your cooking environment safe and pleasant.
Sleeping Comfortably
Choosing the Right Sleeping Location
Selecting a suitable sleeping location can enhance restfulness during motorcycle camping. Look for level ground, away from potential hazards like falling branches or rocks. Creating a flat area for your tent will ensure a comfortable night’s sleep. Additionally, consider the surroundings and proximity to amenities like water sources or restroom facilities.
Creating a Cozy Sleep Environment
Making your sleeping area comfortable can greatly improve your overall experience. Use your sleeping pad and bag to create a cozy environment. Bring along a small pillow or a stuff sack filled with clothing to support your head. Ensuring warmth and comfort can significantly enhance the quality of sleep gained during your camping trip.
Staying Dry and Protected
Weather conditions can change rapidly while camping, leading to potential discomfort. Invest in a waterproof tent to keep dry in case of rain. Additionally, make sure your sleeping setup is adequately protected from moisture. Keeping clothing and gear dry is essential for maintaining comfort and ensuring a successful camping experience.
Embracing the Outdoors
The Joy of Nature
Motorcycle camping combines the excitement of riding with the joy of nature. Being outdoors allows riders to connect with their surroundings while enjoying fresh air and stunning landscapes. This connection enhances the camping experience, creating memorable moments spent under the sky. Riding to new locations and immersing yourself in nature is what makes motorcycle camping setup so special.
Building Community Connections
Camping often fosters connections among fellow motorcyclists. Meeting new people who share the same love for riding and camping can lead to lasting friendships. Whether you are camping at organized events or spontaneous locations, embracing these interactions enhances the journey. Sharing stories and experiences with fellow enthusiasts enriches the overall camping experience.
Capturing Memories
A motorcycle camping trip creates countless memories worth capturing. Use photography or journaling to document your adventures on the road. Snap pictures of scenic views, campsites, and fellow riders. Enjoying the moments can be a way to reflect on the journey long after it has ended. These memories become cherished experiences that many riders look back on fondly.
Safety Considerations
Preparing for the Road
Safety should always be paramount during motorcycle camping setup adventures. Before hitting the road, ensure your motorcycle is in good working condition. Check tire pressure, brakes, and oil levels to avoid issues during your trip. Packing a basic tool kit and spare parts can help address minor repairs on the go, ensuring a smoother journey.
Following Traffic Regulations
Understanding and adhering to traffic regulations is essential for safe motorcycling. Follow speed limits and always wear appropriate safety gear, including helmets and jackets. Being visible on the road helps prevent accidents. Practicing safe riding habits contributes to both your well-being and that of others on the road.
Respecting the Environment
When camping and riding, it is essential to respect the environment. Leave no trace; this means cleaning up after yourself and preserving natural spaces. Follow guidelines for disposing of waste properly and minimizing your impact on trails and camping areas. Responsible riding and camping habits contribute to the ongoing beauty of nature, ensuring that it remains for future generations to enjoy.
Conclusion: Enjoying the Freedom of Motorcycle Camping
A Unique Outdoor Experience
Motorcycle camping setup offers a unique outdoor experience that combines adventure and relaxation. By choosing the right setup and embracing the journey, riders can create incredible memories. The freedom of the open road, coupled with the beauty of nature, enhances the pleasure of camping. Each trip can bring new adventures that enrich life.
Emphasizing Comfort and Style
With the right gear and mindset, motorcycle camping can be both comfortable and stylish. Investing in quality clothing, accessories, and equipment allows you to enjoy your time while maintaining your personal style. Emphasizing comfort ensures that every moment spent riding and camping is enjoyable.
Looking Forward to Future Adventures
As you prepare for your next motorcycle camping trip, remember the joys of the journey that await you. Opportunities for exploration, connection, and memorable experiences lie ahead. With the right mindset and preparation, you can fully embrace the beauty of motorcycle camping setup. Get ready to hit the road, connect with nature, and make the most of your adventures!
More Details
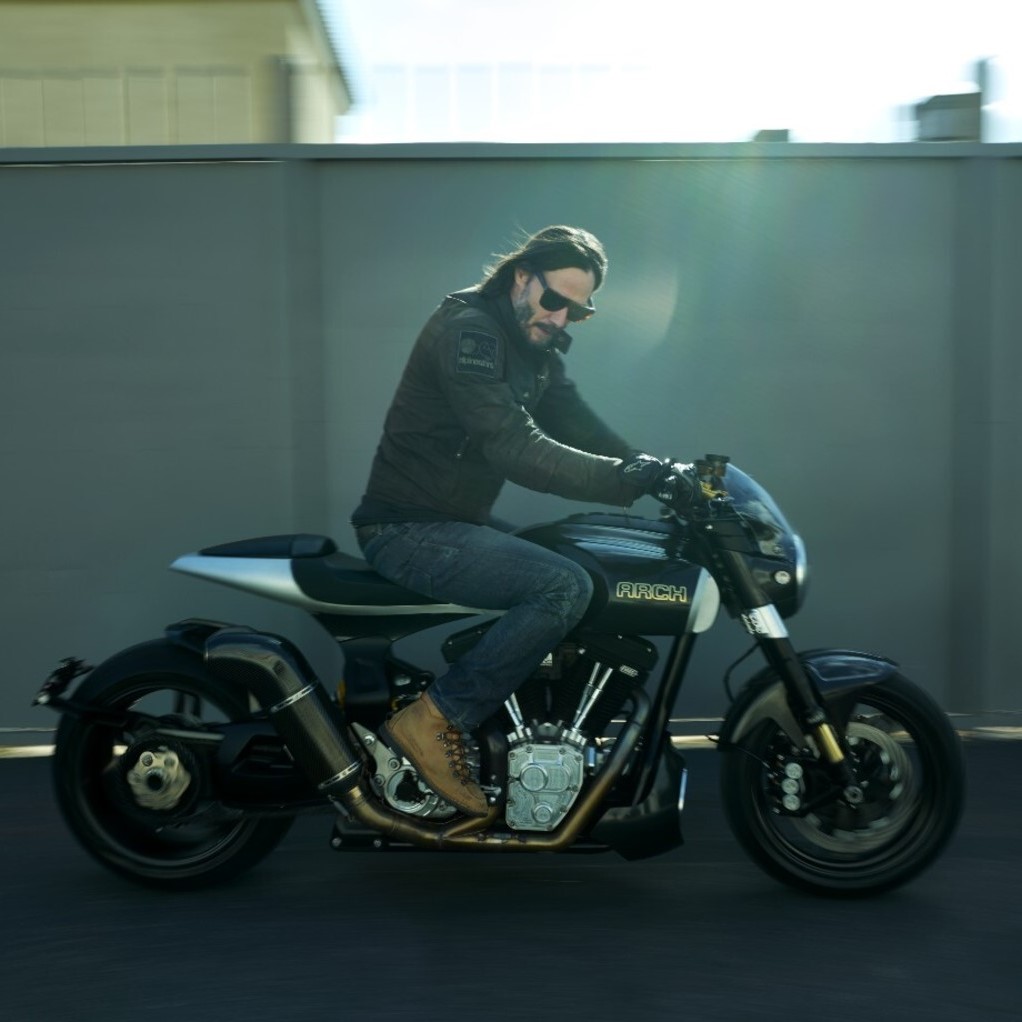 The Allure of Keanu Reeves and His Bikes
 Customizations Inspired by Keanu Reeves
 The Impact of Keanu Reeves on Motorcycle Culture
 Maintenance Tips for Your Keanu Reeves’ Bike
 Conclusion: Embrace the Spirit of the Keanu Reeves’ Bike
 Keanu Reeves’ Iconic Motorcycle Collection
 The Investment Value of Keanu Reeves’ Motorcycles
 Financing Your Keanu Reeves-Inspired Motorcycle
 Future Trends in Keanu Reeves’ Motorcycle Choices
 Conclusion