Feb 18, 2025
Helmet Fitting Guide: How Tight Should My Motorcycle Helmet Be?
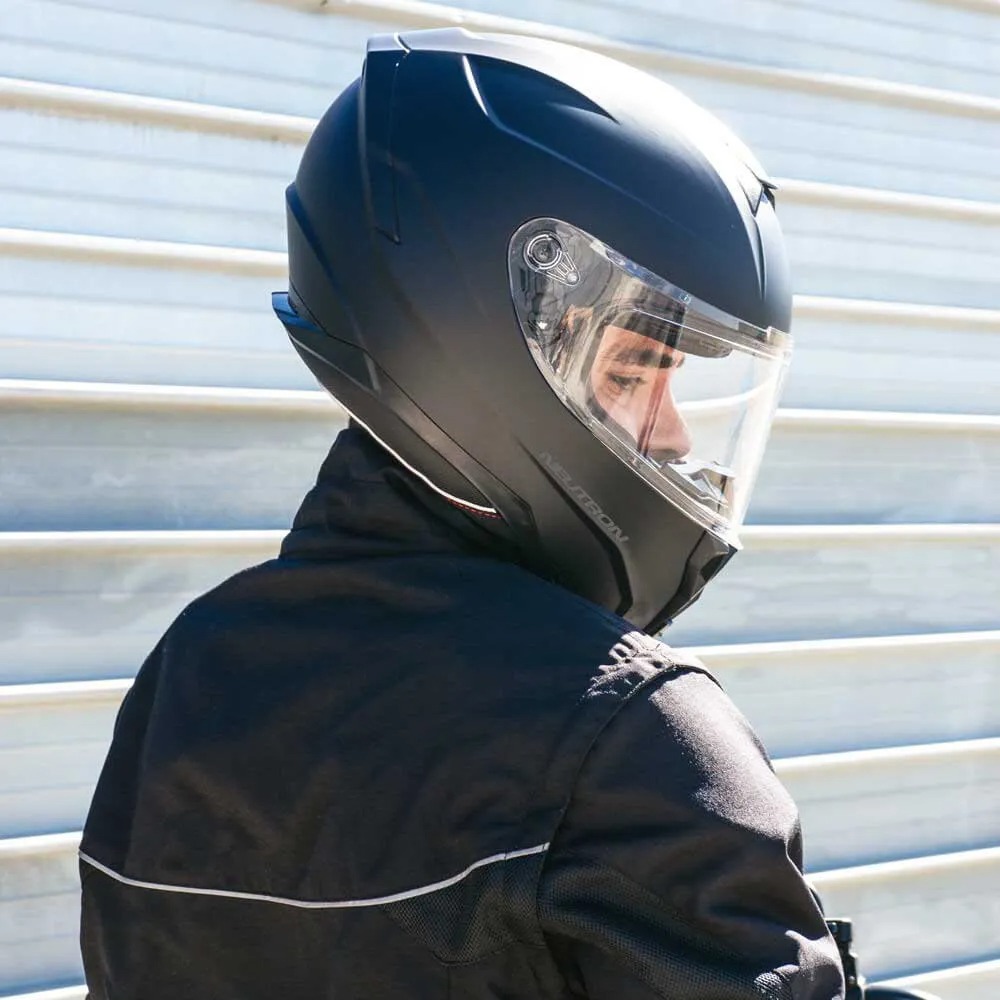
When it comes to motorcycle safety, one of the most critical aspects is ensuring that your helmet fits correctly. A question many riders ask is, “How tight should my motorcycle helmet be?” The fit of your helmet can significantly impact both your comfort and safety while riding. In this article, we’ll delve into the importance of a proper helmet fit, how to determine the right tightness, the consequences of wearing a poorly fitting helmet, tips for achieving a snug fit, and how to maintain that fit over time.
Importance of Proper Helmet Fit
Ensuring your motorcycle helmet fits correctly is vital for safety. A well-fitted helmet can be the difference between minor and severe injuries during an accident. It’s not just about DOT approval; the fit is crucial too. Here’s why the right helmet fit is so important:
- Safety comes first: A helmet that’s too tight may cause discomfort, distraction, or even impair blood flow and vision. On the other hand, a loose helmet might come off in a crash, leaving your head unprotected.
- Comfort for longer rides: You will want a helmet that feels comfortable during long rides. A poorly fitting helmet can lead to adjustments on the road, which is unsafe.
- Effective protection: Helmets are designed to distribute the force of an impact. This only works if your head is snugly surrounded by the helmet’s inner lining.
- Prevent headaches: A helmet that’s too tight can cause headaches, while one that’s too loose can move around and do the same.
- Vision clarity: If a helmet doesn’t fit well, it can slip and obstruct your vision, increasing the risk of accidents.
To sum up, finding the perfect balance between too tight and too loose is key to staying safe, comfortable, and focused on the road. Remember, always choose a helmet that sits snugly on your head with no pressure points or excessive movement.
How to Measure Your Head for a Helmet
Measuring your head is the first step in finding a helmet that fits perfectly. Use a fabric tape measure for accuracy. Place it about one inch above your eyebrows. This is usually the widest part of your head. Make sure the tape measure goes over the largest part of the back of your head. Take the measurement three times for consistency. Record the largest measurement. This is your helmet size.
A correct measurement is the foundation for safety and comfort on the road. Resist the temptation to guess or estimate. Small errors can lead to big risks. A tape measure is better than using a string or shoelace because it is less likely to stretch or give incorrect numbers.
Once you have your head measurement, you’re ready to shop for a helmet that matches. Helmet sizes vary by brand, so check the size chart for each one. An accurate head measure will guide you to the right helmet size.
Remember, how tight should my motorcycle helmet be? The answer is snug but not pinching. Your head size is just one part of the equation. Head shape and helmet style also play a role. We will cover these in the coming sections to ensure you get the best fit possible.
Determining Your Head Shape for a Better Fit
Choosing the right helmet isn’t just about size; it’s also about shape. Your head’s shape is a critical factor in finding a helmet that fits well and offers maximum protection. Here are steps to determine your head shape:
Identify Your Head Shape
Everyone’s head is slightly different, and helmets are designed to fit various shapes:
- Round Oval: More circular than long, with even front-to-back and side-to-side measurements.
- Intermediate Oval: The most common head shape; longer front-to-back than round oval.
- Long Oval: Significantly longer front-to-back than it is wide.
To identify your head shape, take a photo from above your head or have someone look down from above. Compress your hair to ensure the shape is clear.
Compatibility With Helmet Shapes
Once you know your head shape, find a helmet designed for it. Here’s how:
- Match the helmet type: Manufacturers label helmets as round, intermediate, or long oval.
- Try them on: Even with the right shape, individual fit can vary, so trying on is crucial.
Choosing a helmet that’s made for your head shape prevents pressure points and ensures a snug, safe fit. Keep in mind that some helmets come with adjustable interior padding to fit various head shapes better.
A well-fitted helmet should rest comfortably on your head without any discomfort. By determining your head shape and matching it to the right helmet, you’re taking an essential step toward road safety and comfort. Remember, a helmet is the most important safeguard between you and the road, so make it count.
Choosing the Right Type of Motorcycle Helmet
Selecting the right type of motorcycle helmet is as important as the fit. Different styles serve different needs and personal preferences. Here’s a guide to help you choose:
Types of Motorcycle Helmets
There are several key helmet types to consider based on your riding style and the level of protection required:
- Full Face: Offers the most coverage and protection, including a visor for face shield. Ideal for all riders, especially at high speeds.
- Modular (Flip-Up): Blends the benefits of full-face and open-face helmets. The front flips up, offering versatility. It’s convenient for communication or hydration without removing the helmet.
- Open Face (3/4 Helmet): Covers the back and sides of your head but not your face. Provides good visibility and comfort, popular with city riders.
- Half Helmet: Offers the least protection, covering only the top of the head. Favored for short trips and where legal, it provides the most freedom.
- Off-Road (Motocross): Designed for dirt-track and off-road riders. It lacks a visor but is built for use with goggles and offers maximum airflow.
- Dual-Sport (Crossover, ADV): Combines features of street and off-road helmets. Versatile with good visibility and airflow, suitable for on and off-road.
Selecting Helmet Features
When you know the type of helmet, focus on features that enhance safety and comfort:
- Visors and Face Shields: Protect against dust, wind, and debris. Look for UV protection and anti-fog features.
- Ventilation: Ensures airflow and helps with comfort during longer rides.
- Material and Weight: Lightweight materials like carbon fiber can reduce neck strain during long rides.
- Safety Certifications: Check for DOT, ECE, or Snell certifications for assurance of safety standards.
- Graphics and Colors: Choose visibility-enhancing colors or designs to stand out on the road.
Making the right choice in helmet type and features can impact your riding experience. Always prioritize safety and fit when selecting your motorcycle helmet. How tight should my motorcycle helmet be? It should fit snugly without any gaps or pressure points, regardless of the helmet type.
Adjusting the Fit: Cheek Pads and Chin Straps
A motorcycle helmet’s interior padding and chin strap are essential for a secure fit. Here’s how to adjust them:
Cheek Pads
Cheek pads should touch your face without causing pain. Here are tips to ensure they fit correctly:
- Check tightness: Pads should not press too hard, yet should not allow the helmet to move around.
- Test for movement: Your helmet should stay in place as you move your head. If it shifts, tighten the pads.
- Consider alternatives: Some helmets come with interchangeable pads for a better fit.
Adjust your cheek pads for a snug, comfortable fit that avoids discomfort.
Chin Straps
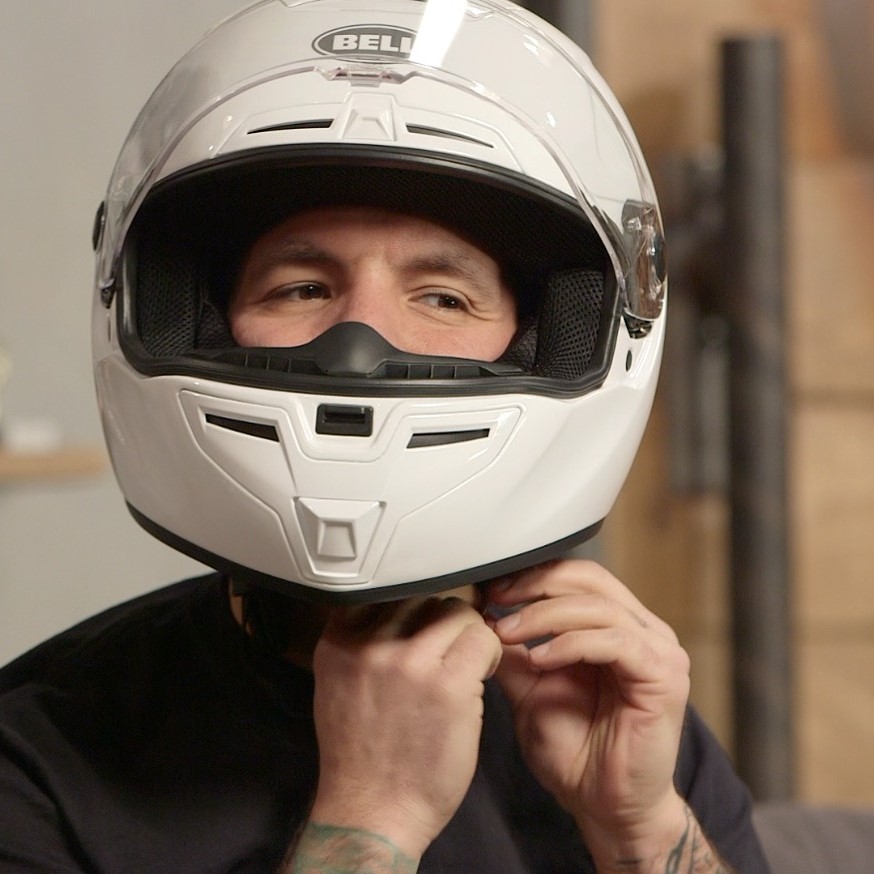
A properly fastened chin strap keeps your helmet secure. Here’s how to make sure it’s right:
- Find the balance: The strap should not be too tight or too loose.
- Use the finger rule: There should be room for only two fingers between your chin and the strap.
- Buckle up: Always secure the strap before riding to avoid your helmet slipping off.
Your helmet’s chin strap is crucial. Always check that it’s adjusted correctly for every ride.
Adjusting cheek pads and chin straps is key. These ensure the helmet does not wobble or pinch. Comfort and safety are both top priorities when considering how tight should my motorcycle helmet be. By making these adjustments, you will ensure a better, safer riding experience.
The Role of a Helmet’s Break-in Period
The break-in period is essential for a new helmet. This is when the helmet’s padding molds to fit your unique head shape. Let’s discuss what to expect and how to handle this period.
Understanding Helmet Break-In
When you first wear a motorcycle helmet, it might feel tighter than expected. This snugness is normal. Over time, the interior foam and pads will compress. They adapt to the contours of your head. This process is called the helmet’s break-in period.
Steps to Break-In Your Helmet
Follow these simple steps to ensure a successful break-in:
- Wear regularly: Use the helmet for short periods around the home.
- Gradual increase: Slowly extend wearing times before long rides.
- Fit check: Make sure no tight spots cause discomfort or headaches.
The helmet will loosen slightly as it breaks in. This is expected and does not mean the helmet is now too big. A properly broken-in helmet will feel snug but not painfully tight.
Signs of a Good Break-In
You’ll know your helmet has broken in when:
- It feels comfortable for longer periods.
- There’s no pinching or excessive tightness.
- The helmet stays stable on your head during movement.
Remember, the break-in period is crucial. It ensures your helmet fits well without compromising safety. A poorly fitted helmet, whether too tight or too loose, can be dangerous. So, give your new helmet time to adjust to your head’s shape naturally.
By respecting the break-in period, you build a base for a better, safer ride. Always monitor how tight your motorcycle helmet should be during this period. Keep safety first, and don’t rush the process.
Safety Tips and Replacement Guidelines for Motorcycle Helmets
To ensure optimal safety and helmet performance, consider the following tips and guidelines:
When to Replace Your Helmet
Replace your motorcycle helmet every five years or after a significant impact, even if it looks undamaged. Over time, the materials in a helmet can degrade, potentially reducing its effectiveness.
Upkeep and Cleaning
Regularly clean your helmet using mild soap and water. Avoid harsh chemicals which can weaken helmet materials. This keeps the helmet in good condition and extends its lifespan.
Visor Care
Keep the visor clear to ensure good visibility. Small scratches can often be buffed out, but replace the visor if it’s significantly damaged or affects your vision.
Strap Inspection
Check the chin strap often. Look for fraying or other damage that could cause the strap to fail. Replace if necessary to maintain a secure fit.
Helmet Storage
Store your helmet in a cool, dry place when not in use. Direct sunlight and high temperatures can warp or damage the helmet, compromising its integrity.
Hair and Headgear
Be mindful of changes to your headgear or hair. A new hairstyle or a head covering can alter how your helmet fits. Adjust the fit if needed.
Following these recommendations helps keep your helmet in top shape. Regular maintenance and timely replacement contribute to your safety. Remember how tight should my motorcycle helmet be – snug, but not too tight, and always check the fit following any changes.
Conclusion: Ensuring Optimal Protection and Comfort
Wrapping up, finding the right motorcycle helmet fit is about comfort and safety. Let’s review the key points to keep in mind. First, measure your head properly. Use the correct tools and follow the steps. Second, match your head shape to the helmet. Try different ones to find the best fit. Third, choose a helmet based on your ride style. Full face, modular, or open face are some options.
Adjust cheek pads and chin straps for a secure fit. They should be snug but not painful. This ensures the helmet doesn’t move too much. Also, remember that a helmet’s materials may relax a bit over time. This is normal and part of the break-in period.
Replace your helmet every five years, or after a big impact. Keep it clean, well-maintained, and stored in a safe place. Check for signs of wear, like a damaged strap or visor. Last, consider your hair and any headgear you wear. They can change how your helmet fits, so adjust as needed.
The question, ‘how tight should my motorcycle helmet be?’ has a simple answer. It should feel comfortable, not cause pain, and stay in place. Safety is the top priority. A well-fitted helmet can save lives. So, make sure yours fits just right for a safe and enjoyable ride.
More Details