Feb 5, 2025
How to Clean Motorcycle Helmet Inside: A Comprehensive Guide
The Importance of Keeping Your Helmet Interior Clean
Keeping the interior of your motorcycle helmet clean is crucial for several reasons. Firstly, hygiene is a top priority. Sweat, oils, and dirt can accumulate inside the helmet. This not only causes unpleasant odors but can also lead to bacteria build-up. regularly cleaning your helmet ensures a healthier environment for your head. Secondly, comfort is key when riding. A clean helmet feels far more comfortable against your skin compared to a grimy one. Lastly, maintaining the cleanliness of your helmet inside can extend its lifespan. Dirt and grime can degrade the materials over time. So, by knowing how to clean motorcycle helmet inside properly, you protect your investment. Remember, a clean helmet is a happy helmet and a happy rider. Let’s keep both in top shape with regular cleaning.
What You’ll Need: Materials and Tools
Before you start learning how to clean motorcycle helmet inside, gather all necessary items. Preparing these tools and materials ensures an efficient cleaning process. Here’s what you’ll need:
- Microfiber cloths: These cloths are soft and won’t scratch your helmet’s interior.
- Baby shampoo or mild detergent: Choose a gentle cleaner that won’t harm the helmet’s materials.
- Soft-bristled brush: Grab a brush to gently scrub away stubborn dirt.
- Warm water: It helps to dissolve grime and makes cleaning easier.
- Bucket or basin: You’ll need something to mix the cleaning solution in.
- Towels: Have a few on hand for drying components after washing.
Gather these items before you start the cleaning process. Make sure they are clean and ready to use. Each one plays a vital role in how to clean motorcycle helmet inside safely and effectively.
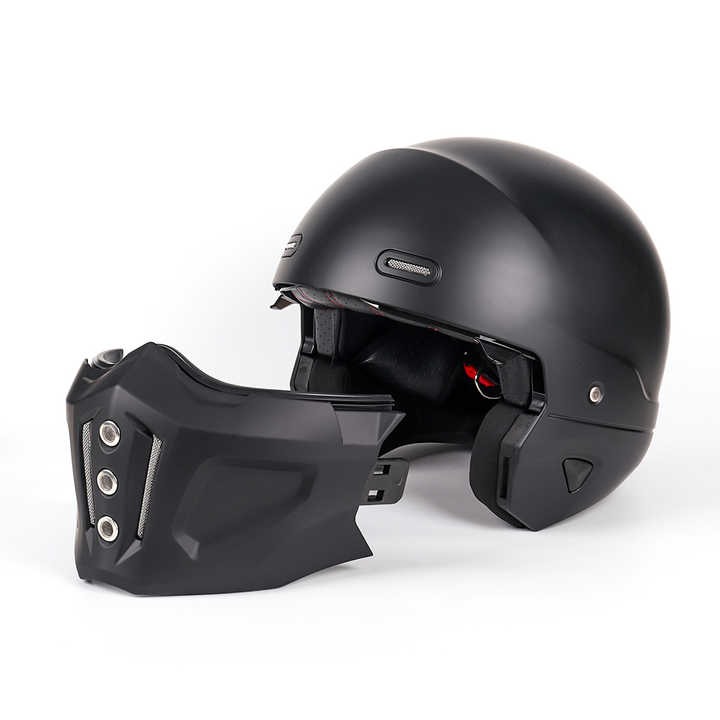
Pre-Cleaning Preparation: Disassembly of the Helmet
Before diving into cleaning, proper disassembly of your motorcycle helmet is necessary. This initial step helps to ensure a thorough clean and protects the helmet’s components. Here is how to prepare your helmet:
- Remove the visor: Start by taking off the helmet’s visor. This is usually attached by a mechanism that you can release by hand or with a tool, depending on your helmet model.
- Take out the liner and cheek pads: Carefully peel away the comfort liner and cheek pads. They often have snaps, Velcro, or other fasteners.
- Inspect for damage: While you have these pieces removed, inspect them for wear or damage. This is important for your safety.
- Keep small parts together: Put screws and any small parts in a container so you don’t lose them.
Taking apart your helmet might seem daunting at first. But with these steps, you can do it with ease. Just remember to be gentle to prevent damage. After you finish this stage, you are all set to start the cleaning process.
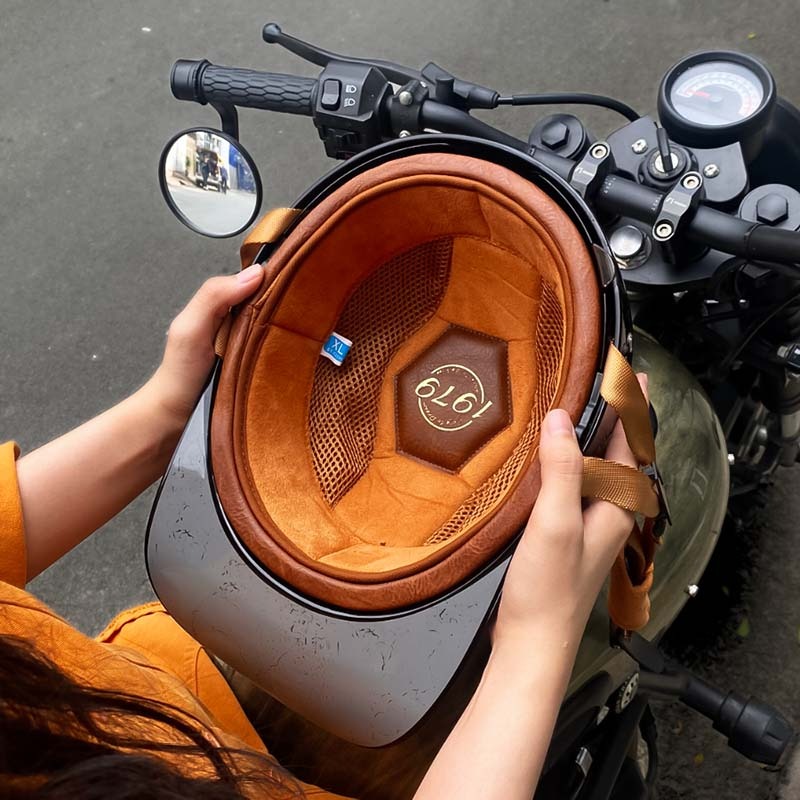
Step 1: Removing and Cleaning the Liner and Pads
After disassembling your helmet, focus on the liner and pads. These parts directly contact your head and need special attention. Take them out gently to avoid tearing. Here’s how to clean those parts efficiently:
- Step 1A: Prepare Cleaning Solution:Mix warm water with baby shampoo or mild detergent in a bucket. Ensure the mix is bubbly. This solution is gentle enough for helmet materials.
- Step 1B: Submerge and Soak:Dip the liner and pads into the soapy water. Let them soak for a few minutes. It helps loosen the dirt.
- Step 1C: Hand Wash:Gently scrub the liner and pads with your hands. Use a soft-bristled brush for tough spots. Be careful not to be too rough.
- Step 1D: Rinse Thoroughly:Rinse each piece with clean water. Make sure no soap residue remains. It can irritate your skin later.
- Step 1E: Blot Excess Water:Press the liner and pads with a towel. Don’t wring them out. It may distort their shape.
Considering these steps, you can ensure proper cleanliness of your helmet’s liner and pads. It’s the first step in ensuring how to clean motorcycle helmet inside is done right, setting the stage for a refreshed helmet both in appearance and hygiene.
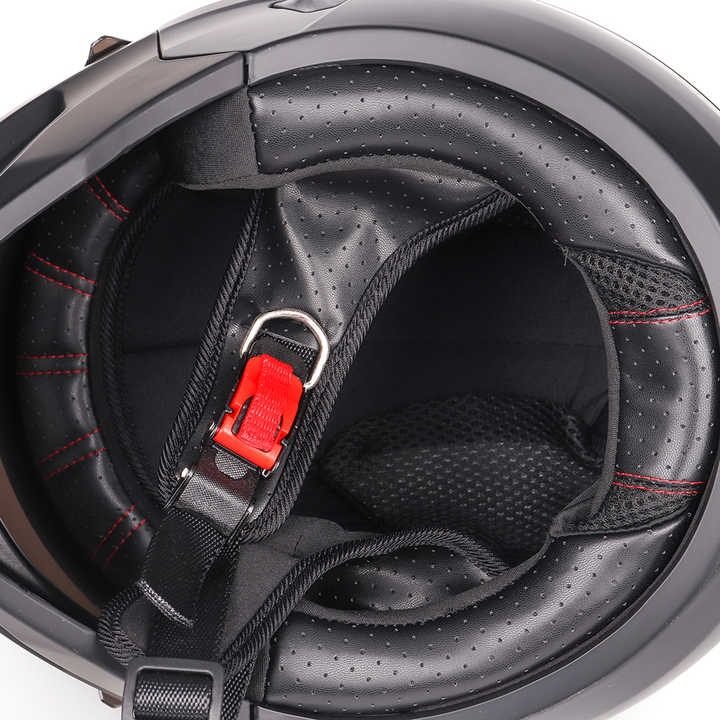
Step 2: Cleaning the Interior Shell
After taking care of the liner and pads, next, focus on the interior shell. This part also accumulates sweat and oil, so it’s important to clean it properly. Here are simple steps to clean the interior shell:
- Wipe Down: Start by wiping down the interior shell with a microfiber cloth to remove loose dirt.
- Apply Cleaner: Dampen another clean microfiber cloth with the baby shampoo or mild detergent solution. Gently wipe the shell’s interior surfaces.
- Scrub Gently: If there are any stubborn grime spots, softly scrub them with your soft-bristled brush. Avoid hard scrubbing.
- Wipe Clean: After scrubbing, use a clean, damp cloth to wipe away any soap and lifted dirt.
- Dry Thoroughly: Lastly, with a dry towel, pat the interior shell dry. Ensure no moisture remains which could lead to mold.
By following these steps, you’re ensuring that you know how to clean motorcycle helmet inside comprehensively. Such detailed cleaning helps maintain helmet hygiene and your comfort. Remember, do not use any harsh chemicals or heavy water flows that might damage the shell or its adhesives.
Step 3: Dealing with Tough Stains and Odors
Sometimes, you might find stubborn stains or persistent odors in your helmet that ordinary cleaning won’t remove. This step will guide you through tackling these tough issues without harming your motorcycle helmet’s interior.
- Pre-treat Stains: Identify any tough stains on the liner or pads. Apply a small amount of mild detergent directly to the spots. Allow it to sit for a few minutes to break down the stain.
- Gentle Scrubbing: Use your soft-bristled brush to lightly scrub the pre-treated areas. Work the cleaner into the fabric to lift the stain.
- Odor Elimination: Mix a solution of warm water and white vinegar in equal parts. Soak a clean cloth in this solution and gently wipe the interior shell. Vinegar helps neutralize odors without damaging the material.
- Spot Check: After treating stains and odors, rinse the areas well. Ensure no cleaning solution is left behind as this might cause irritation or further odors.
- Repeat if Necessary: If stains or odors persist, you may need to repeat these steps. Always be gentle to avoid damaging your helmet.
By following these steps on how to clean motorcycle helmet inside, particularly for tough stains and odors, your helmet will not only look fresh but smell fresh too. Ensure you do this with care to maintain the quality of your helmet’s interior.
Drying Your Helmet the Right Way
After cleaning the helmet’s interior, drying it correctly is essential. Proper drying prevents mold and keeps the helmet in good shape. Follow these steps for the safest and most effective drying method:
- Air Dry: Place the liner, pads, and helmet shell in a well-ventilated area. Let them air dry completely. Do not expose to direct sunlight as it can degrade the materials.
- Towel Dry: Use a soft towel to gently pat down any excess moisture. Avoid using heat or a hairdryer, as high temperatures can damage the helmet.
- Absorbent Cloth: For lingering dampness, insert an absorbent cloth or paper towel. Replace it as it becomes damp until all moisture is gone.
Ensure all parts are bone-dry before reassembly. This is key to how to clean motorcycle helmet inside effectively.
Reassembly After Cleaning
Once your motorcycle helmet’s interior is dry, it’s time to reassemble it. Correctly reassembling your helmet ensures it’ll perform as intended during your rides. Here’s how to put everything back together:
- Align the liner and pads: Carefully position the comfort liner and cheek pads back into the helmet. Double-check that they fit snugly into their designated spots.
- Secure fasteners: Reattach any snaps, Velcro, or other fasteners. Make sure everything is secure.
- Reattach the visor: Slide the visor back into place. Fasten it using the original mechanism or tools.
- Inspect your work: Look over the helmet to ensure all parts are correctly installed. No loose pieces should remain.
By following these steps, you can guarantee that your helmet is safely and correctly put back together. This is a crucial part of learning how to clean motorcycle helmet inside, as proper reassembly directly impacts your safety and comfort while riding. Take your time with this step to avoid any mistakes. Once done, your helmet is ready for your next journey on the road.
Maintaining Helmet Cleanliness: Tips and Tricks
To keep your helmet interior clean longer, follow these simple yet effective tips and tricks:
- Regular Wipe-Downs: After every ride, give your helmet a quick wipe with a microfiber cloth. This prevents a build-up of dirt and sweat.
- Use Helmet Liner Caps: Wear a cap or balaclava under your helmet. It absorbs sweat and is easy to wash regularly.
- Avoid Harsh Chemicals: Stick to baby shampoo or mild detergents for cleaning. Chemicals can damage the helmet’s interior.
- Ventilation Matters: Store your helmet in a well-ventilated area to keep it dry and odor-free. Avoid tight and damp spaces.
- Sunlight Caution: Exposing your helmet to sunlight for too long can weaken it. Sun-dry only when needed and not for extended periods.
- Regular Check-ups: Every few months, do a thorough check and clean. This keeps the helmet in top condition.
By integrating these practices into your routine, you ensure that your helmet is always fresh and clean. A well-maintained helmet means a more enjoyable ride, every time.
More Details