Mar 4, 2025
Tips for Measuring for Motorcycle Helmet for Optimal Comfort
Introduction to Helmet Sizing
Choosing the right motorcycle helmet is about more than just style. Size is key. A helmet that fits correctly will keep you safe on the road. This guide will help you understand helmet sizing. It will help you measure your head correctly. You need a soft tape measure and this guide to start.
First, know that helmet sizes vary by brand. You might be a medium in one brand and a large in another.
Next, understand that head shape matters. Helmets are made for different head shapes. Some are round, while others are oval. Picking the right one ensures comfort and safety.
Finally, measuring for motorcycle helmet is not just about head circumference. It’s about getting the fit just right. With this guide, you’ll learn how to do it step by step.
Importance of a Properly Fitted Helmet
Wearing a helmet that fits well is crucial for your safety. It ensures that the helmet works as intended during an impact. A snug fit means your helmet will stay in place. A loose helmet can come off in a crash, failing to protect you. Too tight isn’t good either. It can cause discomfort or headaches.
A properly sized helmet also improves comfort on long rides. It helps reduce fatigue. You can focus better on the road and enjoy your ride more. With a good fit, noise is also reduced. This lessens distractions from wind and traffic.
A well-fitted helmet also ensures better visibility. It stays in position, keeping the visor or opening in the right place. This way, you have an unobstructed view. Good visibility is essential for spotting hazards and reacting in time.
Lastly, it contributes to the lifespan of the helmet. A helmet that fits well experiences less wear and tear. This is because it moves less and doesn’t rub against your head as much. So, measuring for a motorcycle helmet is a key step to safety, comfort, and durability.
Step-by-Step Guide to Measuring Your Head
To ensure you get the best motorcycle helmet fit, follow this simple step-by-step guide:
- Find a Soft Tape Measure: Start with a soft tape measure. You can also use a string and a ruler.
- Position the Tape Measure: Place it around your head, just above your eyebrows and ears. Keep it level for accuracy.
- Measure Your Head Circumference: Pull the tape measure snug, but not too tight. Read the measurement where the tape overlaps.
- Record the Measurement: Write it down to the nearest 1/8 inch or millimeter. This makes referring to size charts easier.
- Measure Multiple Times: To ensure the number is correct, measure at least twice. If numbers vary, take the largest one.
- Check for Different Head Shapes: Remember, helmet brands cater to various head shapes. Know if your head is round or oval.
By accurately measuring for a motorcycle helmet, you enhance your safety. A helmet that fits well can save your life during a crash. Also, you avoid common issues like discomfort on long rides. Keep these steps in mind and refer to them as you shop.
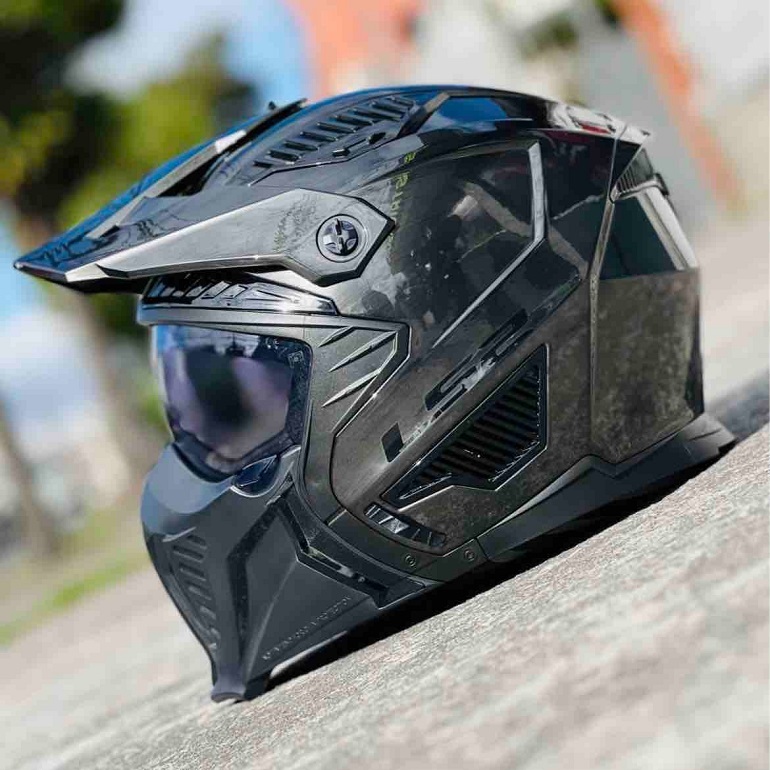
Types of Motorcycle Helmets and Sizing Differences
When shopping for a motorcycle helmet, you’ll encounter various types of helmets. Each type can fit differently. It’s important to know the differences when measuring for motorcycle helmet sizes.
- Full-Face Helmets: These provide the most coverage and protection. They often have a snug fit around the cheeks and jaw.
- Modular Helmets: Also known as flip-up helmets, they offer a mix of protection and convenience. The sizing is similar to full-face helmets.
- Open-Face Helmets: These lack a chin bar. The fit is more relaxed around the jaw but should still be snug around the head.
- Half Helmets: These cover the top of the head only. Ensure the helmet fits well around the crown for safety.
- Off-Road Helmets: Designed for rough terrain, they have ample space around the mouth. The fit should be tight around the head, without pressing on the forehead.
For each type, check how the helmet sits on your head. The helmet should not tilt or move easily. It should match your head shape for the best fit.
It’s not just about head circumference when measuring for motorcycle helmet fit. Account for padding and liners too. These can change how the helmet rests on your head. Always consult the size chart specific to the helmet type and brand you’re considering. And remember, because sizing can vary greatly between types and brands, trying on different helmets is crucial.
Common Mistakes to Avoid When Measuring
When you’re measuring for a motorcycle helmet, accuracy is vital. Avoid these frequent mistakes to ensure a perfect fit:
- Not Measuring at the Widest Point: Some people position the tape measure too high or low on their head. Always measure the widest part, typically an inch above your eyebrows and around the back of your head.
- Using a Stretched Tape Measure: Over time, a soft tape measure may stretch. This can lead to inaccurate readings. If you suspect stretching, use a string and compare it to a rigid ruler or metal tape measure.
- Ignoring Head Shape: Focusing solely on circumference can lead to a poor fit if you neglect head shape. Remember, helmets cater to different shapes, such as round or oval.
- Pulling the Tape Too Tight or Leaving It Too Loose: The tape should be snug against your head without digging into your skin. A measure that’s too tight or too loose won’t reflect your true size.
- Measuring Just Once: Consistency is key. Measure multiple times to confirm your head size. If you get different readings, use the largest one.
- Forgetting to Account for Hair: If you have thick or long hair, measure with your hair as you would wear it while riding. This helps ensure the helmet can accommodate your hairstyle.
- Overlooking the Importance of Trying Different Helmets: Even with precise measurements, different brands and models can fit differently. Always try on various helmets to find the best fit.
By steering clear of these common mistakes when measuring for a motorcycle helmet, you’ll be closer to finding a helmet that fits well and provides maximum protection and comfort.
How to Interpret Helmet Size Charts
Once you have your head measurement, it’s time to use the helmet size charts. These charts turn your measurement into a helmet size. Here’s how to use them effectively:
- Find the Right Chart: Each helmet brand has its own size chart. Find the chart for the brand you’re interested in. Charts are often found on the brand’s website or in store.
- Look Up Your Measurement: Locate your head measurement on the chart. You will see size labels like S, M, L, etc., next to measurements.
- Match Your Head Shape: Remember your head shape when looking at the chart. Some brands may have different charts for round or oval-shaped heads.
- Consider the Fit Factors: The chart gives a starting point, but think about fit too. A good fit means the helmet is snug but not tight.
- Account for Padding: Helmets have padding that can compress over time. A new helmet might feel tight but will loosen a bit as you wear it.
- Check for Adjustability: Some helmets have adjustable features. These can help you fine-tune the fit, so consider this when looking at sizes.
- When in Doubt, Go to a Store: If you’re unsure, visiting a store is the best choice. There, you can try on different sizes and get professional advice.
Using helmet size charts is crucial in the process of measuring for motorcycle helmet sizes. They help you start with a good fit. Remember, comfort and safety are priorities, so take the time to ensure you get them right.
Adjusting Your Helmet for the Best Fit

After measuring for a motorcycle helmet and consulting size charts, you must adjust your helmet for the best fit. Here’s how to do it:
- Check the Cheek Pads: The cheek pads should touch your cheeks without pressing too hard.
- Adjust the Strap: The strap must be tight enough so the helmet cannot roll off your head but comfortable enough not to choke you.
- Look for Gaps: There should be no spaces between your brow and the helmet’s padding.
- Wear it for a While: Keep the helmet on for a few minutes to ensure there’s no discomfort.
- Test the Movement: Nod and shake your head. The helmet should stay put without sliding.
- Use the Fitment Features: Some helmets have adjustment dials or inflatable liners to fine-tune the fit. Make use of these.
Properly adjusting your helmet adds to your safety and comfort. It prevents the helmet from shifting and ensures that it performs as expected in case of an impact. Remember, even a correctly measured helmet needs the right adjustments to provide the best protection. Follow these steps every time you put on your helmet to ride.
Tips for Trying on Helmets in Stores
After measuring your head, the next step is to try helmets on. Here’s how to make the most of it:
- Visit Well-Stocked Stores: Choose stores with many options. You can find the best fit by trying different styles and brands.
- Take Your Time: Don’t rush the process. Wear each helmet for a few minutes. This helps you feel its fit and comfort.
- Bring a Friend: A second opinion is valuable. Friends can spot fit issues you might miss.
- Mimic Riding Posture: Sit on a bike or mimic riding position. This helps check if the helmet stays snug.
- Talk to Experts: Store staff know their products well. They can offer advice and adjust fit as needed.
- Consider Your Accessories: If you wear glasses or a Bluetooth device, try the helmet with them. Ensure they all fit together.
- Check for Hot Spots: Pay attention to pressure points. A helmet should not create discomfort in any area.
- Note Helmet Weight: A good helmet feels balanced. It should not strain your neck or shoulders.
By following these tips when trying on helmets, you ensure a good match. Remember, the perfect fit is vital for your safety and comfort on the road.
More Details