Oct 16, 2025
How to Choose the Right Gas Tank Repair Kit for Your Vehicle
Introduction
When it comes to maintaining your vehicle, a well-functioning gas tank is crucial. Over time, wear and tear can lead to leaks or damage, making it essential to have a reliable solution. This is where a gas tank repair kit comes into play. These kits provide the necessary tools and materials to fix minor issues and prolong the life of your fuel tank. Selecting the right repair kit is essential for ensuring that your vehicle operates safely and efficiently. In this article, we will explore how to choose the best gas tank repair kit for your specific needs, covering essential features, benefits, and how to use them effectively.
Why You Might Need a Gas Tank Repair Kit
A gas tank repair kit offers an efficient solution for fixing leaks, cracks, or other damages to your vehicle’s fuel system. Many car owners opt for repair kits for several reasons:
1. Cost-Effective Solution
Repairing a gas tank can often be more affordable than paying for professional service or replacing the tank entirely. A gas tank repair kit can save money and provide a practical solution for minor issues.
2. Convenience and Time-Saving
Having a repair kit on hand allows for quick fixes, so you won’t have to rely on a mechanic or wait for an appointment. This convenience is especially valuable in emergencies, such as when you experience a sudden leak on a road trip.
3. Empowerment Through DIY
Learning how to use a gas tank repair kit gives you the confidence to handle small vehicle issues independently. This empowerment helps you develop crucial automotive skills and fosters a sense of achievement.
Key Features
Selecting the right gas tank repair kit is essential for successful repairs. Here are the key features to consider when making your choice:
1. Compatibility with Your Vehicle
Make sure the repair kit you choose is compatible with your vehicle’s make and model. Gas tanks can differ greatly in materials and designs, so referring to your owner’s manual or product specifications is crucial.
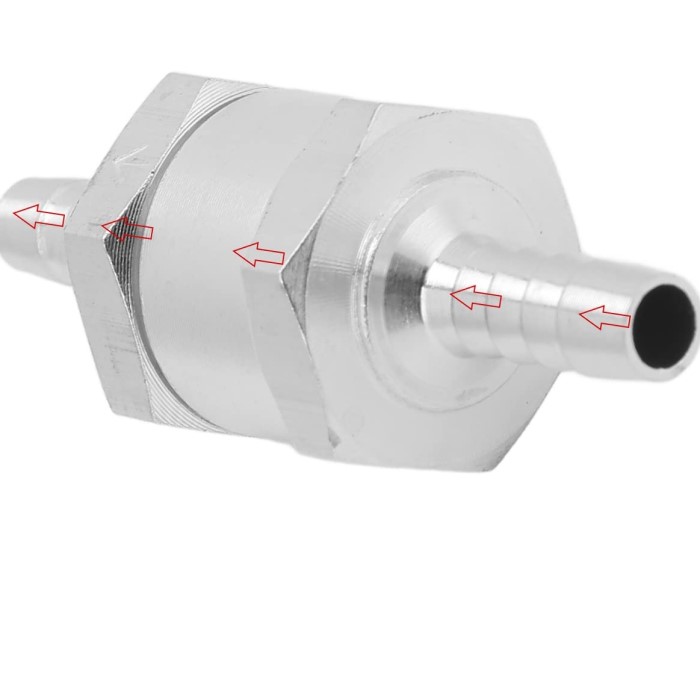
2. Types of Repair Solutions
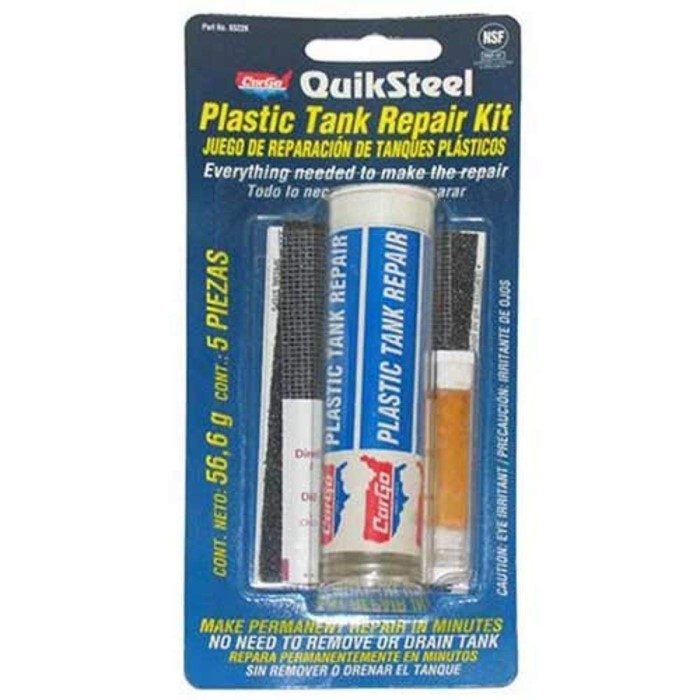
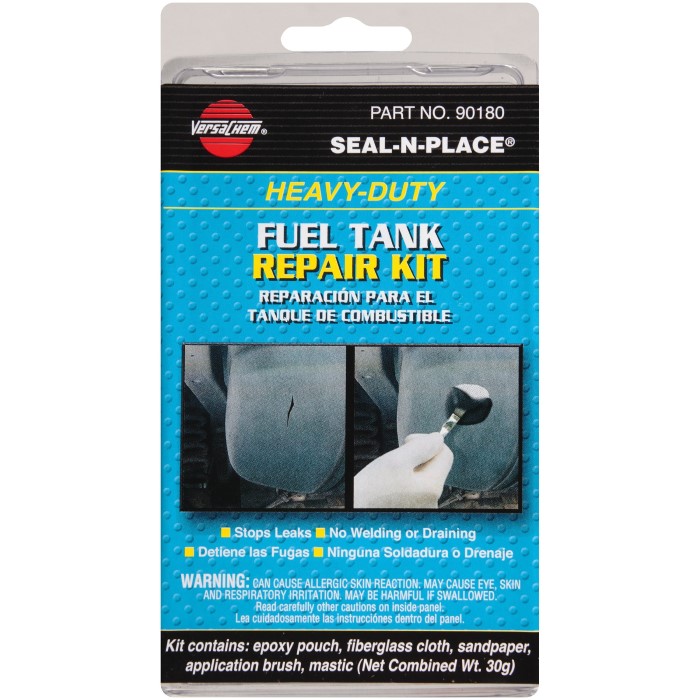
Gas tank repair kits typically include various materials for different types of damage. Most common solutions include epoxy adhesives, fiberglass patches, and specialized sealants. Selecting the right type for your specific issue is essential for effective repairs.
3. Ease of Use
Look for a kit that includes clear, easy-to-follow instructions. Some kits come with helpful guides or videos demonstrating the repair process. A user-friendly kit can reduce frustration and enhance the repair experience.
4. Durability of Repair Materials
The materials included in the gas tank repair kit should be durable and resistant to gasoline and environmental conditions. Opt for a kit that boasts long-lasting repairs and can withstand exposure to fuel.
5. Safety Features
Safety is paramount when working with fuel. Ensure that the kit contains materials that are safe to use and follow any provided safety guidelines. A kit that emphasizes safety can help avoid accidents during repairs.
Step-by-Step Guide
Selecting the appropriate gas tank repair kit involves a systematic approach. Follow these steps to make an informed decision:
1. Assess the Damage
Begin by thoroughly examining the gas tank to determine the extent of the damage. Look for leaks, cracks, or corrosion. This will help you understand what type of repair solution is needed.
2. Research Compatible Products
Once you know the extent of the damage, research compatible repair kits. Look for kits specifically designed for your car make and model, as this will help ensure proper and effective repairs.
3. Compare Features and Prices
Compare several options based on features, ease of use, and pricing. Sometimes, investing in a slightly more expensive kit can provide better durability and a more comprehensive solution, making it a worthwhile choice.
4. Read Customer Reviews
Explore customer feedback and reviews for the kits you are considering purchasing. Positive reviews can indicate effectiveness and reliability, while concerns or complaints may help you avoid poor-quality products.
5. Purchase and Prepare
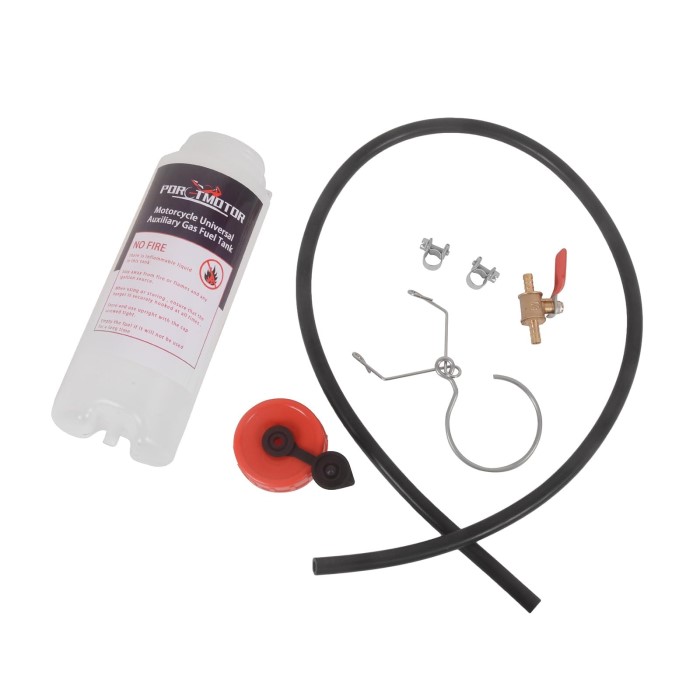
After selecting the right gas tank repair kit, purchase it and prepare your workspace. Gather all necessary tools and safety gear, such as gloves, goggles, and a well-ventilated area, before starting the repair process.
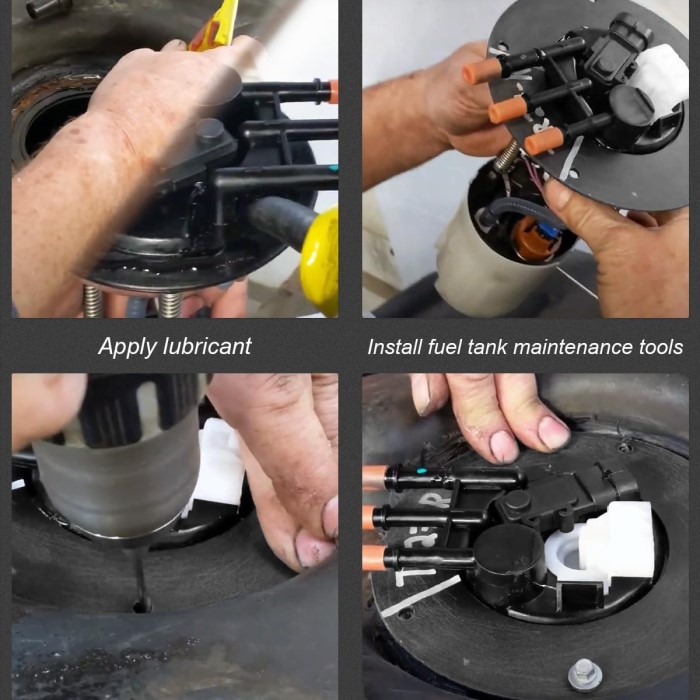
How to Use a Gas Tank Repair Kit
Using a gas tank repair kit involves careful attention to detail and following the included instructions. Here’s a general step-by-step guide to using a gas tank repair kit effectively:
1. Safety First
Before starting any repairs, ensure you take proper safety precautions. Work in a well-ventilated area, wear gloves and safety goggles, and ensure that the gas tank is completely empty. Dispose of any old fuel responsibly.
2. Clean the Area
Thoroughly clean the damaged area of the gas tank. Use a clean cloth and appropriate cleaning agents to remove any dirt, grease, or rust. A clean surface allows for better adhesion of the repair materials.
3. Apply the Repair Material
Follow the instructions provided in your gas tank repair kit to apply the repair material. Use enough adhesive or patch to cover the damaged area adequately. If using a patch, ensure it overlaps the edges of the damage for a secure bond.
4. Allow to Cure
Once you’ve applied the repair material, allow it to cure for the recommended amount of time. This may vary based on the specific product being used. Do not rush this step, as proper curing is essential for a successful repair.
5. Reassemble and Test
Reassemble Any Necessary Components
- Once the curing process is complete, it may be necessary to reassemble any components that were removed or adjusted during the repair.
- Carefully follow the steps you initially took to disassemble these parts, ensuring that you put everything back in its correct position for optimal performance.
- Double-check that all connections are secure and that any hardware, such as bolts or screws, is tightened to the manufacturer’s specifications. This attention to detail can prevent future issues.
Prepare for the Test
- Before proceeding with the leak test, ensure that the workspace is clear of any tools or debris. A clean area helps avoid accidents during this critical phase.
- Gather necessary supplies, including water or fuel, a funnel for pouring, and a clean cloth for any spills.
Conduct a Leak Test
- Begin the leak test by carefully refilling the gas tank with water if you have used sealants or epoxy that are compatible with water. Filling with fuel can also be done directly if the repair method is intended for fuel.
- Use a funnel to help pour liquid into the tank cleanly and minimize spills.
- After filling, allow the tank to sit for a few minutes to enable any potential leaks to become visible.
Inspect for Signs of Leakage
- Thoroughly inspect the repaired area of the gas tank for any signs of leakage. Look for drips, wet spots, or pooling liquid around the affected area.
- It is also prudent to observe the surrounding components and connections to ensure that no leaks have developed elsewhere during the process.
- If you observe any leaks, do not attempt to use the vehicle. Instead, address any issues by referring to the repair kit’s instructions for additional steps you may need to take.
Assess the Repair’s Effectiveness
- Evaluate whether the repair has held up under the test conditions. If everything appears secure and there are no leaks, then the repair has likely been successful.
- If you notice any problems, such as the presence of liquid after testing, you may need to reapply the repair material or consider alternative repair solutions recommended by the manufacturer.
Final Preparations for Service
- Once the leak test confirms that the repair is successful, ensure that any removed components are fully reassembled and functioning correctly.
- If you had removed parts like straps or brackets, reattach them firmly and make sure that they hold the gas tank securely in place.
- Clean any spills or residues from the testing process to maintain a tidy and safe workspace around the vehicle.
Document the Repair
- After completing the repair and successfully testing it, consider documenting the entire process. This includes taking notes about what repairs were made, the materials used, and any observations during testing.
- Keeping a record can be helpful for future maintenance or if similar issues arise, providing a reference for the repair history related to the gas tank.
Prepare for Vehicle Use
- Finally, ensure that you are ready to put the vehicle back in service. Check other aspects of the vehicle that might need attention before driving, such as tire pressure and fluid levels.
- Once everything is confirmed to be in working order, you can safely start your vehicle and resume regular use, knowing that the gas tank repair has been thoroughly executed and tested.
FAQ: Common Questions
To round out your understanding of gas tank repair kits, here are answers to frequently asked questions:
Can a gas tank be repaired?
Yes, in most cases, a gas tank can be repaired using the appropriate repair kit. Leaks, small holes, and cracks can often be effectively addressed with the right materials and techniques.
What is the best thing to patch a gas tank with?
The best materials for patching a gas tank typically include specialized epoxy adhesives or fiberglass patches designed specifically for fuel tanks. These materials are resistant to fuel and create a durable bond.
Is JB Weld good for gas tank repair?
JB Weld can be effective for minor fuel tank repairs if the specific product you choose is compatible with fuel tank repairs. However, it is essential to follow the manufacturer’s guidelines for the best results.
How can I fix a hole in a gas tank?
To fix a hole in a gas tank, clean the area around the hole, apply a suitable patch or adhesive from your gas tank repair kit, and allow it to cure according to instructions. Always follow the safety precautions provided.
Conclusion
In summary, selecting the right gas tank repair kit for your vehicle is crucial for maintaining its performance and safety. By understanding the key features and following the guidelines outlined in this article, you can make an informed decision about which kit is best suited for your repair needs.
Remember to assess the damage, research compatible products, and carefully follow the instructions provided with your repair kit. With the right tools and knowledge, handling your gas tank repairs can be a straightforward and rewarding process. Investing in a high-quality gas tank repair kit not only saves money but also empowers you to take control of your vehicle maintenance effectively. By ensuring you have the proper repair solutions on hand, you can tackle repairs confidently and keep your vehicle running smoothly for years to come.
More Details