Jun 27, 2025
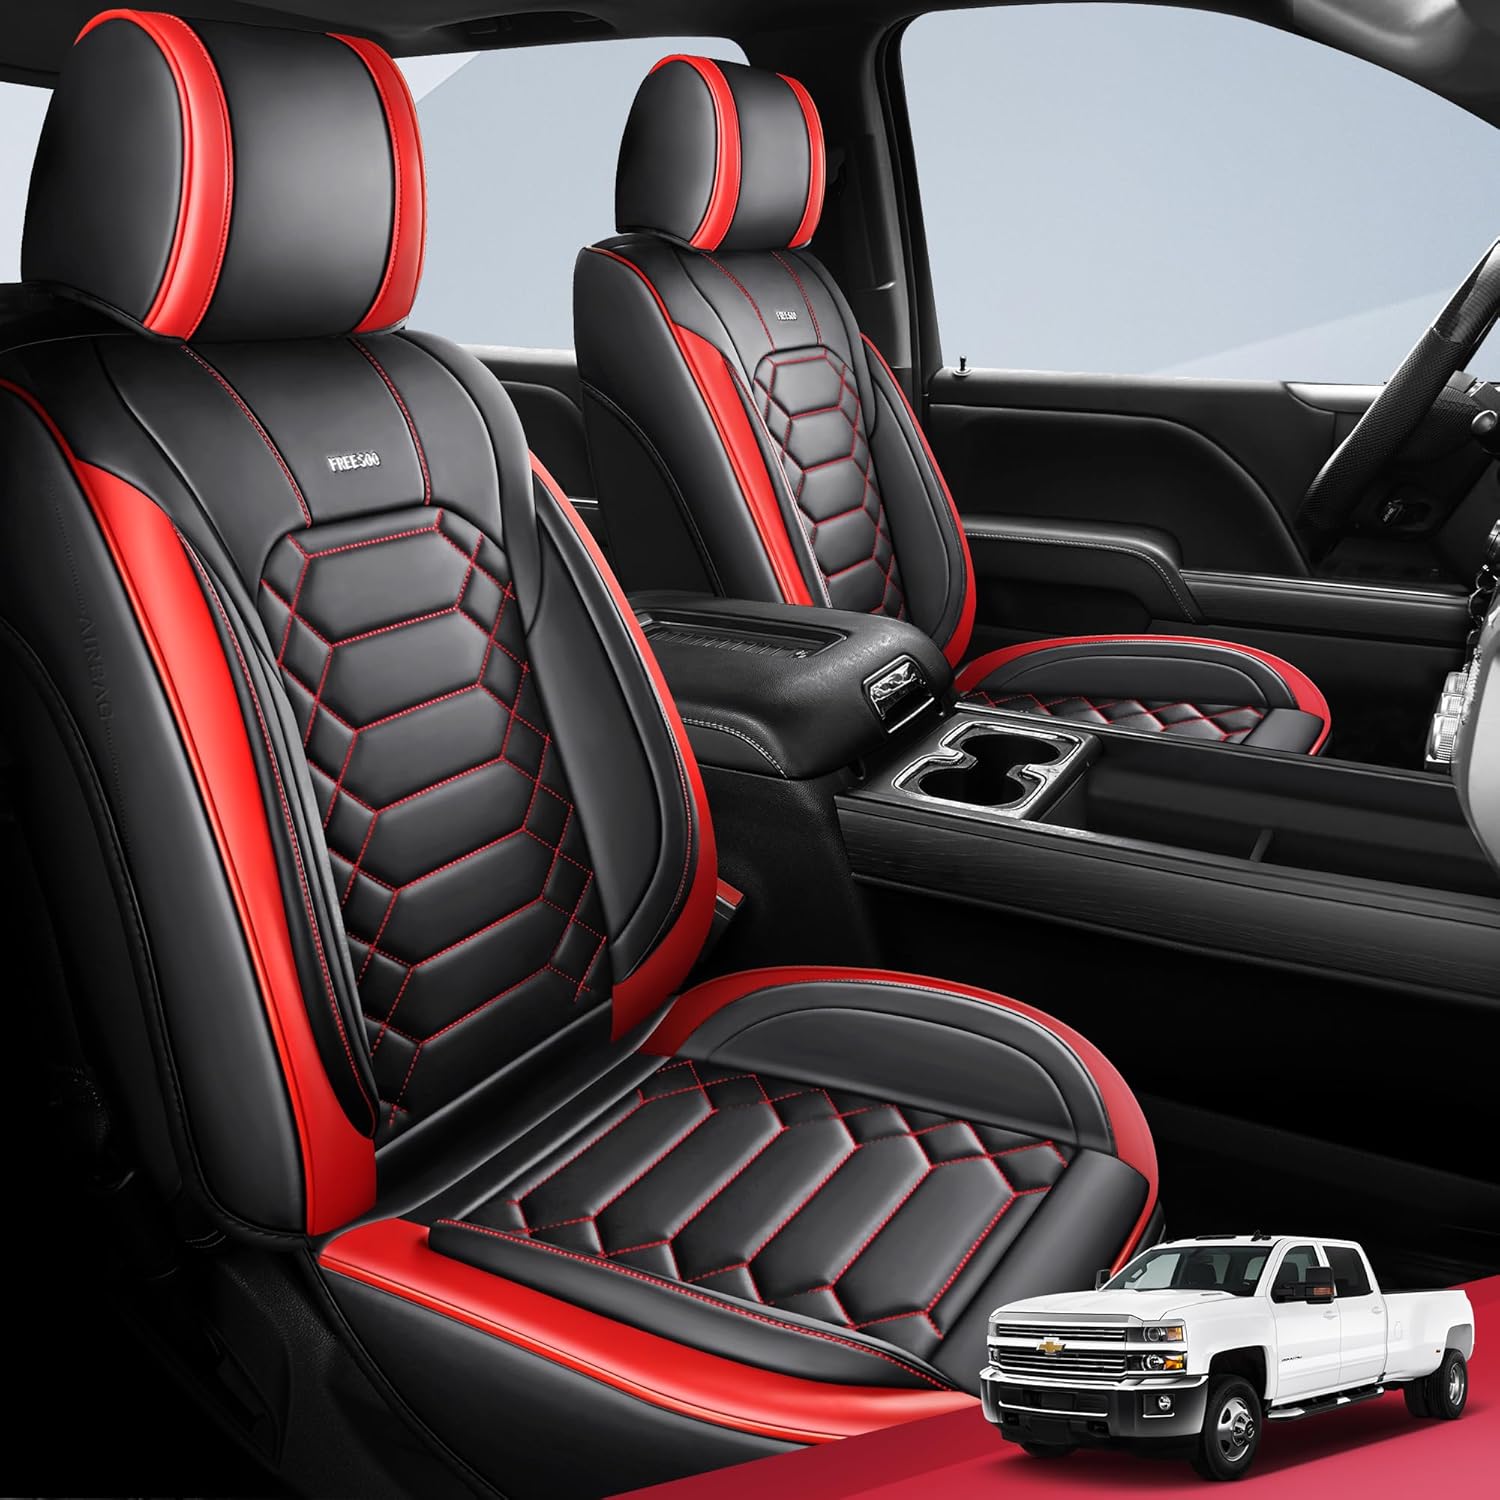
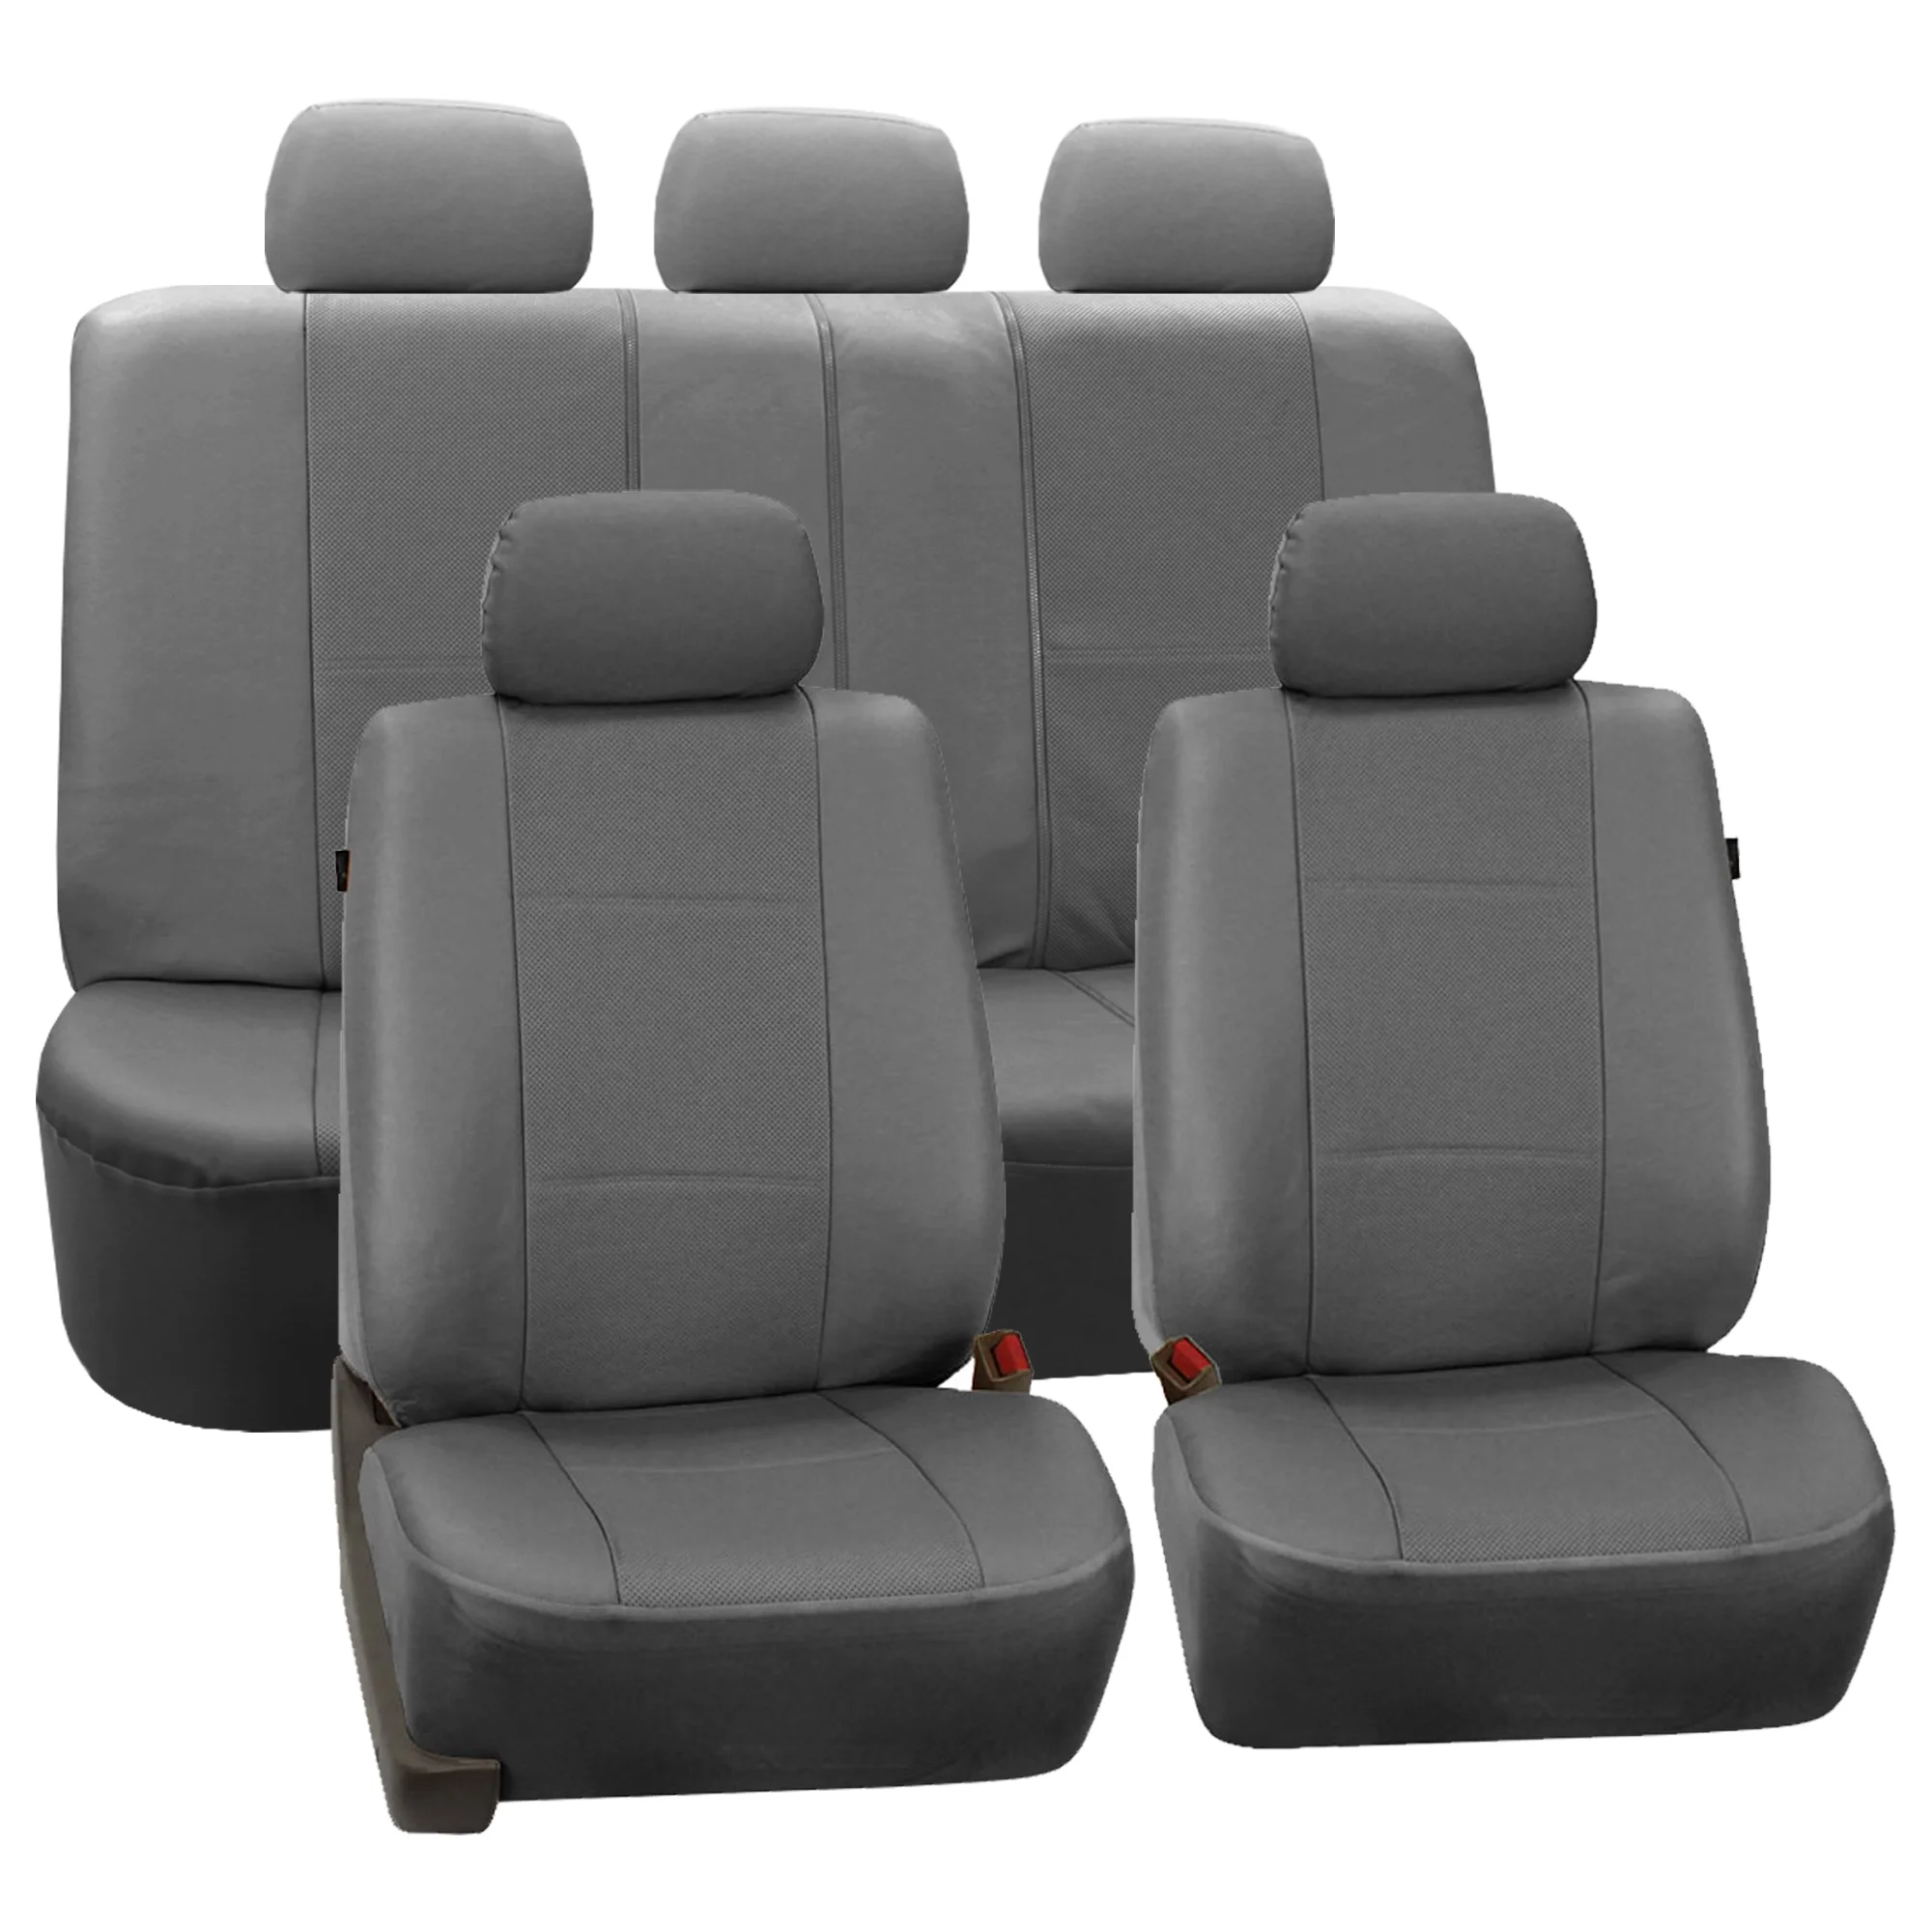
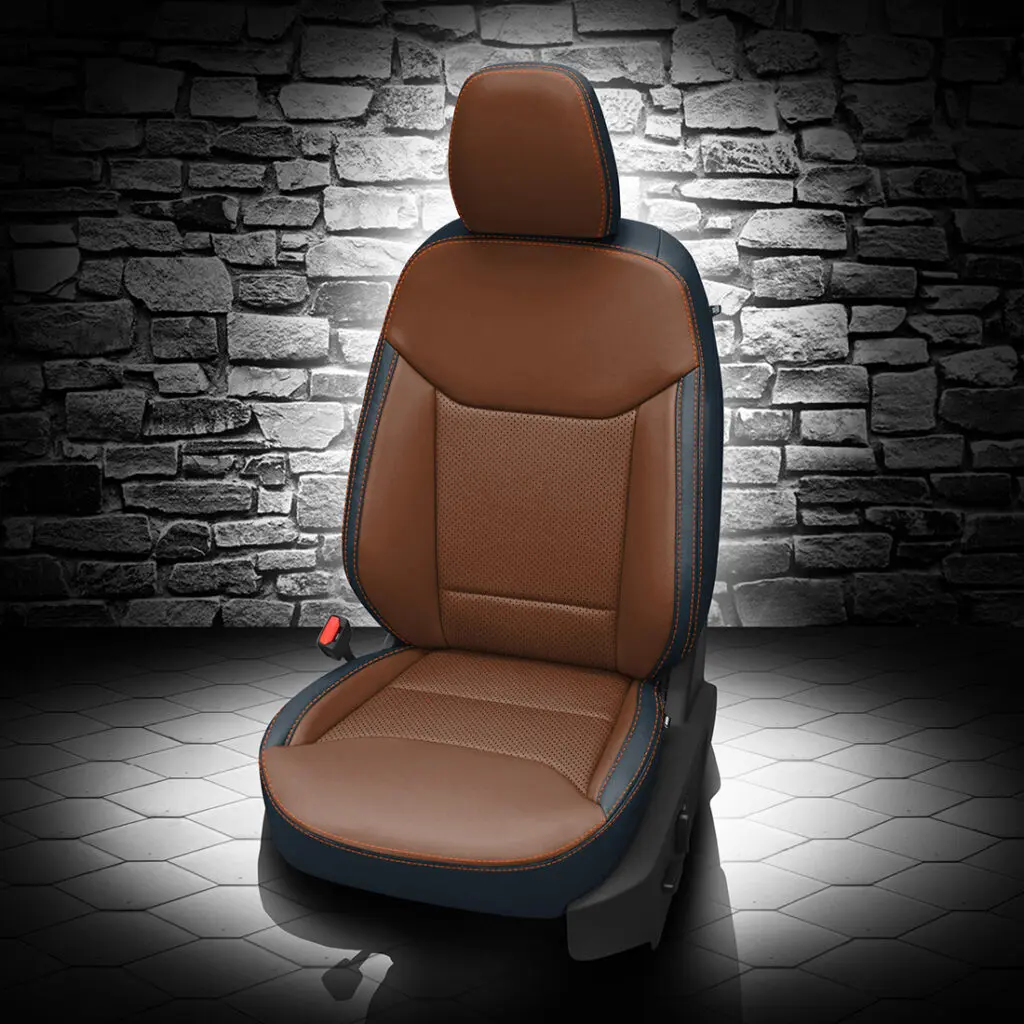
Leather Seat Covers for Trucks: Enhance Your Driving Experience
When it comes to upgrading your truck’s interior, leather seat covers for trucks stand out as a top choice. Not only do they add a touch of luxury, but they also offer practical benefits that enhance your driving experience. Whether you’re looking to protect your seats from wear and tear or simply want to give your truck a stylish makeover, leather seat covers are an excellent investment. In this article, we will explore the various aspects of leather seat covers for trucks, helping you make an informed decision for your vehicle.
 Why Choose Leather Seat Covers?
Leather seat covers provide a range of advantages that make them a preferred option for truck owners. Let’s delve into the key reasons why you should consider them for your truck.
Durability and Protection
One of the main benefits of leather seat covers for trucks is their durability. Trucks often endure rough conditions, from mud and snow to heavy usage. Leather is inherently strong and can withstand significant wear and tear, protecting your seats from spills, stains, and abrasions. Moreover, leather is easier to clean compared to fabric, making maintenance a breeze. By investing in leather seat covers, you ensure that your truck’s interior remains pristine for years to come.
Enhanced Comfort
Leather seat covers are not only stylish but also offer superior comfort. The natural material breathes better than synthetic fabrics, preventing excessive heat buildup during long drives. Additionally, leather conforms to the shape of your body, providing a comfortable seating experience. Many leather seat covers also come with additional padding, further enhancing comfort and support, especially during extended trips.
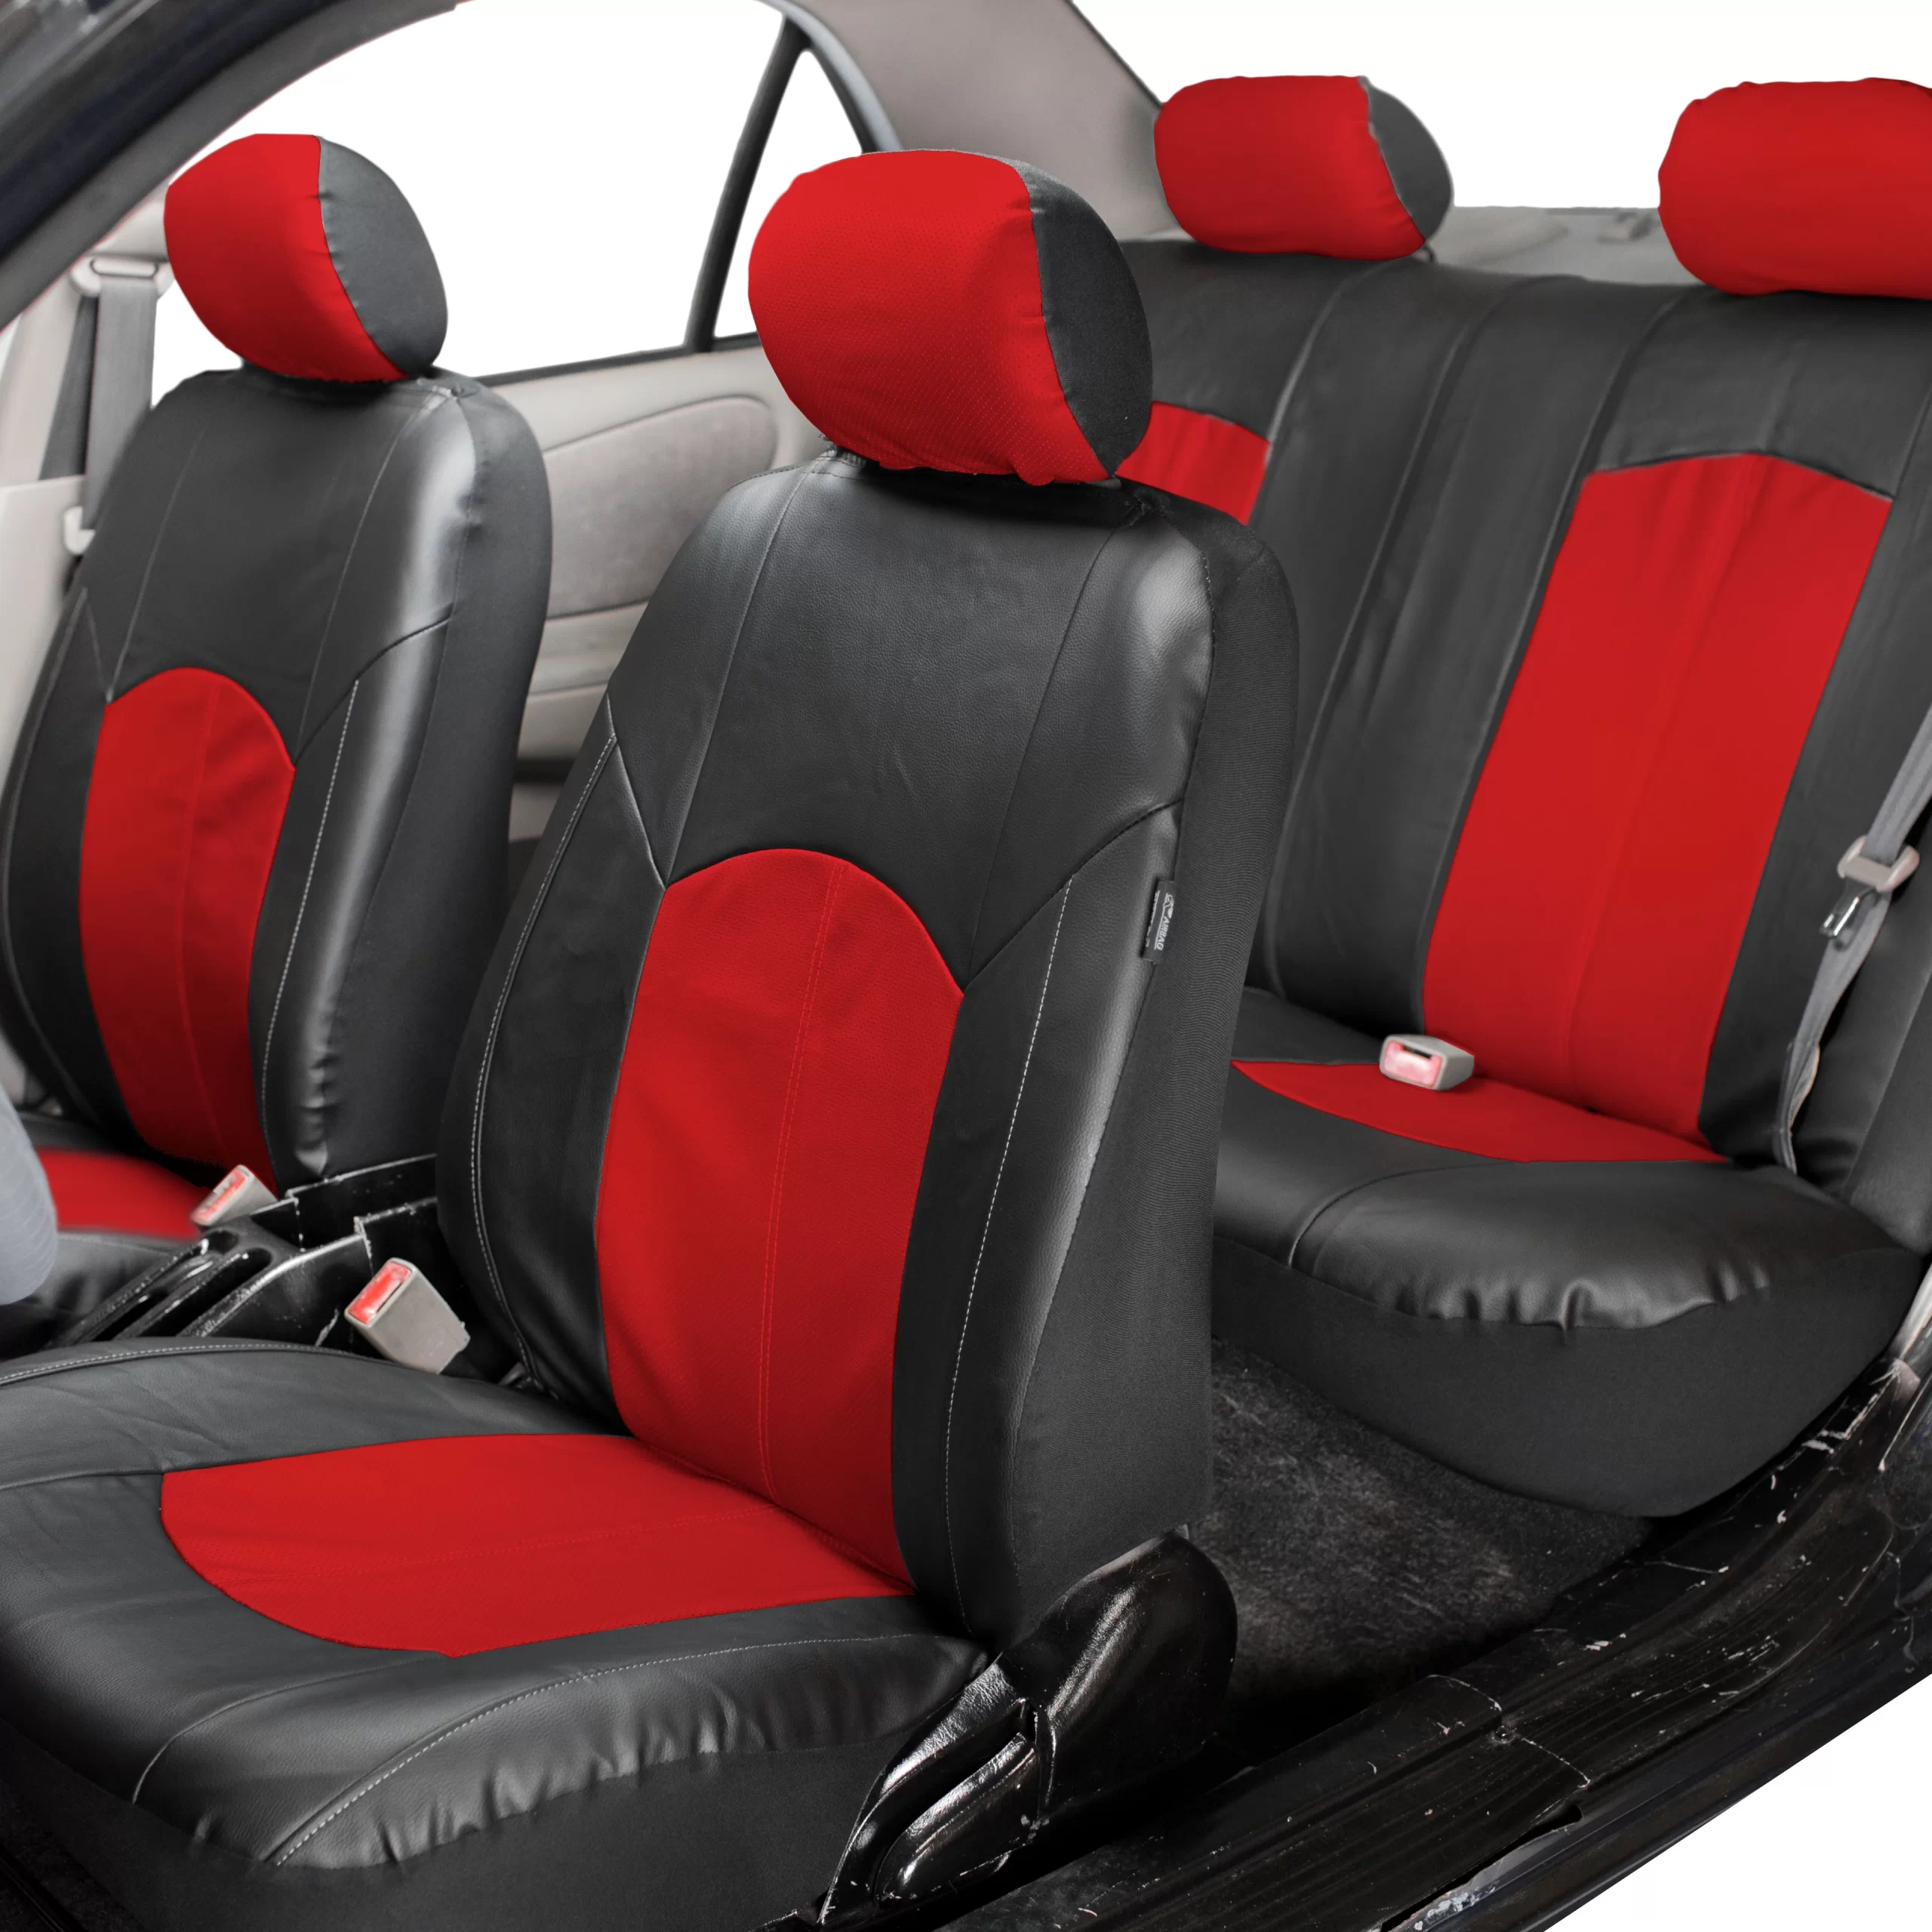
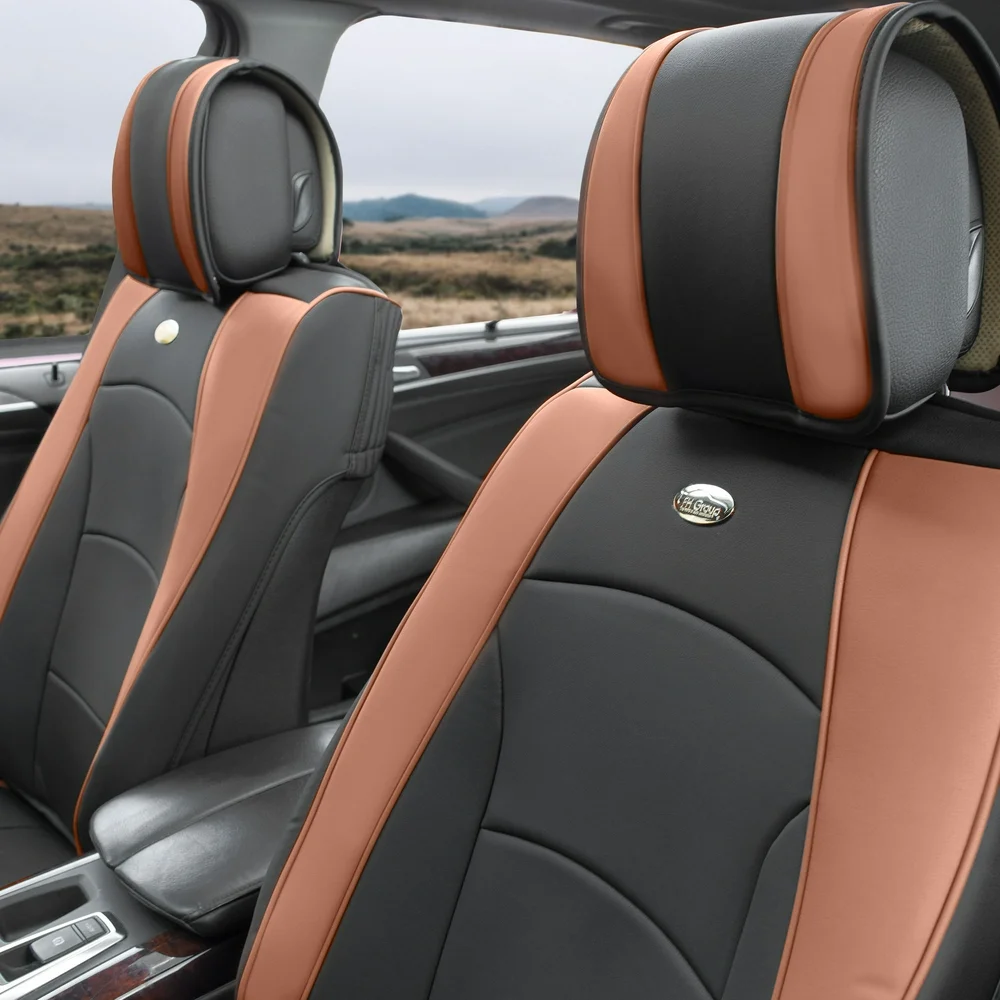
Aesthetic Appeal
Nothing transforms a truck’s interior like high-quality leather seat covers. They add a touch of elegance and sophistication, making your vehicle stand out. Whether you prefer a classic black leather or something more unique like brown or tan, there are numerous options available to match your style. Leather seat covers can also be customized with stitching patterns and colors, allowing you to personalize your truck’s interior to reflect your personality.
Types of Leather Seat Covers
Understanding the different types of leather seat covers available can help you choose the best option for your truck. Let’s explore the most common varieties.
Genuine Leather Seat Covers
Genuine leather seat covers are made from real animal hides, offering authenticity and durability. They are known for their natural texture and luxurious feel. Genuine leather is highly resistant to wear and offers excellent protection against spills and stains. However, it can be more expensive than synthetic alternatives and may require regular maintenance to keep it looking its best.
Synthetic Leather Seat Covers
Synthetic leather, also known as faux leather or PU leather, is a popular alternative to genuine leather. It is more affordable and easier to maintain, making it a practical choice for many truck owners. While synthetic leather may not match the luxurious feel of genuine leather, modern advancements have significantly improved its quality and appearance. It is also more resistant to fading and can be a great option for those seeking a budget-friendly yet stylish solution.
Hybrid Leather Seat Covers
Hybrid leather seat covers combine the best of both genuine and synthetic leather. They often feature a genuine leather layer for aesthetics and a durable synthetic backing for added protection. This combination ensures that you get the luxurious look and feel of leather while benefiting from enhanced durability and easier maintenance. Hybrid leather seat covers are an excellent choice for those who want high quality without the high cost.
 Key Features to Look for in Leather Seat Covers
Choosing the right leather seat covers involves considering several important features. Here are the key aspects to keep in mind.
Fit and Compatibility
Ensuring a proper fit is crucial for both comfort and functionality. Leather seat covers should be tailored to fit your truck’s specific make and model. A well-fitted cover will protect your seats effectively and maintain the aesthetic appeal of your interior. Many manufacturers offer custom-fit options, so it’s essential to measure your seats accurately before making a purchase.
Installation Process
The ease of installation is another important factor. Some leather seat covers are designed for a straightforward installation process, allowing you to install them yourself without much hassle. Others may require professional installation to ensure a perfect fit and finish. Consider your own skill level and time availability when choosing seat covers, and opt for products that match your installation preferences.
Maintenance and Cleaning
Leather seat covers should be easy to maintain to keep them looking their best. Genuine leather may require periodic conditioning to prevent drying and cracking, while synthetic leather is typically easier to clean with just a damp cloth. Look for seat covers that come with clear maintenance instructions and consider how much time you’re willing to invest in upkeep.
Breathability
Breathability is essential for comfort, especially in varying climates. Leather naturally allows air to circulate, preventing the buildup of heat and moisture. This feature is particularly important for truck drivers who spend long hours on the road. Some leather seat covers come with additional ventilation features to enhance breathability further, ensuring a comfortable driving experience.
Benefits of Installing Leather Seat Covers in Your Truck
Installing leather seat covers in your truck offers numerous benefits that go beyond aesthetics. Let’s explore some of these advantages in detail.
Increased Seat Longevity
Leather seat covers protect your original seats from daily wear and tear, significantly extending their lifespan. By shielding the upholstery from spills, stains, and physical damage, you preserve the value of your truck’s interior. This protection is especially valuable if you plan to sell or trade in your truck in the future, as well-maintained seats can enhance resale value.
Improved Resale Value
A well-maintained interior can greatly influence your truck’s resale value. Leather seat covers not only protect the original seats but also add a premium feel to the vehicle. Potential buyers are more likely to appreciate a truck with high-quality leather seating, making it easier to attract interest and secure a better selling price. Investing in leather seat covers is a smart way to maximize your truck’s worth when it’s time to upgrade.
Enhanced Driving Experience
Leather seat covers contribute to a more comfortable and enjoyable driving experience. The smooth texture of leather reduces friction and pressure points, making long drives less tiring. Additionally, the aesthetic upgrade can boost your mood and make every trip feel more luxurious. Whether you use your truck for work or leisure, leather seat covers enhance the overall driving pleasure.
 How to Choose the Right Leather Seat Covers for Your Truck
Selecting the perfect leather seat covers involves evaluating several factors to ensure they meet your needs and preferences. Here are some tips to guide your decision-making process.
Assess Your Needs
Start by considering how you use your truck. If your vehicle is subjected to heavy use, such as hauling or off-roading, durability should be a top priority. For daily commuting, comfort and aesthetics might be more important. Assessing your specific requirements will help you choose seat covers that provide the most value for your situation.
Set a Budget
Leather seat covers come in a wide range of prices, depending on the quality and features. Determine your budget before shopping to narrow down your options. While genuine leather offers the highest quality, synthetic and hybrid options can provide significant savings without sacrificing too much on style or durability. Balancing cost and quality is key to finding the best seat covers for your budget.
Explore Style Options
Leather seat covers are available in various colors, textures, and designs. Choose a style that complements your truck’s interior and reflects your personal taste. Consider factors such as color coordination with existing upholstery, stitching patterns, and any additional features like embossed logos or custom designs. A cohesive look enhances the overall aesthetic appeal of your truck.
Check for Reviews and Recommendations
Before making a purchase, read reviews and seek recommendations from other truck owners. Customer feedback can provide valuable insights into the quality, fit, and performance of different leather seat covers. Look for products with consistently positive reviews and high ratings to ensure you’re investing in a reliable and well-regarded option.
Installation Tips for Leather Seat Covers
Proper installation ensures that your leather seat covers fit securely and function effectively. Here are some tips to help you install them correctly.
Gather Necessary Tools
Before starting the installation, gather any tools or materials you might need. This could include screwdrivers, pliers, or a measuring tape, depending on the type of seat covers you’ve chosen. Having everything on hand will make the process smoother and prevent any interruptions.
Follow Manufacturer Instructions
Always follow the manufacturer’s installation instructions carefully. Each product may have unique steps or requirements, and adhering to these guidelines ensures a proper fit and finish. If the instructions are unclear, refer to online tutorials or contact customer support for assistance.
Take Your Time
Rushing through the installation can lead to mistakes or improper fitting. Allocate enough time to complete the process without feeling pressured. Carefully position each seat cover, ensuring it aligns correctly with the seat’s contours and features like seat belts or airbags.
Secure the Seat Covers
Once the seat covers are in place, make sure they are securely fastened. This prevents any movement or shifting while driving, maintaining both comfort and safety. Check all straps, buckles, or hooks used to attach the covers, and tighten them as needed to ensure a snug fit.
 Maintenance and Care for Leather Seat Covers
Proper maintenance keeps your leather seat covers looking new and extends their lifespan. Here are some essential care tips.
Regular Cleaning
Wipe down your leather seat covers regularly with a soft, damp cloth to remove dust and debris. For more thorough cleaning, use a leather-specific cleaner following the product’s instructions. Avoid using harsh chemicals or abrasive materials, as they can damage the leather.
Conditioning
Leather can dry out over time, leading to cracks and loss of flexibility. To prevent this, apply a leather conditioner every few months. Conditioning restores moisture and keeps the leather supple, maintaining its appearance and durability.
Protect from Sunlight
Prolonged exposure to direct sunlight can cause leather to fade and deteriorate. Whenever possible, park your truck in shaded areas or use sunshades to minimize UV exposure. This helps preserve the color and integrity of your leather seat covers.
Address Spills Immediately
Accidents happen, but addressing spills promptly can prevent permanent stains. Blot the spill with a clean cloth to absorb as much liquid as possible, then clean the area with a leather-specific cleaner. Avoid rubbing, as this can spread the stain or push it deeper into the material.
Common Myths About Leather Seat Covers
There are several misconceptions surrounding leather seat covers. Let’s debunk some common myths to help you make an informed decision.
Myth 1: Leather Seat Covers Are Only for Luxury Vehicles
While leather is often associated with luxury, leather seat covers for trucks are designed to provide both style and practicality for any vehicle. They are popular among truck owners for their durability, comfort, and aesthetic appeal, regardless of the truck’s original interior quality.
Myth 2: Leather Seat Covers Are Difficult to Clean
In reality, leather seat covers are relatively easy to maintain. Regular wiping and occasional conditioning keep them looking pristine. Unlike fabric seats, they don’t absorb liquids or stains, making cleaning straightforward and hassle-free.
Myth 3: Leather Seat Covers Are Uncomfortable
Modern leather seat covers are designed with comfort in mind. They often feature additional padding and ergonomic designs that enhance seating comfort. The natural breathability of leather also prevents overheating, ensuring a comfortable ride in any climate.
Myth 4: Leather Seat Covers Are Expensive
While genuine leather seat covers can be a significant investment, there are many affordable synthetic and hybrid options available. These alternatives offer similar benefits at a lower cost, making leather seat covers accessible to a wider range of truck owners.
 Frequently Asked Questions About Leather Seat Covers
Here are answers to some common questions regarding leather seat covers for trucks.
Are Leather Seat Covers Universal?
Leather seat covers come in various sizes and styles to fit different truck models. It’s essential to choose covers specifically designed for your truck’s make and model to ensure a proper fit. Universal seat covers may not provide the same level of protection or aesthetic appeal as tailored options.
Can Leather Seat Covers Be Removed and Reinstalled Easily?
Most leather seat covers are designed for easy installation and removal. They typically feature straps, hooks, or velcro that allow you to take them off without damaging your seats. This flexibility is useful for cleaning or switching back to the original seats when needed.
Do Leather Seat Covers Affect Airbags?
Quality leather seat covers are designed to accommodate airbags and other safety features. However, it’s crucial to choose covers that are compatible with your truck’s safety systems. Always check the product specifications and installation instructions to ensure they don’t interfere with airbags or seatbelt functionality.
How Long Do Leather Seat Covers Last?
The lifespan of leather seat covers depends on the material quality and maintenance. Genuine leather covers can last several years with proper care, while synthetic and hybrid options may have a slightly shorter lifespan. Regular cleaning and conditioning can significantly extend the life of your seat covers.
Conclusion: Invest in Leather Seat Covers for a Superior Interior
In conclusion, leather seat covers for trucks offer a perfect blend of style, comfort, and protection. They enhance the aesthetic appeal of your vehicle while providing practical benefits that safeguard your seats from everyday wear and tear. With various types and styles available, you can choose the perfect seat covers to match your truck’s interior and your personal preferences. Investing in leather seat covers not only improves your driving experience but also increases the longevity and resale value of your truck. Elevate your truck’s interior today with premium leather seat covers and enjoy the lasting benefits they bring.
 Why Seat Covers Are Essential for Your RV
 Factors to Consider When Choosing Seat Covers for Your RV
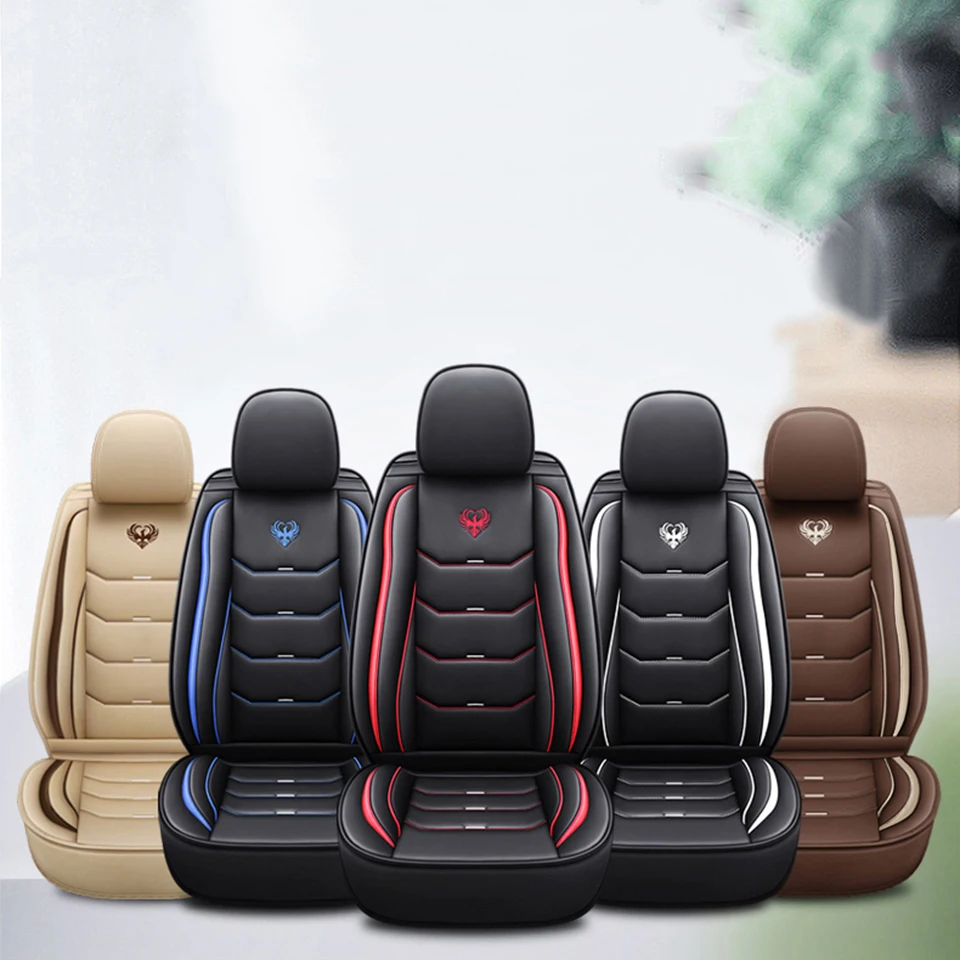 Installation Tips for RV Seat Covers
 Maintenance Tips for Longevity
 Conclusion: Elevate Your RV Travels with the Right Seat Covers
 Common BMW Warning Lights and Their Meanings
 Steps to Take When Warning Lights Appear on a Ramp
 How to Interpret and Respond to Specific Warning Lights
 Advanced Troubleshooting Tips for BMW Owners
 Conclusion
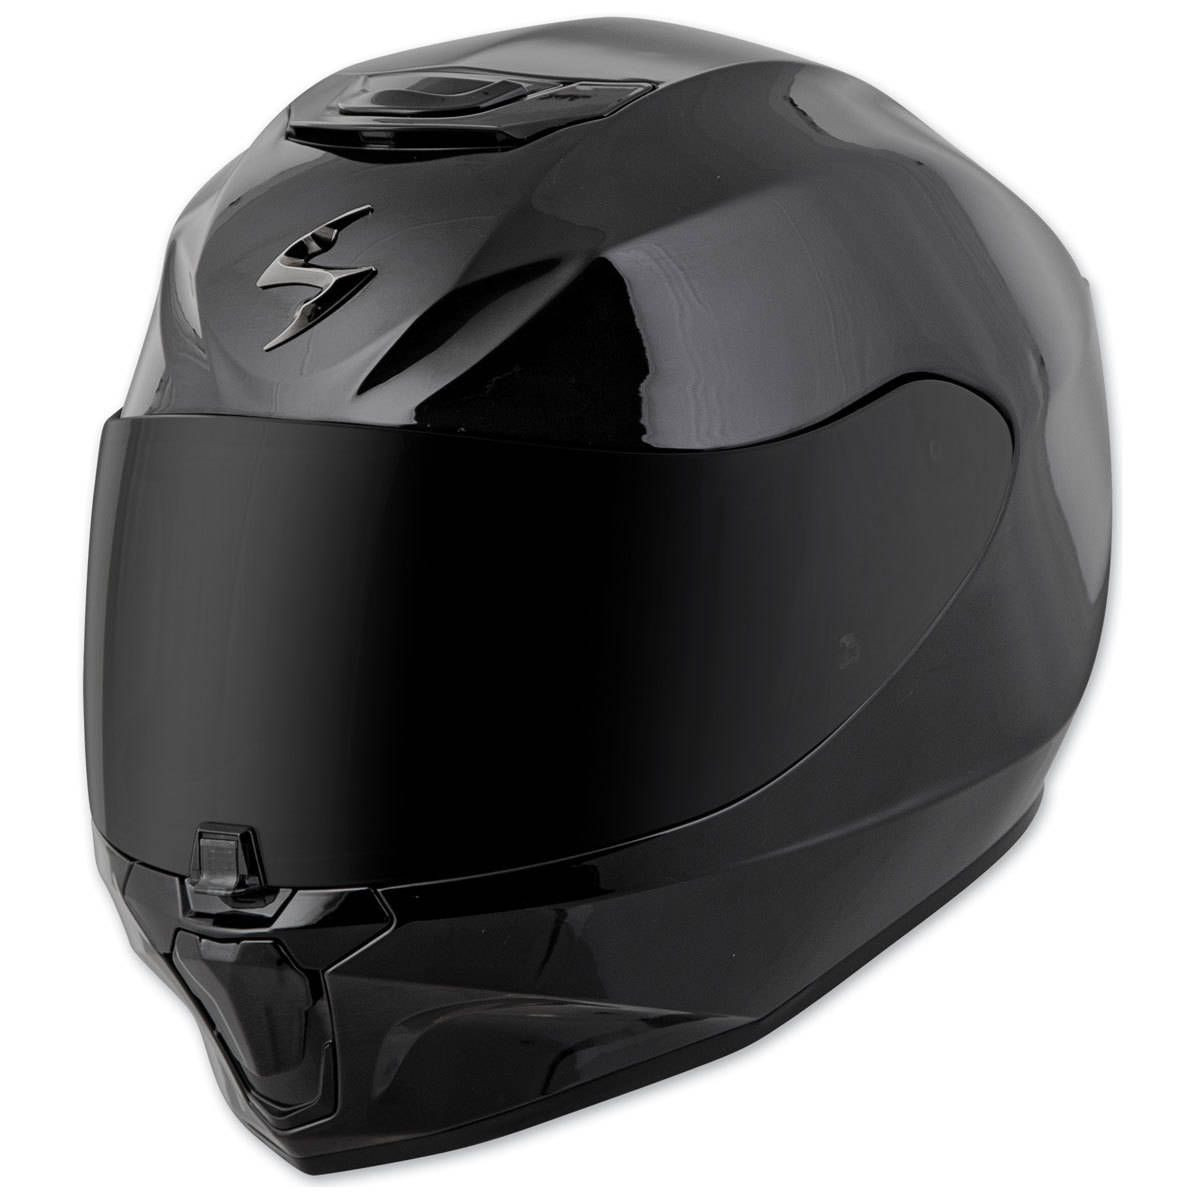
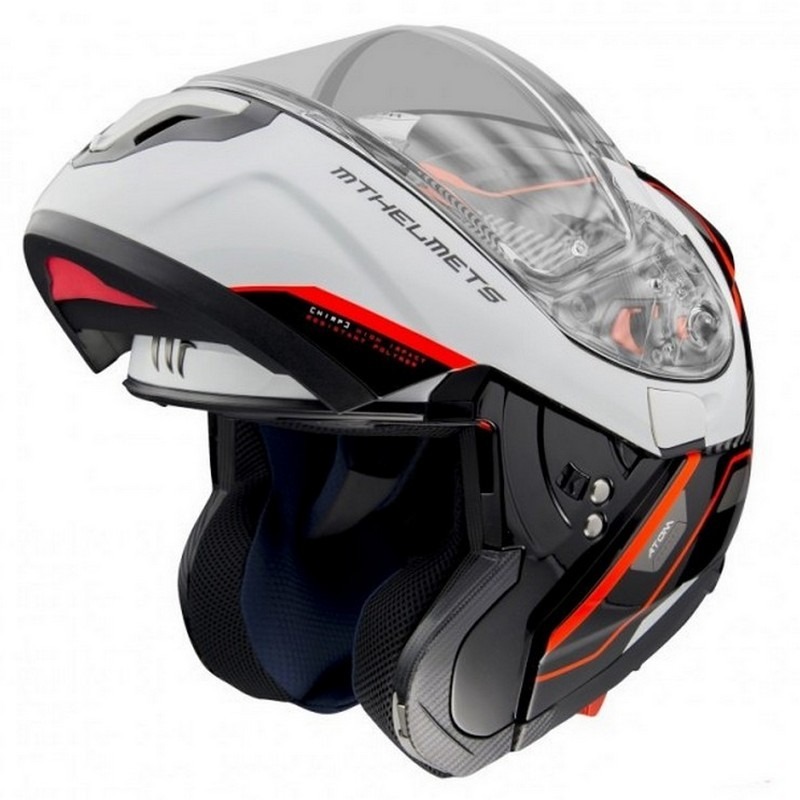
 Understanding Adventure Motorbike Helmets
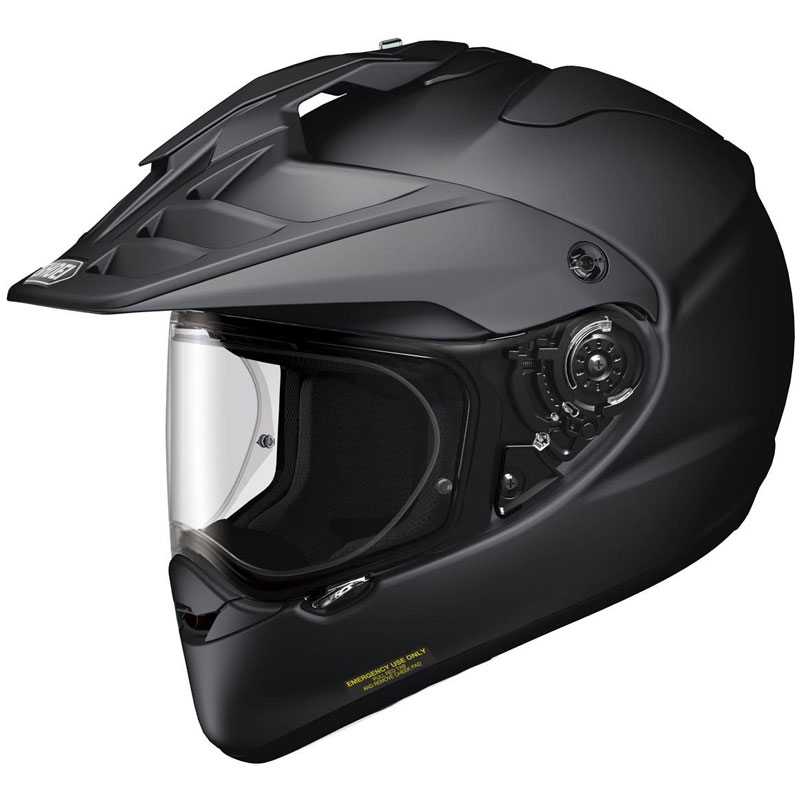 Safety Standards and Certifications
 Comfort and Fit: Ensuring a Perfect Match
 Maintenance and Care for Your ADV Helmet
 Conclusion
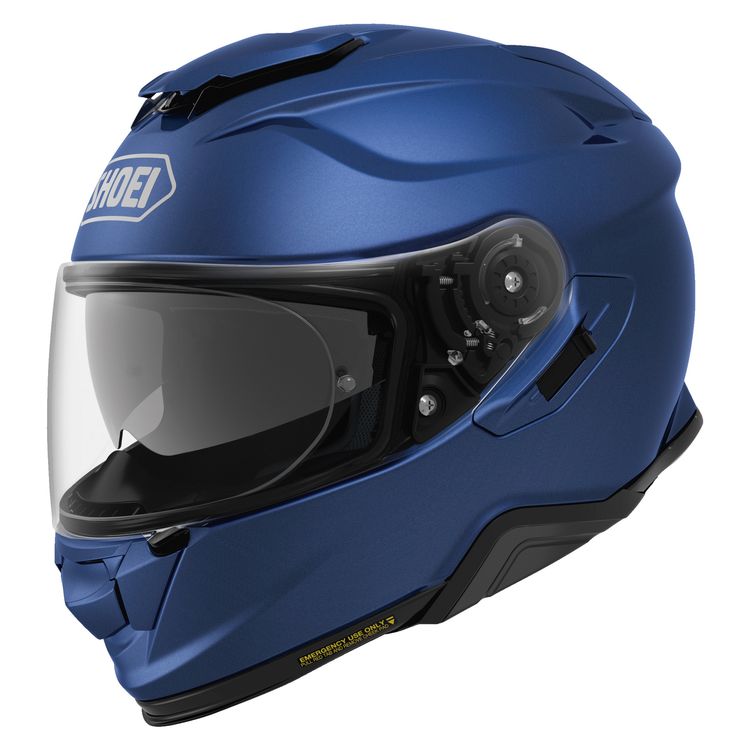
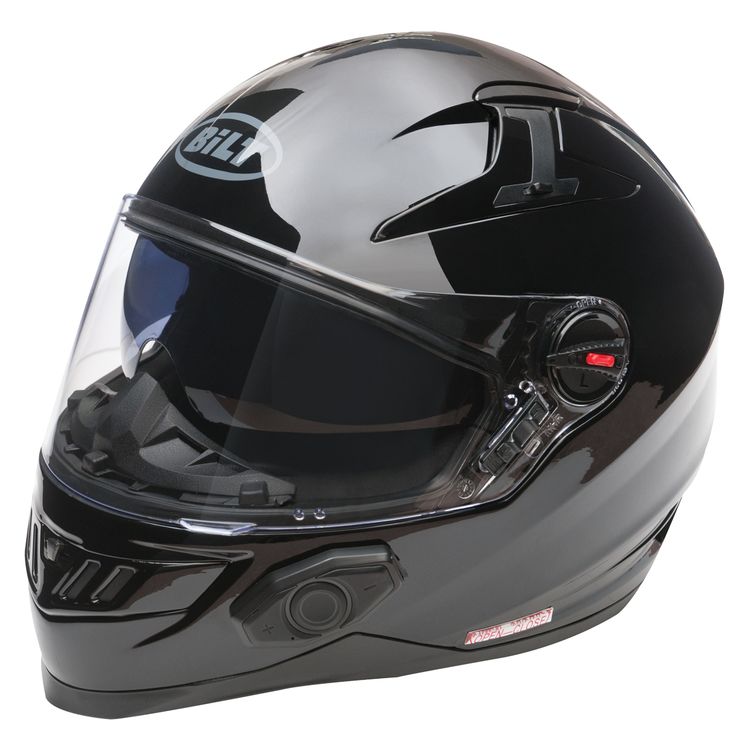
 Why Choose a Bluetooth Motorcycle Helmet?
 Top-Rated Bluetooth Motorcycle Helmets on the Market
 Installation and Maintenance of Bluetooth Motorcycle Helmets
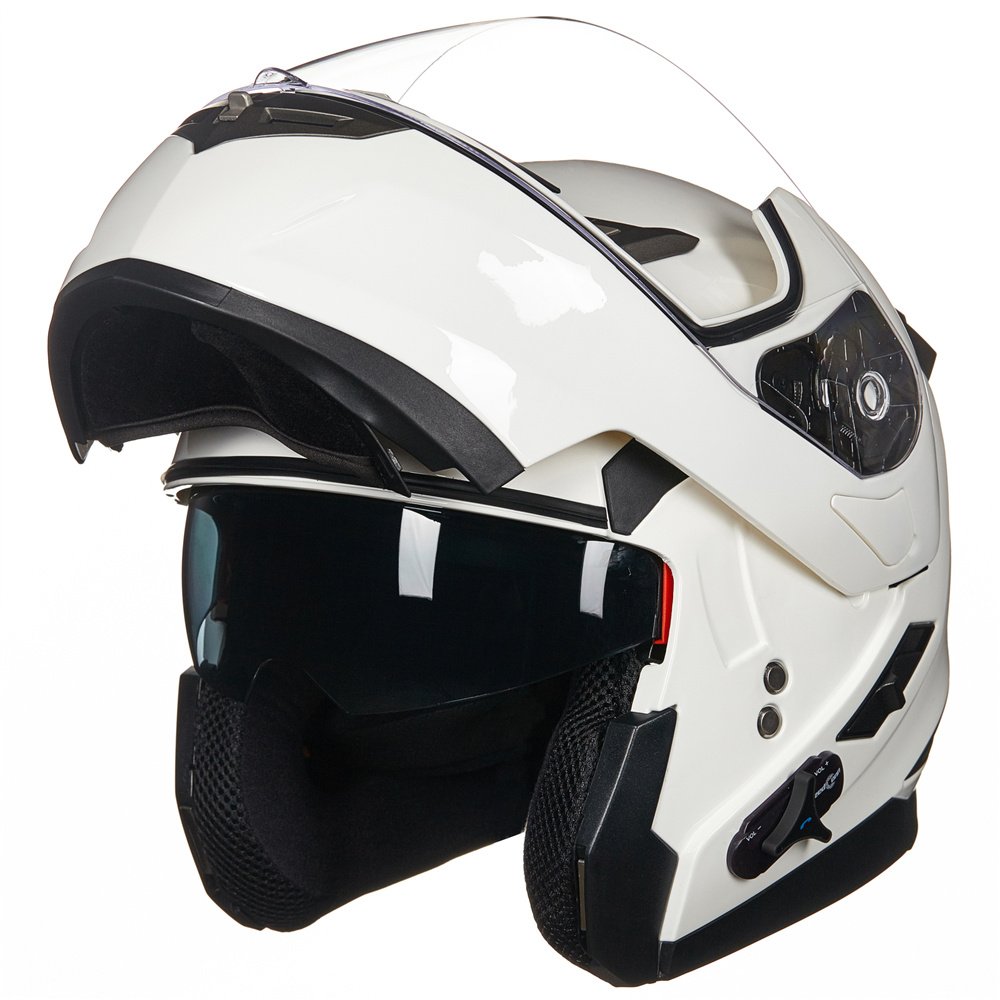 Future Trends in Bluetooth Motorcycle Helmets
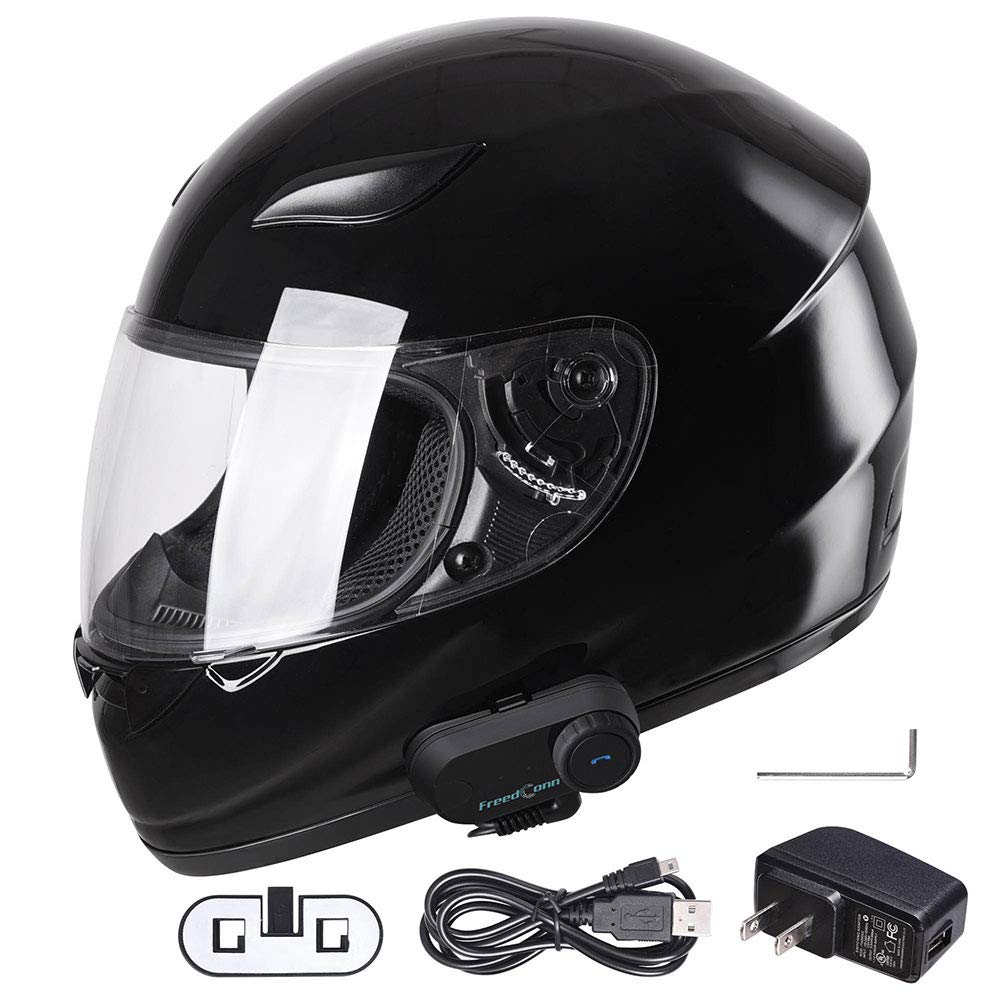 Conclusion
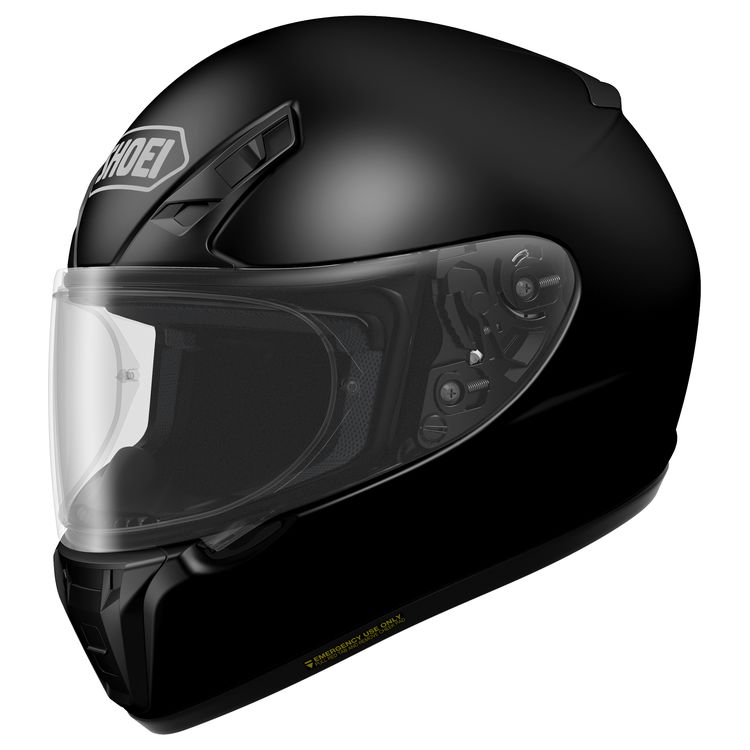
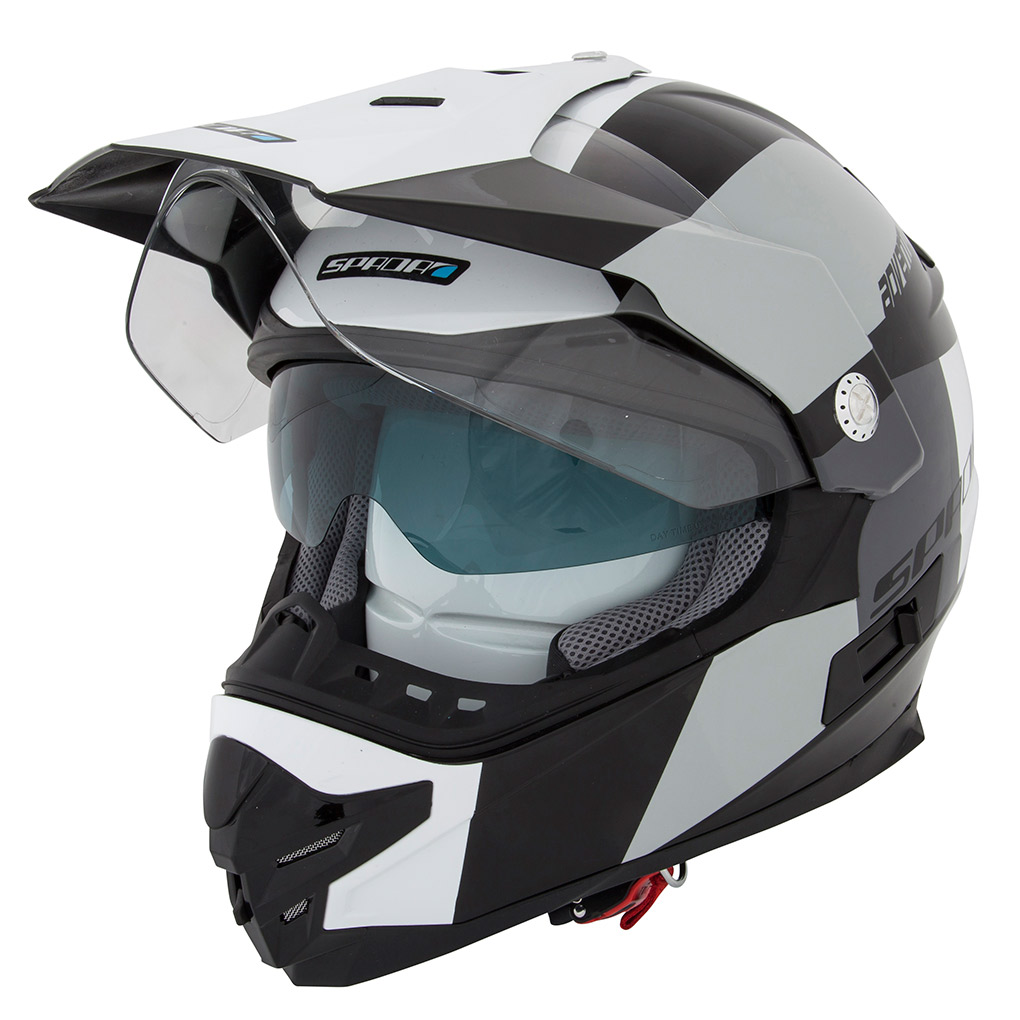 Why the Best Adventure Helmet Matters
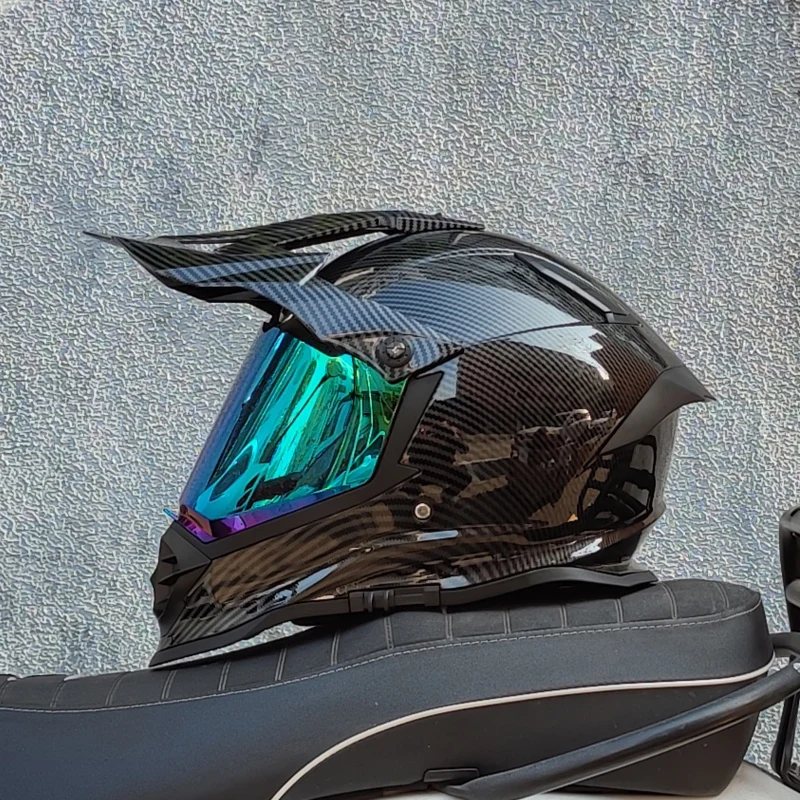 Top Brands Offering the Best Adventure Helmets
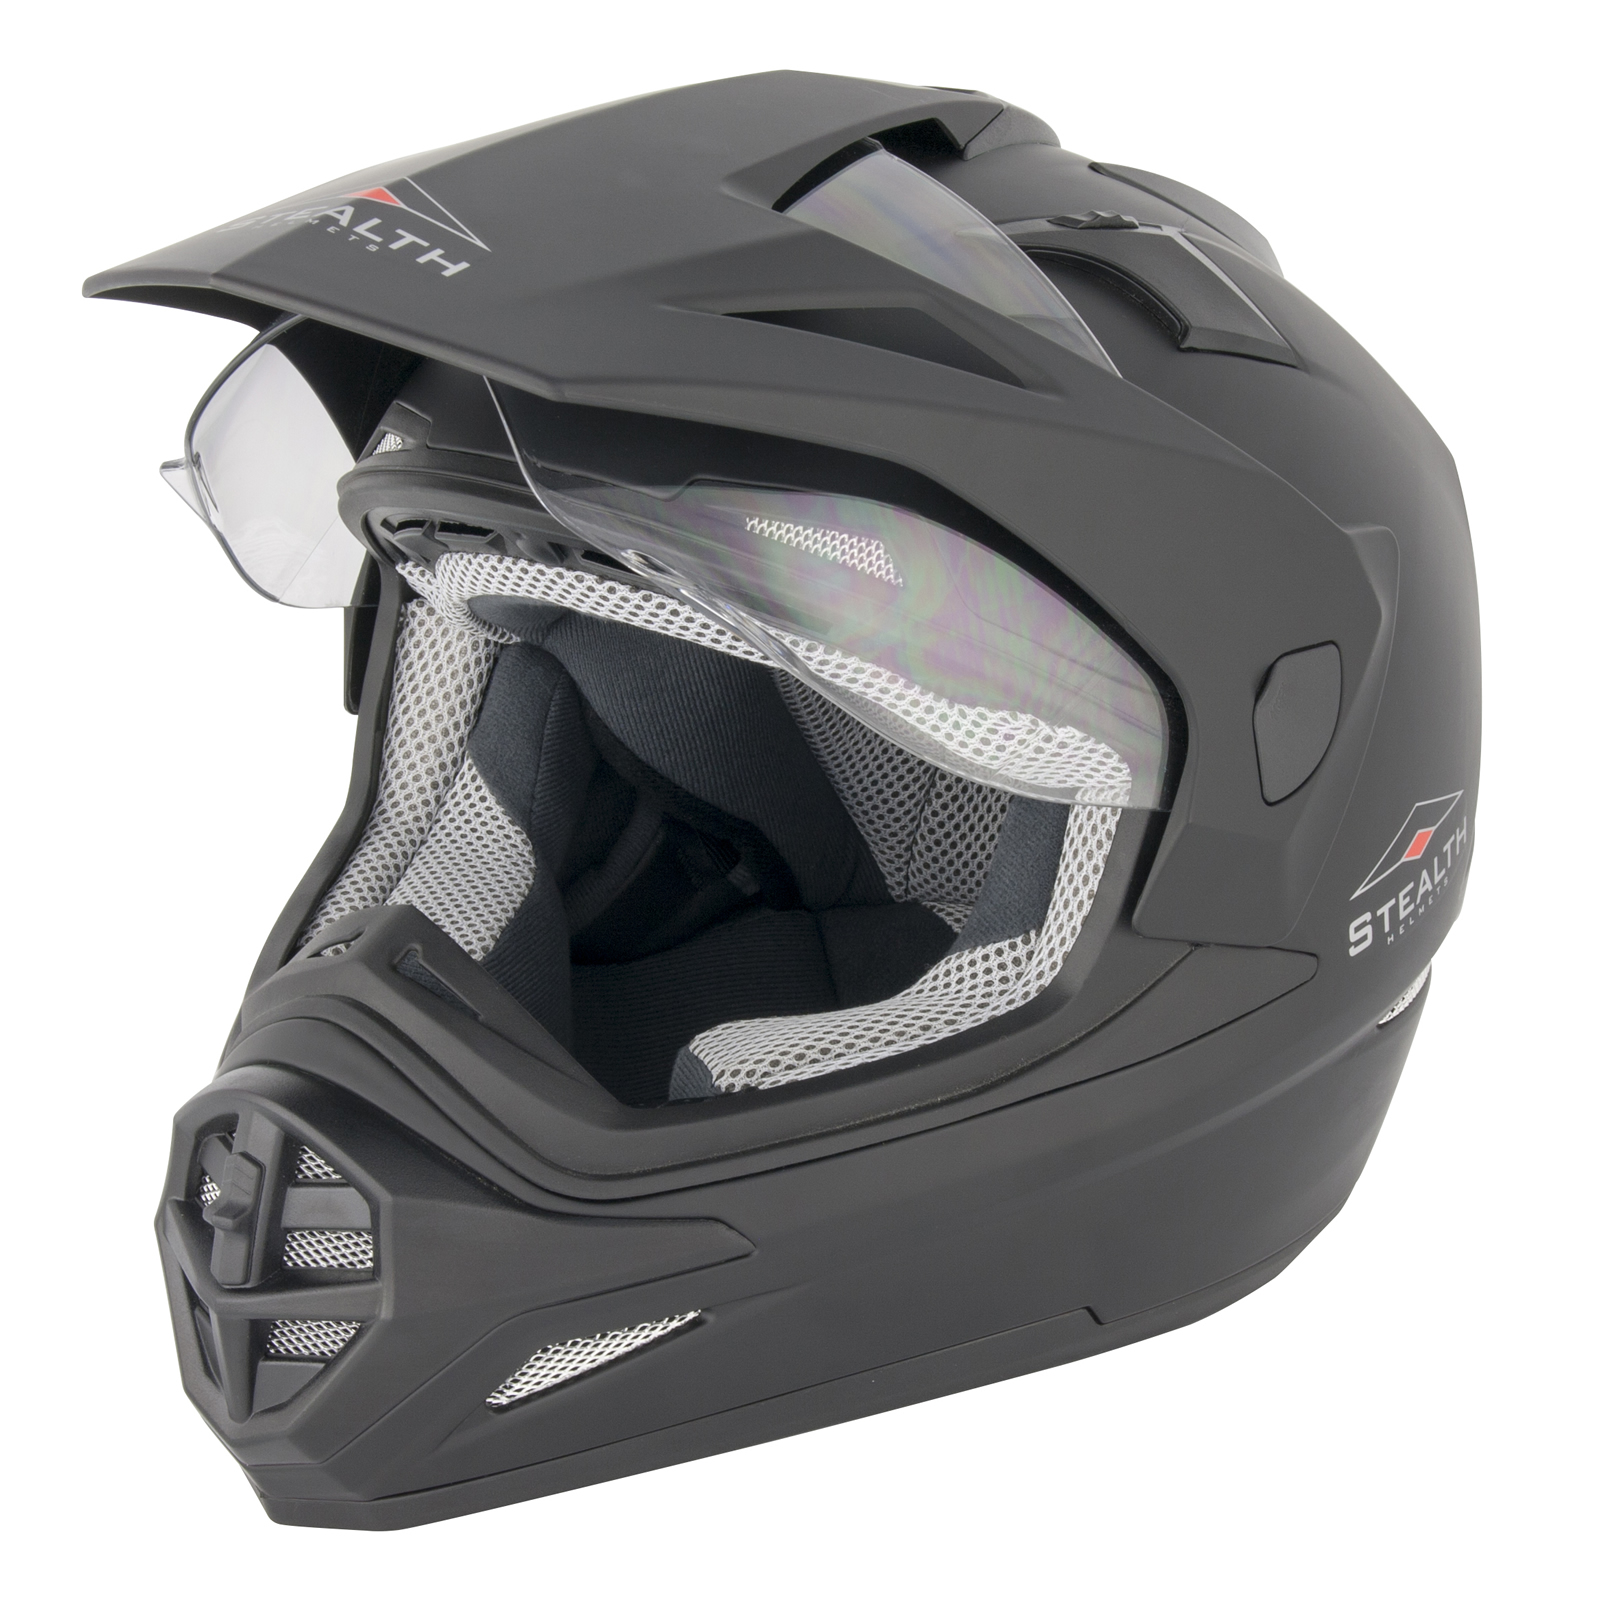 Additional Accessories for the Best Adventure Helmet
 Common Mistakes to Avoid When Choosing the Best Adventure Helmet
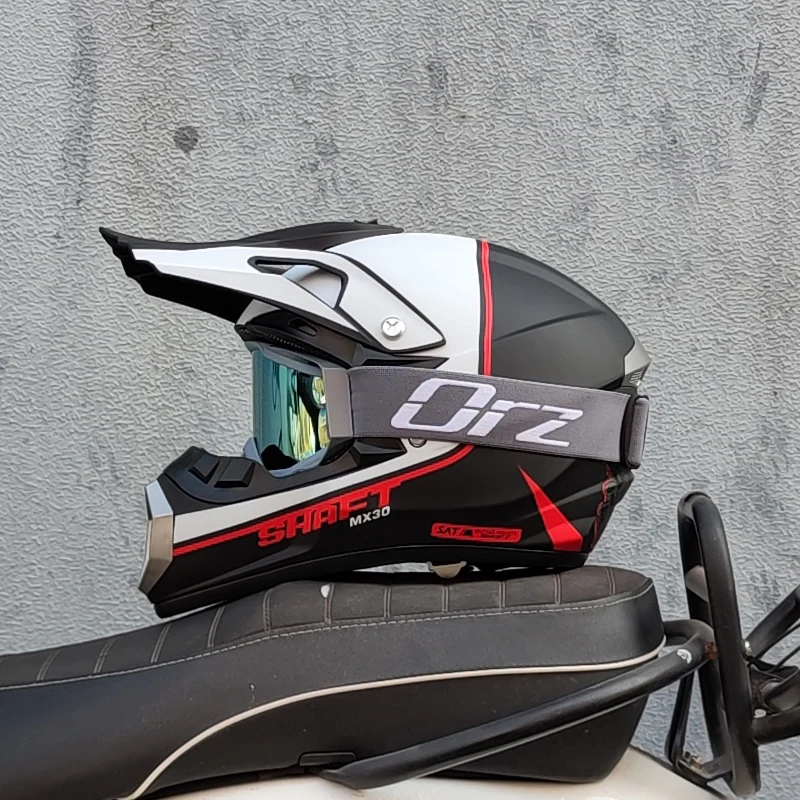 The Future of the Best Adventure Helmet