Feb 24, 2025
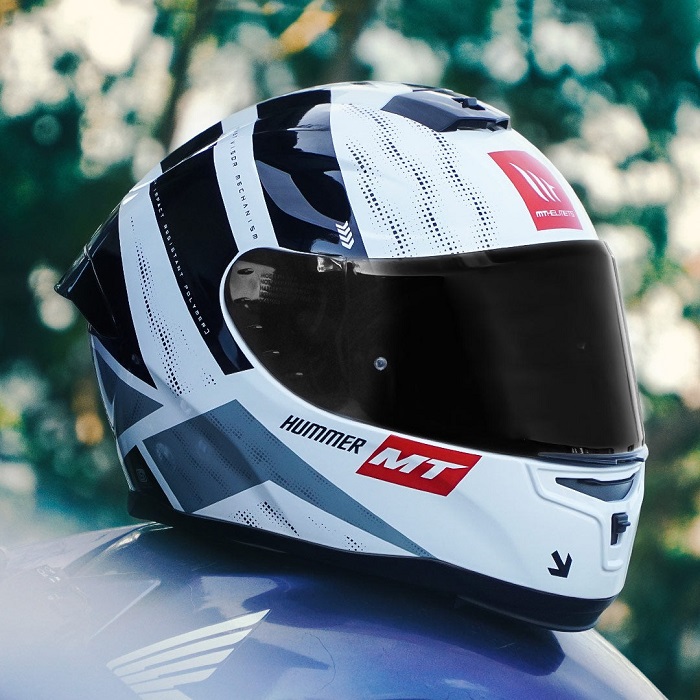
How Often Should You Get a New Motorcycle Helmet
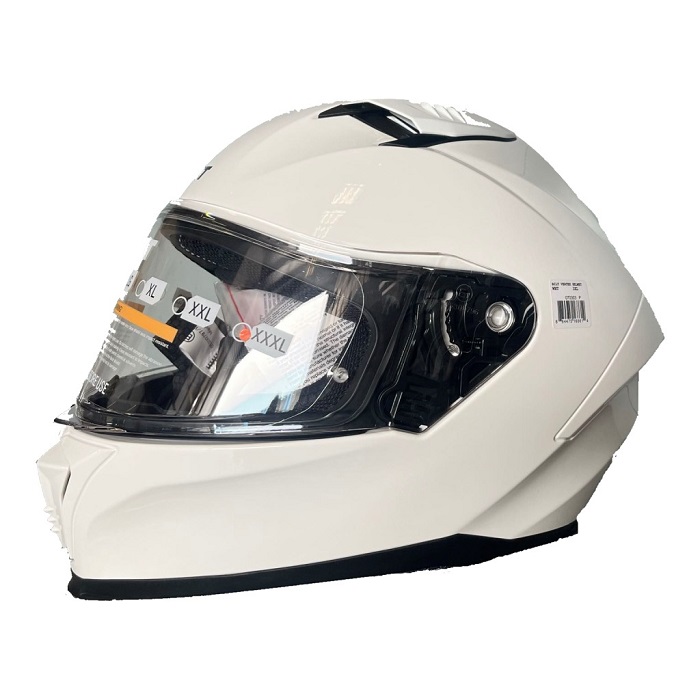
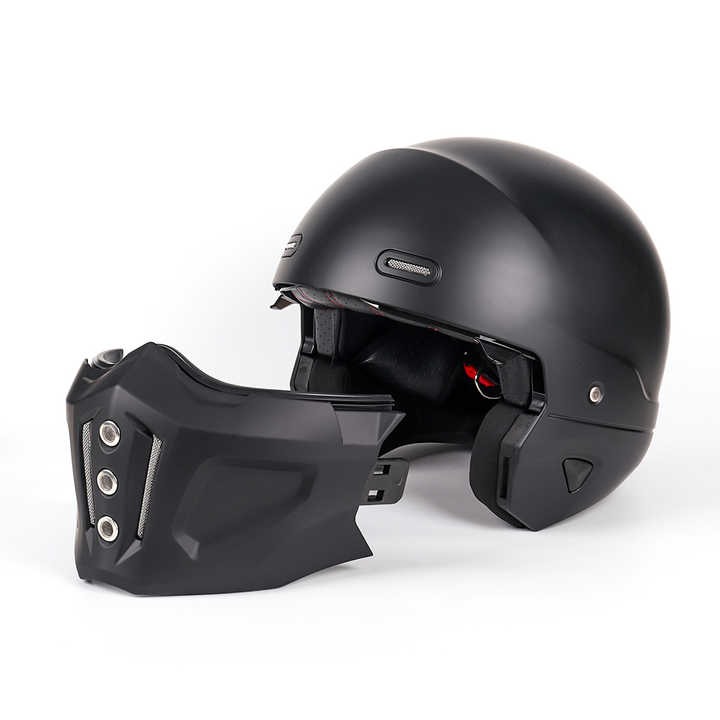
Understanding Helmet Lifespan
Understanding the general lifespan of a motorcycle helmet is crucial. A common rule is to replace helmets every five years. However, this can vary based on several factors.
For starters, the materials used to construct helmets degrade over time. Constant exposure to sunlight and the oils from your skin can break down the helmet’s inner linings and shell. It’s not just about visible wear and tear; the ability of a helmet to protect decreases as the materials age.
Manufacturer’s guidelines should also play a key role in your decision. Each helmet comes with a recommended lifespan from its maker. This advice takes into account the materials and technology used.
Lastly, advancements in helmet technology might make your old helmet obsolete. Safety features improve over time. Newer models may offer better protection and comfort. So even if your helmet looks fine after five years, newer designs might warrant an upgrade.
In this article, we will explore the key considerations that affect how often should you get a new motorcycle helmet and provide guidelines to ensure your safety while riding.
Key Factors That Affect Helmet Longevity
Various key factors can influence how long your motorcycle helmet can last. Understanding these will help you gauge when to consider a replacement.
Materials and Construction Quality
The quality of materials used in constructing a helmet is crucial. High-grade materials tend to last longer. Cheaper helmets might degrade faster due to inferior build quality.
Usage Frequency
The more you use your helmet, the quicker it may wear out. Intensive daily use can speed up the aging process.
Maintenance and Care
Regular cleaning and proper storage play a huge role in extending a helmet’s life. Neglect can lead to faster deterioration.
Environmental Conditions
Sunlight, rain, and extreme temperatures can affect helmet integrity over time. Keep your helmet protected from harsh weather conditions.
Upgrades by the Manufacturer
Manufacturers may improve materials and construction methods. Stay updated on these changes. They could extend a helmet’s lifespan.
Exposure to Chemicals
Harsh chemicals can damage helmet materials. Avoid exposing your helmet to fuels, cleaning agents, and paint.
When considering how often should you get a new motorcycle helmet, keep these factors in mind. They aren’t just indicators of when to replace your helmet, but also guidelines on how to maintain it. Look after your helmet, and it will look after you.
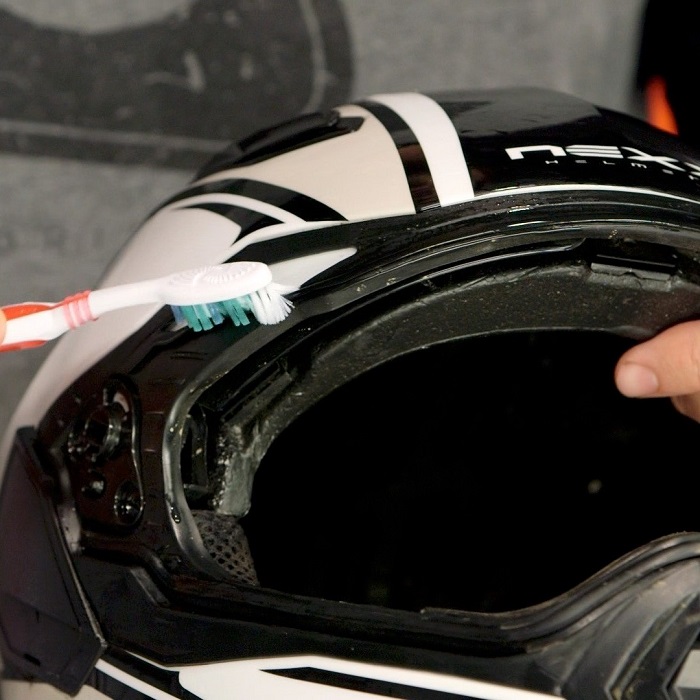
Recognizing Wear and Tear
Recognizing when a motorcycle helmet exhibits wear and tear is important. Wear and tear on your helmet can compromise your safety. Here’s what to look out for:
Visual Inspection
Start with a visual check. Look for cracks, dents, or scratches on the shell. Even small fractures can reduce protection.
Interior Condition
Check the padding and lining inside. Over time, they can compress or come loose. This lessens impact absorption.
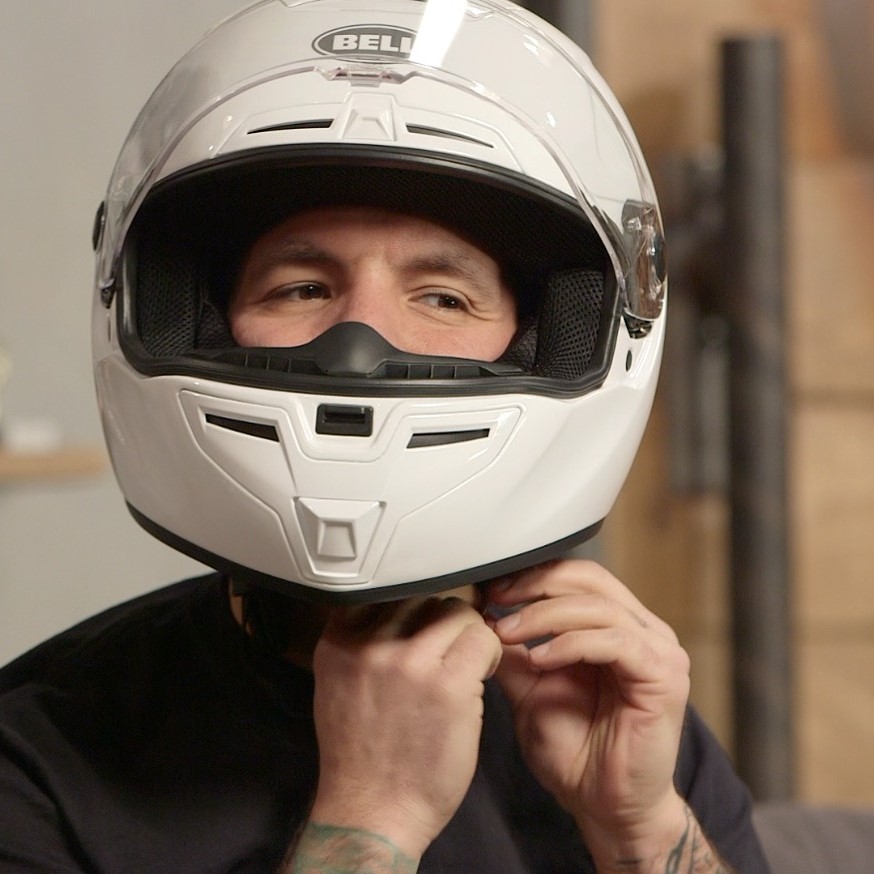
Strap Integrity
Examine the chin strap. A frayed or stretched strap can’t secure the helmet properly.
Fastener Function
Test the fasteners. They should click firmly into place. If they don’t, your helmet might come off in an accident.
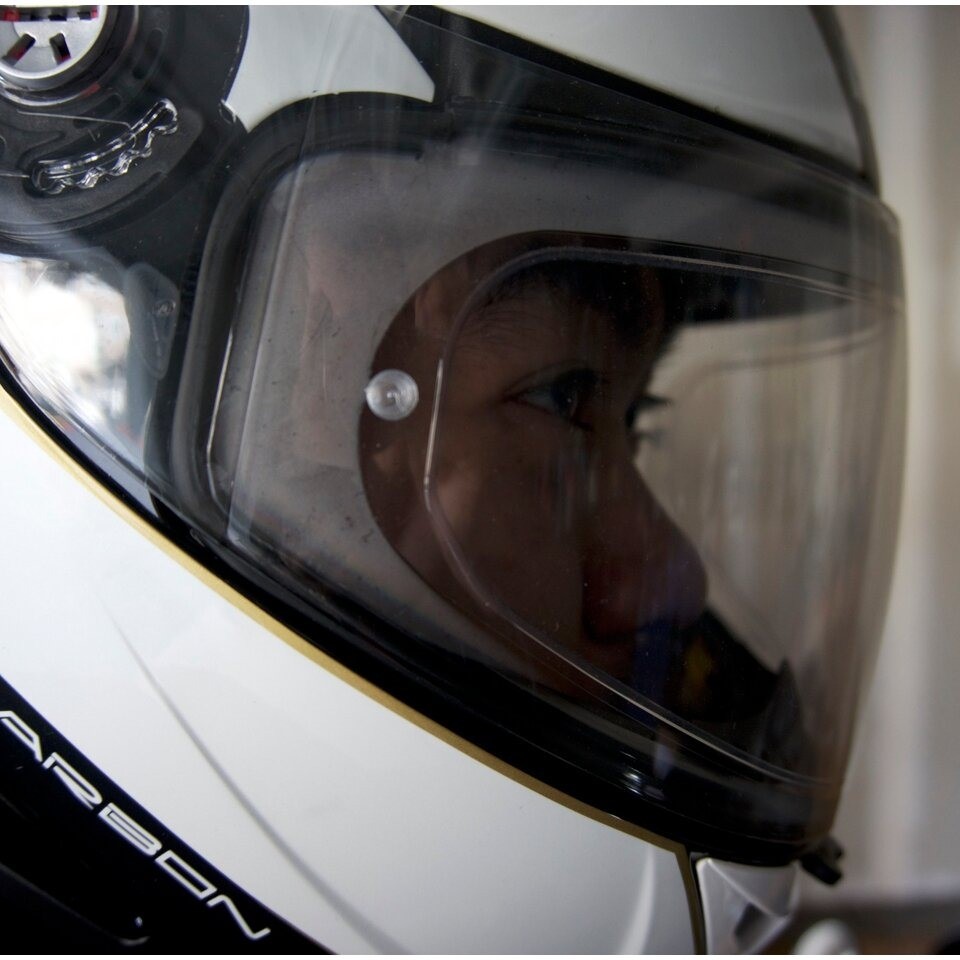
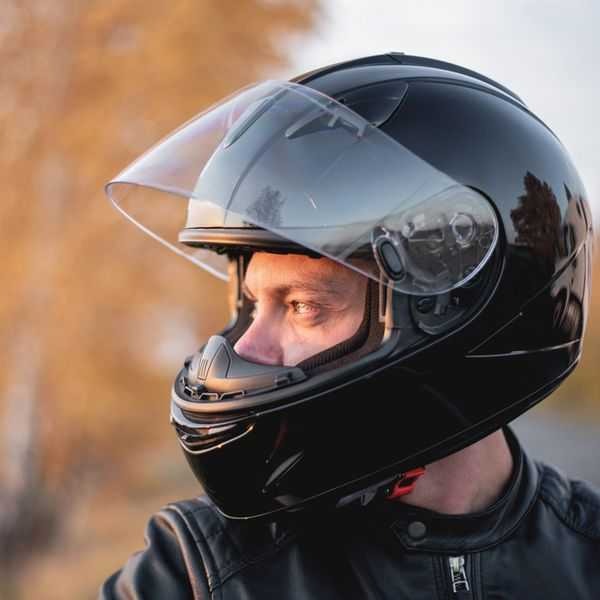
Face Shield Clarity
Inspect the face shield for scratches or cloudiness. Vision clarity is key for safe riding.
Regular checks for wear and tear can tell you how often should you get a new motorcycle helmet. Don’t wait for a failure during an accident. Replace your helmet at the first sign of significant wear.
The Impact of Accidents and Drops
When asking yourself how often should you get a new motorcycle helmet, consider the impact of accidents and drops. Helmets are designed to protect your head from a single significant impact. Even if they have no visible cracks, the inner foam can crack or compress due to a fall or collision. This compromises the helmet’s ability to absorb shock and protect you.
A dropped helmet might seem okay, but even minor accidents can cause damage you can’t see. If you’ve had a fall or an accident, it’s crucial to replace the helmet immediately. Safety comes first, and using a compromised helmet puts you at risk.
To be on the safe side, always inspect your helmet after any impact. If there’s any doubt about its condition, it’s better to get a new one. Remember, the cost of a new helmet is always worth the safety it offers.
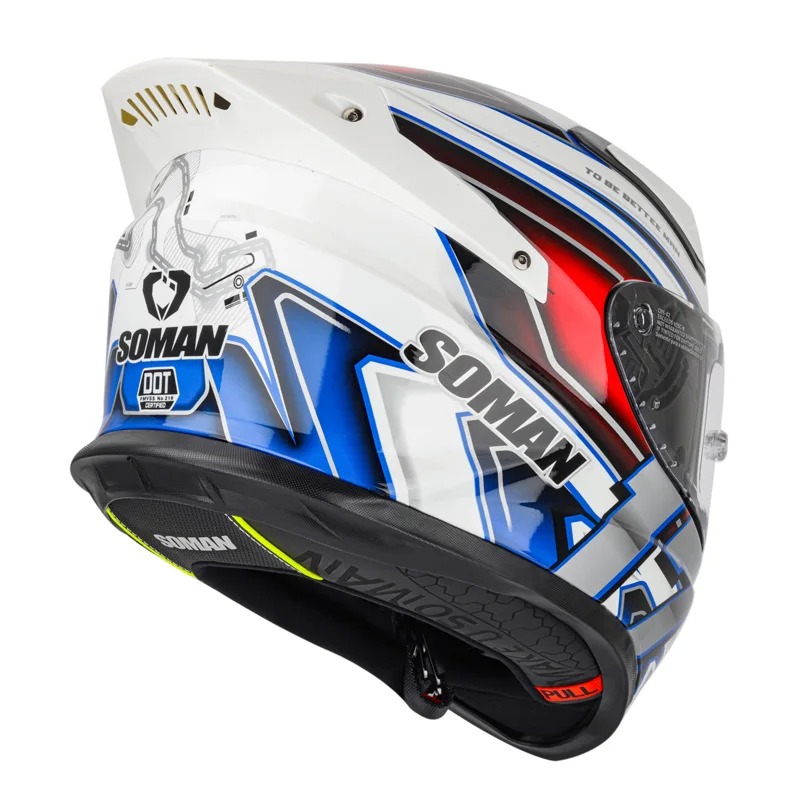
Upgrades and Technological Advancements
Motorcycle helmets are not just static pieces of safety gear. They evolve over time. Manufacturers are always on the lookout to enhance helmet safety and comfort through technology. As you ponder on how often should you get a new motorcycle helmet, keep an eye out for these upgrades.
Improved Impact Absorption
New materials and designs can provide better shock absorption. These improvements are vital for your protection during crashes.
Enhanced Comfort Features
Companies introduce liners and venting systems that boost comfort. They keep you cool and ensure the helmet sits snugly on your head.
Visibility and Communication Integration
Helmets now often feature built-in visors with anti-fog technology and slots for Bluetooth communicators. These additions can greatly improve your riding experience.
Aerodynamics
Modern helmets are designed with superior aerodynamics. This reduces wind noise and increases stability at high speeds.
Weight Reduction
Advanced materials make helmets lighter without compromising safety. A lighter helmet reduces neck fatigue on long rides.
Technological advancements can make past models outdated quickly. As you learn more about these features, you might find that a new helmet could boost your ride quality significantly. When assessing how often should you get a new motorcycle helmet, consider these innovations. They could provide compelling reasons to upgrade sooner than you expected.
Legal and Safety Standards Updates
One important aspect to consider when pondering how often should you get a new motorcycle helmet is the updates to legal and safety standards. Governments and safety organizations periodically review and update these regulations to reflect new research findings and technological advancements. As a result, helmets that were once compliant may no longer meet the latest safety requirements. Make sure to stay informed about these changes. They can directly impact the legality and protective capabilities of your helmet.
For example, a safety standard might introduce new testing procedures to ensure helmets better withstand impacts at higher speeds. If so, helmets designed under previous standards may not offer adequate protection anymore. It’s vital to be aware of such updates, especially if they are legally binding. Riding with a non-compliant helmet can not only compromise your safety but also put you at risk of legal issues, including fines.
Therefore, it’s important to do the following:
- Check Legal Changes: Keep an eye on announcements from transportation departments or motorcycling organizations.
- Review Safety Labels: Make sure your helmet has labels indicating it meets current standards.
- Follow Manufacturer Updates: They often provide information about compliance with new regulations.
Keeping up to date with legal and safety standards is as crucial as recognizing wear and tear or assessing the impact of accidents on your helmet. By doing so, you’ll ensure that you’re not only riding safely but also within the law’s boundaries.
Comfort and Fit Over Time
When evaluating how often should you get a new motorcycle helmet, comfort and fit are essential factors. Over time, the materials inside the helmet, such as the padding and linings, may degrade or become compacted. This often results in a helmet that doesn’t fit as snugly as it once did. A loose helmet can compromise safety, as it may not stay in place during an accident. Here’s what to watch for to maintain optimal comfort and fit:
Helmet Padding Compression
Repeated use causes the padding inside your helmet to compress. This can alter how the helmet fits. A helmet that’s too loose can be a hazard.
Liner Deterioration
The liner may degrade from sweat, hair oils, and UV exposure. A deteriorated liner might not provide the comfort and secure fit you need.
Strap Stretching
With time, the straps that secure your helmet may stretch. A stretched strap can’t hold your helmet properly in place.
Correct Sizing
Periodically recheck your head size and try on new helmets. Sizes and shapes change due to aging or weight fluctuations.
Personal Comfort
Don’t ignore discomfort. If a helmet causes discomfort during extended rides, it’s time to look for a new one.
Regular assessment of your helmet’s comfort and fit is crucial. Your safety on the road depends on it. If your helmet no longer provides the right fit, consider this a sign to invest in a new, well-fitting motorcycle helmet. Always aim for the best protection and comfort to enjoy a safe and pleasant riding experience.
More Details