Apr 1, 2025
How to Keep Motorcycle Helmet From Fogging Up: A Clear Guide
Introduction to Helmet Fogging Issues
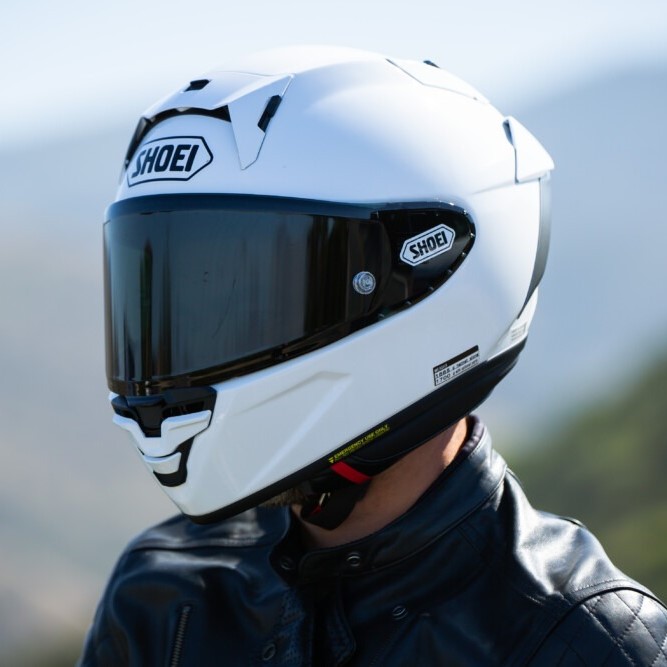
How to keep motorcycle helmet from fogging up? Helmet fogging is a common problem for motorcyclists. As you breathe out, moisture from your breath hits the cooler surface of your visor and condenses. This results in fog that can obstruct your vision, which is not only annoying but also dangerous. Understanding how to keep your motorcycle helmet from fogging up is critical for a safe and comfortable ride.
Various factors contribute to this issue, including temperature differences, humidity, and the seal between your face and the helmet. Riders often face this challenge during colder months or in varying weather conditions. Nonetheless, it can occur any time there’s significant humidity or when the rider stops moving, reducing airflow in the helmet.
Addressing helmet fog is essential. It’s about more than comfort—it’s about maintaining clear visibility, which is vital for safety on the road. This guide will arm you with the knowledge and techniques to tackle visor fogging effectively. From understanding the latest anti-fog technologies to DIY treatments, we’re going to cover all the bases.
So, let’s dive in and learn how to combat helmet fogging, ensuring a fog-free ride even in 2025.
Latest Technologies for Anti-Fog Solutions
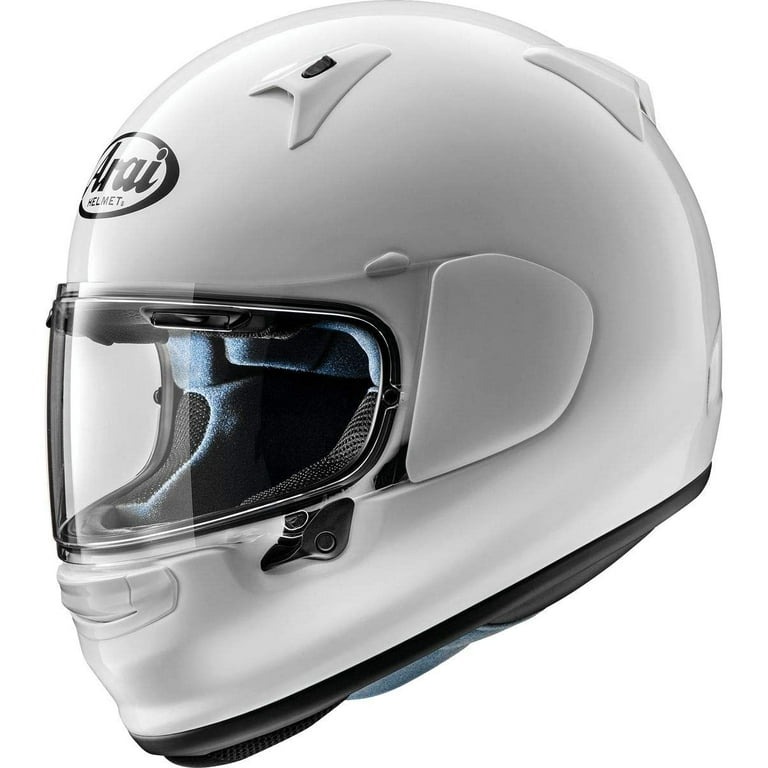
Innovations in anti-fog technology have transformed rider experiences. Today’s market offers impressive solutions that keep visors clear. As we look to 2025, these innovations promise even clearer roads ahead. Manufacturers have made leaps in materials and coatings that prevent fog formation. One leading technology involves a permanent anti-fog coating. This layer, applied directly to the visor, repels moisture on contact. It means a visor stays clear in varied weather conditions.
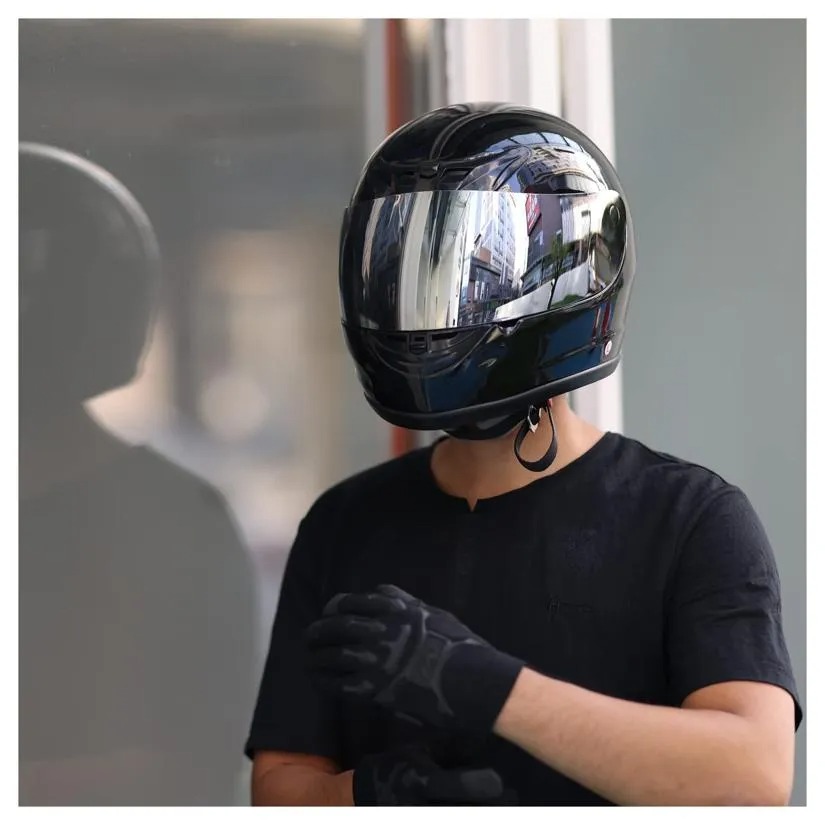
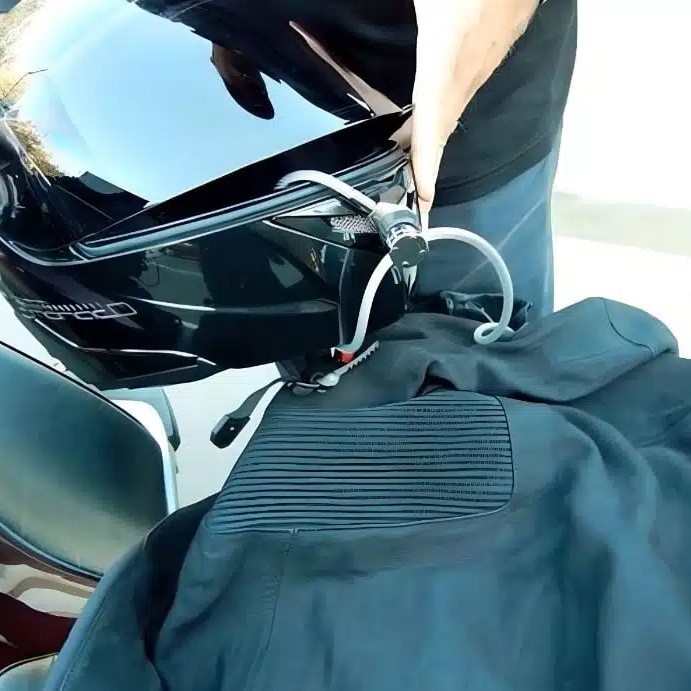
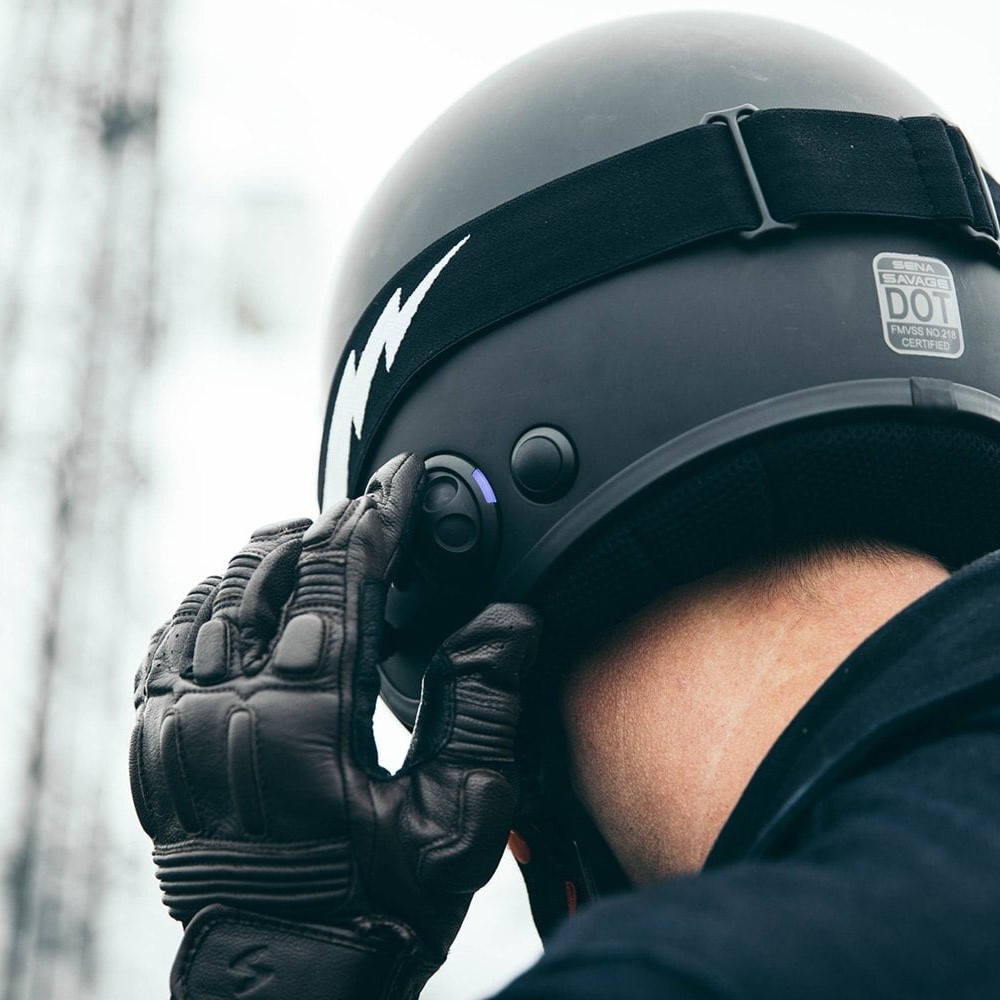
Another breakthrough is electrically heated visors. By maintaining a consistent temperature, these visors stop condensation from forming. The wearer controls the temperature ensuring a fog-free view. Battery technology advancements have made heated visors more efficient.
Hyper-hydrophobic treatments are gaining popularity too. These repel water and cause moisture to bead up and roll off. Unlike coatings, these treatments can apply to existing visors. It’s a cost-effective option that enhances rider vision.
Lastly, internal air circulation systems have seen upgrades. Improved vent designs equal better airflow inside the helmet. They whisk away moisture before fog can settle. As we progress, these anti-fog solutions are becoming smarter and more integrated. They ensure helmet fogging is a concern of the past, not the future.
Proper Helmet Ventilation Techniques
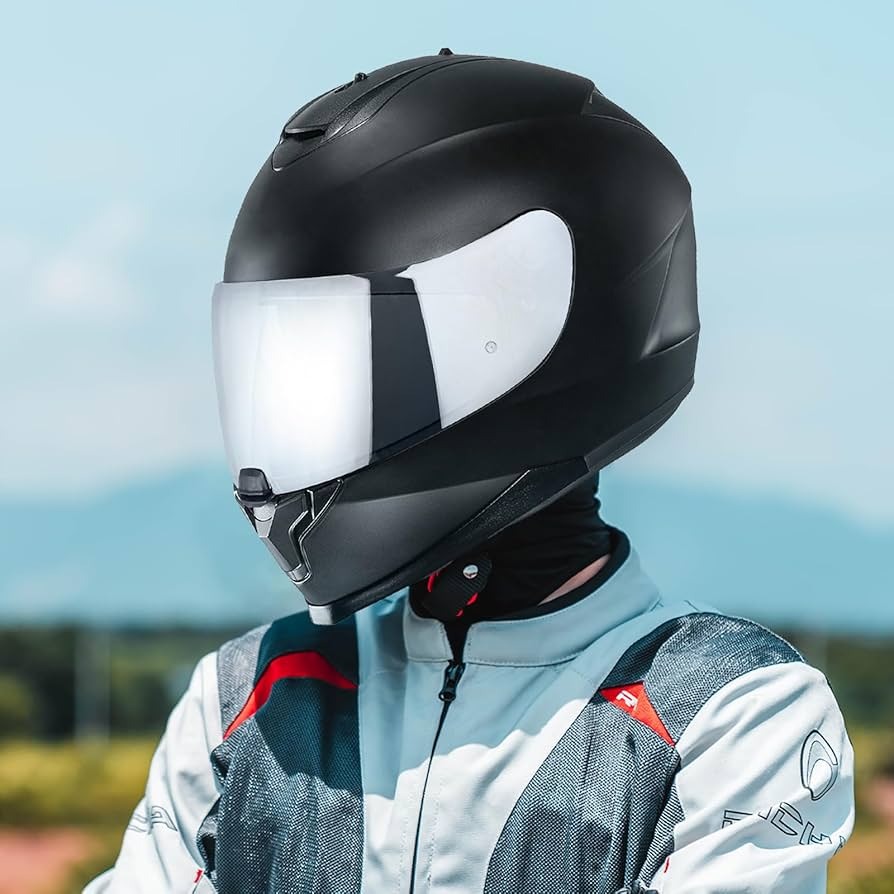
Maintaining a clear visor while riding can be challenging. But proper helmet ventilation techniques can tackle this issue. Let’s explore how to ensure airflow contributes to keeping your motorcycle helmet from fogging up. Here are some effective methods:
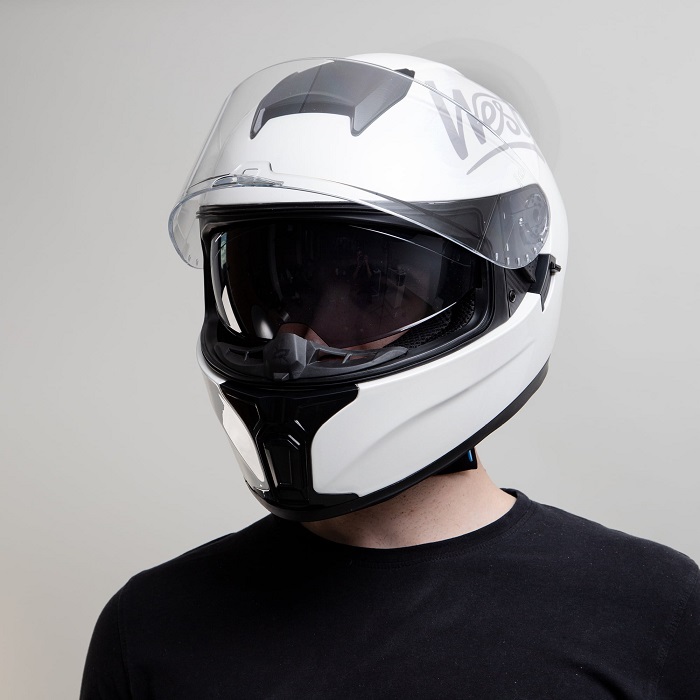
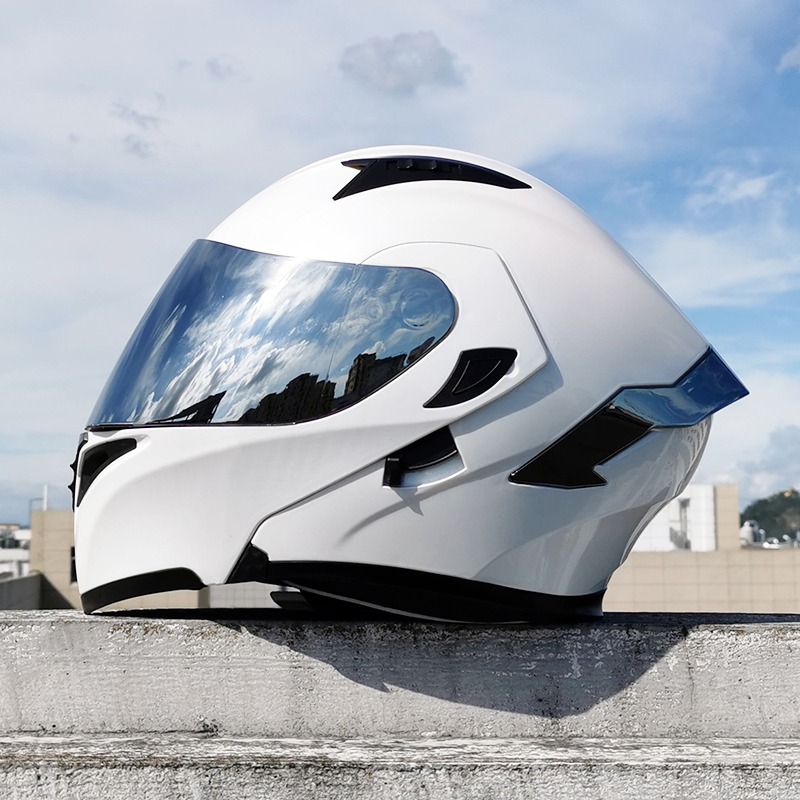
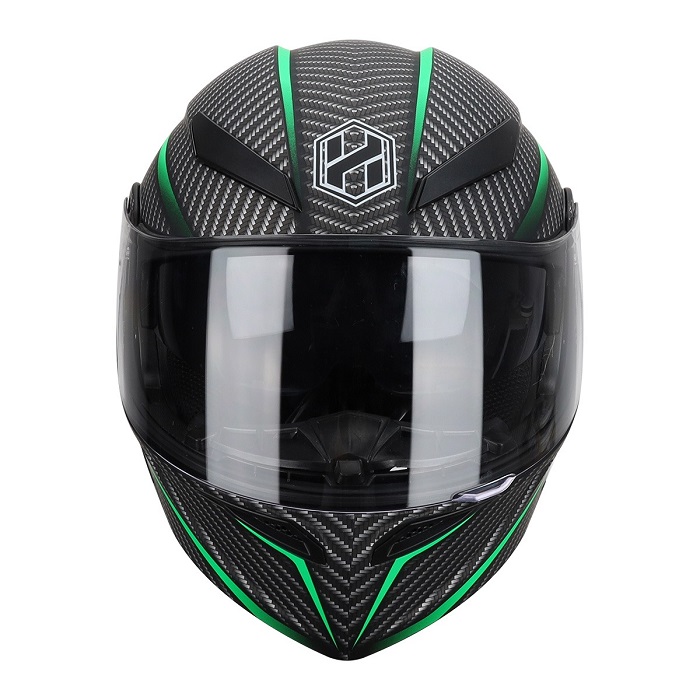
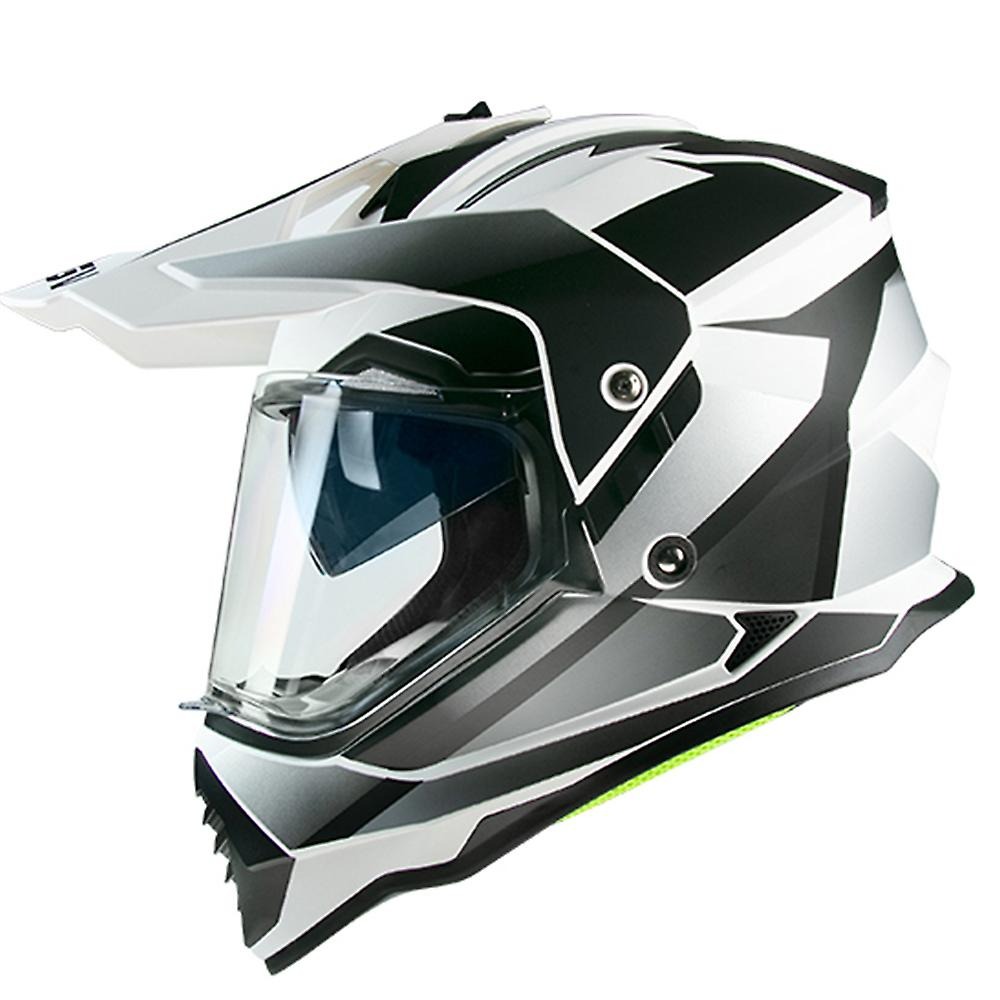
- Use Helmets with Built-In Ventilation: Choose a helmet with adequate built-in vents. The vents allow air to flow over the inner surface of the visor, reducing moisture.
- Adjust Vent Position: Make sure your helmet’s vents are open when riding. You may need to adjust these depending on your speed and the weather conditions.
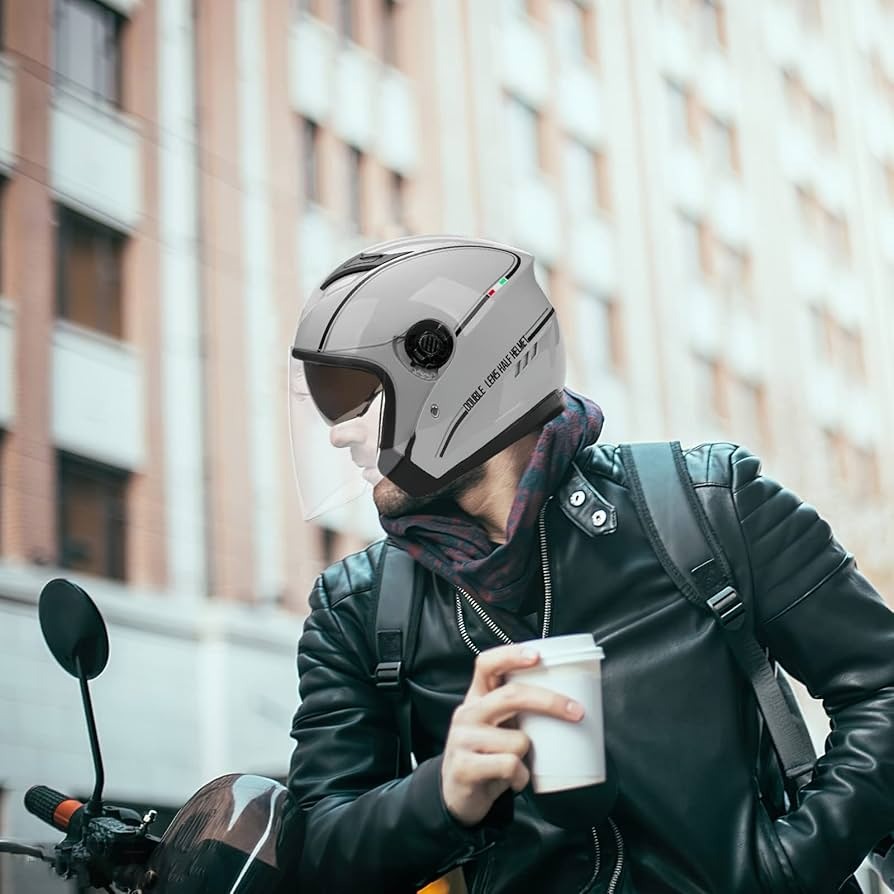
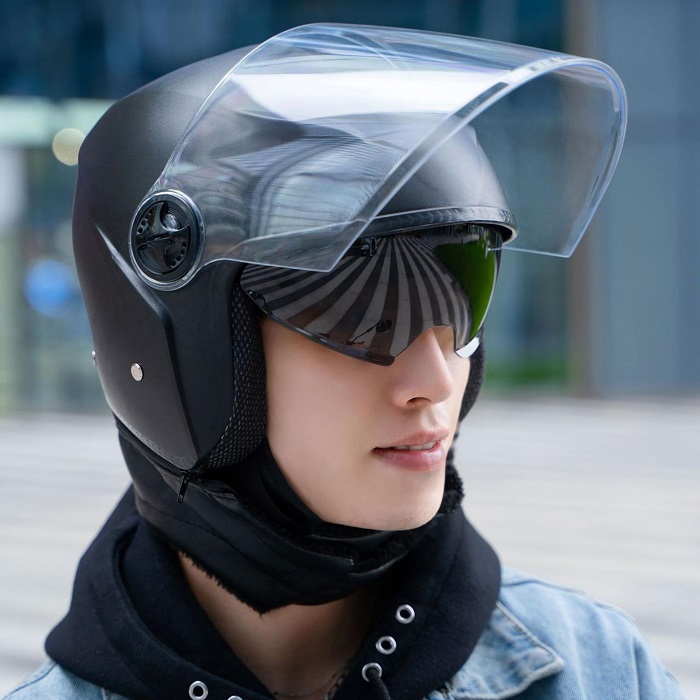
- Ride with a Slightly Open Visor: When stopped, crack open your visor. This lets in fresh air to disperse the moisture from your breath.
- Breath Guards and Chin Curtains: Install a breath guard or chin curtain. These accessories direct your breath away from the visor, minimizing the chance of fogging.
- Regular Helmet Cleaning: Keep your helmet and visor clean. Dirt and grime can block vents and trap moisture inside.
By following these simple techniques, you can enhance the ventilation in your helmet. This will help keep your visor clear from fog and ensure a safe ride.
Anti-Fog Visor Inserts and How They Work
Anti-fog visor inserts are a smart fix for keeping a clear view. These thin inserts stick to the inside of your visor. They stop fog by creating a barrier. This barrier absorbs moisture. Visor inserts use a dual-layer design. One layer grips the visor; the other fights fog.
These inserts are easy to install. Just clean the visor, peel the insert, and stick it on. Once in place, they act like a sponge. They pull in moisture before fog can form.
Many riders choose these inserts. They are less pricey than new helmets with fancy tech. They also let riders upgrade their current helmets. This means they can keep their favorite helmet. Plus, they give clear sight in various weather.
Visor inserts last for a long time. But they may need replacing after heavy use. Quality varies by brand, so choose wisely. Look for ones that promise good durability and strong anti-fog ability.
In summary, visor inserts work well to keep your motorcycle helmet from fogging up. They are a simple, effective solution for riders. With these, you can enjoy fog-free rides. Any season, any weather, they make sure your vision stays clear.
DIY Anti-Fog Treatments for Riders on a Budget

For riders on a strict budget, DIY anti-fog treatments can be a lifesaver. These are simple, cost-effective methods that you can apply yourself to keep your motorcycle helmet from fogging up. Here are several do-it-yourself treatments that can help maintain clear visibility:
- Soap and Water Solution: Gently rub a small amount of dish soap on the inside of your visor, then buff it out with a clean, dry cloth. This leaves a thin soap film that can prevent fogging.
- Shaving Cream: Similar to soap, apply a layer of shaving cream to the inside of the visor and wipe it off. Shaving cream has anti-fog properties that reduce condensation.
- Potato Trick: Cut a raw potato in half and rub the cut side on the visor’s inner surface. The natural starches in potato can act as an anti-fog layer. Ensure to clean the visor afterward to prevent streaking.
- Breathable Face Masks: While not a ‘treatment’ per se, wearing a breathable face mask can direct your breath away from the visor, reducing moisture buildup.
- Ventilation Hacks: Increase ventilation by modifying your helmet’s existing vents with simple tools to enhance airflow, just be sure not to compromise the helmet’s integrity.
Riders have been using these tricks for years to tackle the fogging issue. While they aren’t as sophisticated as the latest gadgets, they can still provide a degree of clarity in a pinch. Make sure to test these in a safe environment before riding out to see which works best for you. Remember, clear visibility is crucial for safety, and these budget-friendly solutions can ensure you keep your eyes on the road without breaking the bank.
Maintenance Tips to Keep Your Helmet Fog-Free
Proper upkeep of your motorcycle helmet is key to preventing fog. Here are maintenance tips to keep your visor clear:
- Regular Cleaning: Wipe your helmet’s exterior and interior after every ride. Focus on the visor to remove dirt and residue.
- Check Seals and Linings: Inspect seals for damage that might let in moisture. Refresh helmet linings as they can trap humidity.
- Store in a Dry Place: Keep your helmet in a dry, ventilated area when not in use. This avoids moisture buildup.
- Avoid Touching the Visor: Fingerprints add oils to the visor which can attract moisture. Try to touch it less.
- Use Anti-Fog Sprays Periodically: Apply a quality anti-fog spray to the visor interior for added protection.
- Replace Anti-Fog Inserts When Needed: If you use them, monitor inserts for wear and replace as necessary.
- Air-Dry After Rain: If your helmet gets wet, let it air-dry fully before the next use.
Following these steps will help ensure that methods for maintaining clear visibility, like anti-fog technology and DIY treatments, have a solid foundation to work from. Consistent care means a safer, more comfortable, and fog-free riding experience.
The Role of Riding Behavior in Managing Fog
While technological advancements and products can greatly reduce helmet fogging, riding behavior plays a crucial role too. How you ride and manage your gear can impact fog buildup. Here are some rider behavior tips to keep your motorcycle helmet clear from fog:
- Manage Breathing: Control your breathing when riding, especially in cold weather. Slow, steady breaths reduce moisture expelled onto the visor.
- Avoid Stopping Too Often: The less you stop, the more airflow you get. Keep moving to maintain air circulation in your helmet.
- Ride at a Steady Pace: A consistent speed helps maintain even airflow through the vents, preventing fog.
- Plan Your Route: Choose routes with fewer stops. Constant movement promotes better ventilation.
- Avoid High-Humidity Areas: If possible, steer clear of places with high moisture levels, like lakes or forests in the morning.
By combining these riding behaviors with the latest anti-fog technologies and proper helmet maintenance, you can dramatically reduce the chances of your motorcycle helmet fogging up. It’s about creating a balance between the gear you use and how you operate on the road to ensure the best visibility for a safe ride.
Future Innovations in Helmet Design to Combat Fogging

As we peer into the future of motorcycle helmet design, several promising innovations emerge. These advancements aim to combat fogging and improve rider safety. Here’s what we can expect:
- Smart Helmets: Helmets may include sensors and smart technologies. These could auto-adjust ventilation based on humidity levels.
- Greater Integration: Future designs might fully integrate anti-fog features into helmets, rather than add-ons.
- Advanced Materials: Research into new materials may lead to visors that are naturally fog-resistant.
- Self-Cleaning Surfaces: Technologies are being developed for visors that clean themselves, which would help maintain a fog-free environment.
- Fog-Detection Systems: Built-in systems could detect and notify riders when fogging begins to occur.
- Improved Airflow Dynamics: Designers are working on improving the aerodynamics of helmets. This could lead to better airflow that prevents fog altogether.
By leveraging technology and innovative design, the future of motorcycle helmets looks clear. These advancements could transform riding experiences, making foggy visors a thing of the past. The ultimate goal is to ensure that riders can focus on the road ahead, without fogging issues blocking their view.
More Details