Mar 12, 2025
How to Determine Head Shape for Motorcycle Helmet Comfort
Importance of Proper Helmet Fit
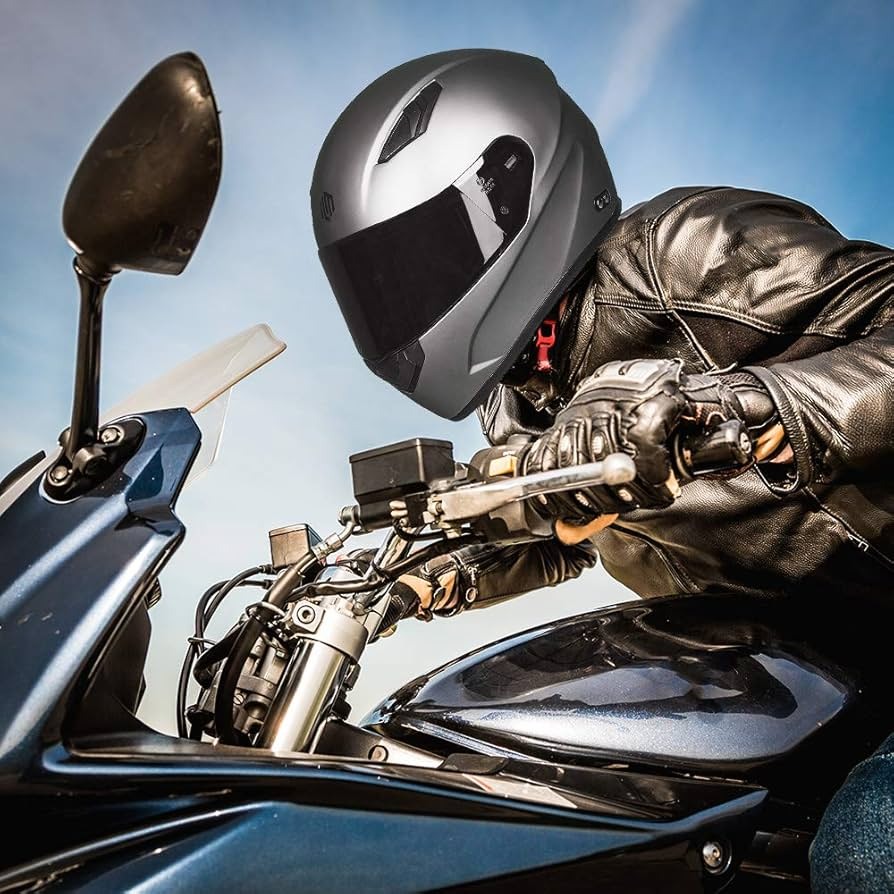
Ensuring a proper helmet fit is crucial for any rider. A helmet that fits well not only provides the best protection but also increases comfort on long rides. When a helmet fits poorly, it can lead to distraction and fatigue, which increases the risk of accidents. Every head has a unique shape. So, identifying your head shape is a key step in finding the right motorcycle helmet. Let’s dive into how to determine head shape for motorcycle helmet to make your rides safer and enjoyable.
A good fit means the helmet is snug, without pressure points that can cause discomfort. This snugness ensures that the helmet remains in position, particularly during a crash, crucial for its protective capabilities. The helmet should not wobble or pinch. Otherwise, this could impair your ability to focus on the road. A correctly fitted helmet also helps reduce wind noise and allows you to hear important traffic cues. Remember, a helmet isn’t just a piece of gear—it’s a safety investment. That’s why understanding how to determine head shape for motorcycle helmet is fundamental.
Poorly fitted helmets can lead to increased wind resistance, which may cause neck strain over time. Moreover, a helmet that doesn’t fit can fail to provide adequate ventilation, leading to overheating and sweating during rides. The importance of an accurate fit cannot be overstated, and following the right steps to achieve that fit is the best route to ensuring rider safety and comfort.
Types of Motorcycle Helmets
Before diving into how to determine head shape for motorcycle helmet, let’s explore the different types of helmets available. Each type comes with unique features and shapes, which relate differently to various head shapes. Knowing the styles helps narrow down the options.
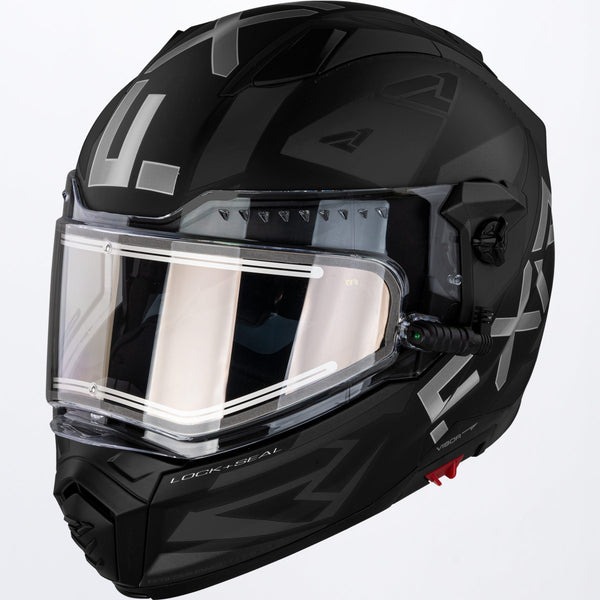
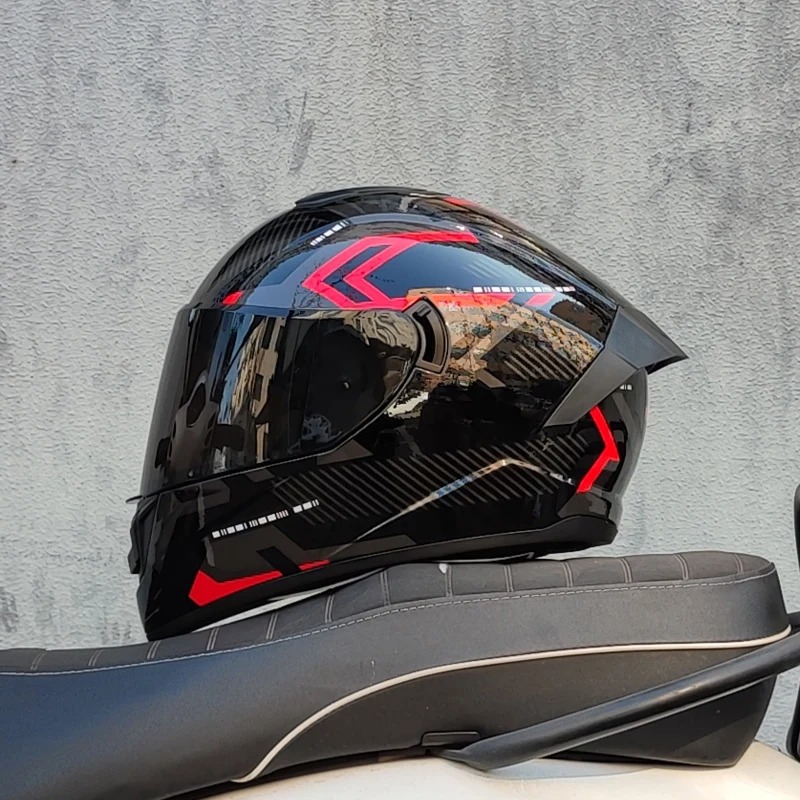
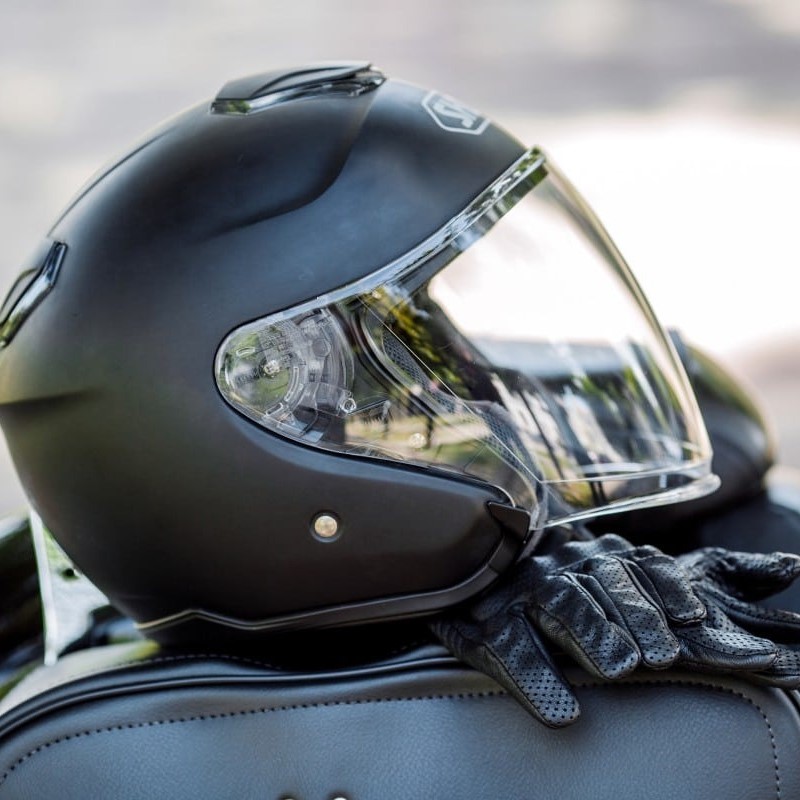
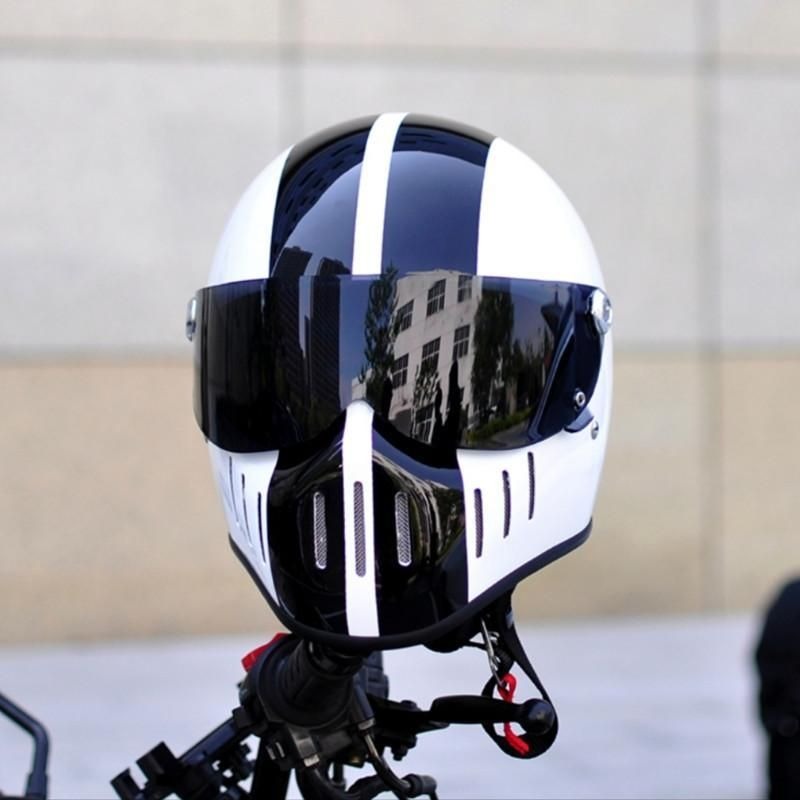
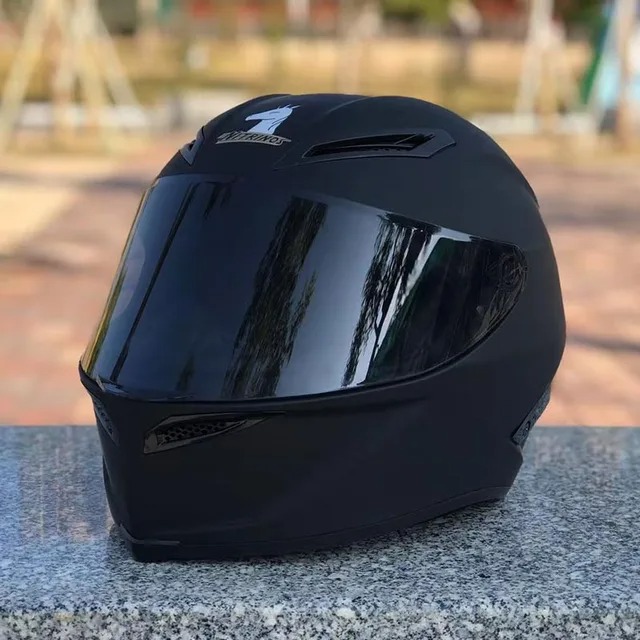
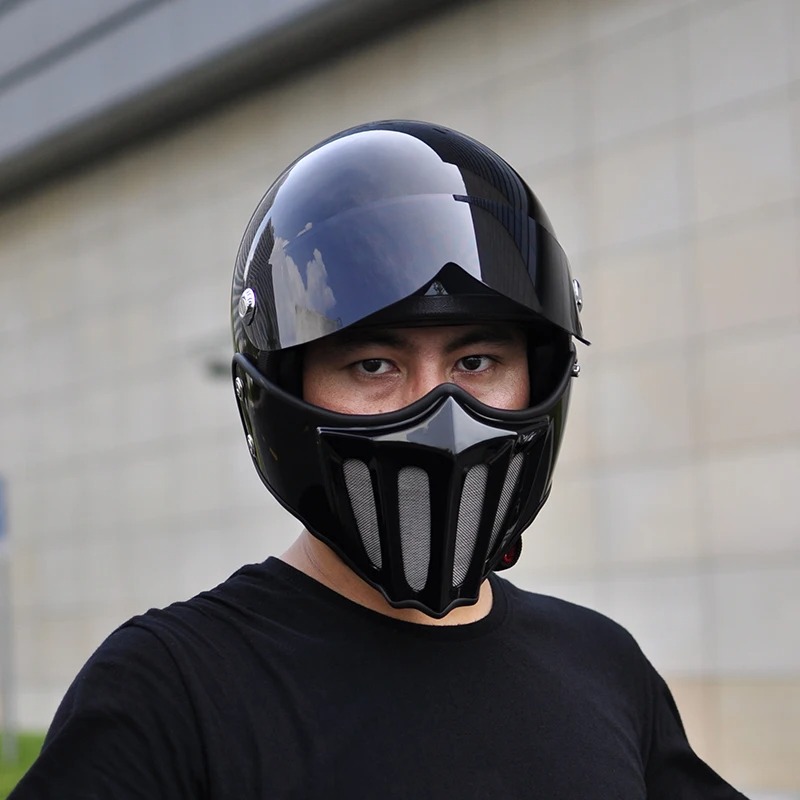
Full Face Helmets
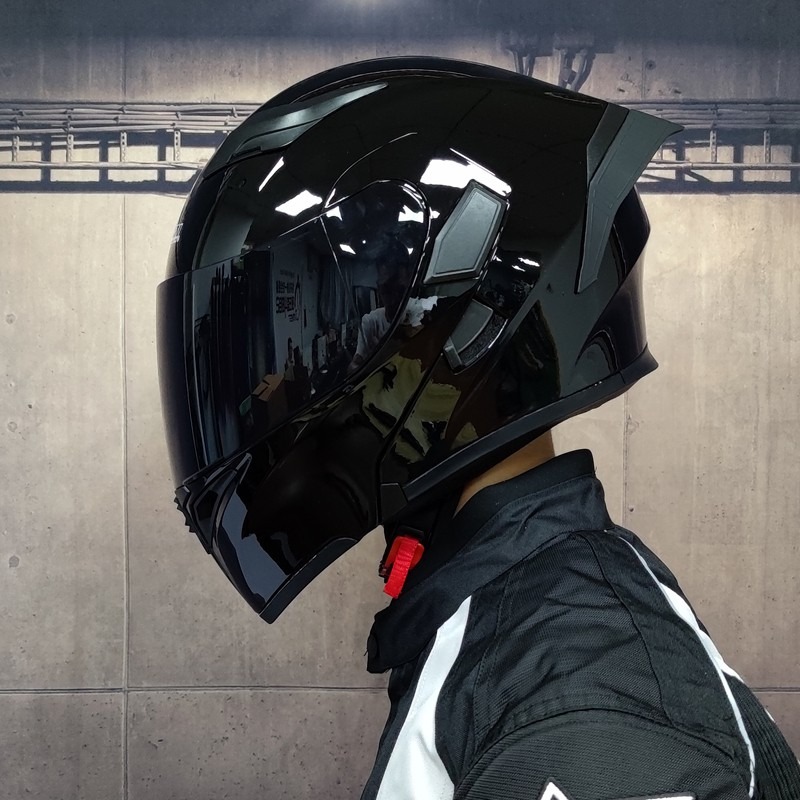
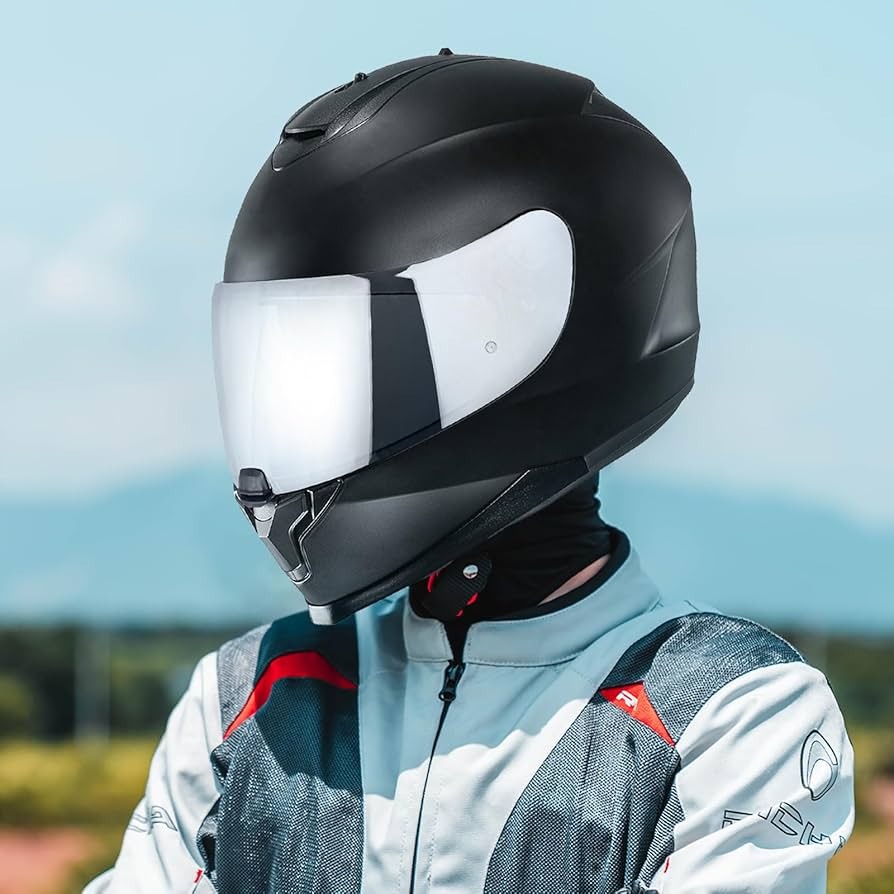
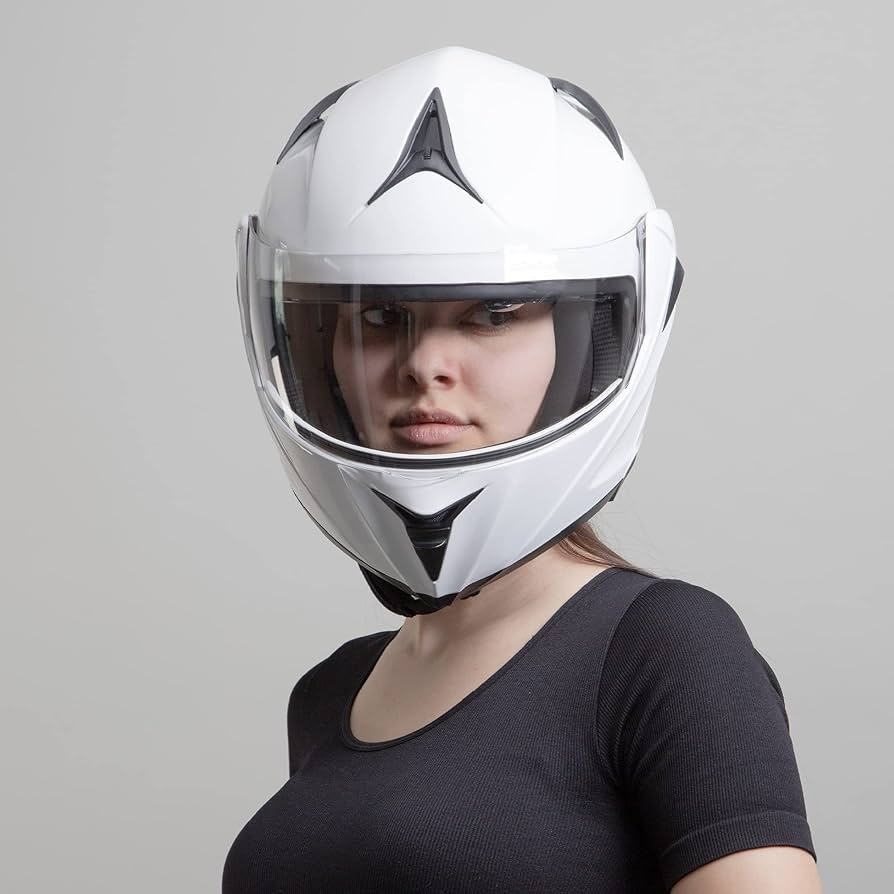
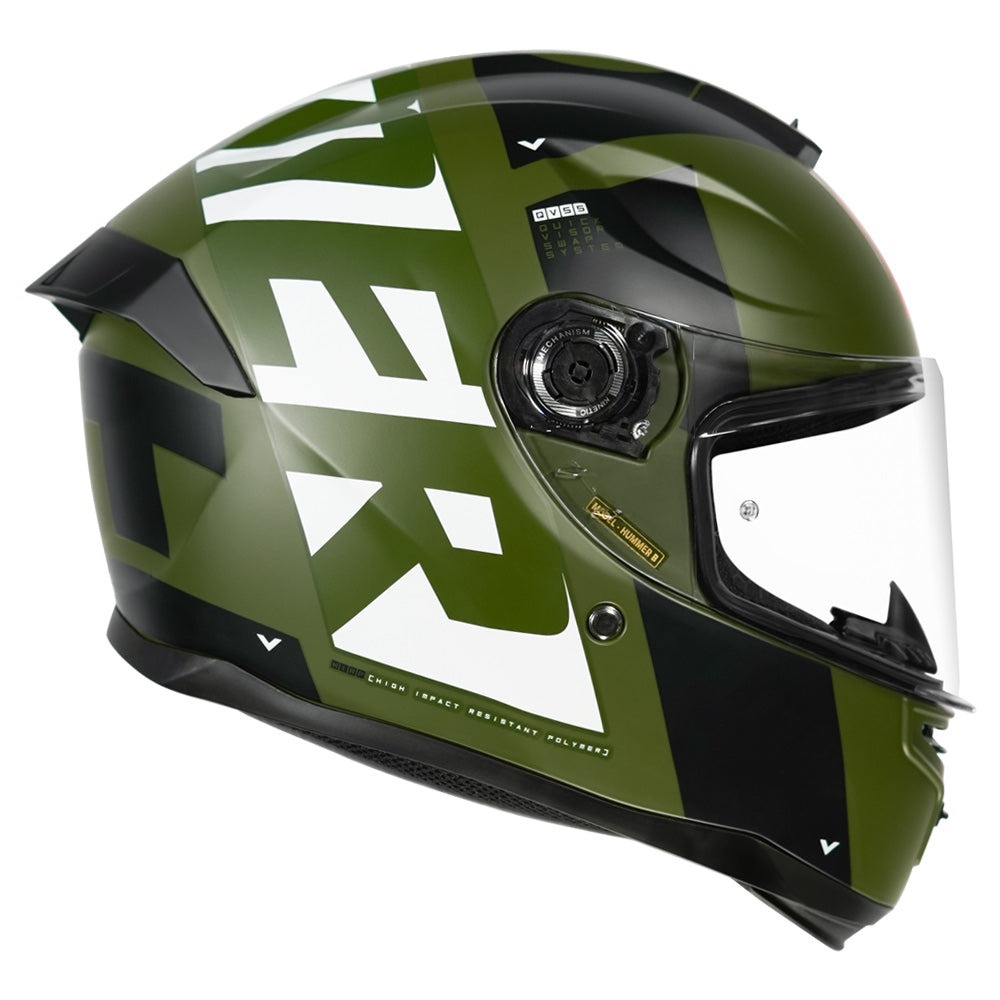
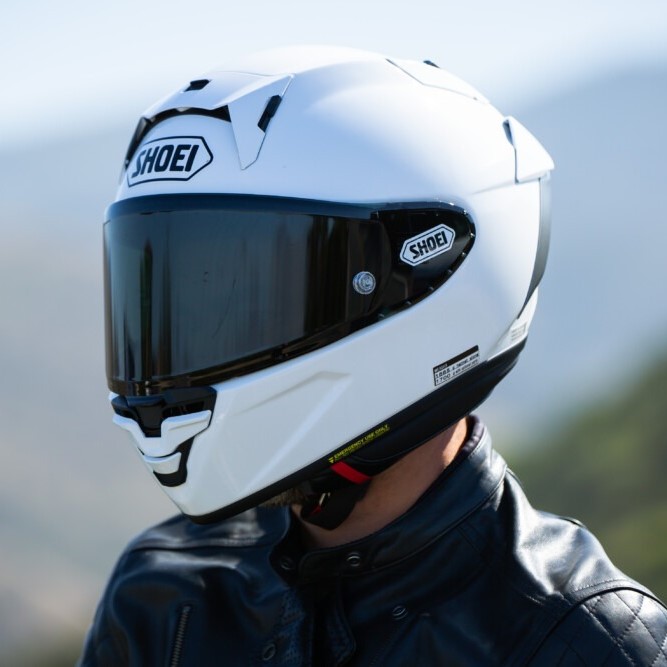
Full face helmets offer the most coverage around your head and neck and are considered the safest. They are ideal for all head shapes, providing ample protection in case of an accident.
Modular Helmets
Also known as flip-up helmets, modular helmets combine the benefits of full face and open face helmets. They allow riders to lift the chin bar, which provides versatility in use, especially for those with rounder heads.
Open Face Helmets
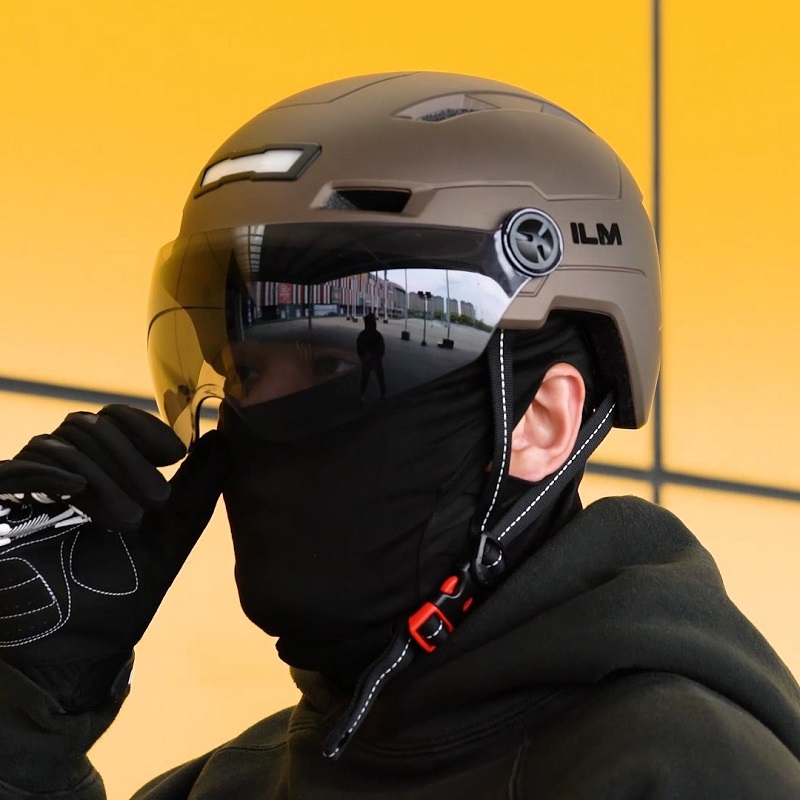
Open face helmets cover the top and back of the head but leave the face exposed. They provide less protection than full face or modular helmets but offer more comfort for riders with wider or square-shaped heads.
Half Helmets
Half helmets protect the least area, covering only the top of the head. They offer the most freedom but the least protection and may not fit well on long or oval head shapes.
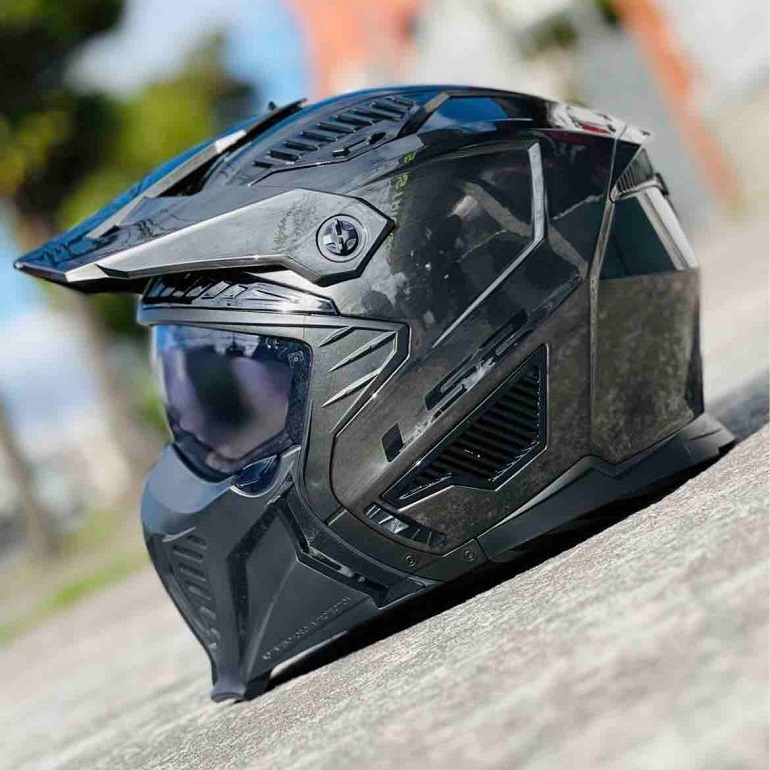
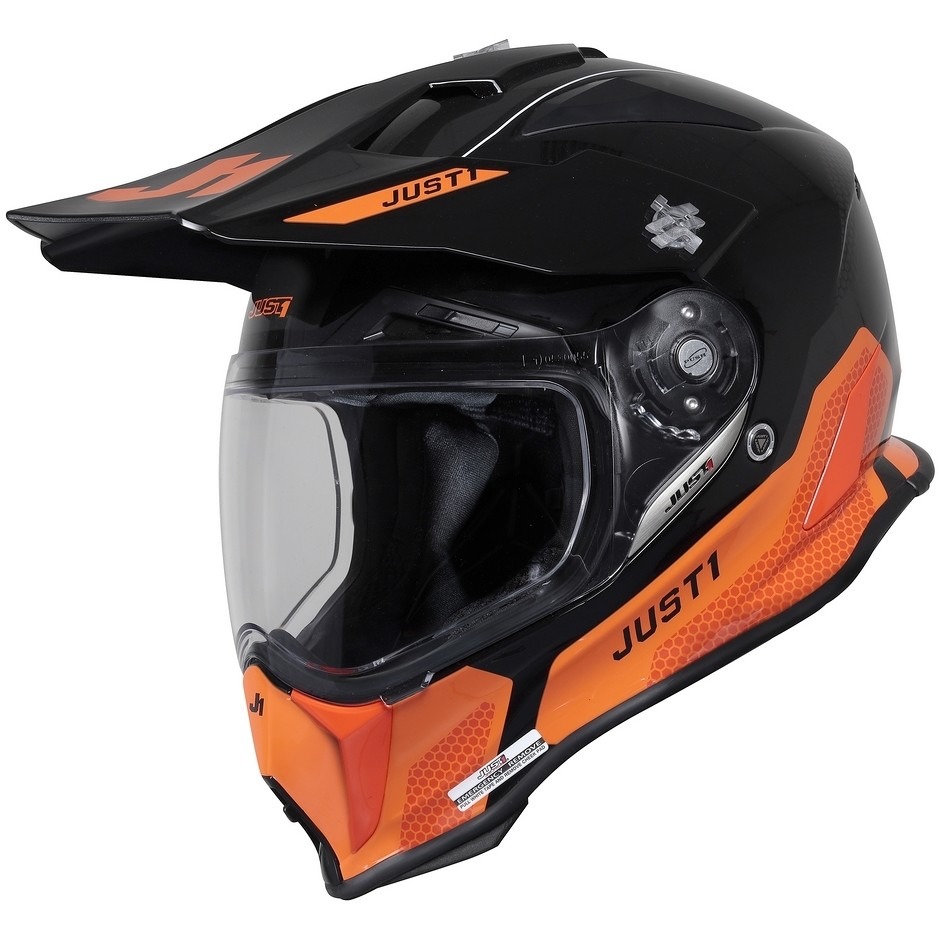
Off-Road Helmets
Designed for adventure riders, off-road helmets provide protection with a distinctly lightweight and aerodynamic shape. They usually feature an elongated chin and visor portion, which is suitable for most head shapes.
Each helmet type fits differently and provides varying levels of protection and comfort. Finding the right balance between these factors is key to selecting the ideal motorcycle helmet for your head shape.
Understanding Head Shapes
Understanding your head shape is crucial for selecting a helmet that fits well. The three primary head shapes to consider when looking at how to determine head shape for motorcycle helmet are round oval, intermediate oval, and long oval. Here is a quick guide to help identify which category your head shape falls into:
- Round Oval: This head shape is almost circular, with similar front to back and side to side measurements. Individuals with a rounder head may find helmets that are too elongated uncomfortable.
- Intermediate Oval: The most common head shape, intermediate oval heads are slightly longer front-to-back than they are side-to-side. Most helmets are designed to fit this head shape.
- Long Oval: Characterized by a noticeably longer front-to-back measurement compared to its width, this head shape requires specific helmets that cater to this elongated form to avoid pressure at the forehead or back of the skull.
To determine your head shape, you can use a mirror or have someone take a photo of the top of your head. Compare your head’s outline to these descriptions to find the closest match. Also, pay close attention when trying on helmets to see which shape feels the most natural and snug without being tight. Remember, identifying your head shape is key for both safety and comfort while riding.
Measuring Your Head for a Helmet
After understanding head shapes, measuring your head is the next critical step. To ensure a precise fit, follow these simple guidelines:
- Use a Soft Measuring Tape: Wrap a soft measuring tape around your head. Place it about half an inch above your eyebrows and ears, which is the largest part of your head.
- Read the Measurement: Hold the tape snug but not tight, and check the measurement once it meets the end. Write it down.
- Compare With Size Charts: Helmet manufacturers provide size charts. Match your head circumference with the recommended helmet sizes. Do this for each brand, as sizes may vary.
- Consider Hair Volume: If you have thick hair or plan to wear a head-covering, factor this into your measurement.
- Repeat for Accuracy: Measure your head a few times to ensure consistency. Use the largest measurement for the best fit.
Accurate measurement is vital for helmet safety and comfort. With precise head measurements, you can focus on finding helmets that suit the identified head shape—round oval, intermediate oval, or long oval. Remember, a helmet that’s too tight may cause discomfort, while one that’s too loose could compromise safety. When learning how to determine head shape for motorcycle helmet, precise measuring is a key part. It sets the foundation for trying on helmets, a stage we will discuss next.
Trying on Helmets: Tips and Tricks
Trying on helmets is more than just picking a size. It’s about feeling the fit and adjusting as necessary. To find that perfect helmet fit, here are several tips and tricks that you should consider:
- Start with the Right Shape: Begin with helmets that match the head shape you identified. This narrows down your options and increases the chances of a good fit.
- Wear for a While: Don’t just try it on; keep the helmet on your head for at least five minutes. This helps to reveal any pressure points that might become uncomfortable during long periods of use.
- Check for Movement: Gently shake your head with the helmet on. It should stay snug and not wiggle or slide.
- Test the Cheek Pads: The cheek pads should touch your cheeks without pressing in too hard. Over time, they will contour to your face, so a snug fit is preferable at first.
- Ensure Visibility: You should have a clear view out of the visor. The helmet should not obstruct your peripheral vision.
- Listen for Noise: While wearing the helmet, listen to your surroundings. It shouldn’t isolate noise completely, but it should reduce wind noise.
- Secure the Strap: Fasten the strap and adjust it. The helmet should feel secure, without choking or discomfort.
- Fit Does Change: Remember, a helmet will break in a bit with wear. Tight spots may loosen slightly, but a too tight helmet will always be uncomfortable.
- Consult Sales Staff: Don’t hesitate to ask for help. A trained salesperson can offer valuable insights on how to determine head shape for a motorcycle helmet and fitting it correctly.
Following these tips will lead to a more comfortable and safe riding experience. Pay attention to how the helmet feels and make adjustments where needed. Taking the time to find the right helmet is as critical as choosing the bike itself, as it ensures your safety and enhances your riding enjoyment.
Adjusting the Helmet for a Perfect Fit
Achieving a perfect fit with your motorcycle helmet involves fine adjustments beyond initial sizing. Once you’ve selected a helmet based on the correct head shape and size, fine-tuning the fit is essential. Here’s how to adjust your helmet for the best comfort and safety:
- Check the Padding: Helmets come with padding that can often be adjusted. Ensure the padding fits snugly against your head without causing pressure points.
- Use the Fit System: Some helmets have a fit system with dials or ratchets. Use these features to adjust the tightness around your head.
- Adjust the Straps: The chin straps play a crucial role in securing the helmet. Tighten or loosen them to get a snug fit that does not wobble.
- Test Chin Strap Tension: You should be able to fit two fingers comfortably between your chin and the strap. This ensures the strap is secure but not choking.
- Align the Helmet: The helmet should sit level on your head and not tilt backward or forward. Adjust until it feels balanced.
- Check the Visor Position: The visor should not obstruct your view. If adjustable, set it to provide the best visibility without leaving gaps.
Remember, even a helmet that felt great initially can require adjustments after a few rides as the padding settles. Regularly check these fit aspects to maintain the perfect helmet fit over time. With these simple adjustments, you can enhance your safety and enjoy more comfortable rides.
Common Misconceptions About Helmet Fitting
While shopping for a motorcycle helmet, riders often encounter myths and misconceptions. These can hinder the quest for a helmet that fits correctly and offers adequate protection. Below, we debunk some of the most common myths associated with helmet fitting.
- Tighter is Safer: A common myth is that a tighter helmet offers better protection. While snugness is key, too tight can cause discomfort and headaches. Adequate tightness without pressure is ideal.
- One-Size-Fits-All: No two heads are alike, and helmets come in various sizes and shapes. Assuming any size works, based on appearance alone, will lead to poor fitment.
- Immediate Comfort Equals Good Fit: Just because a helmet feels comfortable right away doesn’t mean it fits well. It should be snug with no gaps, and comfort may increase as the padding conforms to your head shape.
- All Brands Size the Same: Different brands may have different sizing charts. Always consult the specific size chart for the brand you are considering.
- Adjustments Aren’t Necessary: Helmets may require adjustments for a custom fit. The strap and padding adjustments are essential to ensure a helmet is secure but comfortable.
- Chin Straps Aren’t Important: The chin strap is vital for securing the helmet. It should be snug to prevent the helmet from rolling off your head in the event of a crash.
By understanding how to determine head shape for motorcycle helmet and avoiding these misconceptions, riders can achieve a fit that is both safe and comfortable. Remember, a good fit ensures protection and enhances the overall riding experience.
When to Replace Your Motorcycle Helmet
Knowing when to replace your motorcycle helmet is as important as fitting it correctly. Helmets are not designed to last forever, and various factors influence their lifespan. Here are some clear signs that it’s time for a new helmet:
- After an Impact: If your helmet has taken a hit during a crash, replace it immediately. Even if no damage is visible, the impact could have compromised its integrity.
- Wear and Tear: Normal use will cause wear over time. Look for signs of aging, like cracks in the shell, a loose fit, or fading.
- Expired Manufacturer Date: Helmets have a recommended service life. Check the manufacturer’s date, and replace the helmet by the fifth year from that date, or sooner if suggested.
- Advancements in Technology: Helmet technology is always improving. If new safety features or materials are available, consider updating to benefit from these advances.
- Change in Fit: If the fit of your helmet changes, it may be time for a new one. A helmet should stay snugly fit to protect you effectively.
- After Heavy Use: Frequent riders might need to replace their helmets more often due to consistent wear and tear.
Do not overlook the importance of helmet replacement. A well-maintained helmet maximizes safety. Remember to replace your helmet regularly to ensure the highest level of protection on your rides.
More Details