Mar 5, 2025
How Does a Motorcycle Engine Work: Mechanics Unveiled
Introduction to Motorcycle Engines
Motorcycles are a blend of power and precision, with their engines being a core aspect. Understanding how does a motorcycle engine work critical for riders and enthusiasts alike. A motorcycle engine is like the heart of the bike. It converts fuel into motion and powers your journey.
The Basic Working Principle
At its simplest, a motorcycle engine works on internal combustion. This means fuel mixes with air, burns inside the engine, and releases energy. That energy turns the wheels and moves the bike forward. It’s a cycle that happens over and over. Think of it as a series of controlled explosions that keep your motorcycle alive and kicking.
Main Components
Every motorcycle engine has key parts. There’s the cylinder where fuel burns and the piston that moves from that burn. The crankshaft turns this movement into a rotation that drives the wheel. Then there’s the camshaft. It ensures the engine’s valves open and close at the right moments. These components work in perfect sync for the bike to run smoothly.
Types of Motorcycle Engines
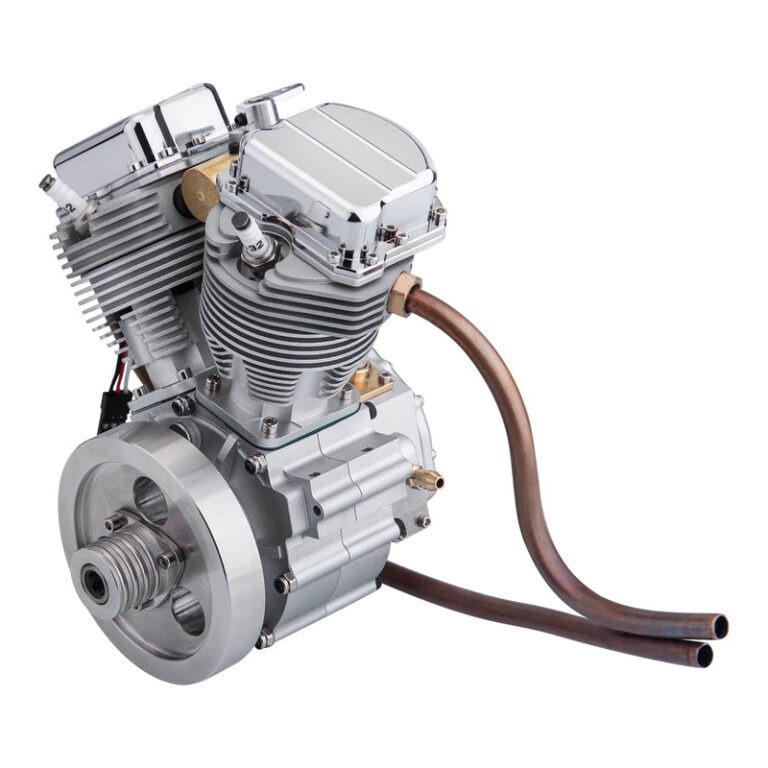
Multiple engine types fit different motorcycle styles. Single-cylinder engines are common in smaller bikes. They’re simple and light. Parallel-twin engines have two cylinders next to each other. They’re smooth and compact. V-twin engines angle two cylinders in a ‘V’ shape. They offer a low center of gravity and a unique rumble. These are just a few examples, each with its own behavior and performance.
Importance of Fuel and Air
For engines to work, they need the right mix of fuel and air. This combo is vital for creating the energy needed to move the motorcycle. The carburetor or fuel injection system manages this mix. It ensures the engine gets just what it needs for efficient operation.
In conclusion, motorcycle engines are fascinating machines. They use simple principles to deliver the thrill and freedom of riding. Every part works together to turn fuel into travel, making every ride a true adventure. Keep these basics in mind, and you’ll gain a deeper appreciation for your two-wheeled companion.
Different Types of Motorcycle Engines

Motorcycle engines vary in design, each with unique benefits. The kind of engine impacts your ride’s feel and sound. Let’s explore the common types and their characteristics.
Single-cylinder engines
Single-cylinder engines, also known as ‘thumpers’, are the simplest. They usually power smaller motorcycles. They have one cylinder and one piston. This makes them light and easy to maintain. They’re ideal for beginners or those seeking a city commuter.
Parallel-twin engines
Parallel-twin engines have two cylinders side by side. This design creates a balanced ride. It reduces vibrations, which results in a smoother experience. These engines can be found in medium-sized bikes, great for daily riding or long tours.
V-twin engines
V-twin engines have two cylinders in a V arrangement. This design gives a low center of gravity. It improves handling and stability. The V-twin is known for its distinctive rumble. It’s a favorite among cruiser enthusiasts.
Inline-four engines
Inline-four engines feature four cylinders in a row. They’re common in sport and touring motorcycles. These engines provide high power and a high-rev feel. They’re also very smooth, making them perfect for high-speed journeys.
Boxer engines
Boxer engines have horizontally opposed cylinders. This layout offers a low profile. It helps lower the bike’s center of gravity. Boxer engines are renowned for their reliability and smooth power delivery.
Every engine type has a role. Some prioritize simplicity and cost-efficiency. Others focus on performance and experience. As a rider, knowing how a motorcycle engine works can enrich your riding. It helps you pick a bike that suits your style and needs.
The Four-Stroke Engine Cycle Explained
Understanding how a motorcycle engine works is essential for any rider. The four-stroke engine cycle is at the heart of most motorcycle engines today. This cycle is what allows the engine to convert fuel into the mechanical motion that propels the bike forward. Here, we’ll break down this process into four distinct stages: intake, compression, power, and exhaust.
Intake Stroke
The cycle begins with the intake stroke. The engine’s intake valve opens up, allowing a mixture of fuel and air to enter the combustion chamber. This happens as the piston moves down, creating a vacuum that sucks in the air-fuel mixture.
Compression Stroke
Next is the compression stroke. The intake valve closes, and the piston moves back up, compressing the air-fuel mixture. This compression makes the mixture more explosive, setting the stage for the following power stroke.
Power Stroke
The power stroke is the engine’s main event. The spark plug ignites the compressed mixture, causing a small, controlled explosion. This explosion forces the piston down, which in turn rotates the crankshaft, producing the power that drives the motorcycle’s wheels.
Exhaust Stroke
Finally, we have the exhaust stroke. After the power stroke, the exhaust valve opens. The piston moves up once more, pushing the exhaust gases resulting from the combustion out of the engine. This clears the way for the next cycle to begin with a fresh mix of fuel and air.
In summary, the four-stroke engine cycle consists of an efficient sequence that repeats itself. It’s a harmony of moving parts and timed events that powers the ride. The understanding of how a motorcycle engine works through the four-stroke cycle can help riders appreciate the intricate dance between fuel, air, and sparks that gives life to their machines.
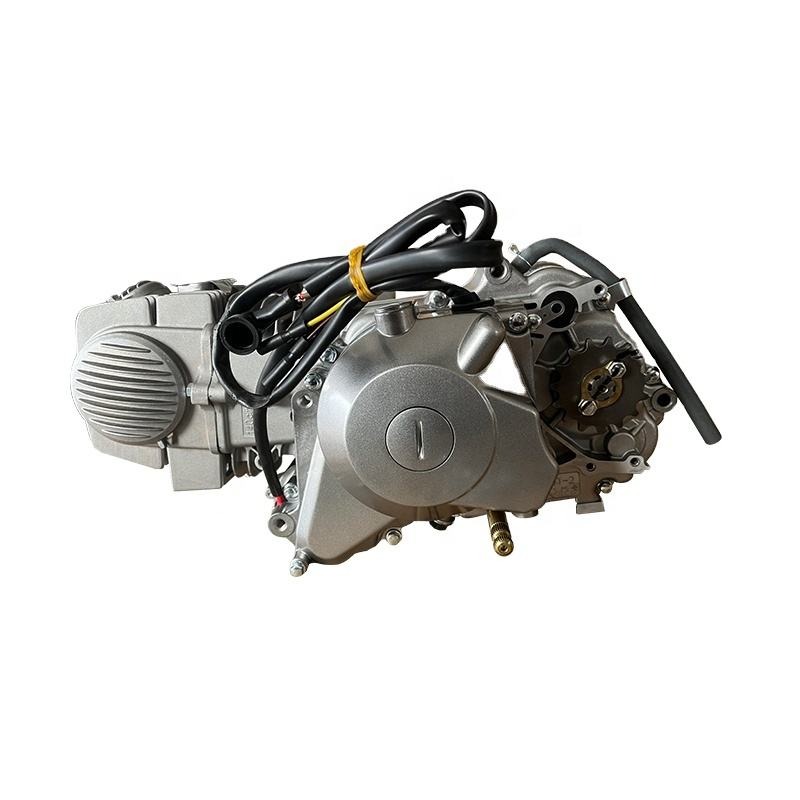
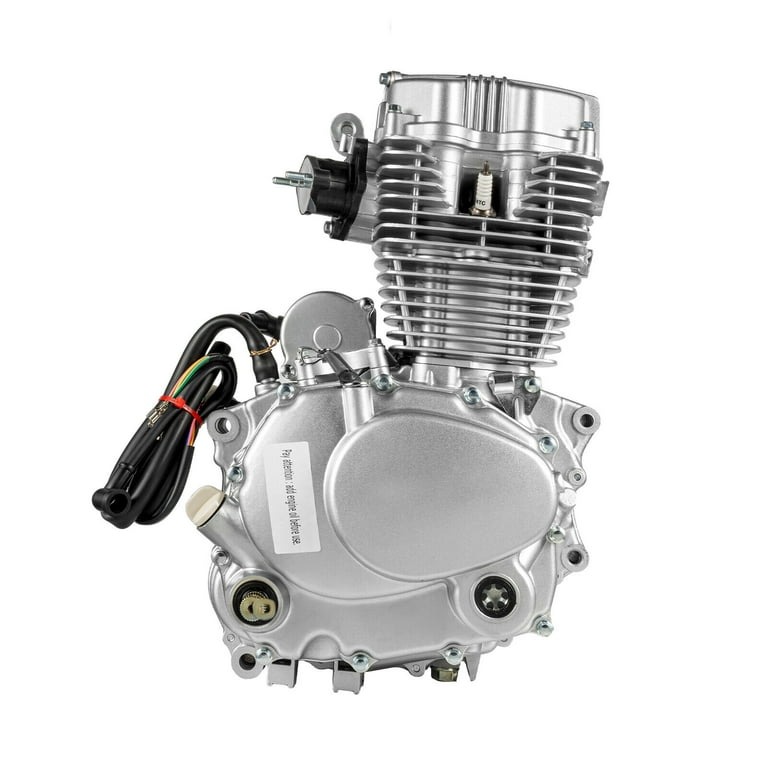
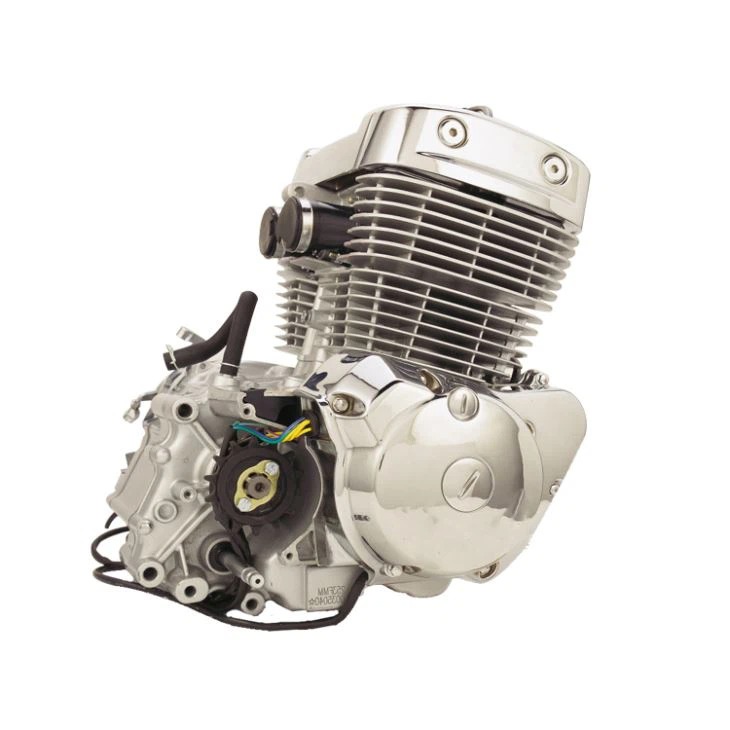
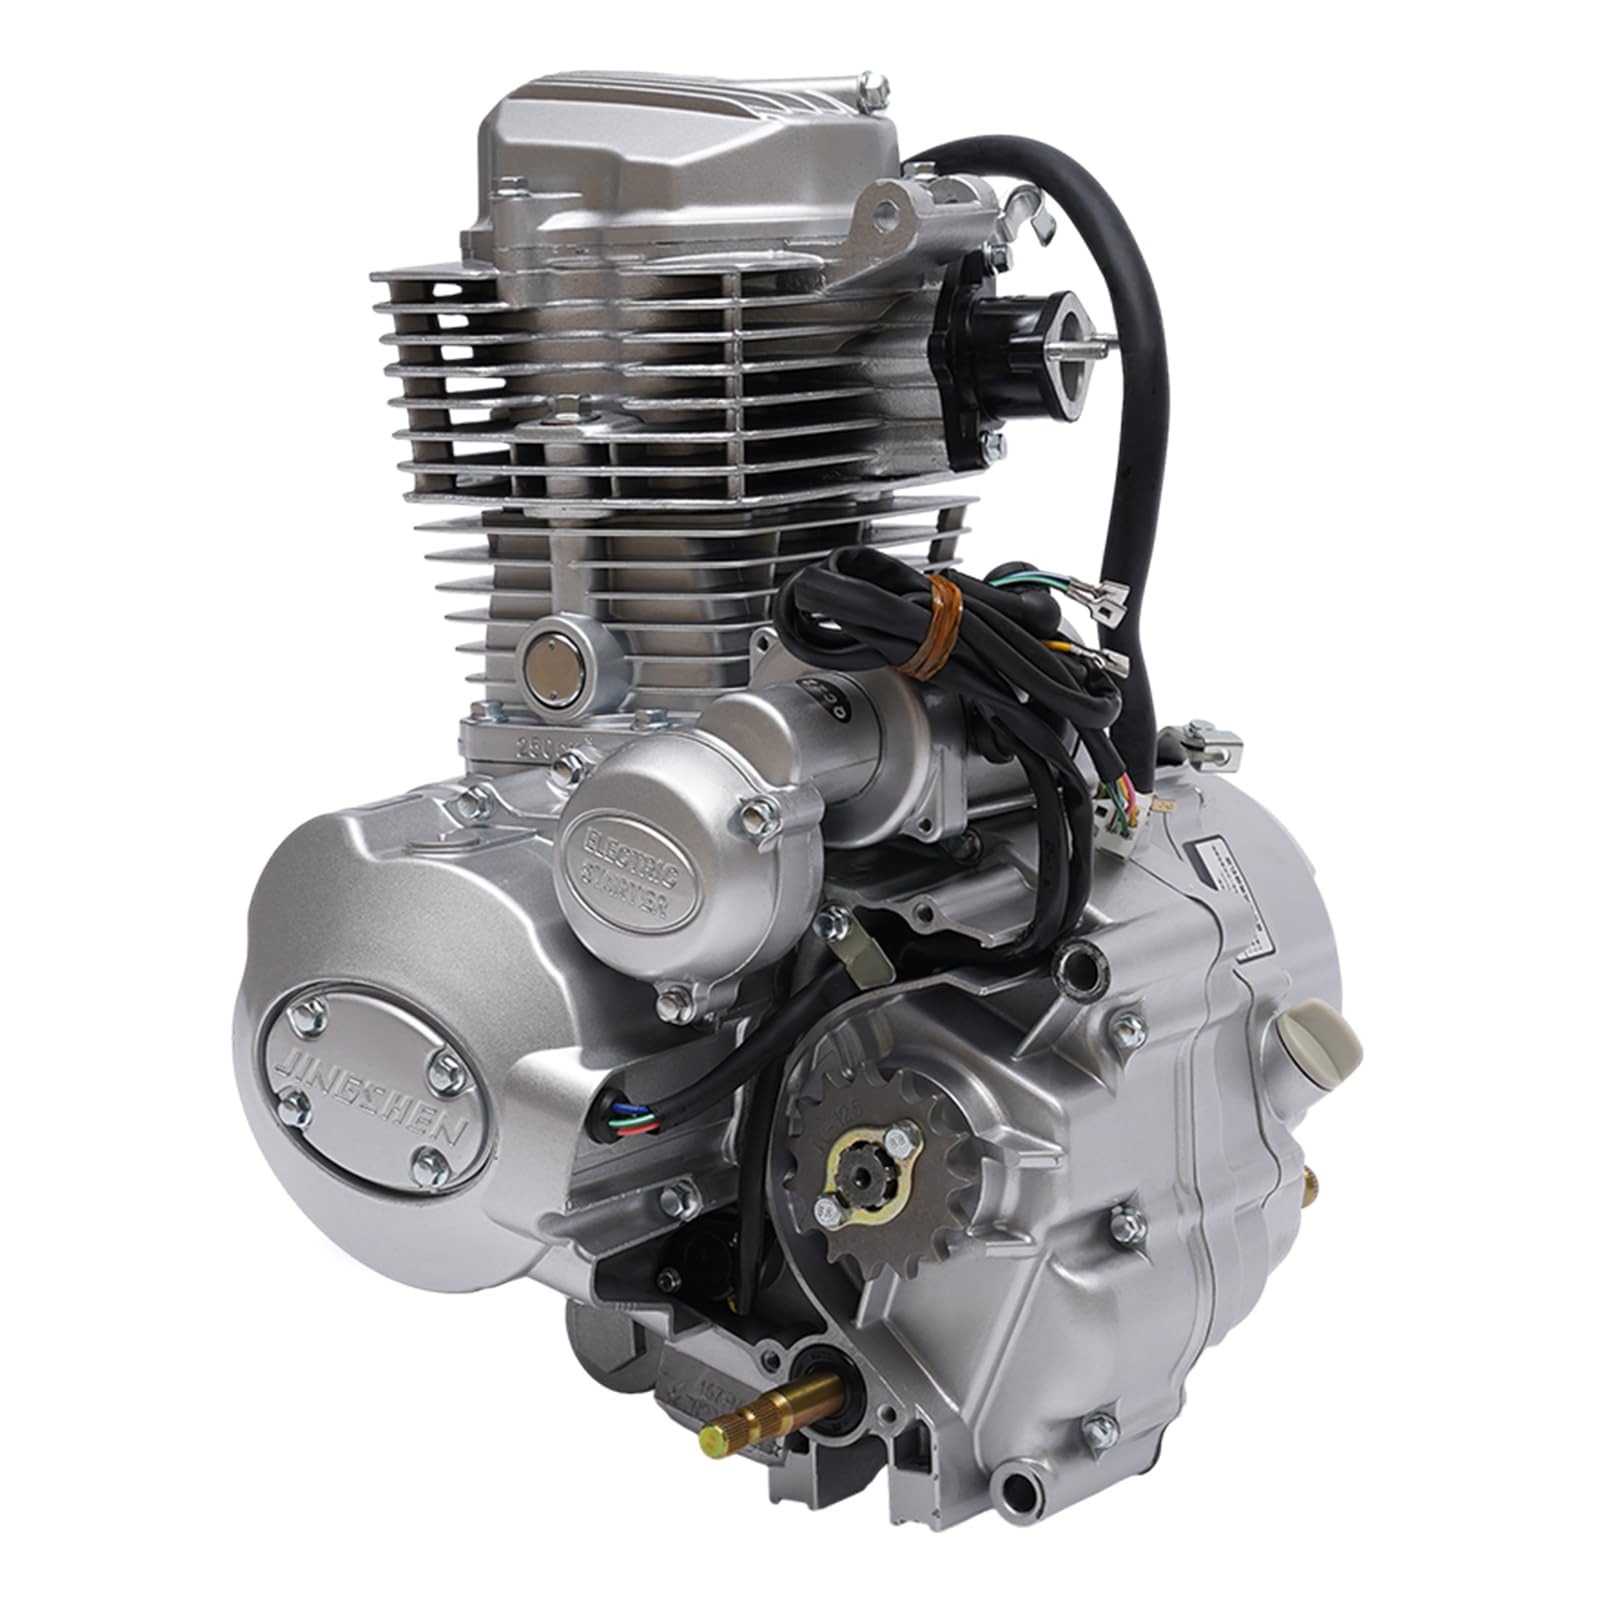
Engine Components and Their Functions

Motorcycle engines may seem complex, but they consist of several key parts. Each part has a distinct role in ensuring the engine works efficiently. Knowing these components can help riders understand how a motorcycle engine functions and care for their bike better.
Cylinder
The cylinder is the core of the engine. Here, fuel combustion takes place, generating power. Its walls house the piston’s movement.
Piston
The piston moves within the cylinder. It pushes the crankshaft when combustion happens, creating propulsion.
Crankshaft
The crankshaft converts the piston’s up and down motion into rotational force. This is critical to turn the wheels.
Camshaft
This shaft controls the opening and closing of the valves. The precise timing of the camshaft is crucial for engine efficiency.
Valves
Valves regulate air and fuel intake and release exhaust gases. Proper functioning valves are vital for smooth engine operation.
Spark Plug
The spark plug ignites the air-fuel mixture. It starts the power stroke that drives the piston.
Carburetor/Fuel Injector
Both devices control the mixture of air and fuel. Modern bikes often use fuel injectors for more precise fuel delivery.
Air Filter
The air filter cleans the air before it enters the combustion chamber. Clean air is crucial for efficient combustion.
Each component plays a specific part in the engine’s overall functioning. Regular maintenance keeps these parts in good working order and the engine running smoothly. Understanding these functions arms riders with knowledge for better bike performance and longevity.
The Role of the Cooling System
The cooling system in a motorcycle engine is crucial for performance. It manages engine heat to prevent overheating. Overheating can cause severe engine damage. To understand how the cooling system aids your motorcycle, let’s look at its key functions.
Prevents Overheating
The cooling system works to keep the engine at an optimal temperature. It dissipates excess heat produced during combustion. This ensures the engine runs efficiently without getting too hot.
Maintains Engine Performance
By regulating temperature, the cooling system helps maintain performance. A well-cooled engine delivers consistent power and runs smoother, providing a better ride.
Extends Engine Life
Proper cooling contributes to longer engine life. It reduces wear and tear on engine components caused by high temperatures.
Types of Cooling Systems
Motorcycles use air-cooling or liquid-cooling systems. Air-cooled systems rely on airflow over fins to remove heat. Liquid-cooled systems use coolant to absorb and transfer heat away from the engine.
In summary, the cooling system is a guardian for your motorcycle’s engine. It ensures that the heat generated doesn’t turn into a threat. Regular checks on the cooling system can save your engine from overheating. It’s a key part of your bike’s well-being.
Transmission and Power Delivery
The transmission and the power delivery system are crucial in a motorcycle’s engine mechanics. Once the engine generates power, it’s the transmission’s role to manage and deliver this power to the wheels. Here’s a fundamental look at how this works:
How Transmission Works
The transmission uses gears to adjust the ratio between the speed of the engine and the speed of the wheels. By shifting gears, you control the amount of power delivered. Lower gears provide more torque for acceleration, while higher gears allow for better fuel economy at higher speeds.
Clutch Functionality
The clutch is the mechanism that lets you engage or disengage the engine from the transmission. When you pull the clutch lever, it separates the engine power from the transmission, letting you change gears without stalling.
Power Flow
After shifting to the desired gear, power flows from the engine to the drivetrain. The drivetrain then turns the wheels, moving the bike forward. This system needs to work seamlessly to provide a smooth ride.
Final Drive System
This is the last stage of power delivery. Motorcycles use chain, belt, or shaft-driven systems to transfer power from the transmission to the rear wheel. Chain drives are common, but belt and shaft drives are quieter and often require less maintenance.
In summary, the transmission and power delivery systems are vital in controlling the speed and handling of the motorcycle. They take the power created by the engine and efficiently transfer it to where it’s needed most — the wheels. For optimal performance, maintaining these components is just as important as taking care of the engine itself.
Engine Maintenance and Troubleshooting
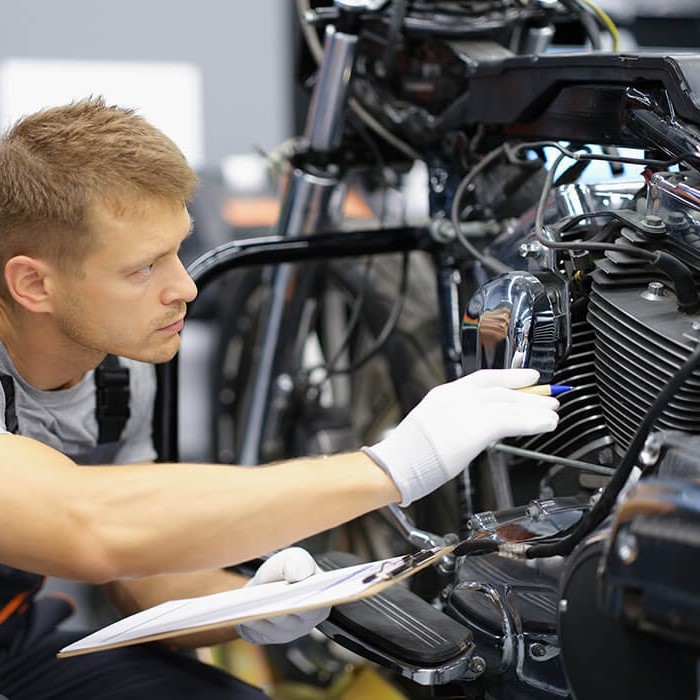
Keeping your motorcycle engine in top shape is crucial for a smooth ride. Proper maintenance prevents breakdowns and ensures long-lasting performance. Here’s what you need to know about engine maintenance and troubleshooting common issues.
Routine Engine Checks
Regular checks are key for engine health. Monitor oil levels, check for leaks, and inspect the air filter. This simple routine can flag issues early.
Regular Oil Changes
Oil lubricates moving parts and keeps the engine cool. Change it as the manufacturer recommends. Old oil can cause damage.
Air Filter Maintenance
A clean air filter improves engine performance. Replace or clean it regularly to ensure good air flow.
Spark Plug Inspection
Spark plugs are vital for ignition. Check and replace them if they are worn or dirty to avoid starting troubles.
Fuel System Care
Make sure your fuel injector or carburetor is clean. A clogged system can lead to poor engine performance.
Cooling System Upkeep
Check coolant levels and look for leaks. A well-maintained cooling system prevents overheating.
Troubleshooting Tips
If your motorcycle is not starting or is running poorly, check the basics first. This includes the battery, spark plugs, and fuel levels. Often, simple fixes can resolve common issues.
Listening to Your Engine
Unusual noises can indicate a problem. Ticking, knocking, or pinging should prompt a closer inspection.
Professional Help
For complex issues, seek professional help. A trained mechanic can diagnose and fix problems beyond basic maintenance.
In summary, consistent engine maintenance and being alert to changes can prevent most troubles. Knowing how to troubleshoot will keep you riding without unexpected interruptions.
Advancements in Motorcycle Engine Technology
Motorcycle engines have seen significant advancements over the years. Modern technology has made engines more powerful, efficient, and cleaner. Here is how advancements in engine technology are shaping the future of motorcycling.
Enhanced Fuel Efficiency
New tech aims to use less fuel without losing power. Engines now have better fuel injection systems. These systems precisely control fuel use. This means less waste and more miles per tank.
Increased Performance
Technological breakthroughs have boosted engine horsepower. Lighter materials and improved designs lead to faster bikes. Riders can now enjoy more speed and acceleration.
Reduced Emissions
Engine tech is now more eco-friendly. Improved combustion and exhaust systems cut down on pollutants. Bikes are cleaner, helping to protect the environment.
Electronic Management Systems
Motorcycles now feature electronic systems that manage engine functions. Sensors and computers fine-tune performance in real-time. They adjust for factors like speed, temperature, and riding style.
Alternative Power Sources
Research is pushing for non-gasoline engines. Electric motorcycles are becoming more common. They offer quiet, zero-emission rides, with instant torque.
In conclusion, motorcycle engine technology is rapidly evolving. These advancements make riding more enjoyable, economical, and eco-conscious. As technology progresses, the motorcycles of tomorrow will continue to improve, offering riders new levels of experience and performance.
More Details