Mar 5, 2025
How to Fit Motorcycle Helmet? Your Essential Guide
Importance of Getting the Right Helmet Fit
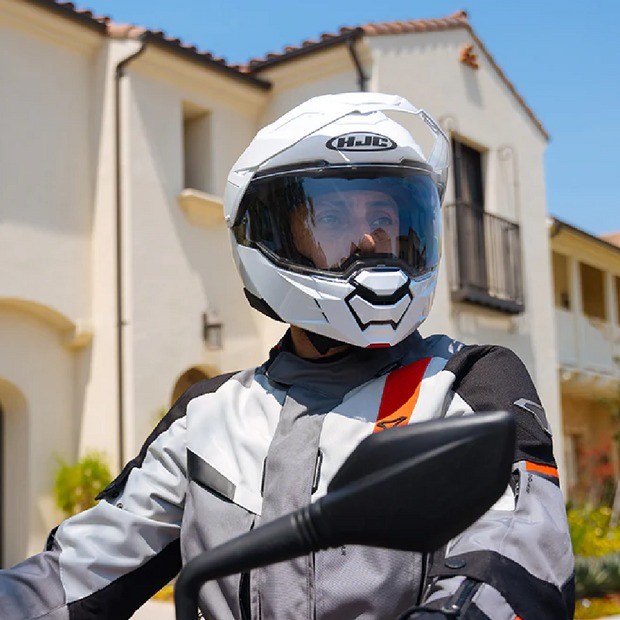
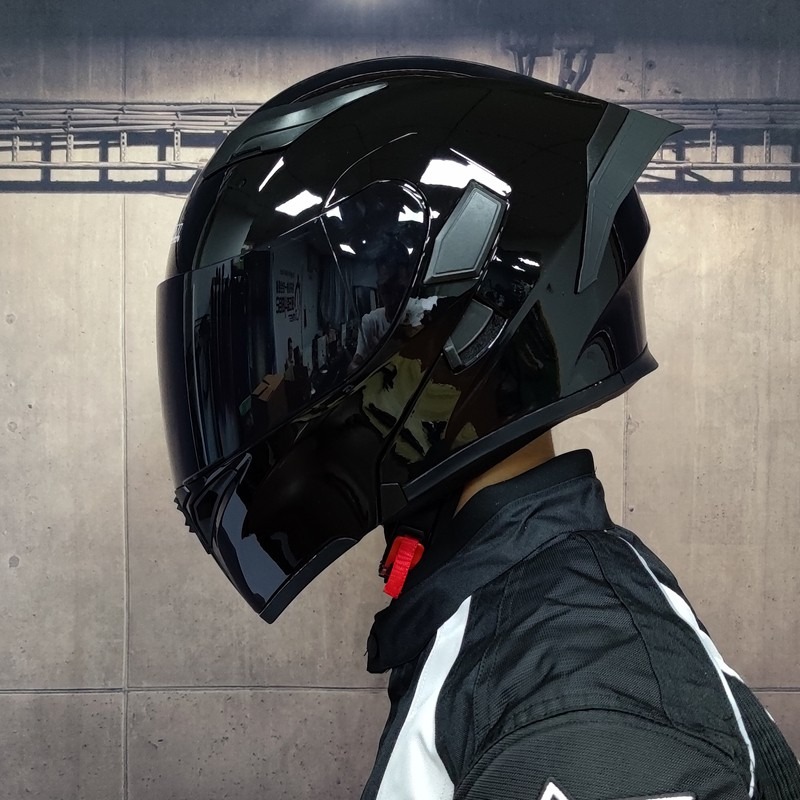
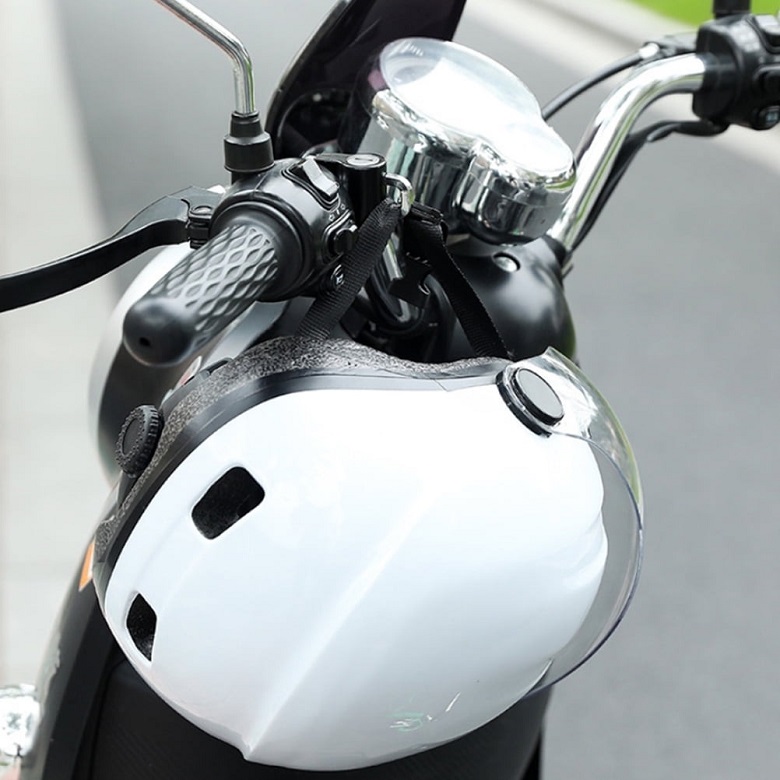
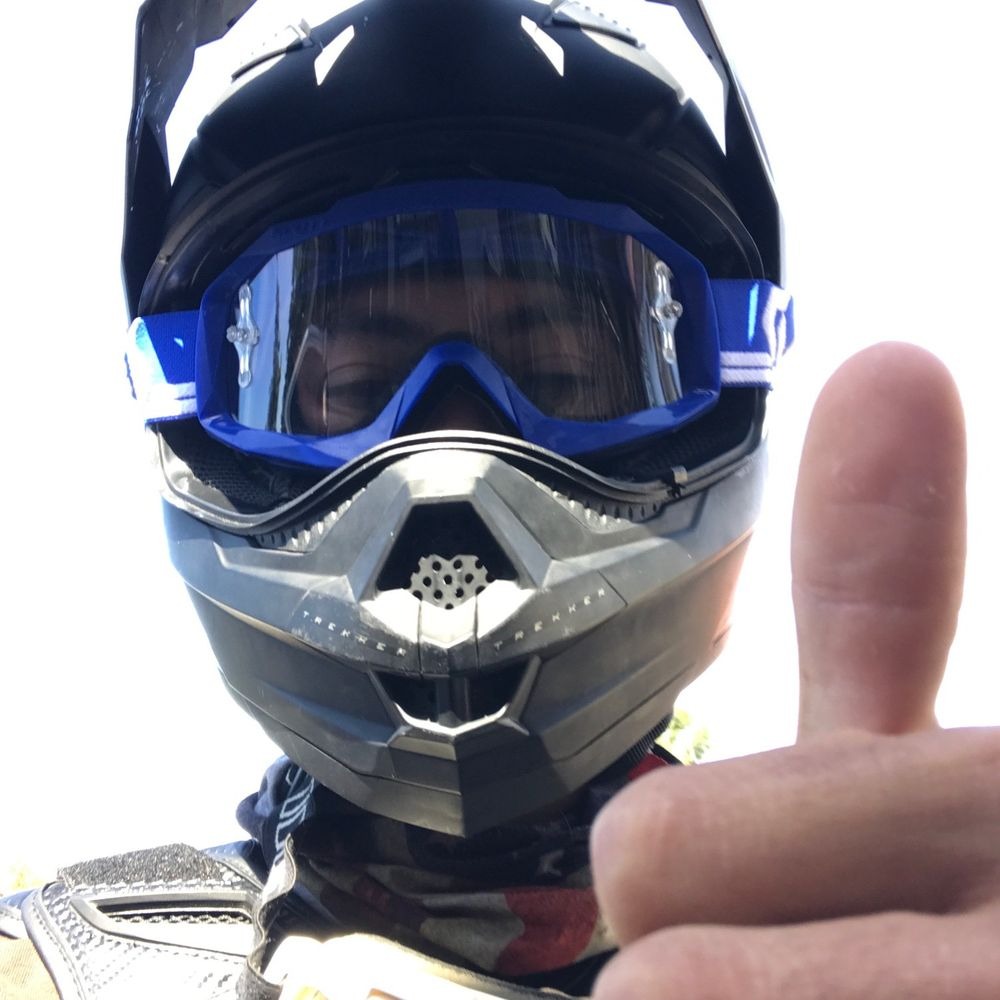
How to fit motorcycle helmet? Ensuring the correct helmet fit is crucial for every motorcyclist. A well-fitting helmet offers maximum protection during a crash. A loose helmet can fall off, while a tight one can cause discomfort. Good fitment also ensures clear vision and reduces wind noise. Keep these benefits in mind while learning how to fit a motorcycle helmet correctly. Remember that fitment directly impacts your safety and comfort on the road.
Key Measurements for Helmet Sizing
To properly fit a motorcycle helmet, start with key measurements. Use a tailor’s tape measure for this. Measure around your head, just above your eyebrows and ears, at the largest circumference. How to fit motorcycle helmet? Write down this measurement. Most helmet sizes are in centimeters, so ensure accuracy. Manufacturers have sizing charts. Use your head measurement with these charts to find your size. Remember, head shape matters too. It can be round, oval, or egg-shaped. Match your head shape with helmet shapes for best fit.
Steps to Test Helmet Fitment
Once you’ve measured your head and consulted the sizing charts, it’s time to test the helmet’s fitment. Here’s how to fit a motorcycle helmet to ensure a secure and comfortable ride:
- Positioning: Place the helmet on your head. It should sit squarely with the bottom edge above the brow.
- Straps: Fasten the chin strap. Adjust it until snug. It should feel secure, not choking.
- Movement: Gently rotate the helmet from side to side. It should move with your skin, not slide freely.
- Pressure Points: Check for any uncomfortable spots. Red marks after testing indicate pressure points.
- Visibility: Ensure the eyeport offers good visibility. You should be able to see well in all directions.
- Nod Test: Nod your head vigorously. The helmet should stay in place and not slip backward or forward.
By following these steps for how to fit a motorcycle helmet, you can ride confidently, knowing your helmet is correctly fitted. During this process, be patient and thorough. A proper fit takes time and adjustments.
Adjusting the Helmet for Optimal Comfort
Once you’ve found a helmet that matches your head measurements and shape, the next step is tailor-fitting it for optimal comfort. Getting the fit just right can make a significant difference in how the helmet feels during long rides. Here are some adjustments you can make to ensure the helmet feels comfortable and secure:
- Cheek Pads: Helmets come with cheek pads for a snug fit. If they’re too tight or too loose, you can replace them with pads of different thicknesses.
- Liner Adjustments: Some helmets have removable liners. Adjust these or swap them out to fine-tune the fit.
- Chin Strap: The strap should be tight enough to keep the helmet on your head, but not so tight that it’s uncomfortable. Make sure you can still talk and breathe easily.
- Rear Adjustments: If your helmet has a rear adjustment system, use it to tighten or loosen the fit around the back of your head.
- Wear It In: It’s normal for a new helmet to feel snug. Wear it for some time at home to let it shape to your head before hitting the road.
Always remember, never force a helmet to fit by applying excessive pressure. If it’s not a good fit, consider trying a different size or model. Comfort is key to staying safe and alert while riding.
Tips for Trying on Different Helmet Styles
When trying on different motorcycle helmets, keep a few tips in mind to find the best fit:
- Start with the Right Shape: Helmets come in various shapes to match different head shapes. Pick a style that complements your head shape – round, oval, or egg-shaped.
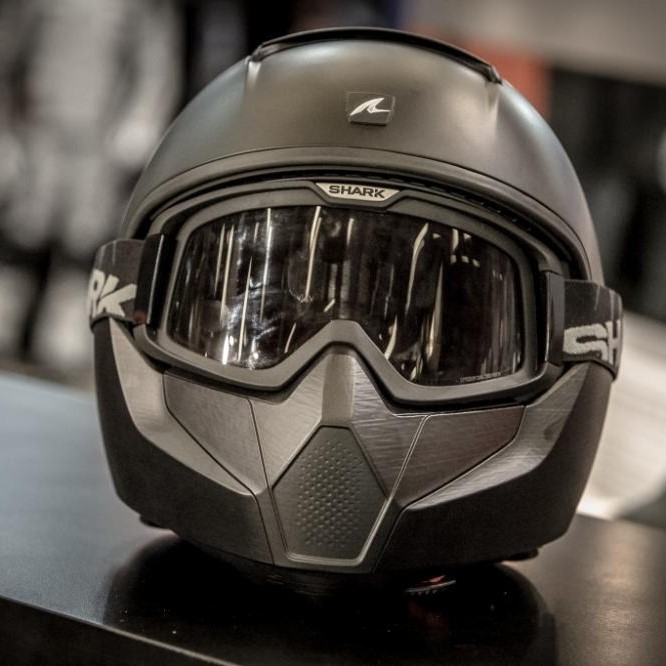
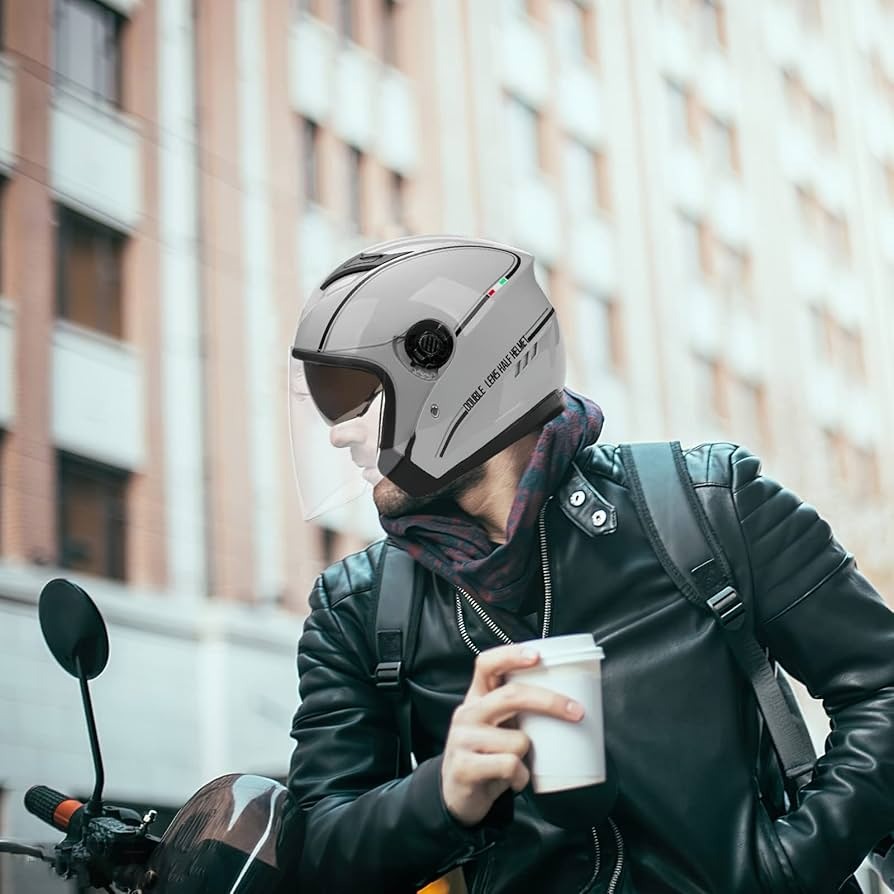
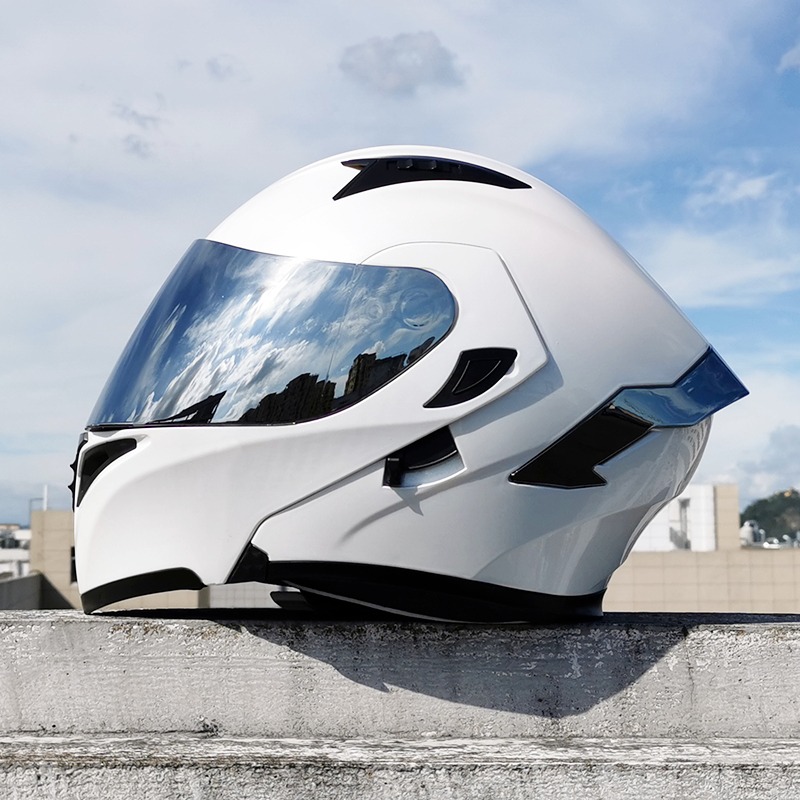
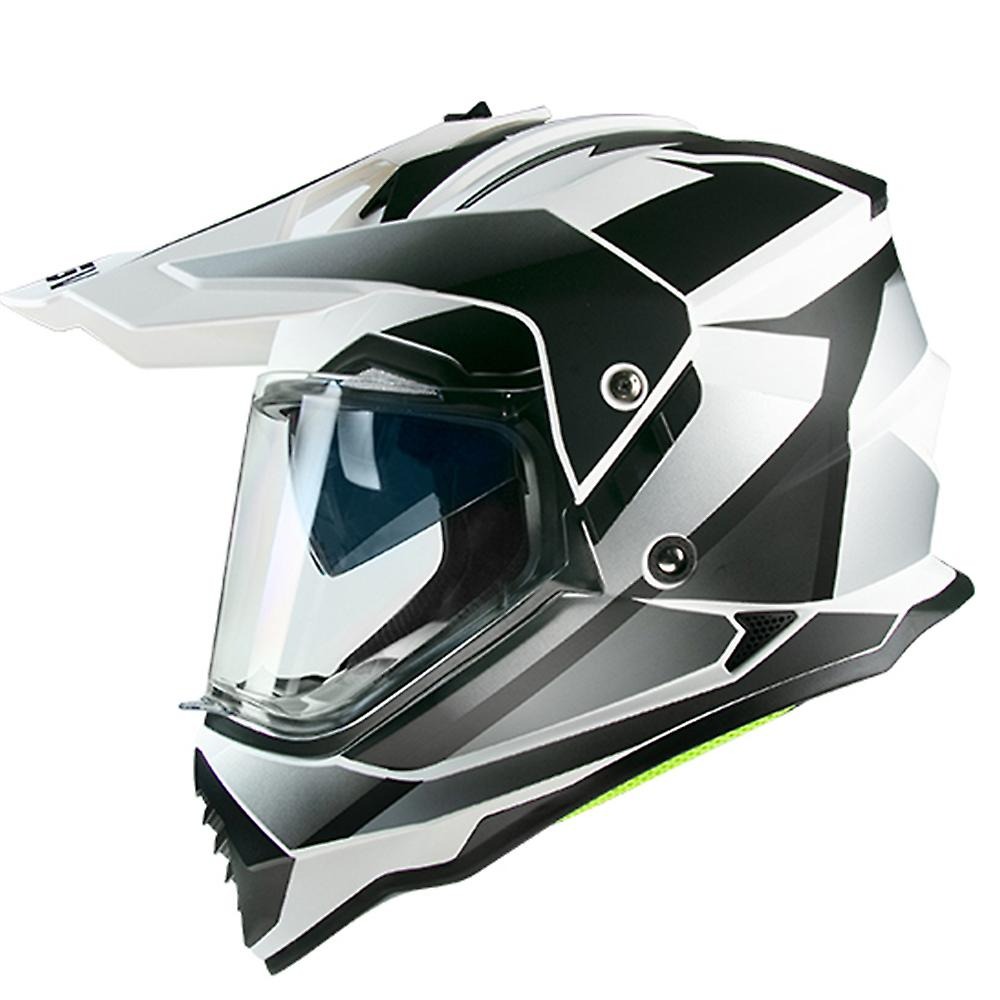
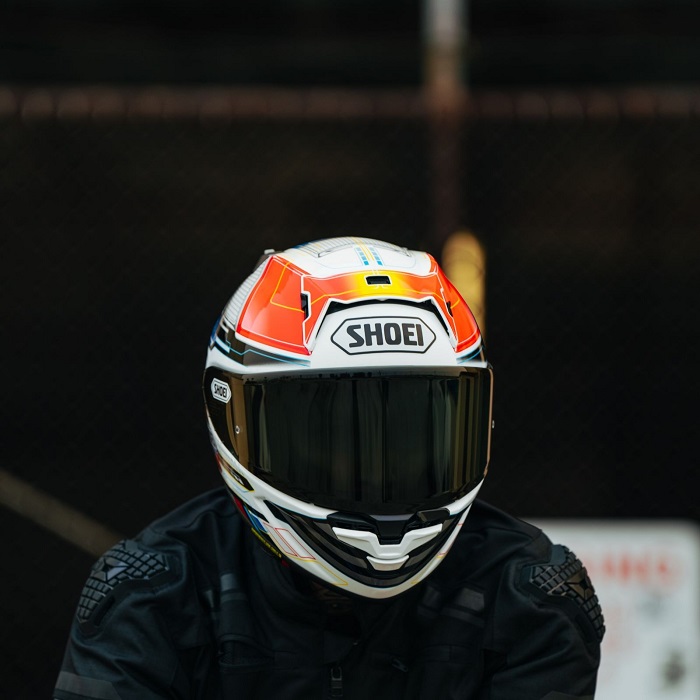
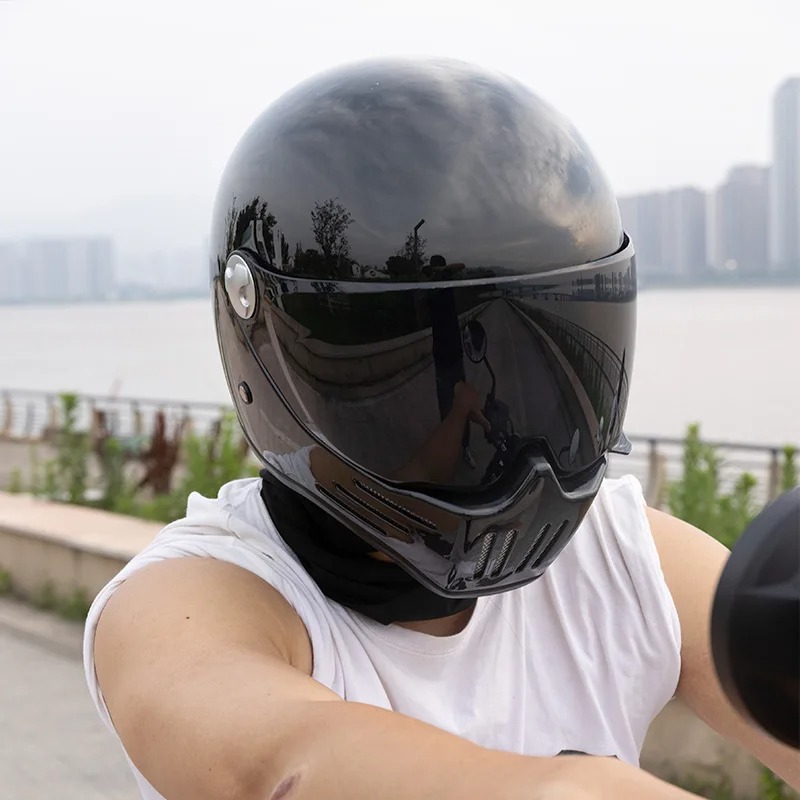
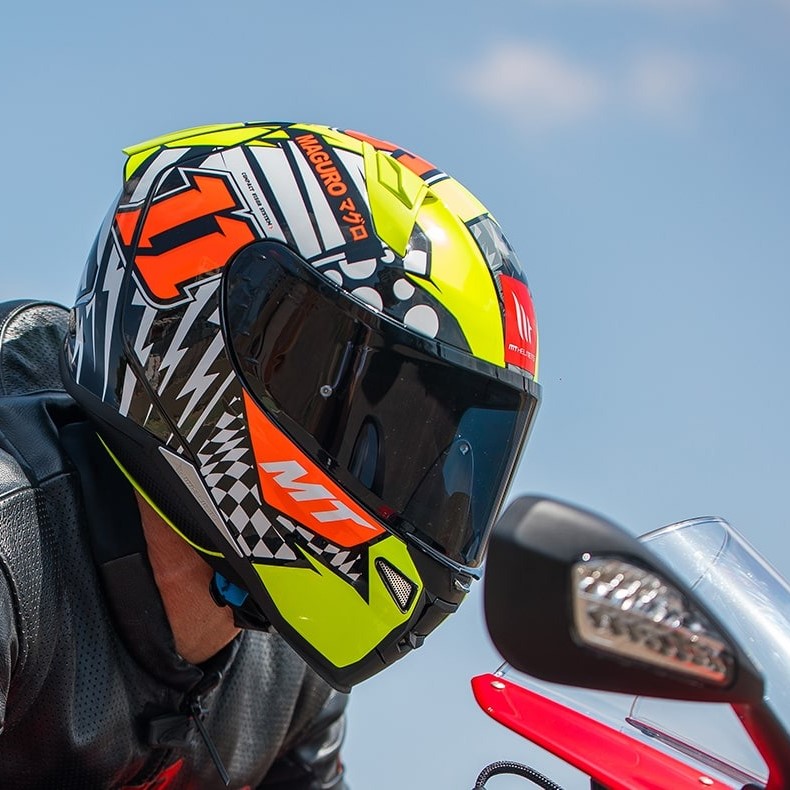
- Consider the Helmet Type: Full-face, open-face, modular, and half-helmets each have their own fitment. Full-face helmets offer the most coverage and protection but ensure it is not too tight.
- Try on Multiple Sizes: Sizes can vary among brands. Try on multiple sizes to know which one truly fits. If in between sizes, consider the smaller size for a snug fit as the helmet will break in.
- Check for Snugness: A good helmet should fit snugly around your head and cheeks with no gaps. However, it shouldn’t cause pain or excessive pressure.
- Wiggle Test: Give the helmet a little wiggle. It shouldn’t move independently of your head. If it wiggles too much, it’s too big.
- Wear for a While: If possible, wear the helmet for a few minutes. This will help you notice any discomfort that might not be immediate.
Remember, how to fit a motorcycle helmet is as important as choosing the right helmet style. Take your time and don’t rush the process for a safe and enjoyable ride.
Common Mistakes to Avoid When Fitting a Helmet
When fitting a motorcycle helmet, avoid common pitfalls for the best protection. Here’s what to watch out for:
- Ignoring Head Shape: Choosing a helmet without considering head shape can lead to a poor fit. Match your head shape with helmet types for a snug fit.
- Skipping the Measurement Step: Never guess your size. Always measure your head before consulting sizing charts.
- Overlooking Strap Adjustment: A loose chin strap is risky. It must be snug, but not too tight.
- Neglecting the Wiggle Test: Do the wiggle test after fitting. A helmet that moves too much is unsafe.
- Wearing a Used Helmet: Used helmets might have unseen damage. Always buy new for guaranteed safety.
- Buying for Looks: Never prioritize style over fit. Safety comes first with helmets.
- Using the Wrong Size Padding: Using incorrect cheek pad sizes can ruin a good fitment. Choose the right thickness.
- Forgetting the Nod Test: Do this to check if it slips. A good helmet stays put.
- Relying on Break-In to Fit: A helmet should fit well from the start. Don’t rely on breaking in to improve a bad fit.
- Ignoring Comfort: Discomfort can distract you on the road. Ensure your helmet fits comfortably.
By avoiding these mistakes, you’ll ensure a proper fit and safer rides. Remember, how to fit a motorcycle helmet isn’t just about comfort—it’s about your safety too.
Helmet Care and Maintenance
Proper helmet care and maintenance are key to ensuring your helmet remains effective. Here are essential tips to maintain your helmet:
- Clean Regularly: Wipe the helmet’s exterior with mild soap and water. For the interior, use a fabric cleaner designed for helmets.
- Handle with Care: Always use the helmet’s chin strap to carry it. Avoid dropping it as impacts can compromise its integrity.
- Store Properly: Keep your helmet in a cool, dry place away from direct sunlight. Use a helmet bag for extra protection.
- Check for Damage: Regularly inspect for cracks, loose padding, or other wear and tear. Small issues can grow if ignored.
- Avoid Chemicals: Don’t expose your helmet to harsh chemicals like gasoline, cleaning solvents, or paint. These can weaken the helmet’s materials.
- Replace after Impact: If your helmet experiences a significant impact, replace it. Damage may not always be visible.
- Follow the Manufacturer’s Instructions: Consult your helmet’s manual for specific care and maintenance guidelines.
By following these helmet care and maintenance steps, you help ensure your helmet continues to provide the maximum level of protection.
When to Replace Your Motorcycle Helmet
Knowing when to replace your motorcycle helmet is vital for your safety. Unlike other gear, helmets have a finite lifespan. Here are key signs that it’s time for a new one:
- After an Impact: Replace your helmet after any crash where your head hits something. The impact can cause damage that isn’t visible but weakens its protection.
- Wear and Tear: Look for signs of wear like cracks, a loose shell, or fraying straps. These show that the helmet can’t provide full protection anymore.
- After Five Years: Helmet manufacturers recommend replacing your helmet every five years. Over time, materials deteriorate even if the helmet looks fine.
- If It Doesn’t Fit Anymore: The fit of a helmet can change with use. If you feel it’s looser than when new, it’s time for a replacement.
- New Standards: Safety standards improve over time. If your helmet is old, it might not meet current safety standards.
- Exposure to Chemicals: If your helmet has been exposed to harsh chemicals, it may need replacement. Some chemicals can break down helmet materials.
By keeping an eye out for these signs, you ensure that your motorcycle helmet will provide the best protection whenever you hit the road. Remember to prioritize safety and replace your helmet when needed. This way, how to fit a motorcycle helmet will always involve gear that’s up to the task.
More Details