Mar 4, 2025
What Is Modular Helmet: A Rider’s Guide
Introduction to Modular Helmets
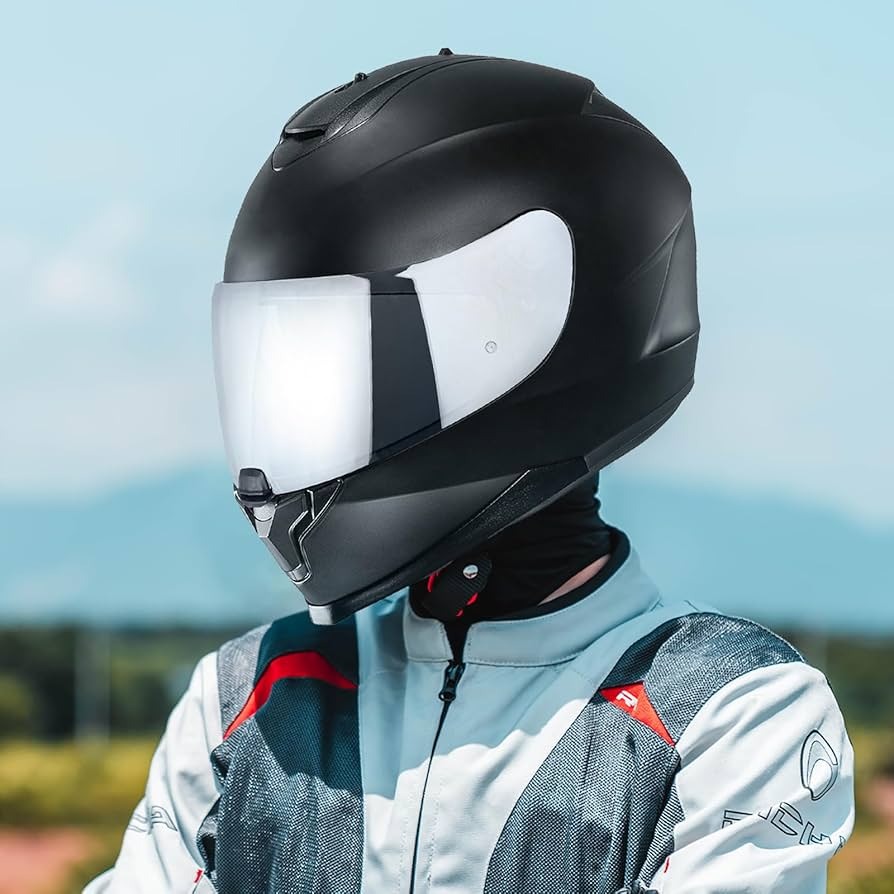
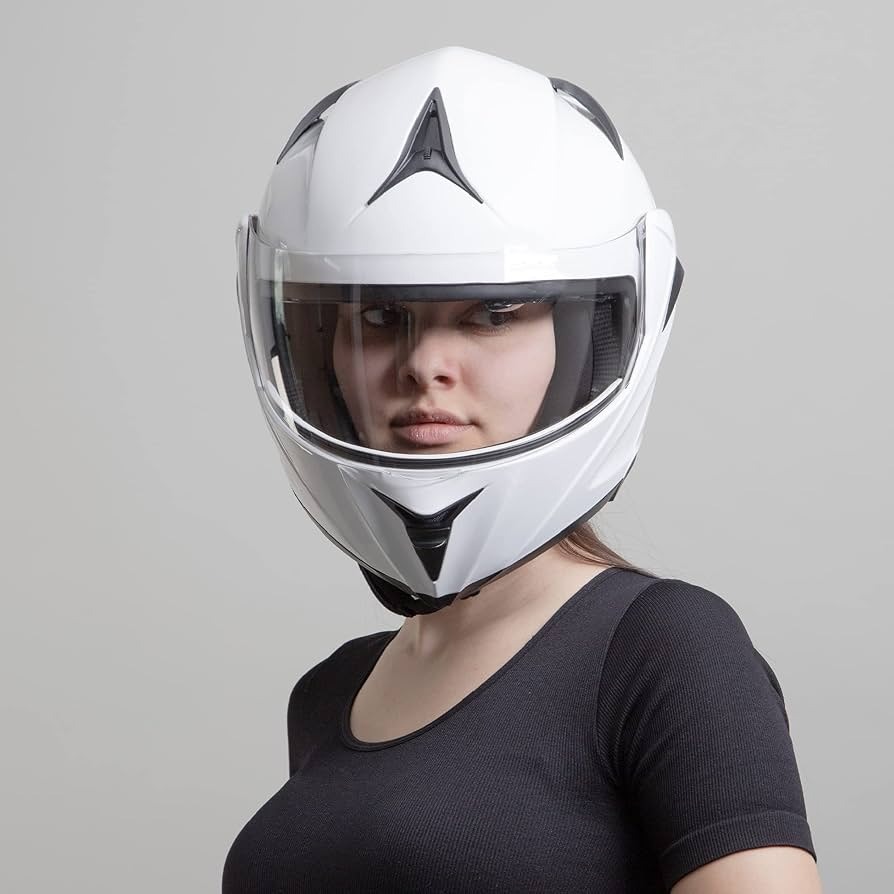
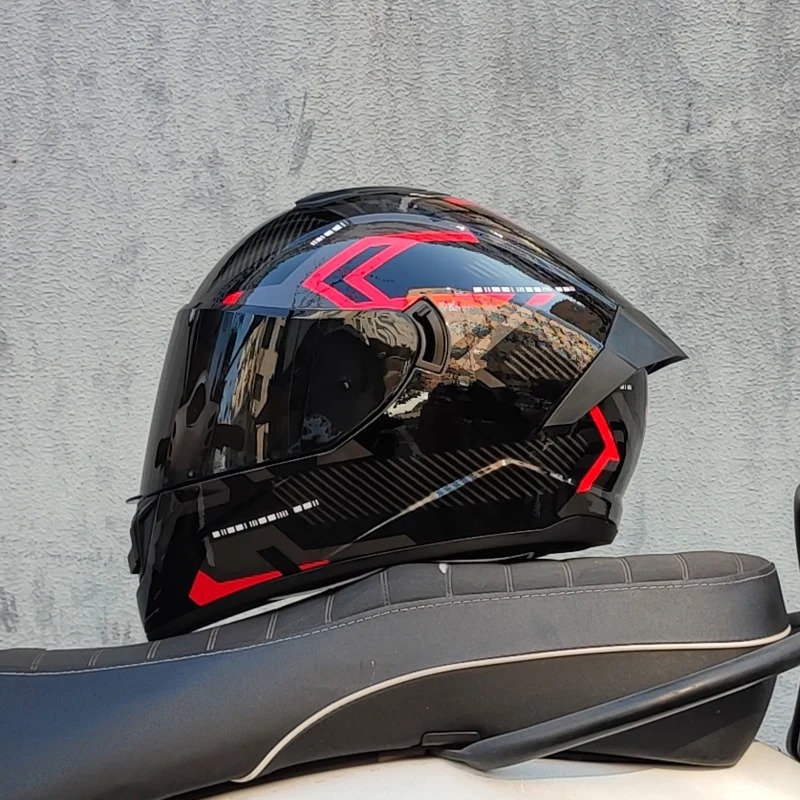
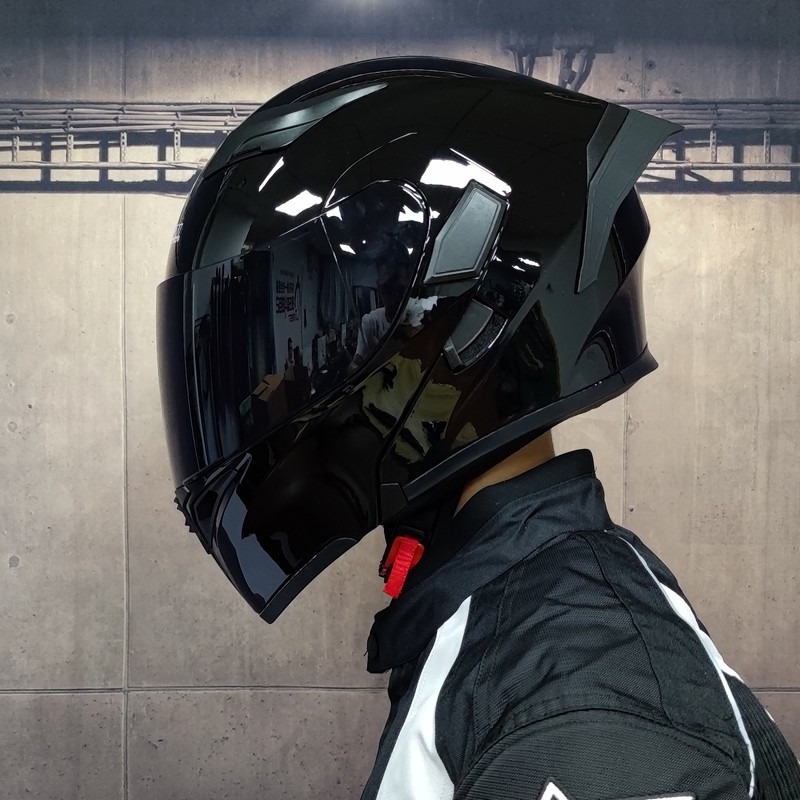
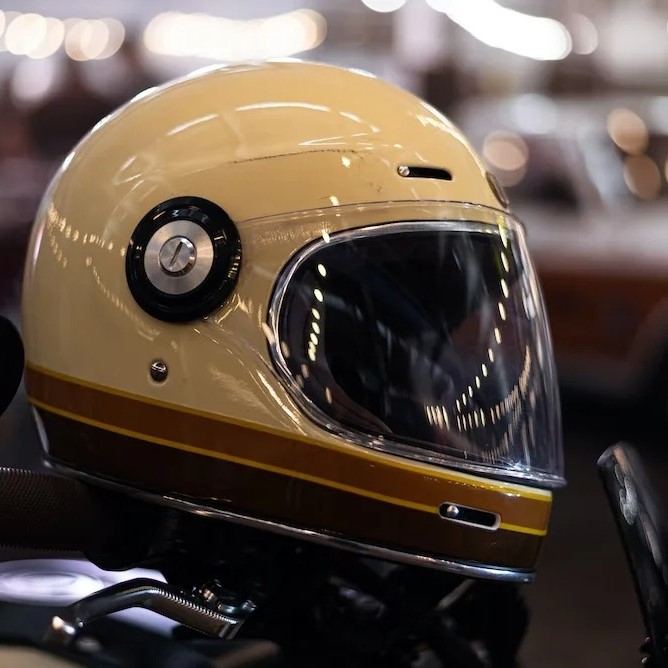
For many motorcyclists, a helmet is much more than a safety gear item; it’s part of their riding identity. In the helmet family, modular helmets have carved out a niche for their versatility and comfort. Often referred to as ‘flip-up’ helmets, they combine the best aspects of full-face and open-face helmets. But what is modular helmet exactly? Simply put, it is a helmet design with a movable chin bar. This feature allows riders to lift the front of the helmet, transforming it from a full-face to an open-face configuration.
The idea behind the modular helmet is to offer convenience without compromising on safety. With a modular helmet, bikers can communicate, eat, or drink without having to remove the entire helmet. This adaptability is especially useful during short stops or slow riding conditions. For riders who wear glasses, the flip-up design makes it easier to put on and take off the helmet.
What sets modular helmets apart from other types is the hinge mechanism that connects the chin bar to the main helmet body. A good modular helmet should operate smoothly, allowing the rider to open and close the chin bar with one hand, often even when wearing gloves. When closed, the helmet should provide a seal that is comparable to that of a full-face helmet, which is essential for noise reduction and weather protection.
While exploring what is modular helmet, keep in mind these helmets are known for their function and convenience but should also meet the required safety standards. In the next sections, we will delve deeper into the key features of modular helmets, how they’ve evolved, and what safety standards they must adhere to for the rider’s protection.
The Evolution of Motorcycle Helmets
The history of motorcycle helmets is a tale of innovation and safety improvement. In the early 1900s, riders wore leather caps that offered little protection. As motorcycles became faster, the need for better helmets grew. In the 1950s, the first full-face helmets appeared. They gave riders more protection in high-speed crashes. By the 1970s, helmets with energy-absorbing foam liners became standard. These liners help reduce the impact on the brain during accidents.
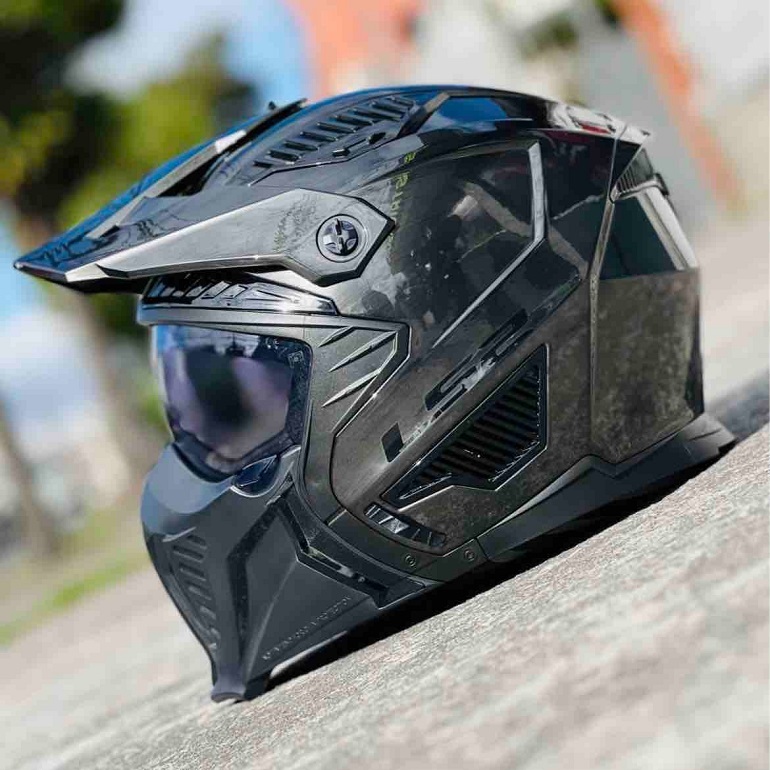
It was not until the late 20th century that modular helmets entered the scene. They brought a mix of safety and convenience that was not seen before. The first models were bulky and not very aesthetically pleasing. But they marked a turning point in helmet design. Over time, modular helmets became sleeker and more functional. The chin bars were easier to move, and the overall weight of the helmets decreased. This made them comfortable for long rides.
Today’s modular helmets are a result of years of testing and technological advances. They offer better visibility, advanced ventilation systems, and more comfortable linings. They also meet stringent safety standards. The evolution of motorcycle helmets continues as manufacturers find new ways to combine safety with rider comfort. With ongoing research and development, the future of modular helmets looks promising.
By understanding how motorcycle helmets have evolved, riders appreciate the level of protection that modern designs like modular helmets provide. This history also highlights the ongoing commitment to rider safety in the motorcycle industry.
Key Features of Modular Helmets
What is modular helmet? Modular helmets stand out for their unique features. These are tailored to cater to the specific needs of different riders. Here’s a rundown of the key characteristics that define these versatile helmets.
Movable Chin Bar
The standout feature is the movable chin bar. This allows a rider to switch from full-face to an open-face helmet with ease. It’s handy for quick conversations or sips of water during breaks.
Safety Latch Mechanism
A safety latch keeps the chin bar in place. It is designed for easy operation, even with gloves on. This ensures the helmet remains secure while riding.
Integrated Sun Visor
Many modular helmets come with built-in sun visors. These provide extra protection against glare without needing sunglasses.
Adjustable Ventilation
They feature adjustable vents. This lets riders control airflow, keeping cool in heat and reducing fog on visors in colder conditions.
Removable Linings
For comfort, modular helmets often have linings that can be removed and washed. This helps keep the interior fresh and prolongs the lifespan of the helmet.
Communication System Compatibility
Most models are designed to be compatible with communication systems. This feature is crucial for those who ride in groups or want to stay connected.
As you explore what a modular helmet is, consider these features carefully. They contribute to both the functionality and the safety of the helmet. A well-chosen modular helmet can enhance your riding experience by offering both comfort and protection.
Safety Standards for Modular Helmets
When it comes to safety, modular helmets are held to high standards, just like other types of motorcycle helmets. As a bridge between full-face and open-face helmets, modular helmets must comply with safety certifications to ensure they provide adequate protection in case of an accident. Here are the key points regarding safety standards for modular helmets:
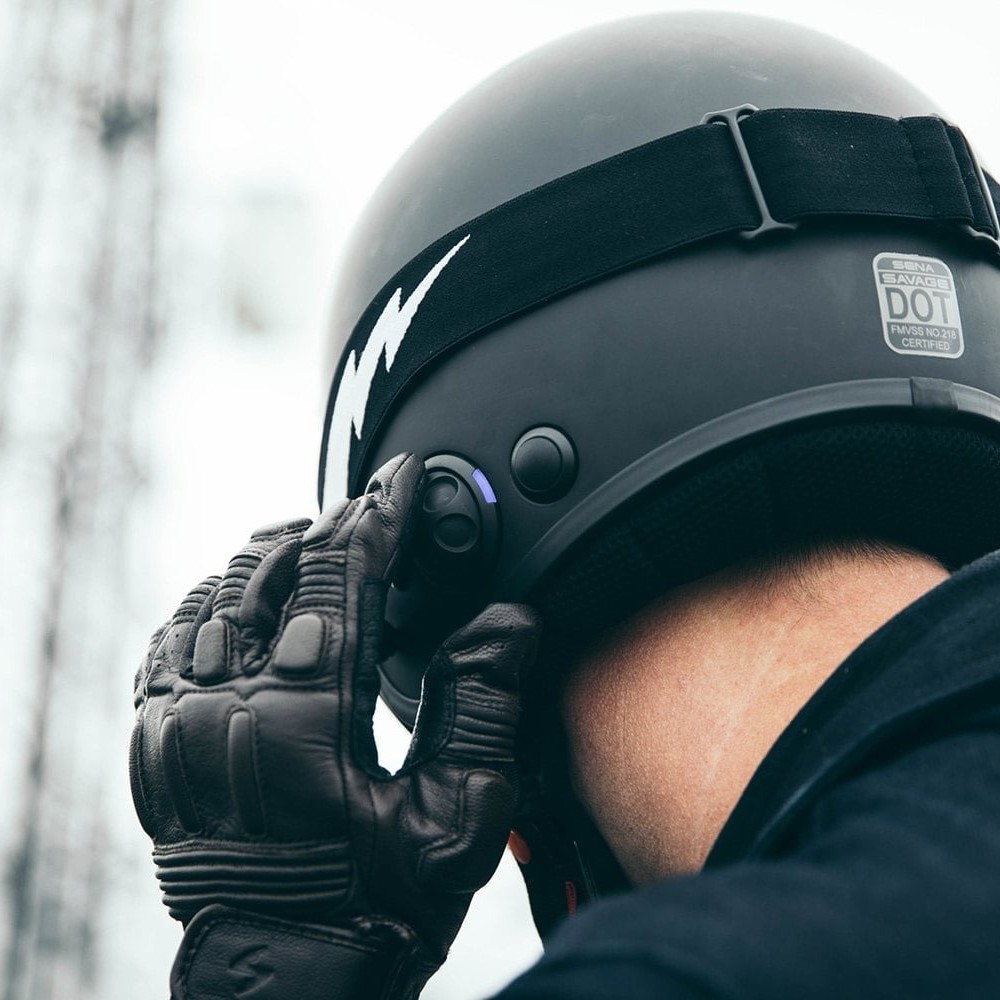
DOT Certification
In the United States, the Department of Transportation (DOT) sets the baseline for helmet safety. Modular helmets must pass stringent DOT tests to verify impact absorption, penetration resistance, and other critical safety factors. This DOT certification is mandatory for all helmets used on public roads and is a mark of trustworthiness for riders.
ECE Standards
The Economic Commission for Europe (ECE) provides another widely recognized safety certification. Their standards include rigorous testing for impact, abrasion resistance, and stability. Modular helmets that meet ECE criteria reassure riders of their ability to protect in diverse conditions.
Snell Standards
Snell certification is not required by law but offers another level of safety assurance. The Snell Memorial Foundation conducts advanced testing that goes beyond government requirements. A Snell-certified modular helmet has undergone thorough scrutiny and can be seen as a premium option in terms of safety.
Consider Safety Labels
Riders should always look for these safety labels when choosing a modular helmet. A helmet that carries DOT, ECE, or Snell certifications is more likely to provide the necessary protection on the road.
It’s crucial to understand what a modular helmet is in terms of safety. Choose a helmet that adheres to these standards to ensure you are well-protected every time you ride. The modular helmet’s capacity to safeguard you is as important as any of its convenient features.
Pros and Cons of Modular Helmets
When considering what a modular helmet is, weighing its advantages and drawbacks is vital. Let’s break them down.
Advantages of Modular Helmets
Modular helmets offer flexibility. You can lift the chin bar, easily talk, eat, or drink. They fit well for those who wear glasses, as the flip-up feature helps in putting on the helmet. The built-in sun visors protect from glare, and the adjustable vents help in controlling the airflow for comfort. Modular helmets also support communication systems, making them great for group rides.
Drawbacks of Modular Helmets
Despite the benefits, there are some cons. They can be heavier than full-face helmets, which may tire you out on long rides. The hinge mechanism could be a weak point in a crash. They also might be noisier due to the extra seams and moving parts. Lastly, modular helmets can cost more than other helmet types.
In summary, when asking ‘what is a modular helmet?’, remember it’s a blend of comfort and convenience with some trade-offs. Choose wisely based on your needs and preferences for the best riding experience.
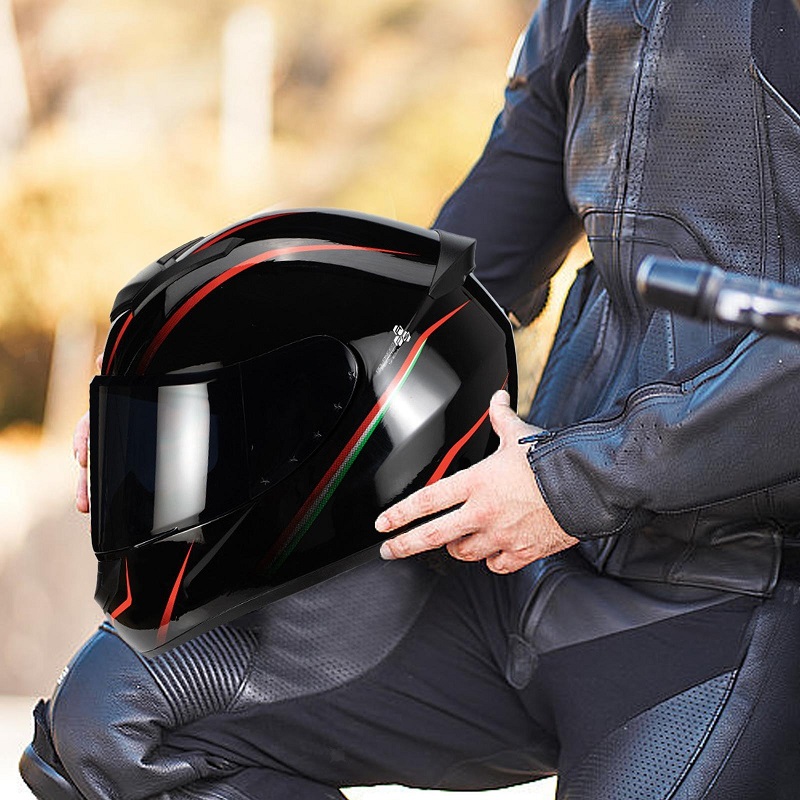
How to Choose the Right Modular Helmet
Choosing the right modular helmet is crucial for safety and comfort. Here are some tips to help you make an informed decision.
Assess Your Needs
Think about how you ride. Are you a long-distance tourer or a city commuter? Your needs will guide your choice.
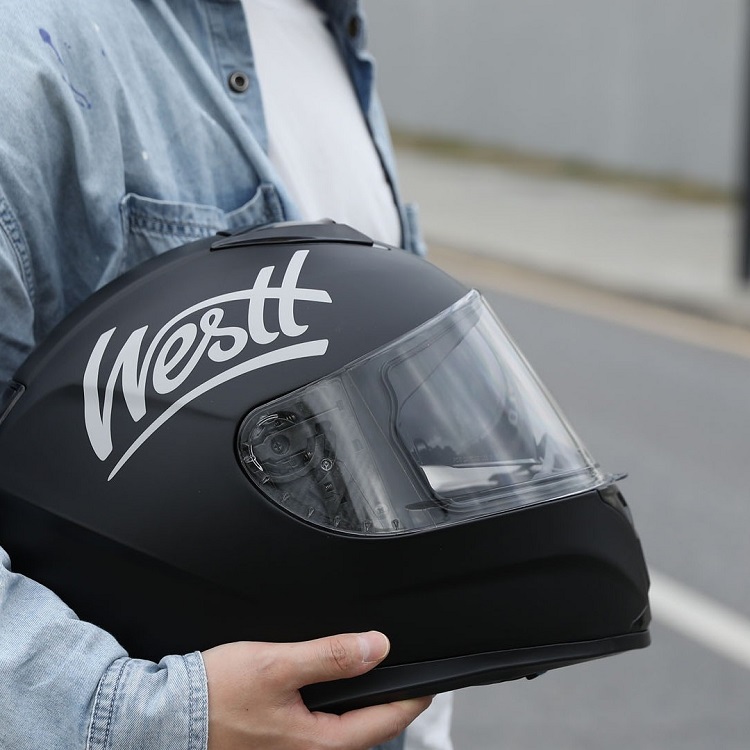
Check the Fit
Make sure the helmet fits snugly. A loose helmet won’t protect you as well in a crash.
Look for Safety Certifications
Opt for helmets with DOT, ECE, or Snell certifications. These labels indicate tested safety.
Consider the Weight
A heavier helmet can cause fatigue. Try on different models to find a comfortable weight.
Test the Mechanism
Open and close the chin bar in the store. It should move easily with one hand.
Examine the Features
Do you need a sun visor or communication system compatibility? Pick the features that match your riding style.
Think About Noise Levels
Modular helmets can be noisier. If quiet is essential for you, look for helmets designed to reduce noise.
Budget Accordingly
Set a budget but remember that safety is worth the investment. Don’t compromise on key safety features for the sake of cost.
Choosing the right modular helmet means balancing needs, safety, comfort, and budget. Take your time and pick the helmet that best fits you and your riding lifestyle.
Maintenance and Care for Modular Helmets
To ensure your modular helmet remains in top condition, regular maintenance and care are essential. Here’s how to keep your helmet safe and functional.
Cleaning the Helmet Exterior
Clean the outside of your helmet with mild soap and warm water. Gently rub with a soft cloth to remove dirt without scratching the surface.
Washing the Interior Linings
Most modular helmets have removable linings. Take these out and wash them according to the manufacturer’s instructions. Air dry them completely before reinserting.
Checking the Chin Bar Mechanism
Periodically inspect the chin bar mechanism. Ensure it moves smoothly and locks securely. Apply lubricant if necessary, to maintain ease of use.
Inspecting the Visor
Look for scratches or damage to the visor that might impair vision. Clean it regularly with a suitable cleaner and replace the visor if it’s damaged.
Storing the Helmet Properly
Store your helmet in a cool, dry place, away from direct sunlight. Use a helmet bag to protect it from dust and scratches.
Regular Safety Checks
Before each ride, check your helmet for any signs of wear or damage. Always replace your helmet after an impact, even if there are no visible signs of damage.
Updating Communications Systems
If your helmet is equipped with a communication system, keep the software updated. Check the hardware regularly to ensure it’s functioning correctly.
By following these straightforward steps, you can extend the life of your modular helmet and ensure it provides maximum protection whenever you ride.
Future Trends in Modular Helmet Design
As we look to the future, modular helmet design is poised for exciting advancements. These developments aim to enhance rider experience while boosting safety. Here’s what we can anticipate in the upcoming trends for modular helmets:
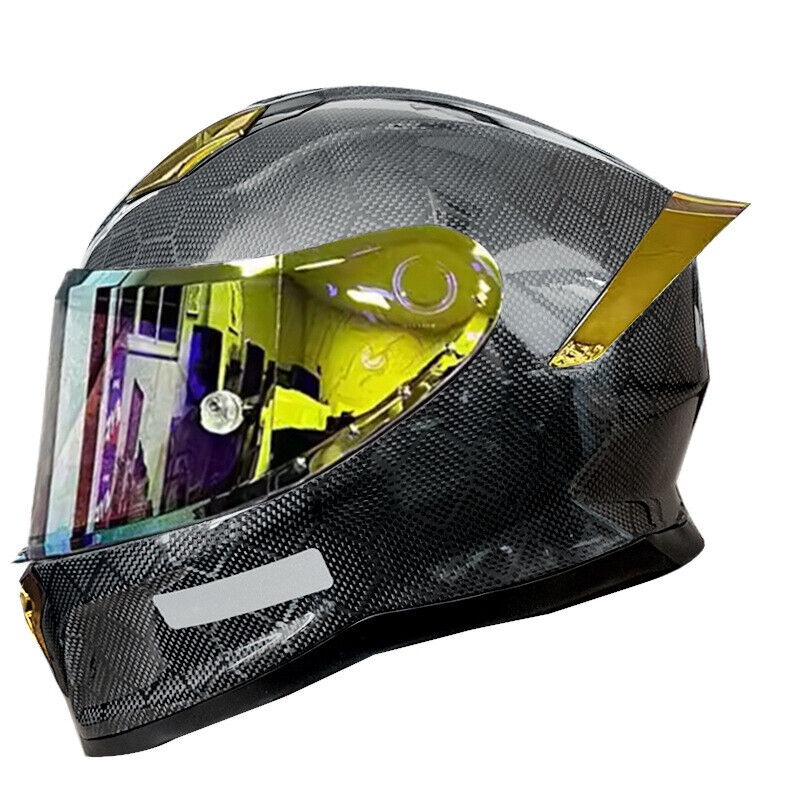
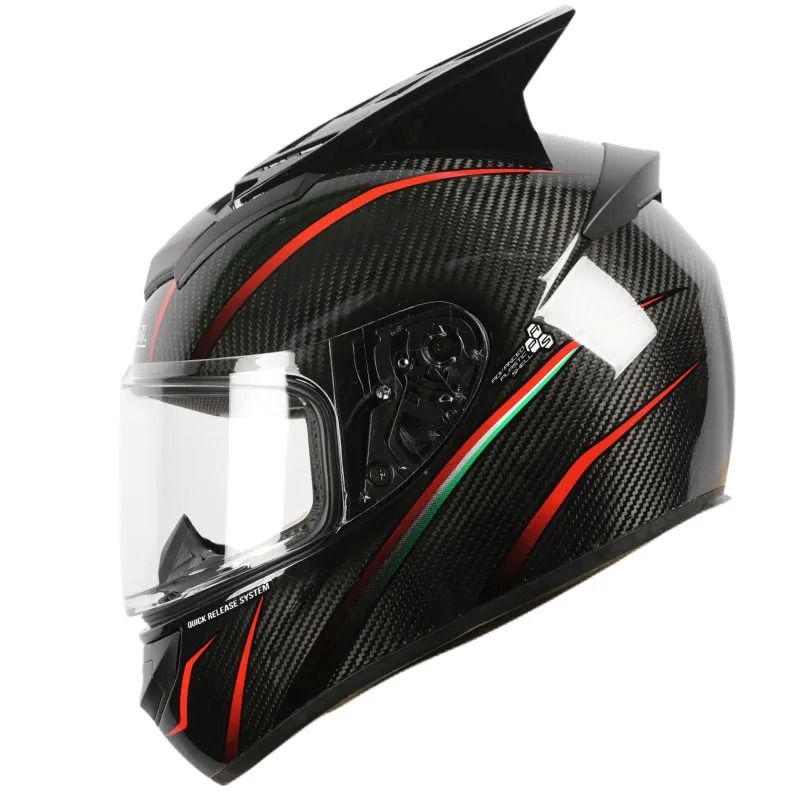
Enhanced Materials for Better Protection
Future modular helmets will likely utilize advanced materials. These will offer improved impact resistance while reducing weight. Expect materials like carbon fiber and advanced polymers to become more common.
More Aerodynamic Designs
Designers are continuously working on more aerodynamic shapes to reduce wind noise and drag. This would result in a smoother and quieter ride.
Integrated Technology
We can foresee greater integration of technology. Features like HUD (head-up displays), rear-view cameras, and Bluetooth connectivity might come as standard options.
Adaptive Ventilation Systems
Ventilation systems could become more sophisticated. These systems would automatically adjust to the riding conditions, keeping the rider comfortable.
Improved Noise Reduction
Modular helmets may incorporate noise-cancellation technology. This would help to significantly lower the noise levels inside the helmet.
Customization and Personalization
With 3D printing and new manufacturing techniques, riders might be able to customize their helmets to a greater extent, choosing not just colors but also shapes and features.
Focus on Environmental Sustainability
Eco-friendly designs using sustainable materials and production processes will become more important. This will appeal to environmentally conscious riders.
These trends indicate a promising future for modular helmets. They will likely bring amazing benefits to riders who value safety and convenience. Keep an eye on these innovations as they unfold, and you’ll continue to enjoy the evolving world of motorcycle gear.
More Details