Jul 9, 2025
Mustang Motorcycle Seats: Expert Reviews and Recommendations
When it comes to motorcycle comfort, few components are more crucial than the seat. A well-designed seat can transform your riding experience, reducing fatigue on long journeys and enhancing overall enjoyment. Mustang Motorcycle Seats have built a reputation for quality, comfort, and style in the biking community. This article delves into expert mustang seat reviews and recommendations, helping riders make informed choices when selecting Mustang seats for their bikes.
The Importance of Choosing the Right Motorcycle Seat
Comfort and Ergonomics
One of the primary reasons for investing in a quality motorcycle seat is comfort. Riding for extended periods can lead to discomfort or pain if the seat does not provide adequate support. Comfort and ergonomics go hand in hand, as a well-designed seat provides essential support to the rider’s body.
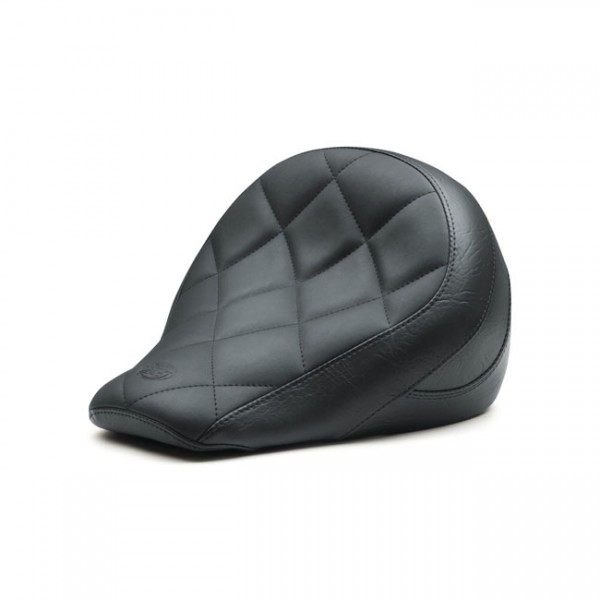
Mustang seats are engineered with contoured designs that accommodate the natural shape of the body, thus reducing pressure points. This ergonomic design allows for greater riding enjoyment without the constant need for readjustment. Riders who prioritize comfort will find that Mustang Motorcycle Seats stand out in providing a more pleasant experience on the road.
Aesthetic Appeal
In addition to comfort, the appearance of the seat can significantly impact the overall look of the motorcycle. A stylish seat can enhance the aesthetics of a bike while maintaining function. Mustang Motorcycle Seats come in various styles, colors, and materials, allowing riders to choose an option that complements their bike’s design.
The ability to personalize the motorcycle through seat selection adds a layer of connection for many riders. Choosing a Mustang seat can not only improve comfort but also contribute to your bike’s visual appeal, making it stand out in a crowd.
Overview of Mustang Seats
History of Mustang Seats
Mustang Motorcycle Seats was established in 1980, driven by the desire to provide riders with high-quality seating solutions. Over the years, the brand has built a strong reputation for producing comfortable and stylish seats for various motorcycle models. The company focuses on using top-grade materials and innovative designs to cater to the needs of riders.
Mustang seats have evolved with the industry, introducing new styles and technologies that meet the demands of modern bikers. The company’s commitment to craftsmanship and rider satisfaction has garnered a loyal following. Many riders choose Mustang as their go-to brand for motorcycle seating.
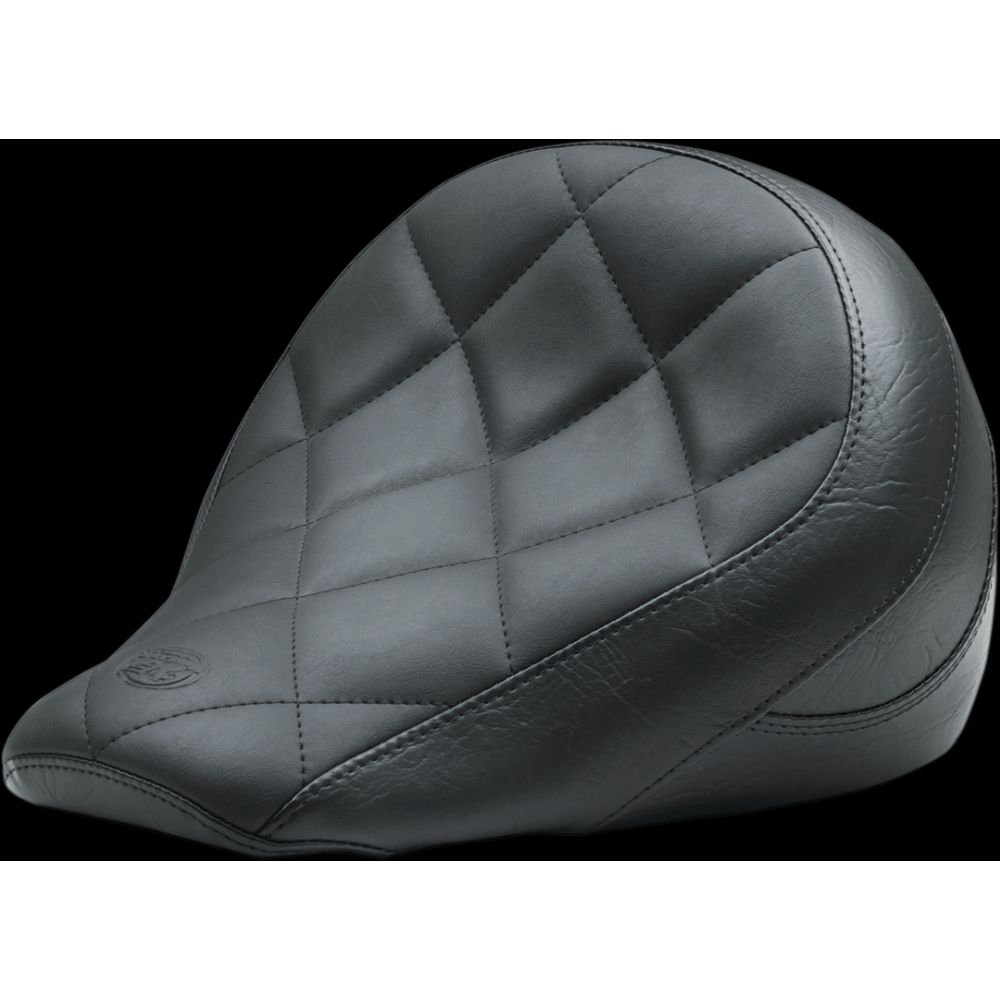
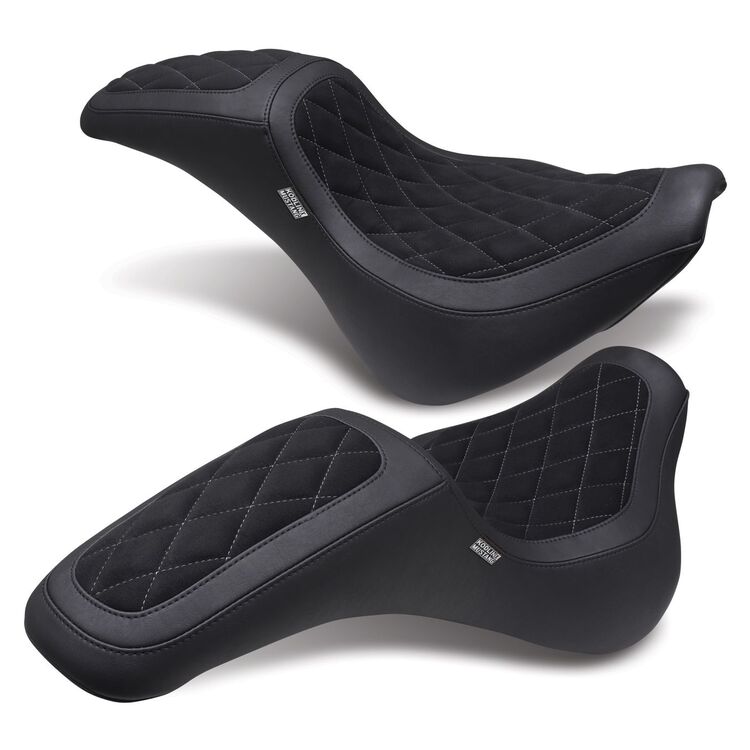
Types of Mustang Seats
Mustang offers a wide variety of seat options tailored to different motorcycles and riding styles. From touring seats to solo seats, the choices are diverse.
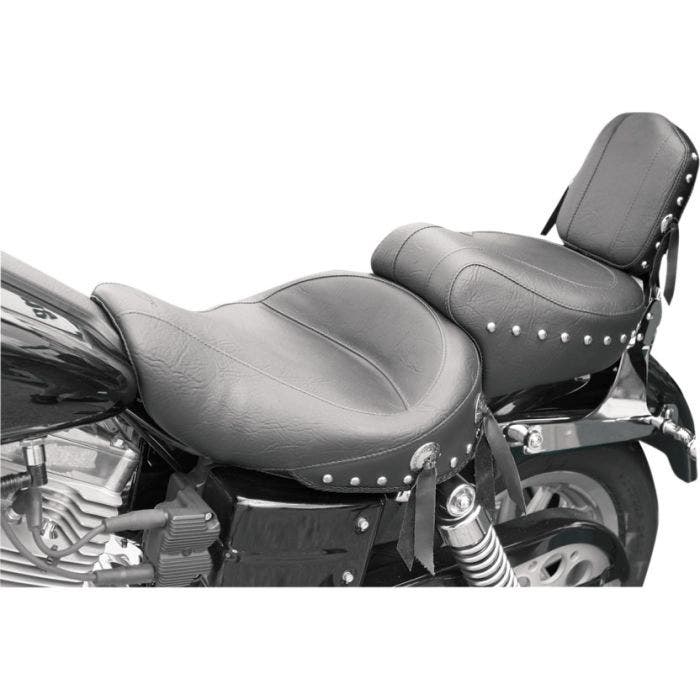
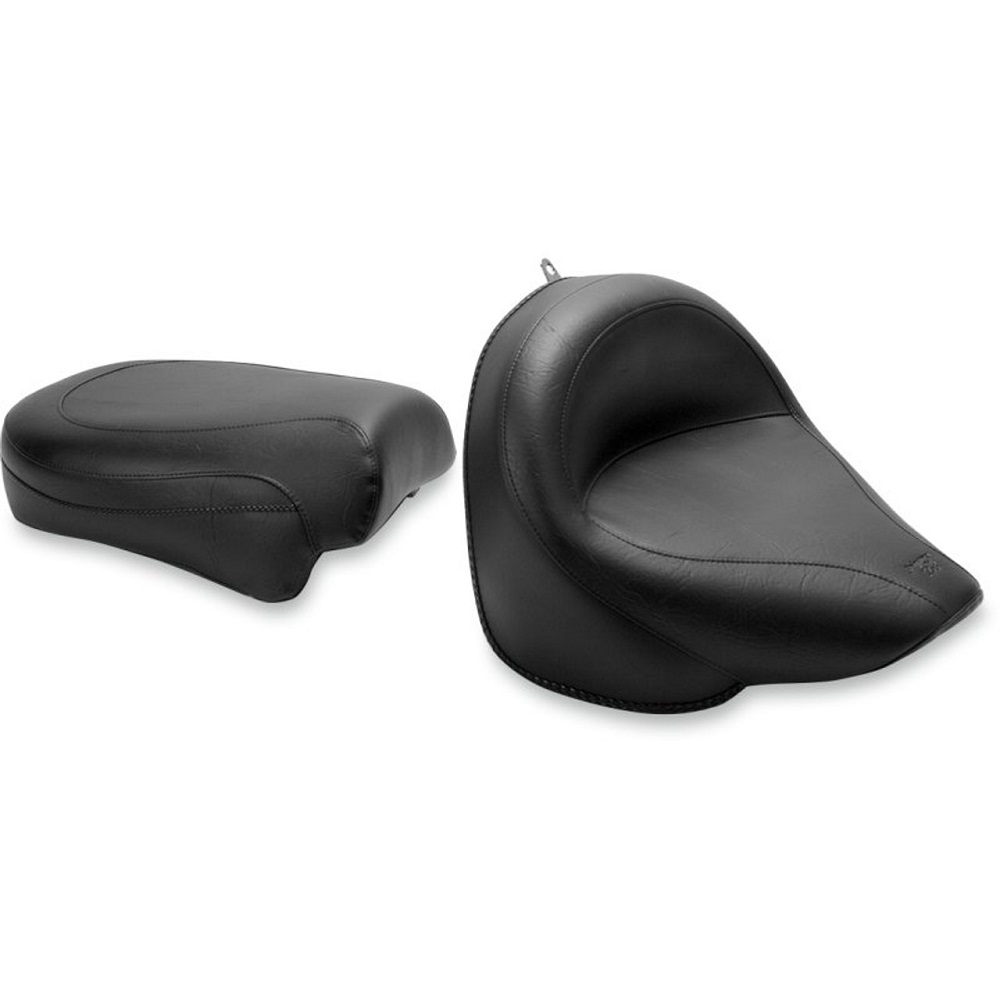
- Touring Seats: Designed for long-distance rides, these seats provide more cushioning and back support. They often feature additional lumbar support and passenger comfort.
- Cruiser Seats: These seats emphasize style without sacrificing comfort. They often come with a classic look that complements cruiser motorcycles while providing adequate padding.
- Sportbike Seats: Built for agility and performance, these seats focus on lightweight design and grip. They typically feature less padding but are designed to keep the rider positioned securely during aggressive riding.
Understanding the different types of Mustang seats is essential for selecting the best one for your motorcycle and riding style.
Expert Reviews of Mustang Seats
Comfort Ratings
Experts consistently highlight the comfort levels offered by Mustang Motorcycle Seats. Many riders report that these seats significantly reduce fatigue during long rides, thanks to their ergonomic design. The inclusion of high-density foam and specific shaping contributes to a custom fit that cradles the body.
Professional reviews often note that Mustang seats provide excellent support for the lower back. Enhanced lumbar support helps maintain proper posture on long runs. Overall, riders appreciate the comfort derived from Mustang seats, which is evident through positive testimonials and consistent recommendations.
Durability and Quality
Experts reviewing Mustang Motorcycle Seats frequently highlight durability as another aspect. Mustang seats, made from high-quality materials, are designed to withstand the rigors of riding. Manufacturers often construct the covers from weather-resistant vinyl or leather that can endure exposure to the elements.
Many users commend the craftsmanship of Mustang seats, noting that seams are well-stitched and the overall construction feels solid. This commitment to quality ensures that riders can rely on Mustang seats for many years, making them a sound investment.
Customization Options
Mustang offers a variety of customization options that further enhance their appeal. Many riders appreciate the ability to personalize their seats to match their unique tastes or the aesthetics of their motorcycle. Different colors, stitching styles, and even personalized embroidery can create a truly unique touch.
Experts often recommend looking into the customization options available, as this allows riders to express their individuality. Whether it’s a simple color change or more elaborate embroidery, personalizing a Mustang seat can elevate the ownership experience.
Recommendations for Specific Motorcycle Models
Harley-Davidson Motorcycles
For Harley-Davidson enthusiasts, Mustang is a favored choice for aftermarket seats. Several models, including the Mustang Wide Tripper and the Mustang DayTripper, specifically enhance the comfort of Harley riders. These seats provide the perfect blend of style and function, ensuring that riders enjoy long journeys without discomfort.
The Mustang Wide Tripper features a 3D design that helps distribute weight evenly. It allows for an upright seating position, thereby minimizing strain on the back. Riders can customize the seat with different stitch patterns that match the bike’s look, further enhancing the aesthetic appeal.
Metric Cruisers
Mustang also produces high-quality seats for metric cruisers. Models such as the Mustang Explorer Touring Seat are well-suited for Honda, Kawasaki, and Yamaha cruisers. The Explorer Touring Seat includes extensive cushioning and a backrest option for added support.
Riders of metric cruisers appreciate the substantial padding and the comfort of a wider seat. Many of these seats are designed to maintain a classic look while delivering exceptional comfort for longer rides. The ability to fit various cruiser motorcycle brands is a significant advantage for those exploring aftermarket seating options.
Sportbikes
Even sportbike riders can benefit from Mustang’s expertise in comfortable seating. The Mustang Sport Seat targets riders of sport and adventure bikes. Designers create these seats with a focus on grip and control, ensuring that riders can maintain comfort during aggressive riding styles.
The Sport Seat is built with a lower profile, allowing for better maneuverability while riding. Relying on lightweight materials and offering necessary padding, this option meets the demands of sportbike enthusiasts. Comfort and performance do not have to be mutually exclusive.
Installation and Fit Considerations
Installation Process
Installing a Mustang Motorcycle Seat is generally a straightforward process for most riders. Many seats come with easy-to-follow instructions and the necessary mounting hardware. Some models are designed for direct replacement, making installation simple and hassle-free.
If you feel uncertain about the installation process, consulting with a professional mechanic is a wise option. Ensuring a proper fit is essential for safety and comfort while riding. A correctly installed seat will enhance your riding experience significantly.
Ensuring the Right Fit
It’s crucial to ensure that the Mustang seat you choose fits your motorcycle correctly. Misfit seats can lead to discomfort and affect your riding posture. Prior to purchasing, consult the model specifications to guarantee compatibility with your bike.
Many retailers offer guidance regarding fit. If you have any questions or need further assistance, don’t hesitate to reach out to customer service. Taking the time to find the right fit will ultimately enhance your riding experience.
Maintenance of Mustang Motorcycle Seats
Cleaning Techniques
To prolong the life of your Mustang seats, proper maintenance and cleaning are essential. Regularly dusting the seat and wiping it down with a damp cloth removes dirt and moisture, helping maintain the seat’s appearance.
For deeper cleaning, consult the manufacturer’s recommendations to ensure the right products are used. Avoid using harsh chemicals that can damage the material. Instead, opt for mild soap and soft sponges when needed. Proper cleaning will keep your seat looking fresh and well-maintained.
Protecting Against the Elements
Protecting your Mustang motorcycle seats from the elements is crucial. Prolonged exposure to direct sunlight can damage the material, leading to fading or cracking. If your motorcycle is parked outside frequently, consider investing in a protective cover.
Additionally, using a seat conditioner designed for the material can help maintain its integrity. This step can prevent cracking and keep the material supple. By taking proactive measures, you ensure your Mustang seat continues to provide comfort and style for years to come.
Inspecting for Wear and Tear
Regular inspections of your Mustang seat can help identify wear and tear before it becomes a more significant issue. Look for signs of fraying seams, discoloration, or unusual wear patterns. Catching these problems early allows for prompt repairs or maintenance.
If you notice significant damage, consult with a professional. Many slight damages can be repaired, ensuring your seat remains in excellent condition. By monitoring your seat’s condition, you can enjoy long-lasting performance.
Conclusion
Investing in a Mustang motorcycle seat is an excellent decision for both comfort and style. Understanding the various features and options available will help you choose the perfect seat for your riding needs. With benefits such as enhanced comfort, improved stability, and customizable design, Mustang seats stand out in the market.
Along with selecting the right mustang motorcycle seats, proper installation, maintenance, and care will prolong its lifespan and performance. By following these guidelines, you can enjoy a comfortable and enjoyable riding experience for years to come.
Whether you ride a Harley-Davidson, a metric cruiser, or a sportbike, Mustang has a seat tailored to meet your unique needs. By prioritizing quality and comfort, you invest in an essential component of your motorcycle experience. Choose wisely, ride confidently, and enjoy every moment on the road!
More Details