Mar 30, 2025
How to Know If a Motorcycle Helmet Fits: Perfect Fit Guide
Importance of a Proper Helmet Fit
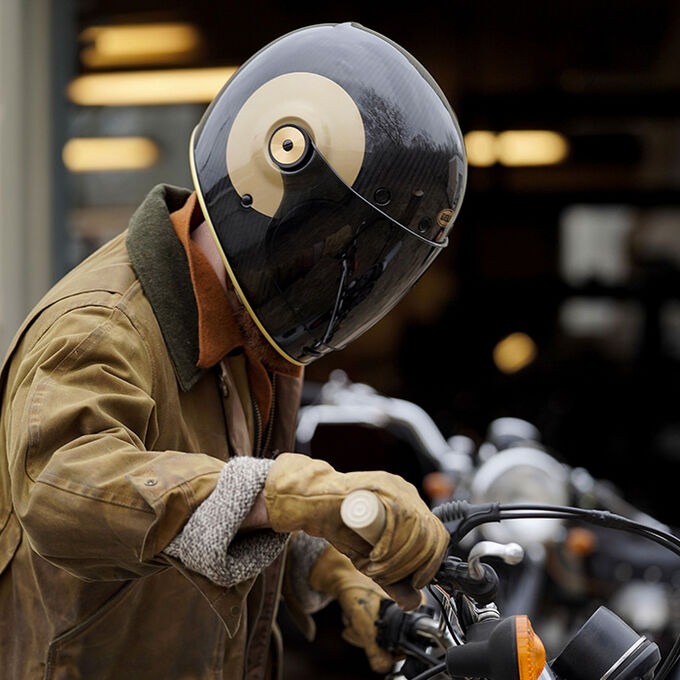
When you ride a motorcycle, a well-fitting helmet is vital for safety. Ensuring your helmet fits correctly is not just a comfort issue. It’s about protection. A helmet that’s too tight can cause headaches over time. One that’s too loose could come off in an accident. Your helmet should sit snugly on your head. It must absorb impact and protect you during your rides. Many riders overlook this detail. Yet, it can make a huge difference in an accident.
A proper helmet fit also ensures clear vision. It shouldn’t obstruct your line of sight. It should also reduce wind noise. This helps you stay more aware of your surroundings. A good fit also means the helmet won’t shift during your ride. This can distract you and be dangerous. It’s crucial to know how to know if a motorcycle helmet fits, so you always ride safely.
Moreover, the right helmet size gives you comfort on long rides. It will prevent pressure points. It will also keep you cooler by allowing airflow. A well-fitted helmet can improve your overall riding experience. It can give you better focus and confidence on the road. Always take the time to find one that fits you best. It’s an investment in your safety and enjoyment.
Initial Steps to Determine Helmet Size
Before you explore how to know if a motorcycle helmet fits, you must first determine the correct size. Use a soft measuring tape to measure the circumference of your head. Position the tape above your eyebrows and around the widest part of your head. This measurement serves as your starting point.
Next, consult the helmet’s size chart provided by the manufacturer. Size charts differ among brands so it’s essential to check the specific chart for the helmet you’re interested in. Match your head’s measurement to the chart’s corresponding helmet size. This helps you narrow down to potential choices.
After determining the likely sizes, a physical try-on is imperative. Start with the size closest to your measurement. The helmet should be tight as you put it on because the padding will compress over time. Yet, it must not cause discomfort. If you can’t pull it on at all, you need a larger size. Conversely, if it slides on with no resistance, try a smaller size.
Remember, the right fit should feel like an even pressure around your head, with no tight spots that can cause pain. Your scalp should move with the helmet, indicating an accurate fit without excessive movement.
By taking these initial steps seriously, you set the stage for a helmet fit that’s both safe and comfortable. Keep in mind, getting the size right is the first crucial step in finding a well-fitting motorcycle helmet.
Inner Padding and Its Role in Helmet Fit
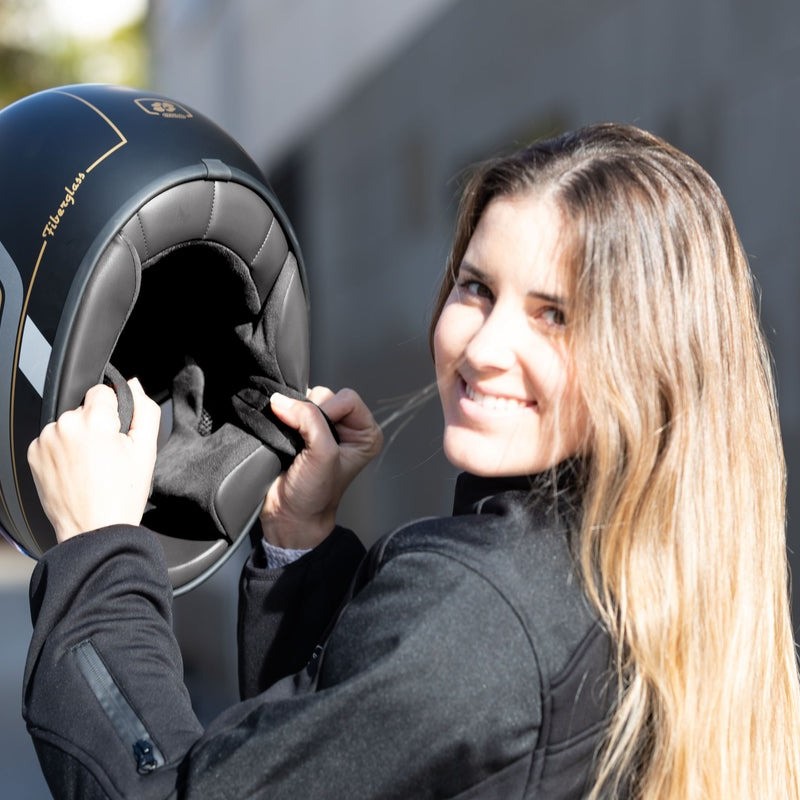
Inner padding is key for a comfortable helmet fit. It shapes to your head. This reduces pressure points. Padding also absorbs shock in an accident. It must be firm yet comfortable.
The padding shoulddistribute pressure evenly. It should not pinch or be too loose. Check for padding around the cheeks and forehead. These are important for a secure fit. Over time, padding will compress. So, start with a snug fit.
Choose a helmet with quality lining. It can wick away sweat. This keeps you cool. It also helps with helmet stability during rides. Replace padding if it gets too compressed. This will maintain a proper fit.
In sum, padding is crucial for safety and comfort. Make sure it gives even pressure. It should also stay intact through long rides. A well-padded helmet will enhance your riding experience.
Ensuring a Secure Fit: The Strap Test
To guarantee your helmet stays in place, perform the strap test. First, fasten the strap snugly. It should feel secure but not choke you. Once fastened, try to roll the helmet off your head. You do this by grasping the rear and attempting to lift and roll it forward over your head. If the helmet comes off easily, it’s too loose. The strap needs tightening, or you may have to find a different size.
To ensure the chin strap works properly, it should sit comfortably against your throat. It shouldn’t press painfully or hang so loosely that you can fit more than two fingers between the strap and your chin.
Also, after securing the strap, nod and shake your head. The helmet should stay stable. A wobbly helmet could cause trouble while riding. If the helmet shifts or slides, adjust the strap. If it still moves after adjusting, consider a better fit.
The strap test helps you detect flaws in helmet security. It’s vital to perform every time you put on your helmet. A secure strap is a line of defense during a crash. It ensures your helmet does its job – protecting your head. Always check your strap before riding. It’s a simple but lifesaving habit.
In summary, the strap test is a quick check for helmet security. Perform it every time for safe riding. It’s a crucial part of knowing how to know if a motorcycle helmet fits.
Fine-Tuning the Fit: Adjustability Features
A helmet’s adjustability is critical for a perfect fit. Let’s talk about how to fine-tune your helmet’s fit with these features.
First, check the helmet’s retention system. It usually includes a dial at the back for quick adjustments. Turn it to tighten or loosen the fit. This makes sure the helmet grips your head just right, without creating discomfort.
Next are the adjustable cheek pads. Some helmets offer cheek pads of various thicknesses. Swap these out until you find the ones that sit snugly against your face. Remember, they shouldn’t squeeze too hard or feel too loose.
Many helmets also have removable and washable liners. Play around with different liner sizes for the best feel. The liner should contour your head, providing a smooth and even pressure across the entire surface.
Moreover, look for adjustable vents. Good airflow is key to comfort, especially on long rides. Open or close these vents to control temperature and ventilation as needed.
Lastly, some helmets come with a modular chin bar. This allows you to adjust the amount of air that flows through the helmet. It’s ideal for adapting to different weather conditions or riding styles.
To recap, make full use of adjustability features to ensure your helmet fits well. Try various settings to find what’s most comfortable and secure for you. The right fit will boost your confidence and safety on every ride.
Common Signs of an Ill-Fitting Helmet
Identifying an ill-fitting helmet is crucial for your safety. Here are common signs to look out for:
- Pressure Points: If you feel specific spots pressing into your head, the helmet is too tight. This can lead to discomfort or even headaches during longer rides.
- Too Much Movement: A helmet that moves while you nod or shake your head is too loose. It should stay firm without causing pressure.
- Forehead Exposure: If the helmet sits too high and leaves your forehead more exposed than it should be, it’s not the right size or shape.
- Cheek Squeeze: While snug cheek pads are good, excessive squeezing is a sign that the helmet is too small.
- Gaping: Any large gaps between your head and the padding mean the helmet is too big, risking it coming off in a crash.
- Strap Issues: If the chin strap is maxed out but still feels loose or, conversely, is too tight, the helmet isn’t the right fit.
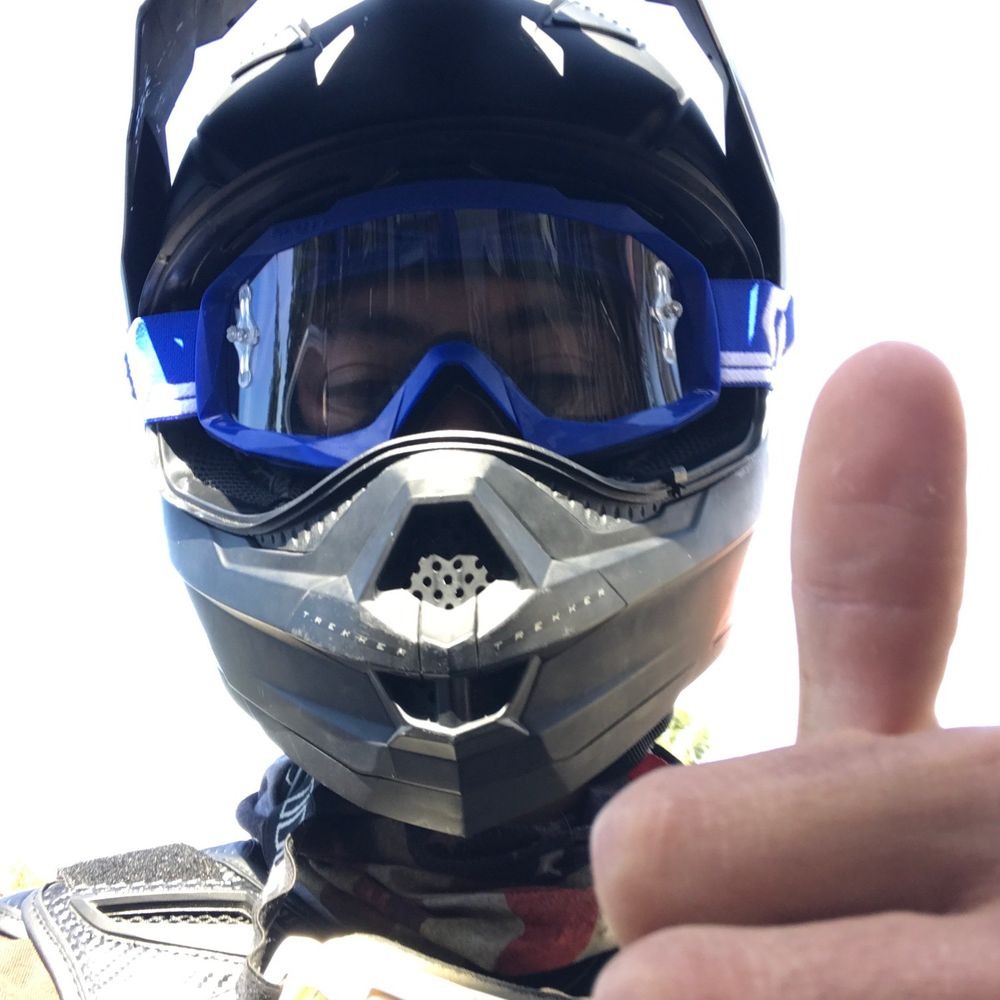
- Eyewear Issues: If your glasses are being pushed into your face or do not sit right, the helmet might not be compatible with them.
- Sound Amplification: A properly fitting helmet will reduce wind noise. If noise levels increase, the fit might be incorrect.
- Visor Problems: A visor that won’t stay put or doesn’t seal properly can indicate a poor fit.
Ensure you check these signs when trying on helmets. If you spot any, consider trying a different size or model. Remember, knowing how to know if a motorcycle helmet fits is key for a pleasant and secure ride.
Helmet Fitment: Full Face vs Modular vs Half Helmets
When choosing a motorcycle helmet, consider the fit of different types. Full face, modular, and half helmets fit differently. Knowing how to know if a motorcycle helmet fits is crucial for each style. Here’s what to keep in mind for each type.
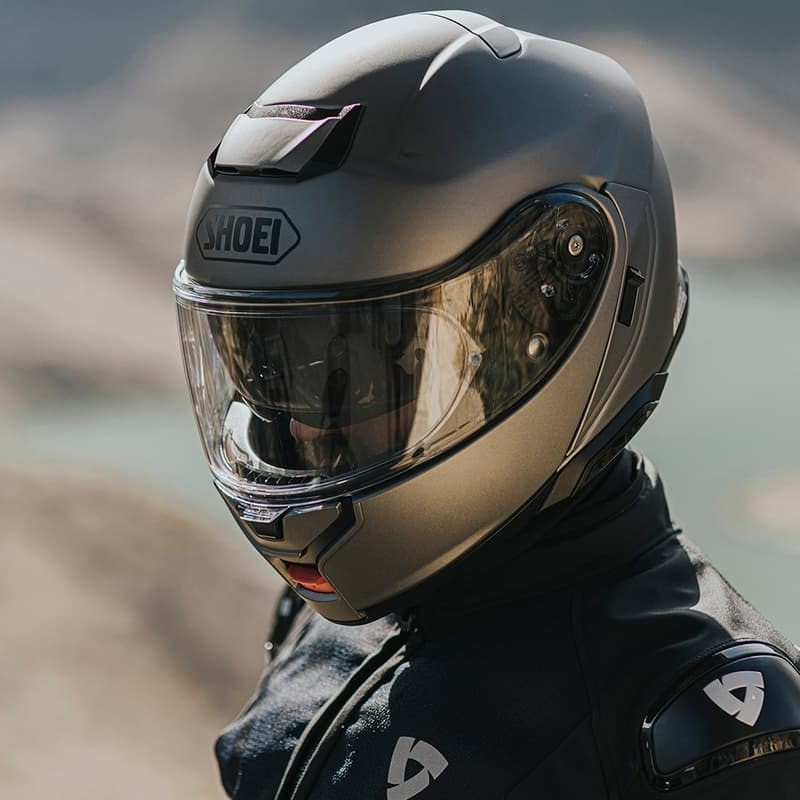
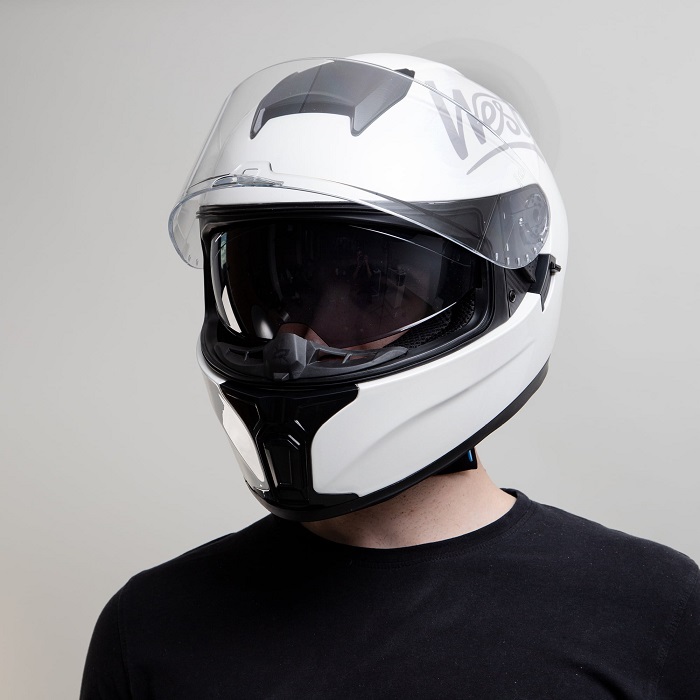
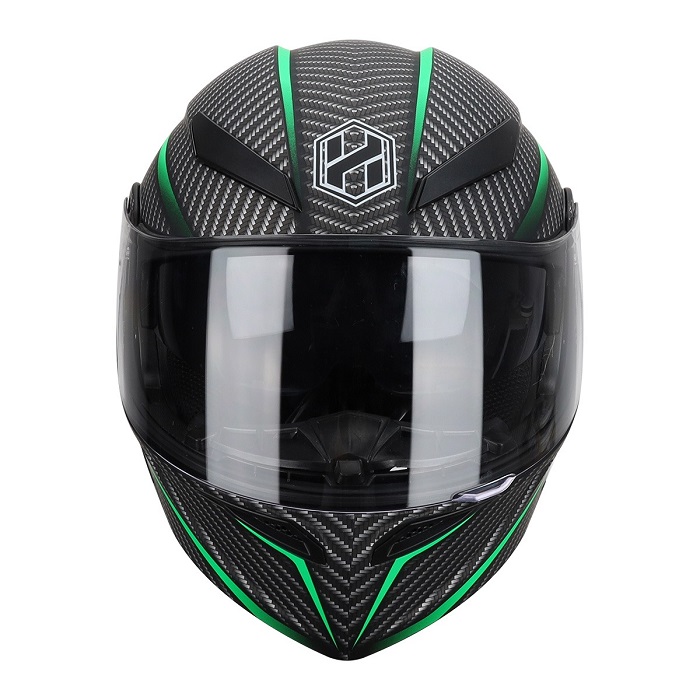
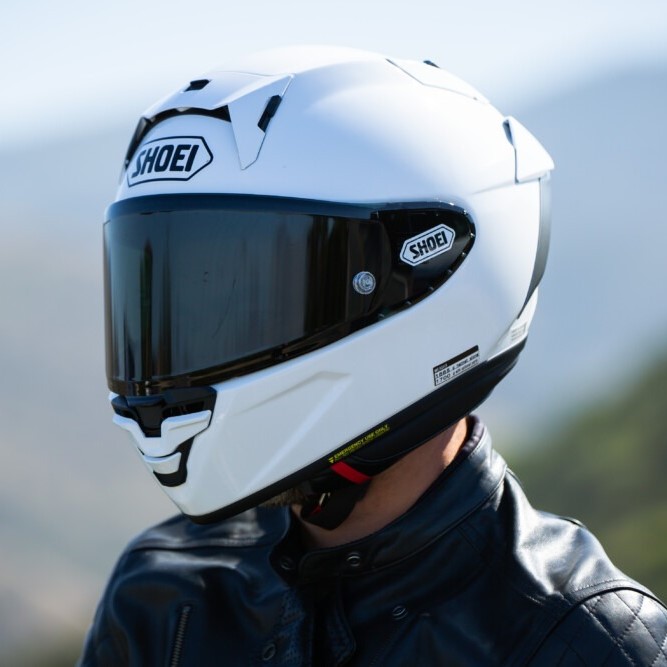
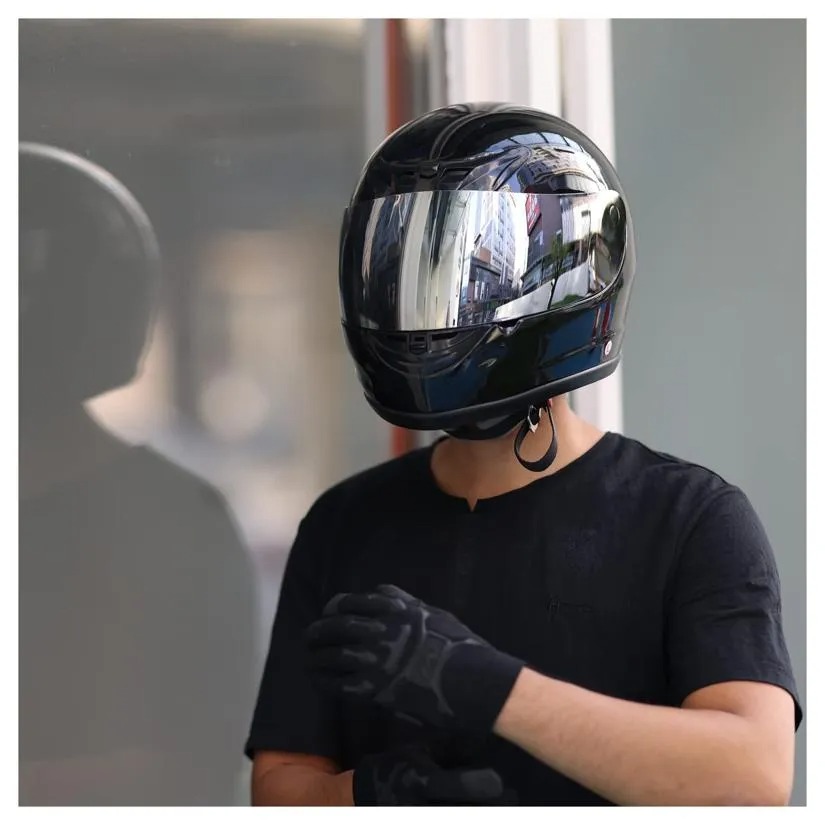
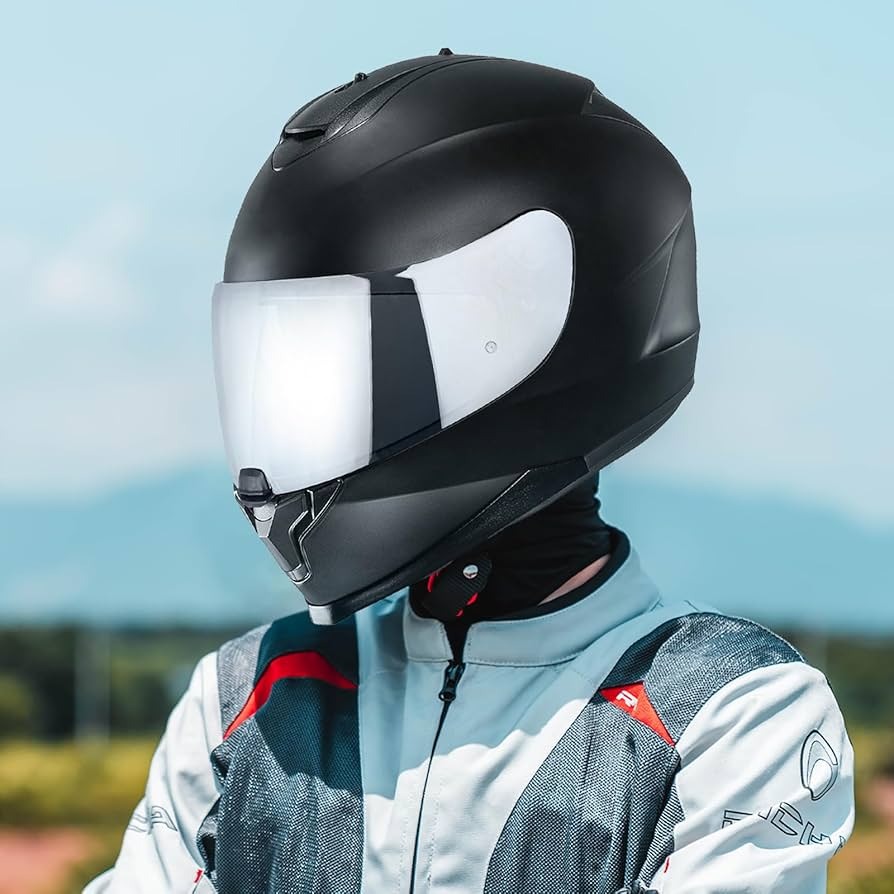
Full Face Helmets
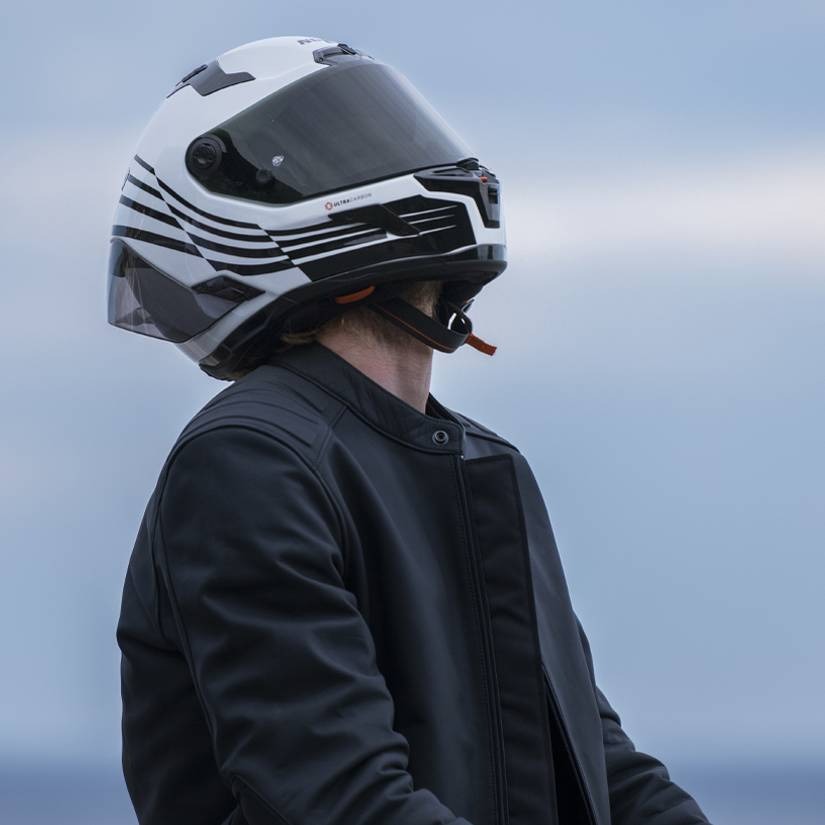
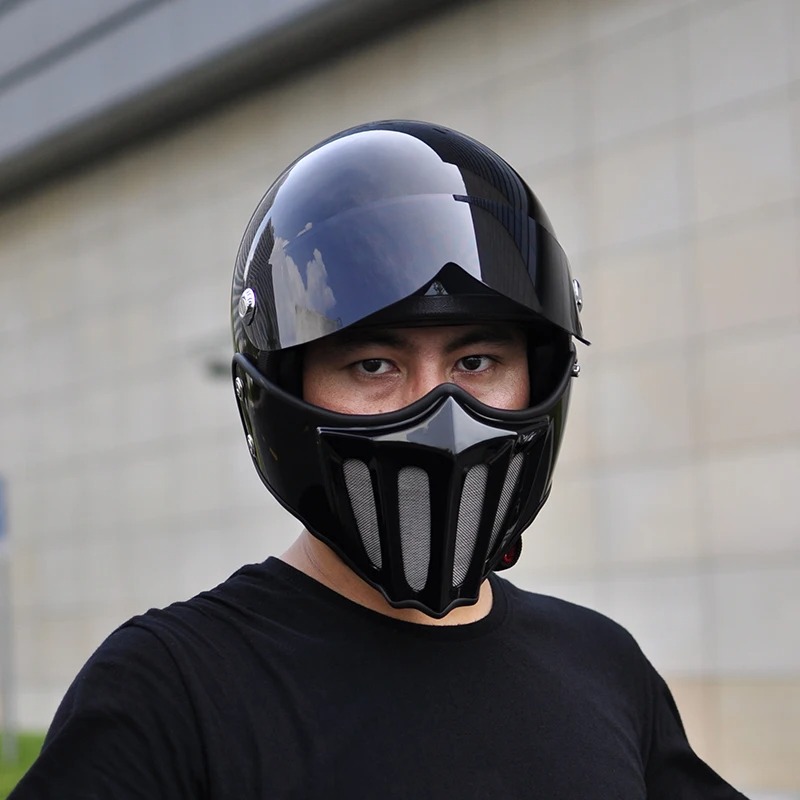
Full face helmets offer the most coverage and protection. They should fit snugly around your entire head and jaw. Make sure there are no pressure points on your forehead and cheeks. The helmet should not move when you shake your head. Full face helmets should also not obstruct your vision or pinch your ears.
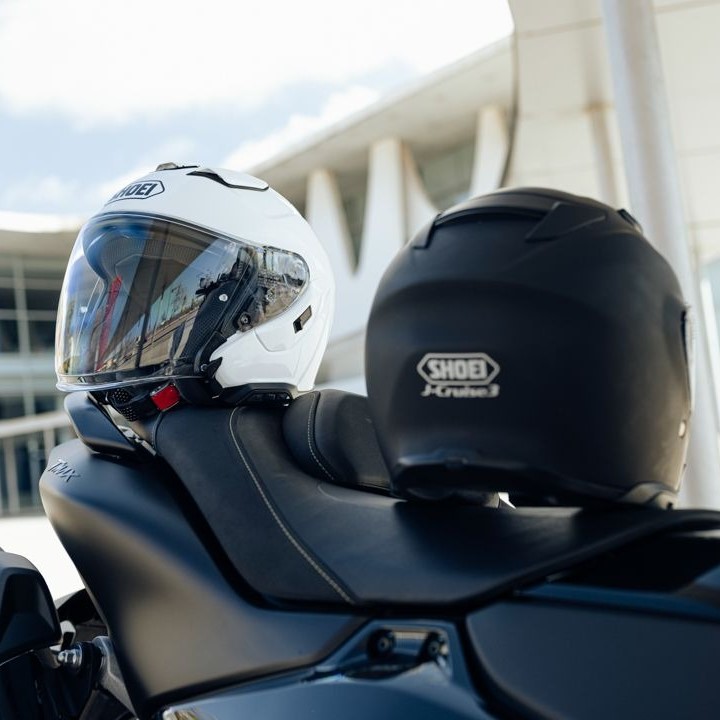
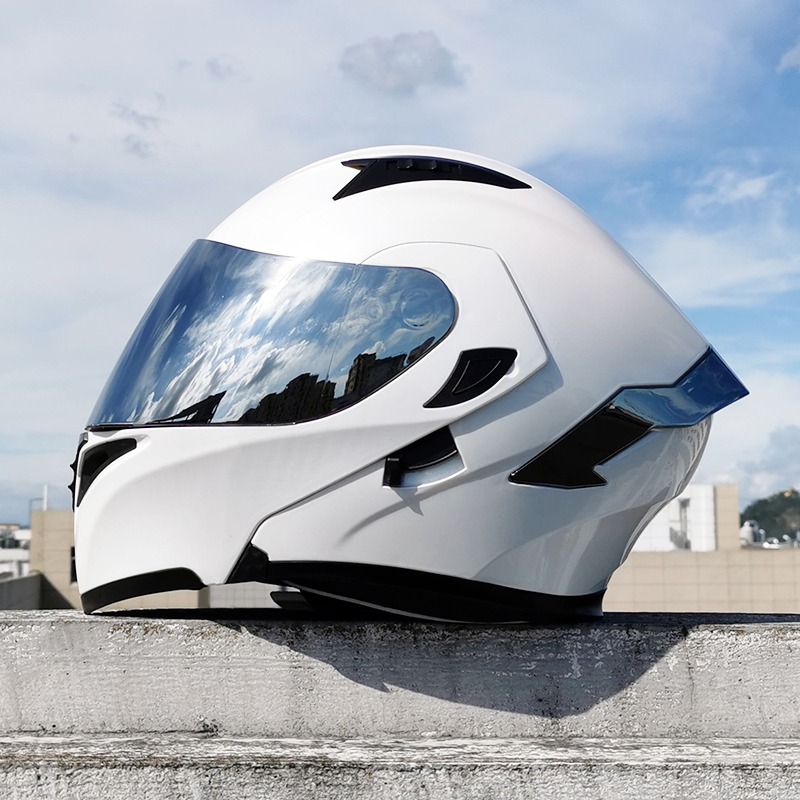
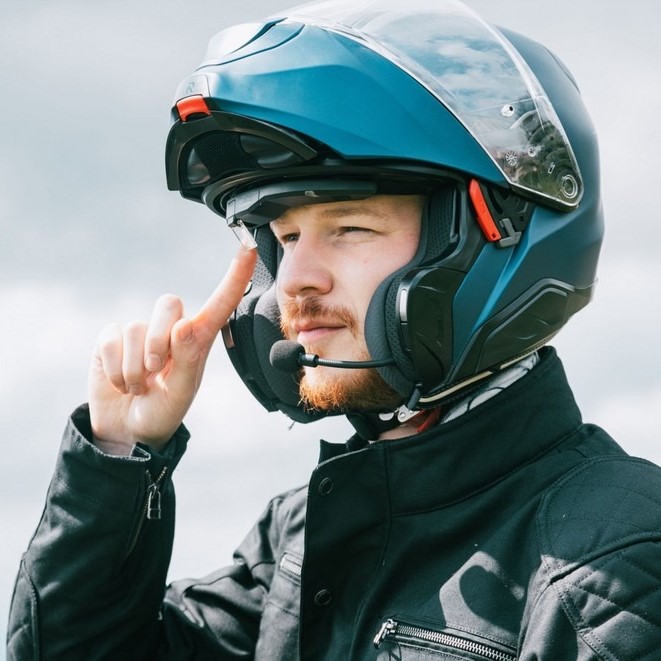
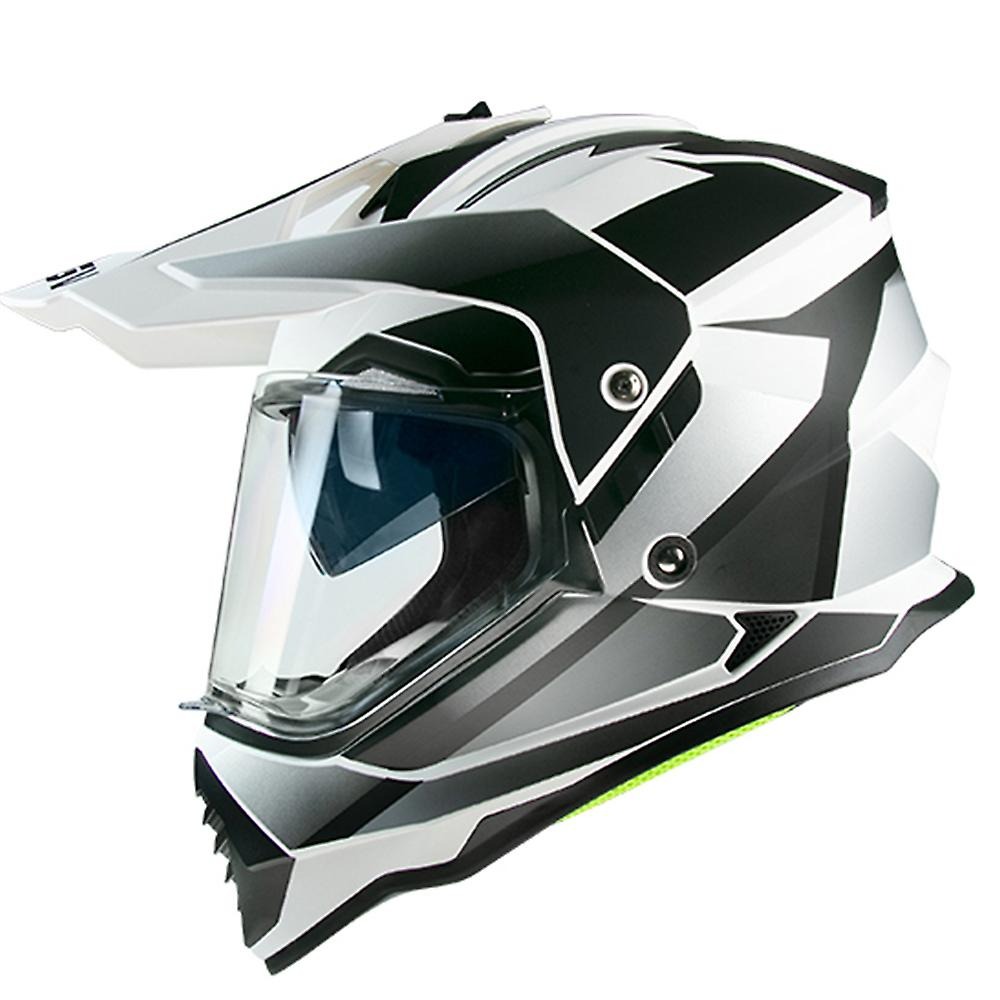
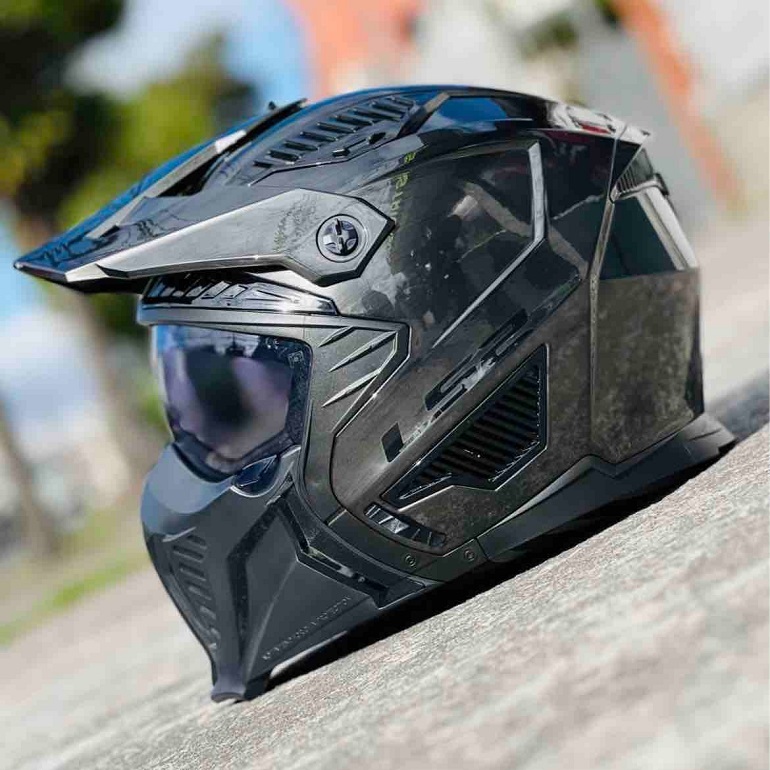
Modular Helmets
Modular helmets have a flip-up visor and chin bar. They combine features of full face and open helmets. When closed, they should fit like full face helmets. When open, they should still feel secure on your head. The chin strap plays a key role in maintaining the helmet’s position, so ensure it’s properly adjusted.
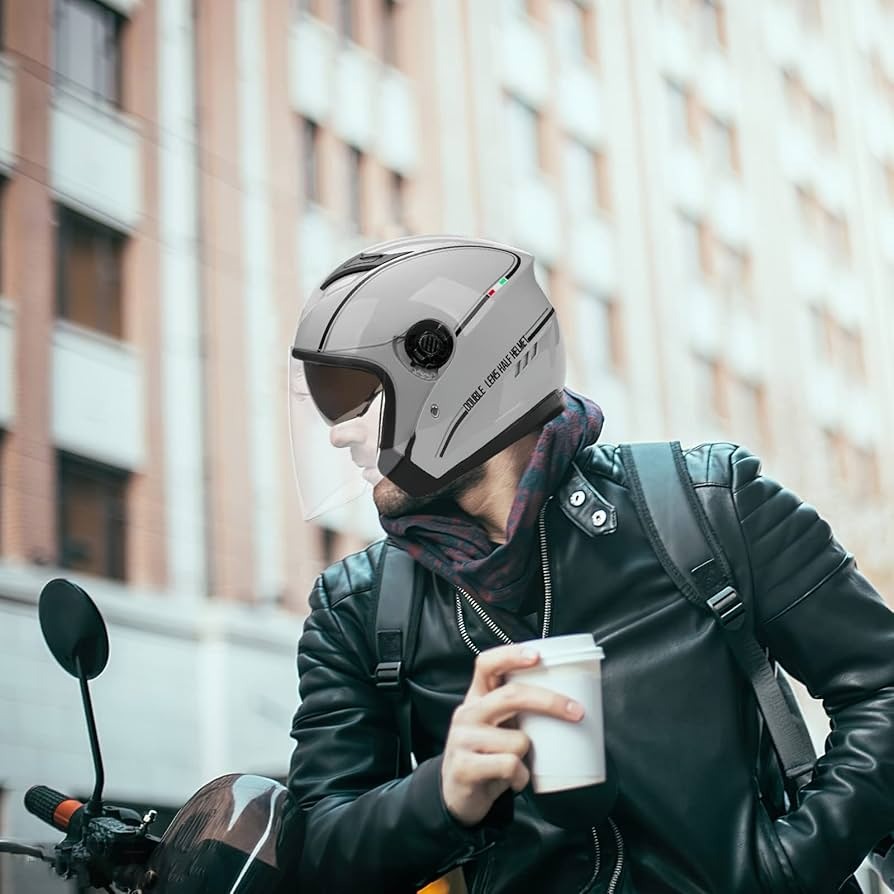
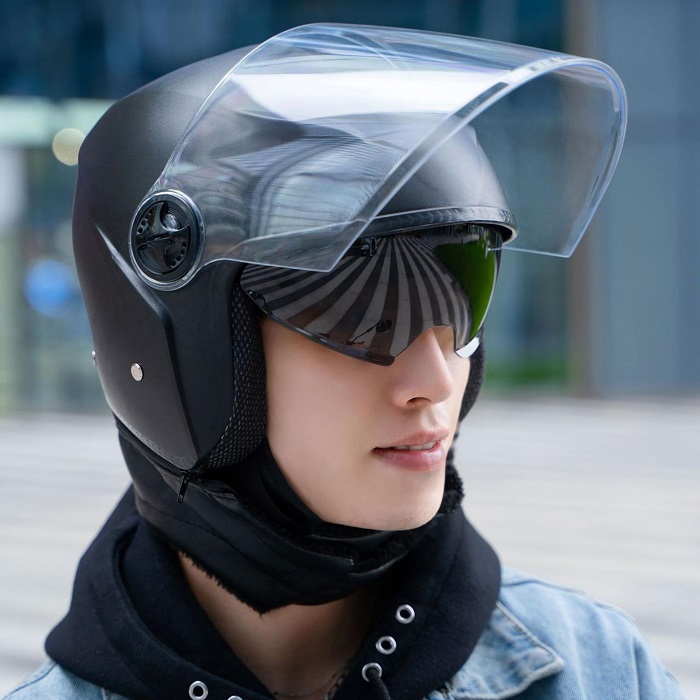
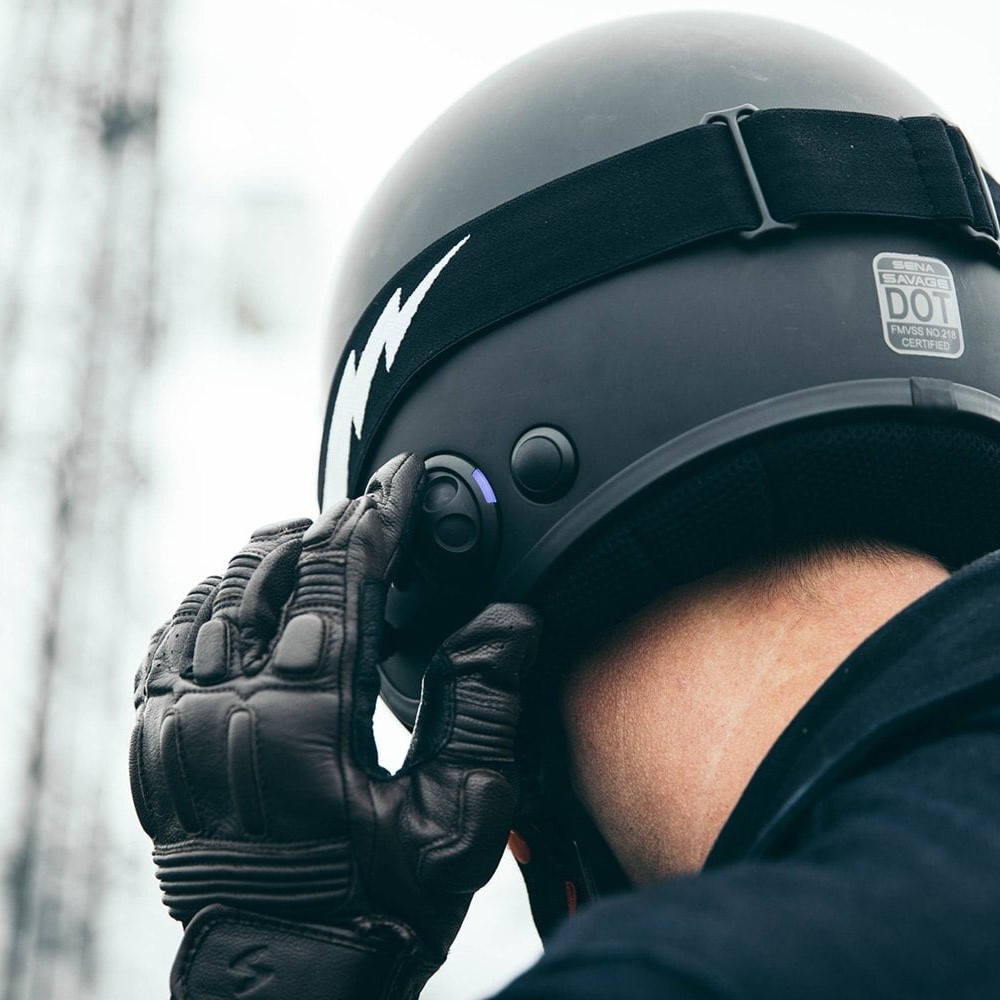
Half Helmets
Half helmets cover the top of your head, not the sides or your chin. They should fit firmly without being too tight. They often have less padding, so check that it’s comfortable and secure. A good fit means the helmet sits level and doesn’t shift when you move your head.
Each helmet type demands a good fit for safety and comfort. Try on several models to find the best fit. Always follow manufacturer guidelines on how to know if a motorcycle helmet fits. This advice helps you stay safe and enjoy your ride to the fullest.
Maintenance Tips to Keep the Perfect Fit Over Time
Ensuring your motorcycle helmet continues to fit perfectly requires regular maintenance. Here are easy tips to help:
- Inspect the Padding: Over time, padding can wear out or compress. Check it often to make sure it still provides a snug fit. If it’s too thin, replace it.
- Clean Your Helmet: Sweat and oils from your skin can break down the helmet’s interior. Clean the lining and cheek pads regularly according to manufacturer instructions.
- Check the Strap: Examine the chin strap for signs of wear or damage. A worn strap won’t secure the helmet properly. Replace it if needed.
- Avoid Drops: Dropping your helmet can damage the padding and shell. Even small impacts can affect the fit. Handle it with care.
- Store Properly: Keep your helmet in a cool, dry place when not in use. Extreme heat or cold can change the shape and fit of the padding and shell.
- Replace As Needed: Helmets have a lifespan. Check the manufacturer’s recommendation on when to get a new one. It’s usually every five years or after a crash.
Regular maintenance helps your helmet stay comfortable and safe. A perfect fit ensures every ride is enjoyable and secure. Remember these tips and check your helmet’s condition regularly.
More Details