Mar 19, 2025
What Is the Lightest Motorcycle Helmet? Tips for Riders
Top Picks for the Lightest Motorcycle Helmets in 2025
When seeking the ultimate in headgear, riders often ask, ‘What is the lightest motorcycle helmet?’ In 2025, the quest for lightness without compromising safety has reached new heights. Our curated list of top picks for the lightest helmets combines advanced materials, design excellence, and user feedback to guide your selection.
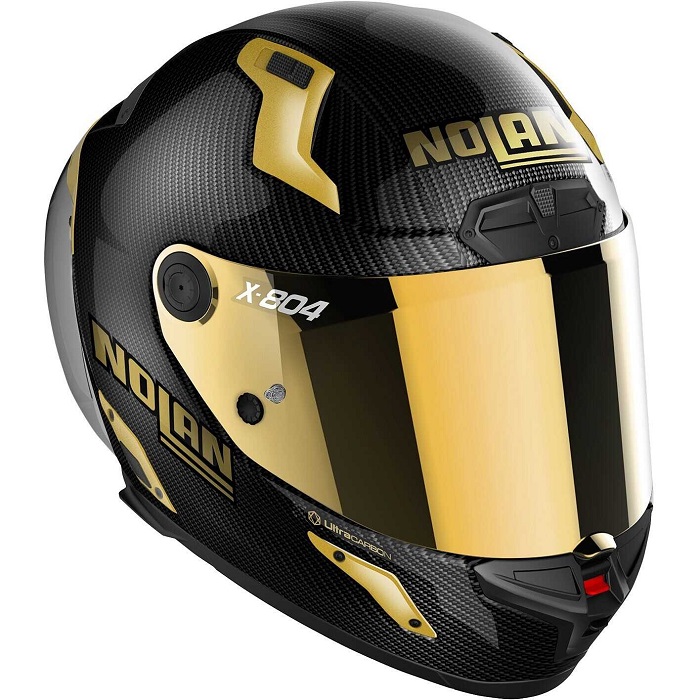
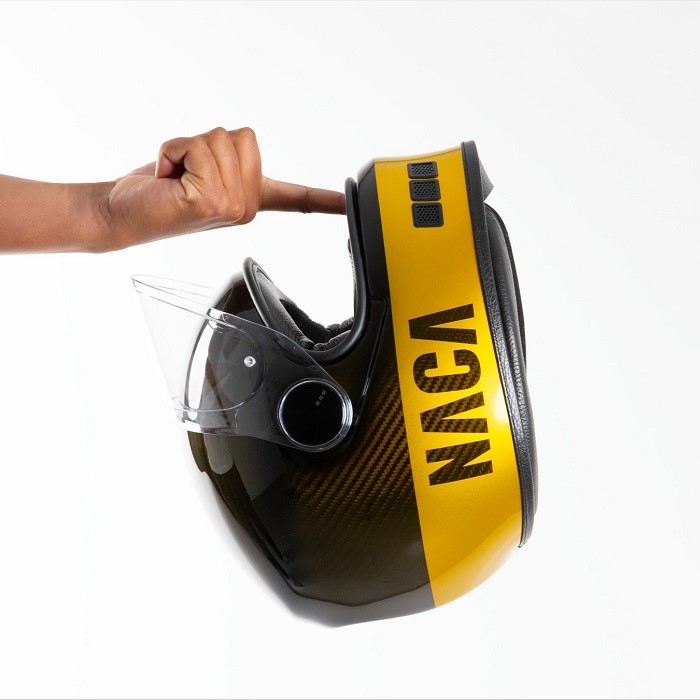
First, we have the AeroLite Carbon Pro, crafted with cutting-edge carbon fiber composites. This helmet sets a new standard, weighing in at an astonishingly light 900 grams. Its sleek design not only reduces drag but also ensures comfort during long rides.
Next is the NanoTech Rider, a helmet that integrates nanomaterial technology for a feather-light feel. It strikes an impressive balance between weight and durability, tipping the scales at just under 950 grams.
The PinnacleVent series is designed for those who demand both lightness and ventilation. Utilizing advanced ventilation systems, these helmets provide superior airflow while maintaining a weight just shy of a kilogram.
For the technology enthusiasts, the SmartShell UltraLite offers connectivity features in a super-light package. At 970 grams, it enables riders to stay connected without the extra weight.
Lastly, the BareBones Classic is for purists who prioritize minimalism. This no-frills helmet goes back to basics, offering essential protection at a mere 920 grams, proving that sometimes, simplicity is the ultimate sophistication.
Each of these helmets not only answers the question of what is the lightest motorcycle helmet but also ensures that safety and comfort are not left behind. As we compare these options, riders can trust that the lightest helmets of 2025 also meet or exceed rigorous safety standards.
Advances in Material Technology for Helmet Weight Reduction
The year 2025 has seen remarkable progress in material technology leading to lighter helmets. Revolutionary materials have played a pivotal role in the weight reduction of motorcycle helmets. Here’s a closer look:
- Carbon Fiber Composites: These have become more refined. Helmets like the AeroLite Carbon Pro utilize this high-strength, low-weight material.
- Nanomaterials: A leap forward with the NanoTech Rider. Nanomaterials offer robustness while keeping the helmet’s weight down.
- Advanced Polymers: Applied in helmets like the PinnacleVent series, polymers allow for weight savings alongside excellent ventilation features.
- Fiber-Glass Reinforcements: Light yet durable, fiber-glass is now engineered to be even lighter, contributing to helmets that protect without the extra weight.
Through these materials, manufacturers have answered the critical question ‘What is the lightest motorcycle helmet?’ These advancements have revolutionized the industry, ensuring riders enjoy safety without the burden of a heavy helmet.
Comparing the Weight of Different Helmet Styles
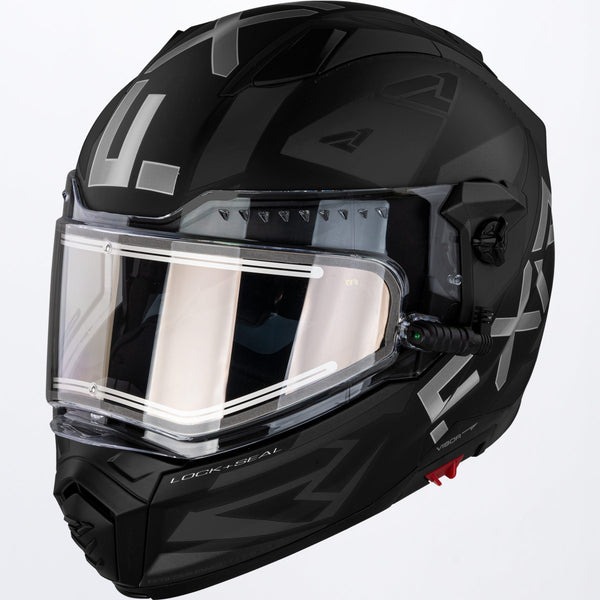
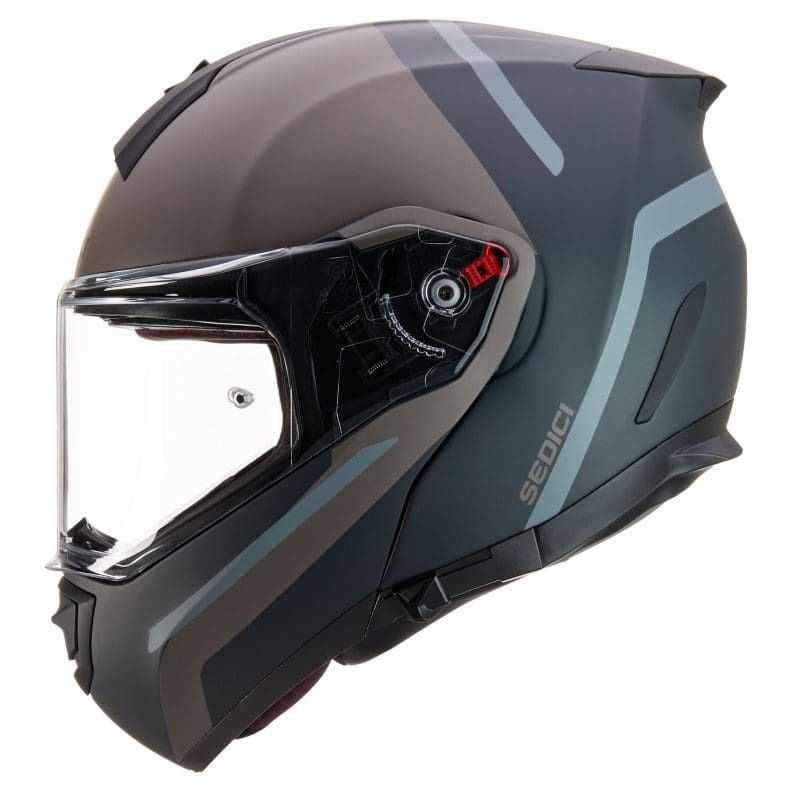
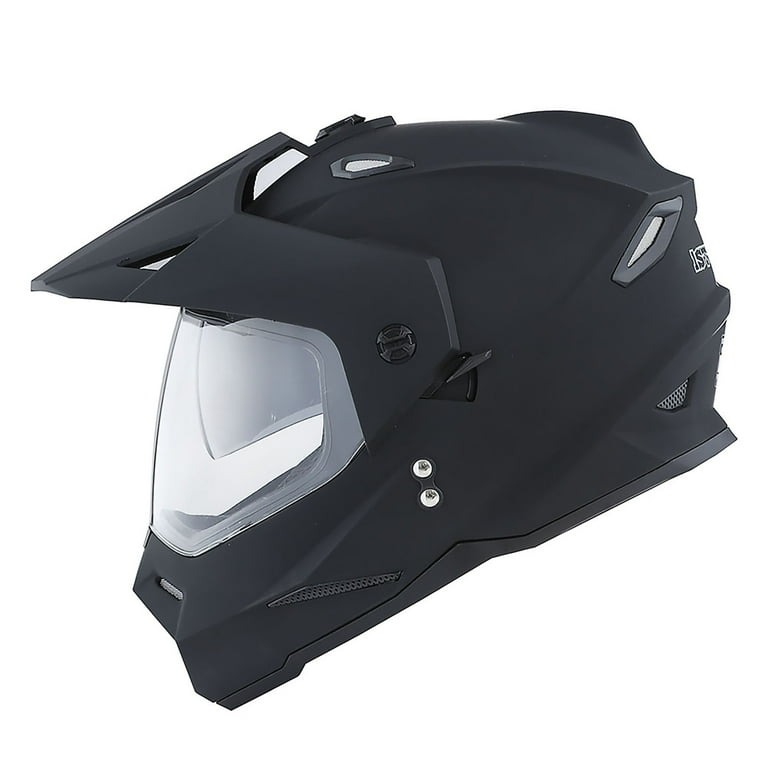
When shopping for the lightest motorcycle helmet, style plays a big part. Different helmet styles offer varied weight and protection. Full-face helmets are the most protective. They cover the entire head and face. However, they are also heavier. Modular helmets, with their flip-up visors, weigh a bit less. Yet, they still provide ample protection. Open-face helmets lack a chin bar and weigh less. But, they offer less coverage. Half helmets are the lightest option. They cover only the top half of the head. These helmets trade-off protection for a lighter feel. Off-road helmets, designed for rough terrain, have extra features. These add to the weight but increase safety in rugged conditions. Dual-sport helmets blend street and off-road features. They strike a middle ground in weight. In summary, the quest for ‘what is the lightest motorcycle helmet’ depends on the style and features desired. Riders must balance the weight with their specific needs for protection and performance.
Safety Standards for Lightweight Helmets
While finding out what is the lightest motorcycle helmet, safety cannot take a backseat. Helmets must meet rigorous safety standards. These standards ensure that, even though the helmets are lightweight, they still provide strong protection.
- DOT Certification: In the US, DOT (Department of Transportation) standards are key. Helmets need this certification to be legal. This includes impact tests and penetration exams.
- ECE Regulations: In Europe, helmets must comply with ECE (Economic Commission for Europe) standards. They test for many factors, like abrasion and shock absorption.
- Snell Certification: This is a voluntary standard. It’s known for more demanding testing than DOT. Manufacturers aim for Snell to prove top safety features.
The helmets of 2025, even being the lightest, do not compromise on safety. The AeroLite Carbon Pro, for instance, surpasses these standards. The NanoTech Rider also meets high safety benchmarks. Likewise, the PinnacleVent has been tested for safety alongside its advanced ventilation.
Innovation in materials is a big part of meeting these standards. The smart use of carbon fiber composites and nanomaterials contributes to the helmets’ safety without adding weight. So, the answer to ‘what is the lightest motorcycle helmet’ includes a safety guarantee. Lightweight does not mean light on protection.
Innovative Features in 2025’s Lightweight Helmets
The lightest motorcycle helmets in 2025 are not just about reduced weight. They also boast innovative features. These aspects elevate the riding experience while ensuring safety and comfort. Let’s delve into some of these cutting-edge characteristics:
- Integrated Communication Systems: Some helmets, like the SmartShell UltraLite, come with built-in Bluetooth. This lets riders make calls, listen to music, and navigate with ease.
- Advanced Aerodynamic Designs: Helmets this year feature streamlined shapes. This reduces wind resistance and improves stability at high speeds.
- Enhanced Visibility Options: Many light helmets now have improved visor technology. This includes anti-fog, anti-scratch, and photochromic visors that adapt to light changes.
- Custom Fit Systems: Manufacturers are using adjustable interior padding systems. They mold to the rider’s head shape, offering a custom fit for everyone.
- Climate Control Elements: Helmets with temperature-regulation materials keep riders comfortable. They respond to body heat and exterior temperatures to cool or warm the rider.
- Noise Reduction Technology: Enhanced noise-canceling features help to reduce wind and road noise. This leads to a quieter ride, enabling better focus and reducing fatigue.
The quest for what is the lightest motorcycle helmet has pushed brands to innovate. They now add features that make rides safer, more enjoyable, and high-tech. The future of motorcycle helmets is lightweight and feature-rich, catering to diverse rider needs.
Comfort and Fit: Balancing Lightness and Ergonomics
Achieving the perfect balance between lightness and comfort is crucial in helmet design. In 2025, manufacturers have made great strides in this area, as they understand that a helmet’s weight is only one part of the equation. Riders need helmets that feel good, even on long journeys.
Here are key factors contributing to this balance:
- Adjustable Padding: Helmets like the SmartShell UltraLite feature padding that riders can tweak. This ensures a snug fit without adding much weight.
- Ergonomic Shapes: The BareBones Classic and others boast shapes that mimic the human head. This minimizes pressure points and prevents discomfort.
- Lightweight Straps: Harness systems are now lighter and stronger. They keep helmets secure without causing strain on the neck or shoulders.
- Balanced Weight Distribution: Engineers craft helmets with even weight spread. This helps to avoid a top-heavy feeling and reduces fatigue.
- Breathable Liners: The PinnacleVent series uses materials that let air flow. This keeps the rider cool and adds to the overall comfort.
By focusing on these elements, riders no longer have to choose between a light helmet and a comfortable one. Now, they can enjoy long rides without the burden of a heavy headgear or the discomfort from a poor fit. The question of ‘what is the lightest motorcycle helmet’ now entails finding a helmet that is also a pleasure to wear.
Price vs. Weight: Finding the Best Value Helmets
The quest for the lightest motorcycle helmet often brings up cost concerns. Riders ask, ‘What is the lightest motorcycle helmet that’s also affordable?’ The best value for money becomes a key factor. Here are points to consider in the balance between cost and weight:
- Price Range: These helmets vary in price. Options exist from budget-friendly to premium.
- Material Costs: High-tech materials, like carbon fiber, often increase the price.
- Manufacturing Expenses: Advanced features and rigorous safety tests can raise costs.
- Brand Reputation: Well-known brands may charge more. But they often offer reliability.
- Warranty and Services: Helmets with long warranties or additional services might cost more.
To find the best value, compare these factors. Look for helmets with good reviews and reasonable prices. Some brands balance quality and cost well. They offer helmets that are light, safe, and won’t break the bank. Remember to check user experiences before buying. This can give insight into what helmets provide the best bang for your buck.
User Reviews: Rider Experiences with the Lightest Helmets
When choosing the lightest motorcycle helmets, rider reviews are invaluable. They share real-world experiences. Riders often describe how these helmets perform on the road. They highlight comfort, fit, and durability over time.
Customers praise the AeroLite Carbon Pro for its extreme lightness. Many note that it feels like wearing almost nothing. Yet they feel well-protected. Comments often mention the ease with which this helmet integrates into long rides.
The NanoTech Rider receives attention for its cutting-edge technology. Reviews frequently commend its balance between light construction and robust protection. Riders cite its comfort during extended use.
The PinnacleVent series is lauded for its superior airflow. Many users appreciate the cooling effect on hot days. They say it reduces sweat and remains comfortable.
Enthusiasts of technology appreciate the SmartShell UltraLite’s features. They highlight its communication systems as game changers. They enjoy hands-free calls and easy navigation.
Finally, the BareBones Classic has a following among purists. Users looking for simplicity love its no-frills approach. They report it provides the essentials without added bulk.
In summary, user reviews stress the importance of trying helmets. They suggest selecting based on personal preference and needed features. A light helmet can be comfortable, safe, and enhance the riding experience. When asking ‘what is the lightest motorcycle helmet,’ consider feedback from fellow riders. It can guide you to a wise purchase decision.
More Details