Mar 10, 2025
What are Good Motorcycle Helmet Brands: Guide for 2025
The Importance of Quality Motorcycle Helmets
When you ride a motorcycle, safety should be your top priority. What are good motorcycle helmet brands? A quality helmet can save your life during an accident. It can protect your head from serious injuries. Good helmets absorb impact, shield your face, and stay in place. They also reduce wind noise and fatigue, making your ride more pleasant. Remember, not all helmets are made equal. Some may look good but offer little protection. A good motorcycle helmet brand is one that meets safety standards. It should also fit well and feel comfortable. Investing in a quality helmet means investing in your safety. It’s a choice that could make all the difference on the road. Always choose a helmet that has a proven track record for safety and quality.
Top Motorcycle Helmet Brands to Consider
When shopping for a motorcycle helmet, brand reputation is crucial. The following brands stand out for their commitment to safety and quality. Each has a strong record in the industry.
Arai Helmets
Arai has a reputation for handcrafting helmets to high standards. It emphasizes safety and comfort. Riders trust Arai for its dedication to helmet perfection.
Shoei Helmets
Shoei is well-known for innovative design and quality materials. Its helmets ensure a snug fit and superb protection. Many riders choose Shoei for high-speed adventures.
AGV Helmets
AGV is an Italian brand with a history in racing. Its helmets reflect a commitment to performance and safety. AGV is a choice of champions and everyday riders alike.
HJC Helmets
HJC focuses on affordable quality. It is one of the most accessible good motorcycle helmet brands globally. HJC helmets provide comfort without compromising protection.
Schuberth Helmets
Schuberth specializes in aerodynamic and acoustically optimized helmets. Their focus is on comfort during long rides. Schuberth helmets are engineered in Germany.
These brands have various options to suit different styles and preferences. They demonstrate what good motorcycle helmet brands should offer. Their helmets meet or exceed safety standards. They also offer comfort, fit, and features that enhance the riding experience. Remember, the right helmet can make a big difference in safety and enjoyment. Choose a brand that aligns with your needs and values in protecting life on the road.
Factors to Consider When Selecting a Helmet Brand
Choosing the right motorcycle helmet is critical for your safety and comfort. Here’s what to keep in mind:
- Safety and Certification: Ensuring the brand adheres to safety standards is non-negotiable. Check for DOT, ECE, or Snell certifications.
- Brand Reputation: Look for brands with strong safety records. Long-standing, reputable brands often signify reliability ad what are good motorcycle helmet brands.
- Fit and Comfort: A well-fitting helmet is as important as its build quality. It should sit snugly without causing discomfort.
- Material and Construction: The materials used affect the helmet’s durability and protection level. Quality materials often mean a safer helmet.
- Style and Design: Consider if the brand offers a style that suits your tastes. You want a helmet that makes you feel good when riding.
- Features: Modern helmets offer features like ventilation systems and communication ports. Decide which features are important to you.
- Product Range: A good brand should offer a variety of helmets to cater to different riders and their preferences.
- Customer Service: Good brands provide strong support. They help with fitting, repairs, or replacement needs.
- Reviews and Testimonials: Look for first-hand experiences. They give valuable insights into the helmet’s performance.
- Price: Price can indicate quality but it should match the helmet’s features and the brand’s reputation.
Selecting a helmet brand is a balance of these factors. Aim for the best combination of safety, comfort, and value. Remember, a good motorcycle helmet brand is an investment in your personal safety on the road.
The Different Types of Motorcycle Helmets
When exploring what are good motorcycle helmet brands, it’s crucial to understand the different types available. Each type caters to specific rider needs and preferences. Here are the primary types you’ll encounter in the market:
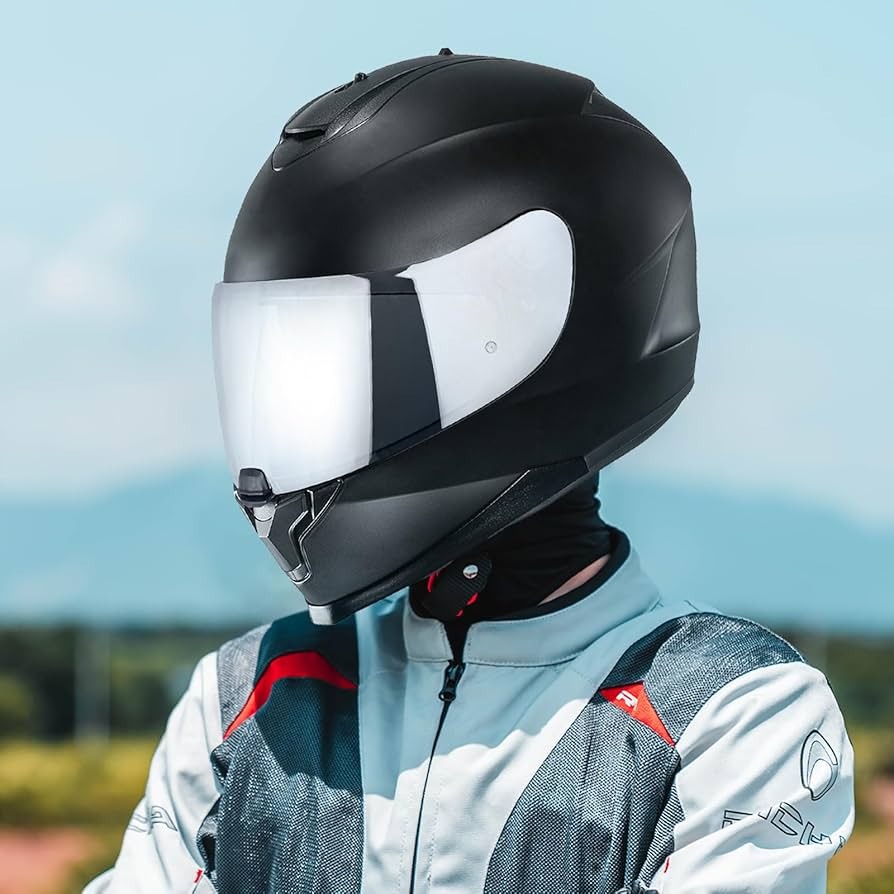
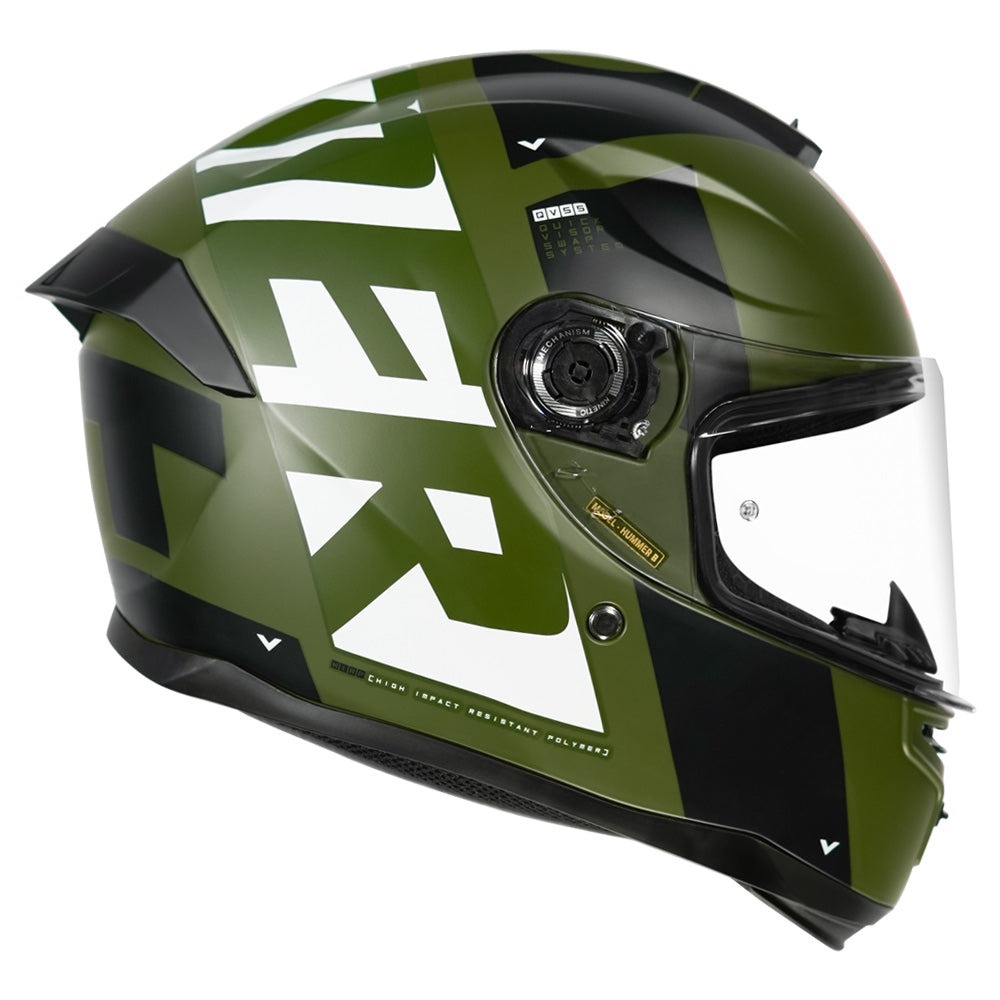
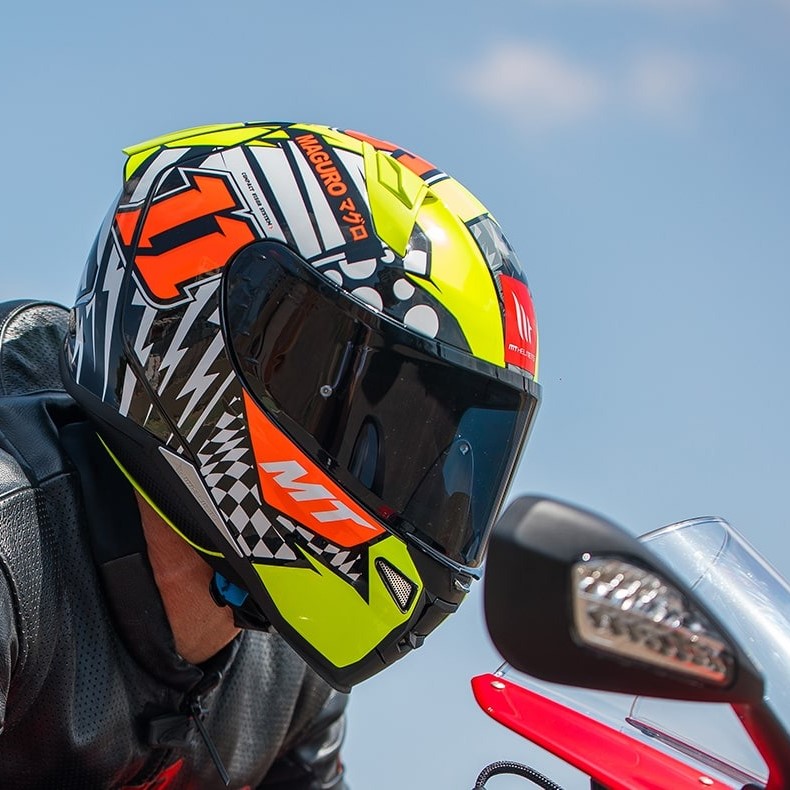
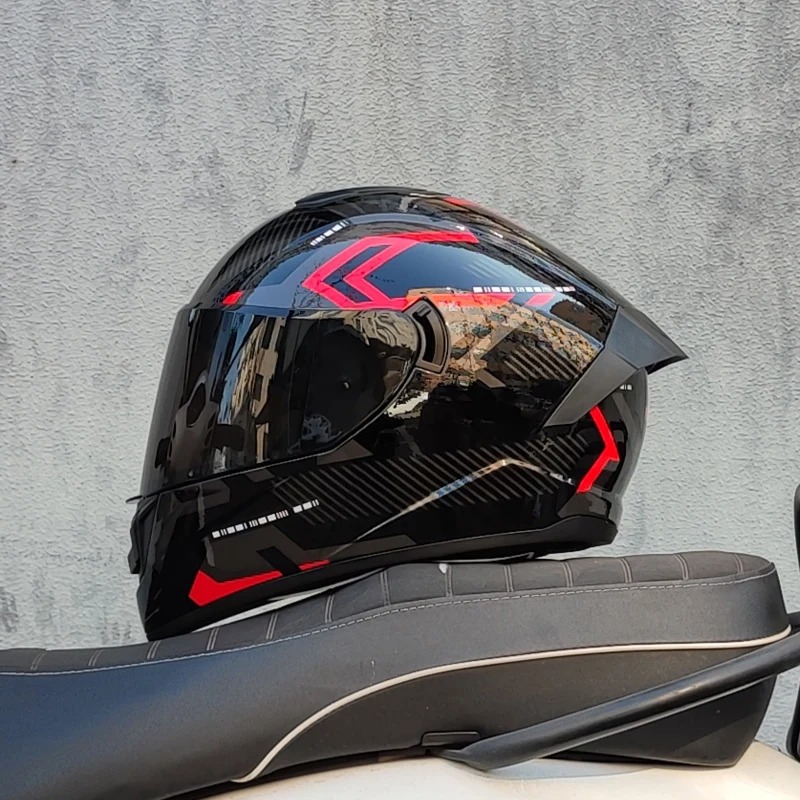
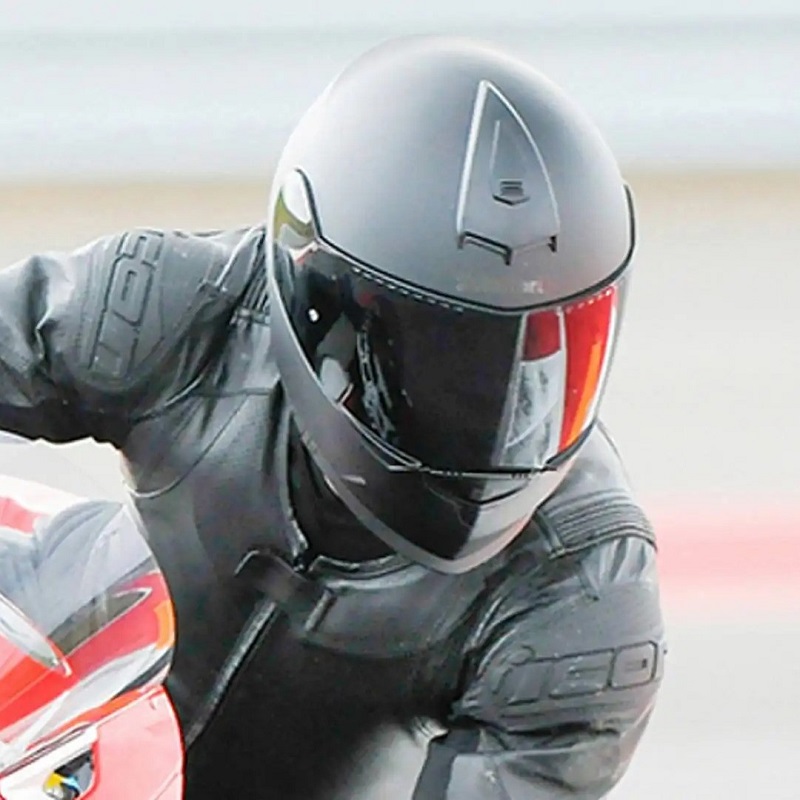
Full Face Helmets
Full face helmets provide the most coverage. They cover your entire head and face, including a visor for your eyes. This type is top in safety, as it offers maximum protection during a crash.
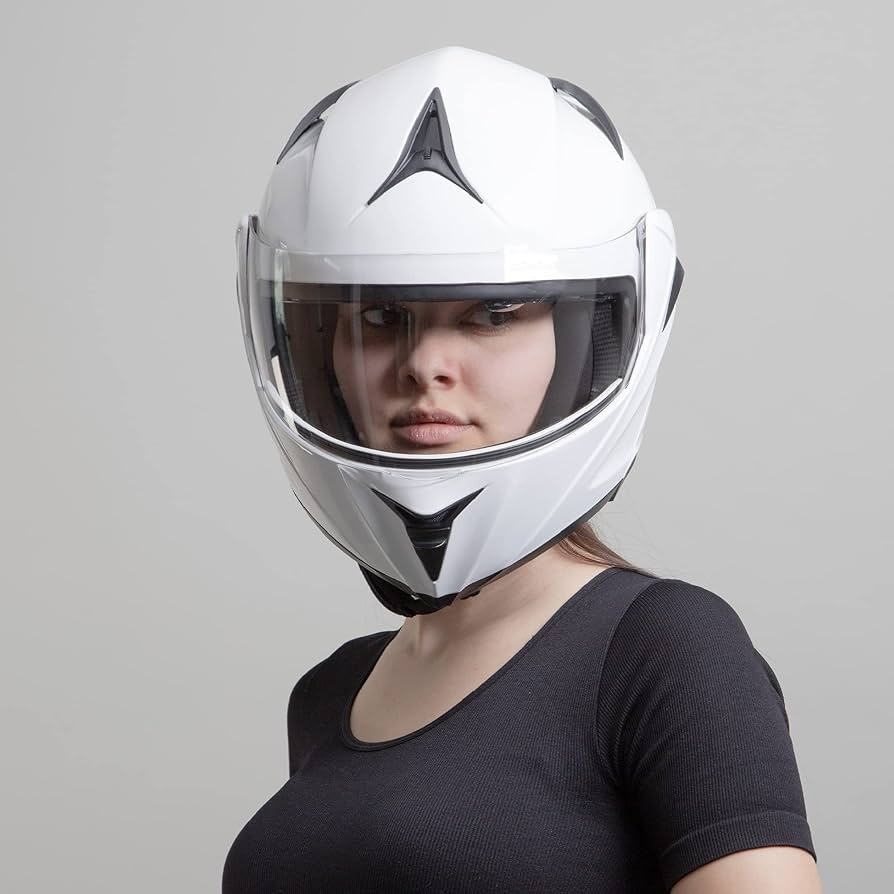
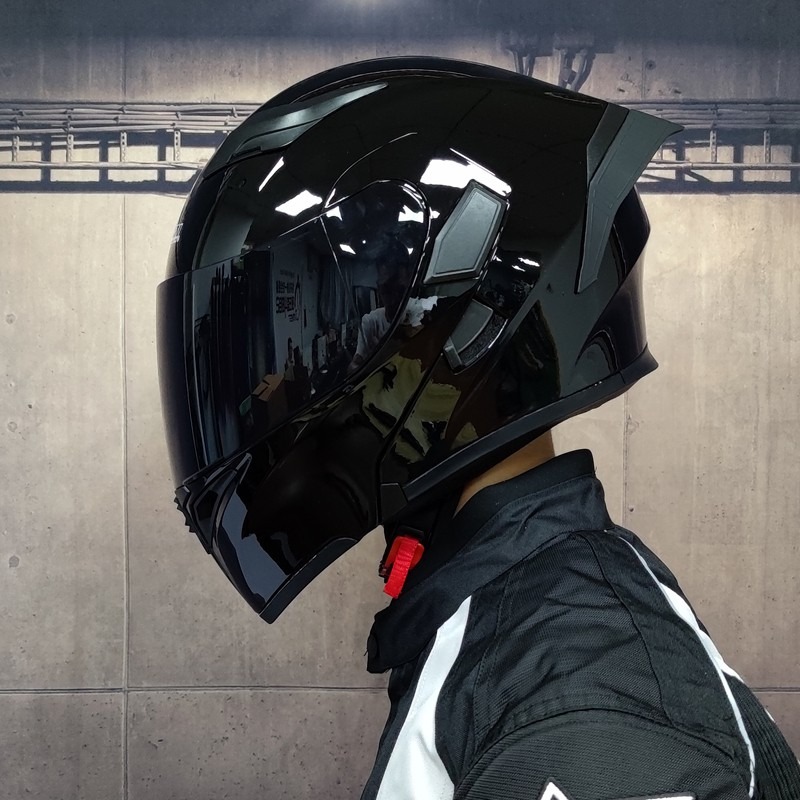
Modular Helmets
Modular, or flip-up, helmets are versatile. They have a moveable chin bar that can flip up, combining the benefits of full-face and open helmets. They’re great for riders who want flexibility.
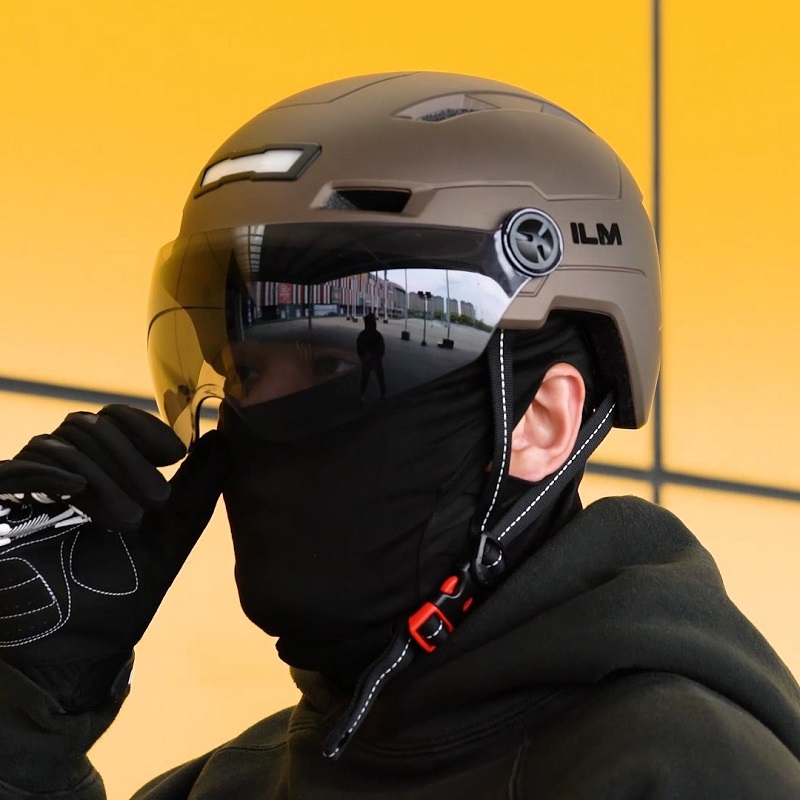
Open Face Helmets
Open face helmets cover the top and back of your head but leave the face exposed. They offer more field of vision and are lighter. However, they provide less protection than full face models.
Half Helmets
Half helmets cover the least area, protecting only the top of your head. They are the lightest and offer the most freedom, but they also offer the least protection.
Off-Road/Motocross Helmets
Designed for off-road and motocross riders, these helmets provide extra protection around the chin and extensive visors. However, they’re not meant for high-speed highway use.
Dual-Sport Helmets
Dual-sport helmets blend features from off-road and full-face helmets. They’re good for both on and off-road riding, offering flexibility and protection.
Understanding these types will help you select a brand that offers the right kind of helmet for your riding style and safety requirements.
Safety Standards and Certifications
When deliberating on what are good motorcycle helmet brands, safety certifications stand paramount. These are not mere labels – they are assurance of rigorous testing and compliance to established safety norms that are vital in a crash. The major certifications include DOT (Department of Transportation, USA), ECE (Economic Commission for Europe), and Snell (Snell Memorial Foundation). DOT and ECE certifications are mandatory in their respective regions, while Snell is a voluntary standard often recognized for its more stringent testing. Here’s what each standard entails:
- DOT Certification: Helmets with this label have met the Federal Motor Vehicle Safety Standard (FMVSS) 218. This includes impact absorption, penetration resistance, and retention system effectiveness.
- ECE Certification: Recognized in over 50 countries, this standard includes stringent tests for impact, rigidity, and abrasion. It also assesses the helmet’s features like the visor.
- Snell Certification: Snell standards are considered by some to be the toughest. Helmets undergo testing for impact management, stability, retention, and even flame resistance in some categories.
A good motorcycle helmet brand often exceeds these minimum standards to offer additional protection features. To them, certification is not the finish line but the starting point. Remember, a certified helmet doesn’t just protect your head – it’s a barrier between life and potential tragedy on the road.
The Role of Comfort and Fit in Choosing a Helmet
When choosing a helmet, comfort and fit are crucial. A helmet that fits poorly can distract you while riding. It can cause discomfort or even pain. A good fit means the helmet is snug, but not too tight. It should not press hard on any area of your head. A comfortable helmet will help you focus on the road, not on adjusting your helmet.
Start by measuring your head to find the right size. A good motorcycle helmet brand will offer a size chart. Use it to find the helmet that matches your measurements. Look for helmets with adjustable straps and padding. These can help fine-tune the fit to your head shape.
Check the helmet lining. Quality brands use materials that feel good against your skin. The lining should also wick moisture and be easy to clean. A well-ventilated helmet adds to comfort. It keeps your head cool and sweat-free on warm rides.
Try on different styles from different brands. The best fit can vary between full face, modular, open face, and others. Each head is unique, and so is each helmet’s interior shape. Remember, if a helmet feels uncomfortable in the store, it won’t improve with time.
Finally, consider wearing the helmet for a while in the store. Walk around and get a feel for its weight and balance. A good helmet feels like an extension of yourself, not like a burden. The right balance of comfort and fit ensures long rides are enjoyable and safe. Choosing a helmet with a proper fit and comfort is key to riding with peace of mind.
Innovations and Technologies in Helmet Design
The world of motorcycle helmets is always advancing with new innovations and technologies. Keeping pace with evolving safety standards, brands are investing in research and development to create helmets that are not just safe, but also comfortable and stylish. Here are some of the latest advancements that good motorcycle helmet brands are incorporating:
- Advanced Materials: The use of new materials like carbon fiber and Kevlar has made helmets lighter and stronger.
- Improved Aerodynamics: Design enhancements have reduced wind noise and resistance, which lowers fatigue on long rides.
- Better Ventilation Systems: Modern helmets have complex channels for airflow, keeping the rider cool and reducing fog on the visor.
- Enhanced Vision: With anti-fog, anti-scratch, and photochromic visors, riders enjoy better visibility in varying light conditions.
- Integrated Communications: Some helmets come with built-in Bluetooth systems, allowing riders to connect their devices for navigation, communication, or entertainment.
- Custom Fit Technologies: Utilizing 3D measurement tools to ensure a perfect fit, brands offer a more personalized helmet fitting experience.
- Energy Absorption Features: New liner materials and designs better manage impact forces, protecting the brain in different crash scenarios.
- Emergency Release Systems: Quick-release cheek pads help emergency responders remove helmets without further injuring the rider.
Every innovation and technology aims to enhance the rider’s experience, whether through safety, comfort, or convenience. These advancements show how manufacturers of what are good motorcycle helmet brands persistently work to push the boundaries of what’s possible in helmet design.
Balancing Cost and Quality in Helmet Selection
When picking a motorcycle helmet, cost and quality must align. It’s tempting to save money, but not at safety’s expense. Here’s how to balance the two when searching for what are good motorcycle helmet brands.
- Set a Realistic Budget: Define what you can afford. Don’t skimp on cost for key features.
- Safety Over Aesthetics: Safety features take priority over looks. Always prefer a helmet with robust safety certifications over a stylish but less-protective one.
- Check Material Quality: Look for durable materials like polycarbonate or carbon fiber. They can be worth the extra cost.
- Consider Usage Frequency: If you ride often, invest more in a high-quality helmet. It will last longer and provide continuous protection.
- Review Features Versus Cost: A pricier helmet with essential features like good ventilation and comfort can justify its cost.
- Research and Compare: Read reviews and compare different brands. Higher prices don’t always mean better quality.
- Understand Warranty and After-Sales Service: Good brands offer solid warranties and support. This can make a higher-priced helmet more cost-effective in the long term.
Remember, a helmet is a key piece of safety gear. Investing in quality can make a life-saving difference. However, a careful selection process ensures you don’t overpay while still getting a trustworthy helmet that suits your needs.
More Details