Dec 10, 2025
Coolant Color: How to Choose the Right Coolant for Your Engine
Introduction to Engine Coolant
The Role of Coolant in an Engine
Engine coolant plays a crucial role in the overall performance and longevity of a vehicle. Its primary function is to regulate the engine temperature, preventing it from overheating. Coolant color circulates through the engine, absorbing heat and dissipating it through the radiator. This process prevents damage caused by excessive heat and ensures that the engine operates efficiently. Understanding the importance of coolant and its properties is vital for every vehicle owner.
The Importance of Color
Coolant is available in various colors, which can be quite confusing for many vehicle owners. The color of the coolant does not only serve an aesthetic purpose; it often indicates its chemical composition and specific use. Different formulations of coolant color meaning are designed for various engines and environmental conditions. Knowing the significance of coolant color can help you make informed choices about your vehicle’s cooling system, ensuring compatibility and performance.
Purpose of This Article
The purpose of this article is to guide readers in understanding coolant colors and selecting the right coolant for their engines. We will explore the different colors of coolant, their meanings, and how to choose the appropriate type for your vehicle. By the end of this guide, you will have a solid understanding of coolant selection and the importance of using the correct coolant to maintain your engine’s health.
Understanding Coolant Types
Ethylene Glycol-Based Coolant
Ethylene glycol-based coolants are the most commonly used coolants in the automotive industry. This type of coolant typically appears green, orange, or yellow. Ethylene glycol coolants offer excellent protection against freezing and boiling, making them suitable for various climates. The versatility of ethylene glycol allows it to function in both summer and winter conditions, providing year-round engine protection. However, it is essential to note that ethylene glycol can be toxic, and proper handling and disposal are necessary.
Propylene Glycol-Based Coolant
Propylene glycol-based coolants offer a safer alternative to ethylene glycol, as they are non-toxic and environmentally friendly. This type of coolant may appear pink, purple, or blue. Due to its non-toxic nature, manufacturers often use propylene glycol in applications where animal or human exposure is a concern. While propylene glycol coolants provide adequate protection against freezing and boiling, they may not offer the same level of performance as their ethylene counterparts in extreme temperature conditions.
Water-Based Coolant
Water-based coolants are often used in combination with additives or inhibitors to enhance performance. Typically, these coolants appear clear or light blue. While water alone does not provide freeze or boil protection, it helps with heat transfer effectively. Users generally use water-based coolants in applications where traditional antifreezes are not required. However, they should not use these coolants solely for cooling purposes in most automotive engines, as they lack the protective and functional properties of glycol-based coolants.
The Meaning Behind Coolant Colors
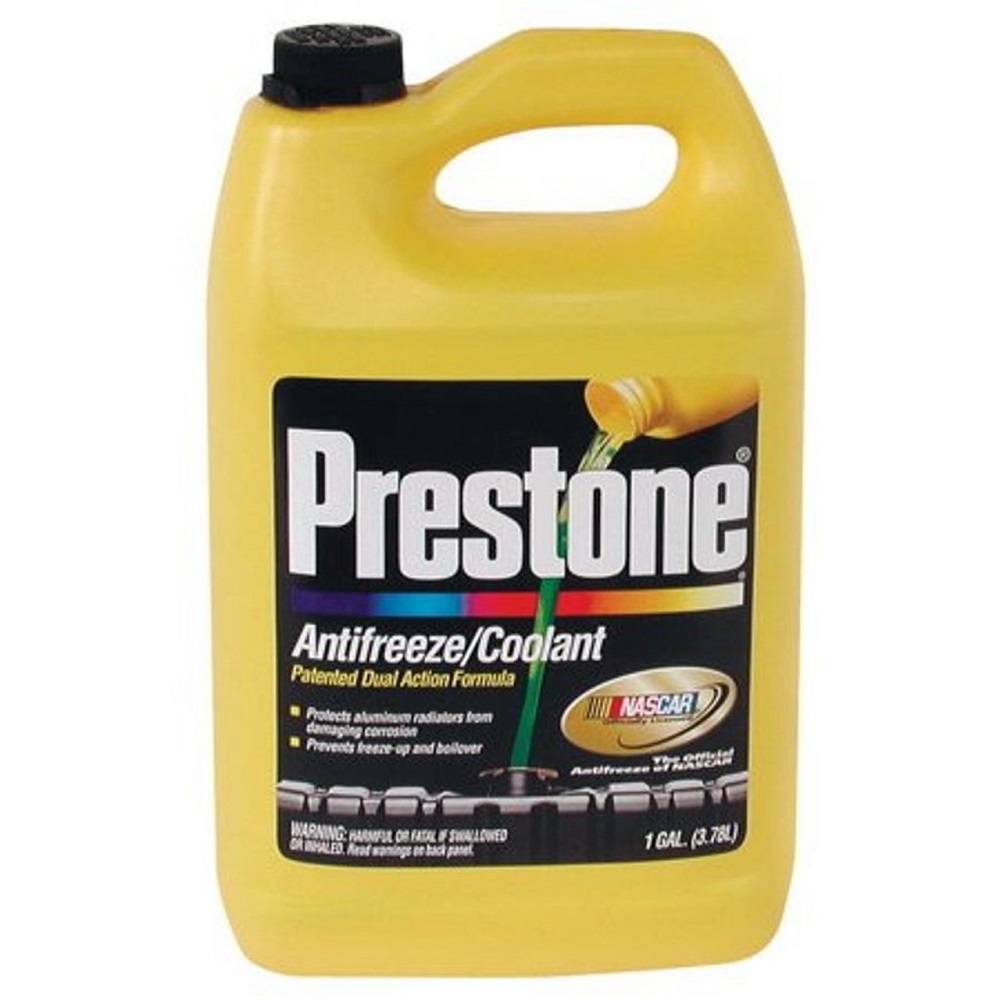
Green Coolant
Green coolant is often associated with traditional ethylene glycol-based formulations. It provides reliable protection against freezing and boiling while preventing rust and corrosion. Most older vehicles and some newer models use this type of coolant. However, it is important to check the manufacturer’s specifications for compatibility, as different formulations might react negatively with each other. Green coolant can often be mixed with other similar formulations, but it’s advisable to consult your vehicle’s manual for recommendations.
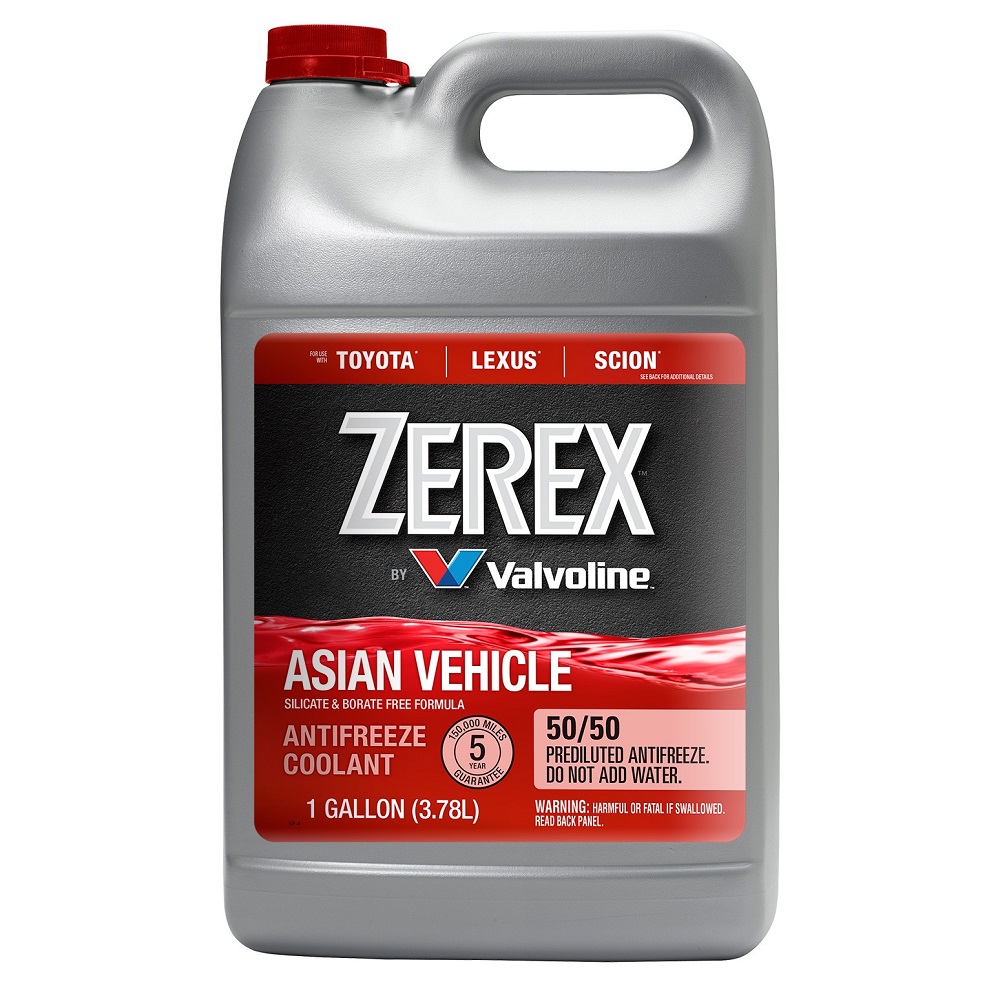
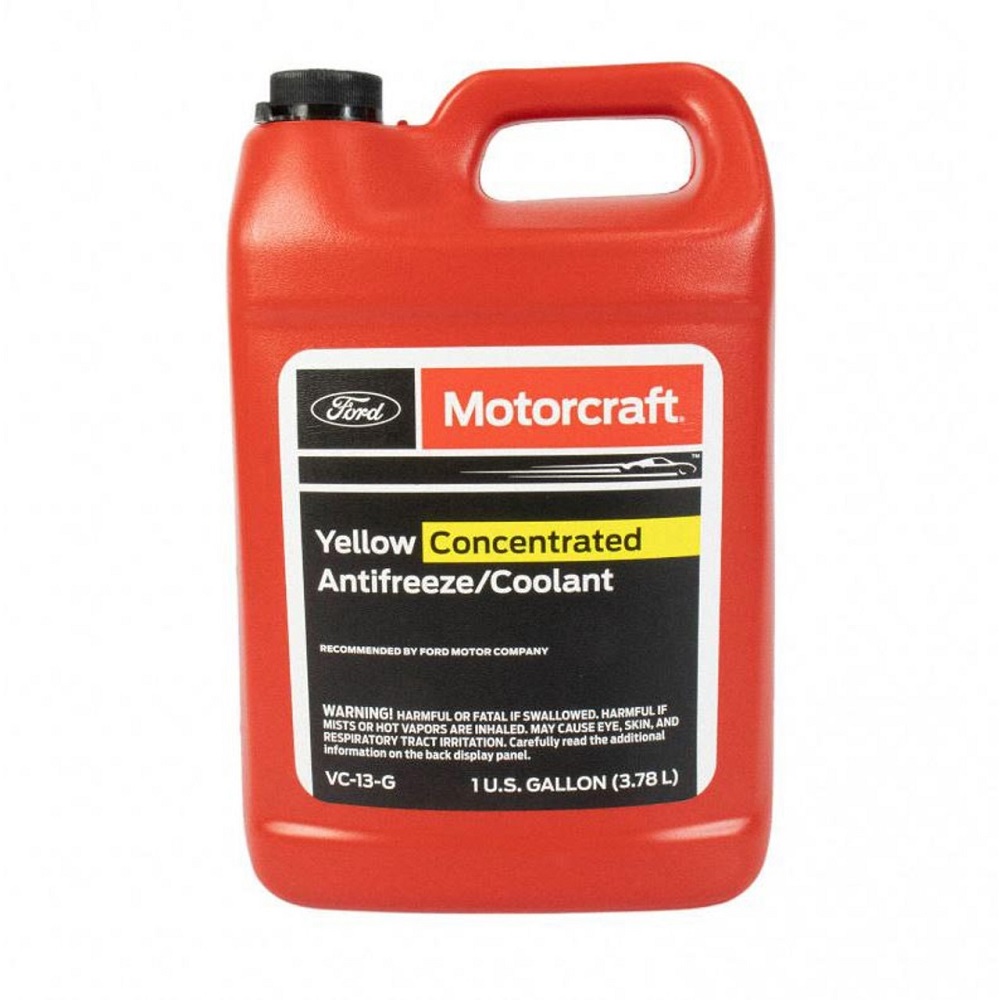
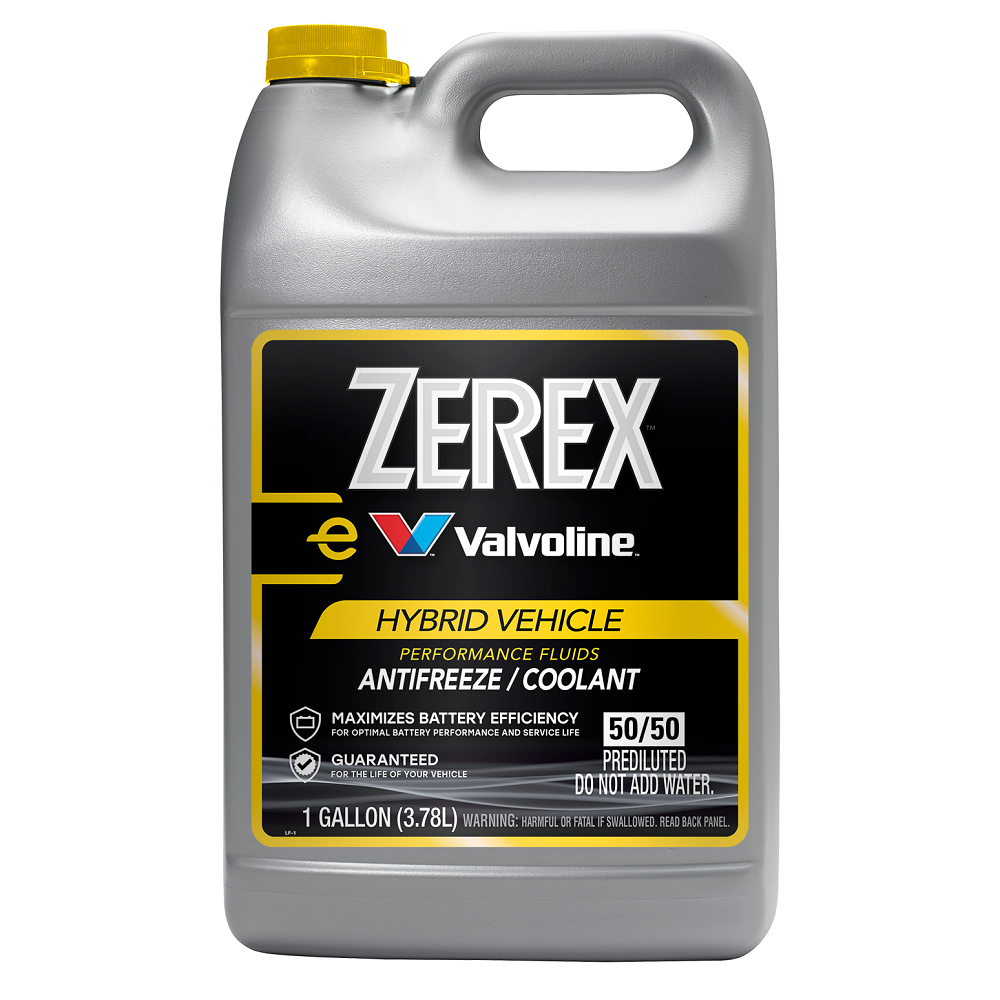
Orange and Yellow Coolant
Manufacturers usually associate orange and yellow coolants with extended-life formulations, often based on organic acid technology (OAT). These coolants are designed to last longer than conventional green coolants and often require less frequent replacement. They also provide improved protection against corrosion for modern engines. Vehicles manufactured in the late 1990s and early 2000s frequently use orange or yellow coolants. Always check the vehicle manual to ensure compatibility with OAT coolants, as mixing them with other types can lead to poor performance.
Pink, Purple, or Blue Coolant
Manufacturers generally link pink, purple, or blue coolants to propylene glycol formulations. They often market these coolants as environmentally friendly and non-toxic options. Although they serve a similar purpose in preventing engine overheating and corrosion, it’s essential to check for specific compatibility based on the vehicle’s make and model. As manufacturers continue to develop newer formulations, different colors may also indicate specific properties, so it’s wise to consult the manual when selecting coolant.

Choosing the Right Coolant for Your Engine
Checking the Owner’s Manual
The first step in choosing the right coolant for your engine is to consult the owner’s manual. Manufacturers provide specific recommendations regarding the type and color of coolant that should be used in each vehicle. Adhering to these guidelines ensures optimal performance and longevity of the cooling system. The manual often includes details about the coolant formulation, additives, and even the replacement interval for maintaining the cooling system.
Confirming Compatibility
Compatibility is crucial when selecting a coolant. Mixing different types or brands of coolant can lead to chemical reactions that create sludge or precipitate, potentially causing severe engine issues. Use only coolant recommended by the manufacturer or those explicitly designed to be compatible. If you are changing coolant types, ensure the system is thoroughly flushed and cleaned to prevent complications. Compatibility is essential for maintaining engine performance and safety.
Testing and Monitoring Coolant Levels
Regularly testing and monitoring coolant levels in your engine is vital to ensure proper function. Over time, coolant can degrade or become contaminated. It’s essential to routinely check levels, particularly before long trips or during extreme weather conditions. Some auto parts retailers offer testing kits that can help analyze coolant conditions, providing valuable insights into the status of your cooling system. Maintaining proper levels of high-quality coolant is essential for preventing overheating and promoting optimal engine performance.
The Importance of Regular Maintenance
Flushing the Cooling System
Flushing the cooling system is an important part of maintaining engine health. Over time, contaminants can accumulate in the coolant, reducing its effectiveness. Regular flushing removes old coolant and any built-up sludge or debris. Industry experts typically recommend performing this task every two years or as specified in the owner’s manual. Flushing ensures that the cooling system remains clean and is functioning at maximum efficiency, prolonging the lifespan of engine components.
Monitoring Temperature Gauges
Every driver should be mindful of the temperature gauge on the dashboard. If the temperature rises above the normal range, it can indicate a problem with the coolant or cooling system. An overheating engine can lead to significant damage if not addressed quickly. Regularly monitoring temperature gauges helps catch potential issues before they escalate into costly repairs. Keeping a close eye on the temperature can save both time and money.
Inspecting for Leaks
Inspecting for coolant leaks is another vital part of regular maintenance. Check for puddles or stains underneath the vehicle and inspect hoses, the radiator, and the water pump for signs of wear or damage. If you detect a coolant leak, address it immediately to prevent overheating and ensure the engine operates efficiently. Routine inspections are crucial for early identification of problems, allowing for proactive repairs and minimizing the risk of engine damage.
Environmental Considerations
Eco-Friendly Coolants
With increasing concerns about environmental impact, many brands have introduced eco-friendly coolant options. These formulations often use propylene glycol and biodegradable additives, making them safer for the ecosystem. Utilizing eco-friendly coolants demonstrates a commitment to responsible choices and can be advantageous for reducing the overall environmental footprint of your vehicle. Researching and investing in sustainable options can contribute to greener driving habits.
Responsible Disposal
Proper disposal of old coolant is essential for protecting the environment. Used antifreeze can be harmful if not discarded correctly, as it contains toxic chemicals. Most municipalities have specific guidelines for dispose of automotive fluids, including coolant. Many auto parts stores and service centers offer recycling programs for used coolant. By disposing of coolant responsibly, vehicle owners can reduce environmental contamination and promote sustainable practices within the community.
Awareness of Local Regulations
Every region may have specific regulations related to coolant usage and disposal. Being aware of local laws can help ensure compliance and responsible behavior. Regulations often govern the types of chemicals permissible in automotive coolants and their disposal methods. By staying informed, vehicle owners can contribute to environmental preservation while maintaining their vehicles effectively.
Conclusion: Embrace Smart Choices for Your Engine
Choosing the Right Coolant
In conclusion, understanding coolant color and selecting the right coolant for your engine is crucial for its performance and longevity. The importance of matching coolant type to vehicle specifications cannot be overstated. Regular maintenance, including monitoring, flushing, and inspecting for leaks, contributes to a well-functioning cooling system and a healthy engine.
Investing in Quality
By investing time in learning about coolant options and making smarter choices, drivers can save on repair costs in the long run. The right coolant not only enhances performance but also contributes to the overall efficiency of your vehicle. Prioritizing quality and compatibility when selecting coolant ensures that your engine runs smoothly and effectively.
Celebrate the Journey
As you embark on your driving adventures, embrace the journey by ensuring that your engine is well taken care of. By making informed choices about coolant and maintaining your vehicle, you’ll enjoy a reliable and efficient driving experience. Remember to appreciate every ride as you contribute to engine health and environmental responsibility. Happy driving!
More Details


 Understanding Spark Plug Socket
 Benefits of Using the Correct Spark Plug Socket
 Common Mistakes When Choosing Spark Plug Socket
 Top Recommended Spark Plug Sockets for Various Sizes
 Conclusion: Mastering the Spark Plug Socket Size for Optimal Engine Health