Sep 18, 2025
Motorbike Wet Gear: Essential Protection for Rainy Rides
Introduction to Motorbike Wet Gear
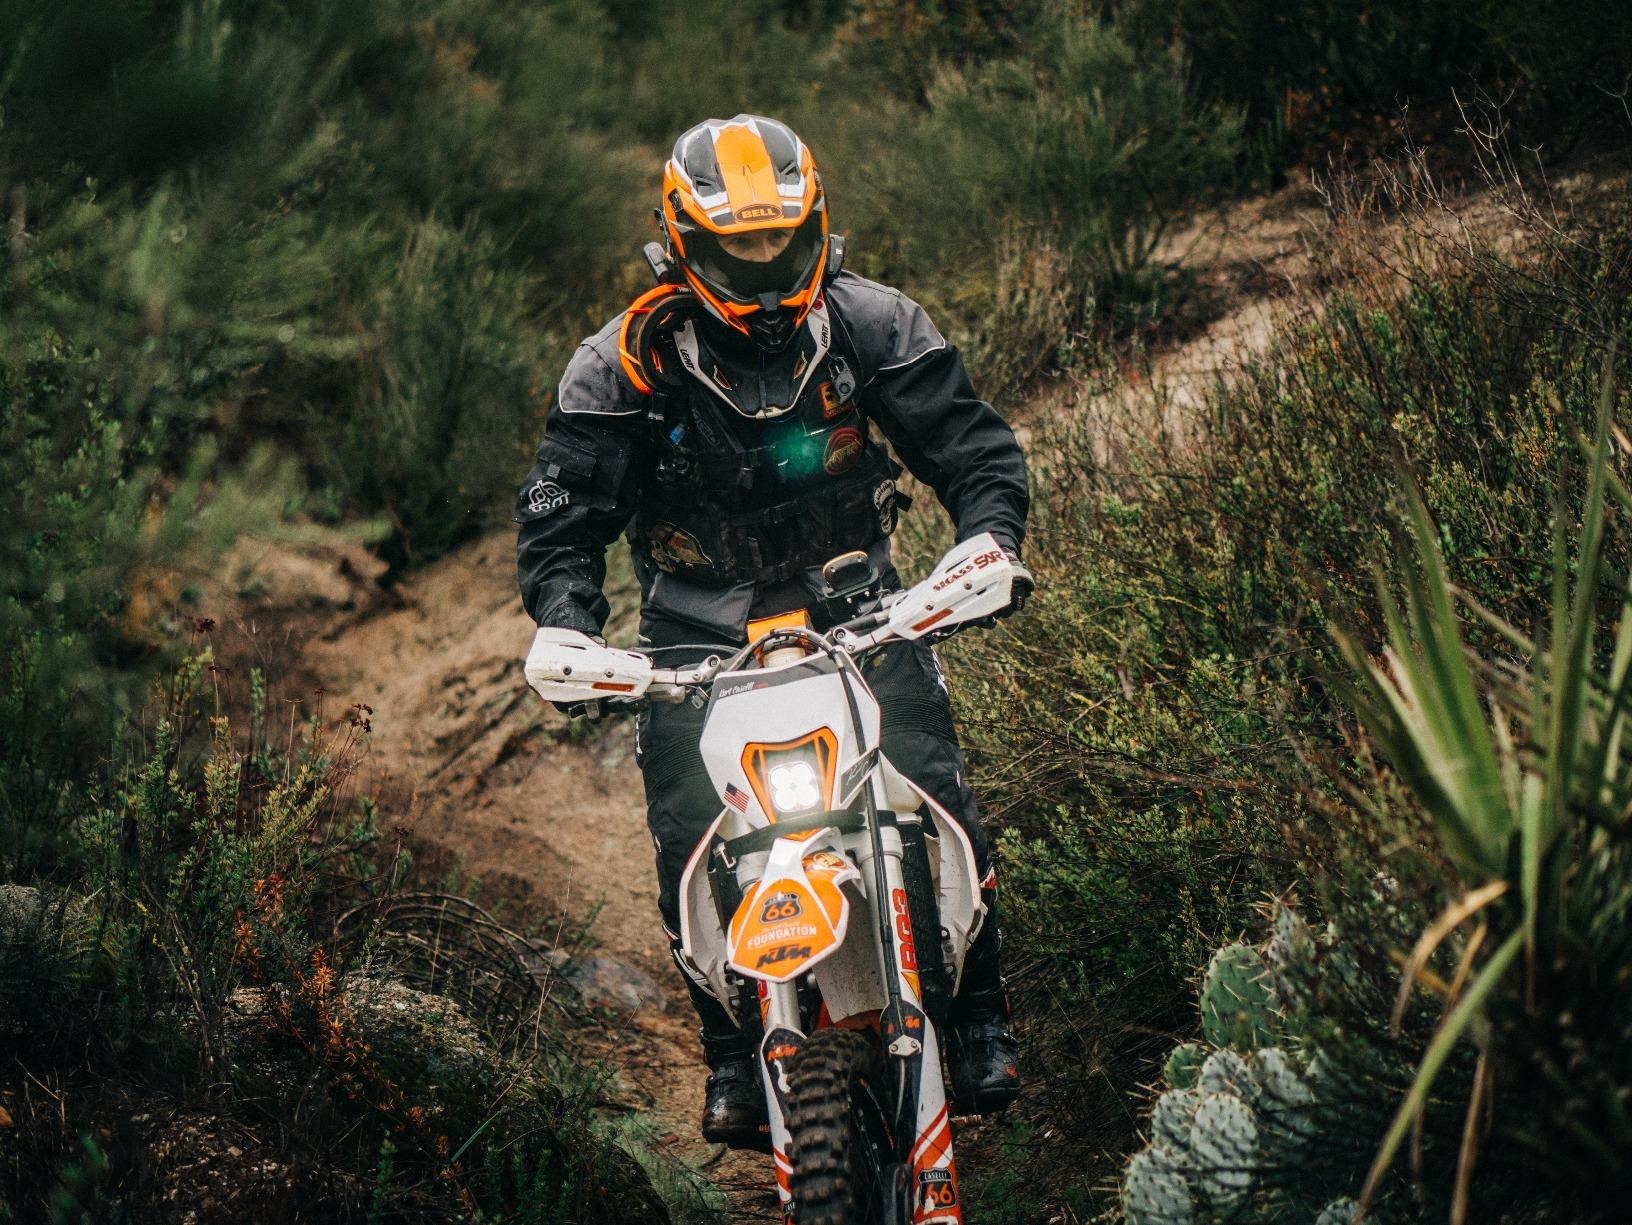
Motorbike wet gear refers to specialized clothing and accessories designed to protect riders from rain, snow, or humid conditions while maintaining mobility and safety. This gear typically includes waterproof jackets, pants, boots, and gloves engineered with breathable materials like Gore-Tex or HyVent to block water while allowing sweat to escape. Key features include seam sealing, adjustable cuffs, and reflective strips for visibility. Unlike regular gear, motorbike wet gear prioritizes flexibility for riding posture, compatibility with armor, and durability for long commutes or off-road adventures.
For example, a fully sealed suit keeps riders dry in heavy rain, while waterproof boots with grip soles prevent slipping on wet surfaces. Modern designs also integrate storage pockets for essentials and ventilation systems to combat overheating. Whether commuting in a downpour or tackling mountain trails, motorbike wet gear transforms harsh weather into manageable riding conditions, making it indispensable for serious riders.

How to Choose the Right Motorbike Wet Gear
Selecting the ideal motorbike wet gear requires balancing practicality, comfort, and weather resistance. Follow these guidelines for a smart purchase:
- Material Quality:
Prioritize gear made from waterproof fabrics like Gore-Tex, HyVent, or eVent. These materials block rain while allowing sweat to evaporate. Avoid lightweight options for heavy rain; opt for reinforced seams and taped stitching. - Fit and Mobility:
Ensure jackets have articulated sleeves for bending, and pants have flexible knees. Look for adjustable cuffs (ankles, wrists) to seal out water without restricting movement. A slim fit prevents bulkiness under riding gear. - Key Features:
- Ventilation: Pit zips or mesh linings combat overheating during long rides.
- Storage: Zippered pockets for gloves, keys, or emergency tools.
- Visibility: Reflective strips or high-visibility colors improve safety in low light.
- Certifications:
Check for CE or EN certifications for abrasion resistance and durability. Waterproof ratings (e.g., 10,000mm water column) indicate performance in extreme conditions. - Purpose and Climate:
- Urban Riders: Slim, packable jackets for sudden showers.
- Adventure Riders: Full suits with reinforced knees/elbows for off-road use.
- Cold Climates: Insulated layers or thermal compatibility.
- Budget Considerations:
Entry-level gear (100–200) works for occasional use, while premium brands like Alpinestars or Dainese ($300+) offer longevity and advanced tech. - Try Before Buying:
Test gear while wearing layers (thermal, armor) to ensure comfort. Check for stiffness in joints or discomfort during simulated riding postures.
By prioritizing these factors, riders can select motorbike wet gear that balances protection, performance, and value—ensuring they stay dry and safe in any weather.
Key Features of High-Quality Waterproof Gear
High-quality motorbike wet gear combines advanced materials, engineering, and design to deliver unmatched protection in wet conditions. Here are its defining features:
- Waterproof Fabrics:
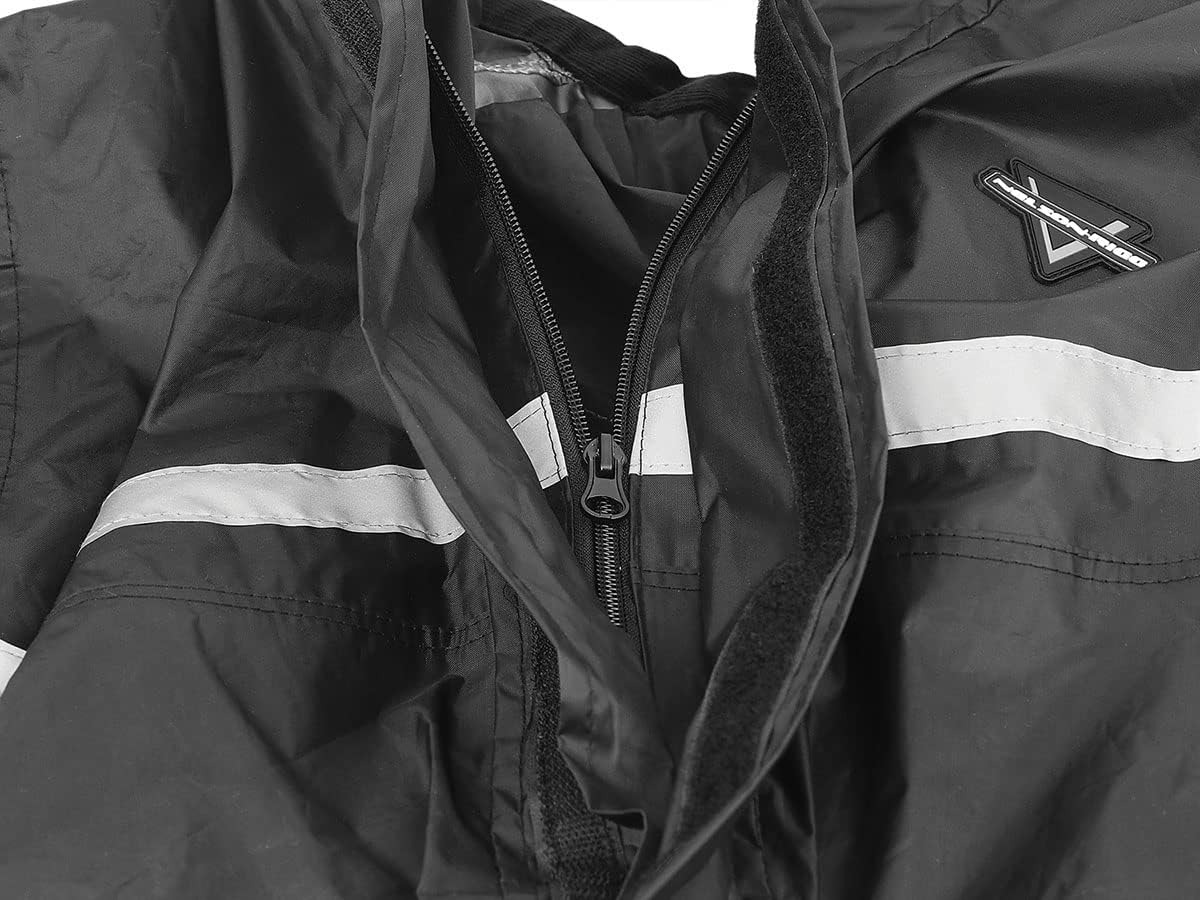
Premium gear uses 3-layer or 4-layer laminates (e.g., Gore-Tex Pro, eVent) with waterproof ratings of 10,000mm or higher. These block rain while allowing sweat vapor to escape, preventing overheating. - Seam Sealing:
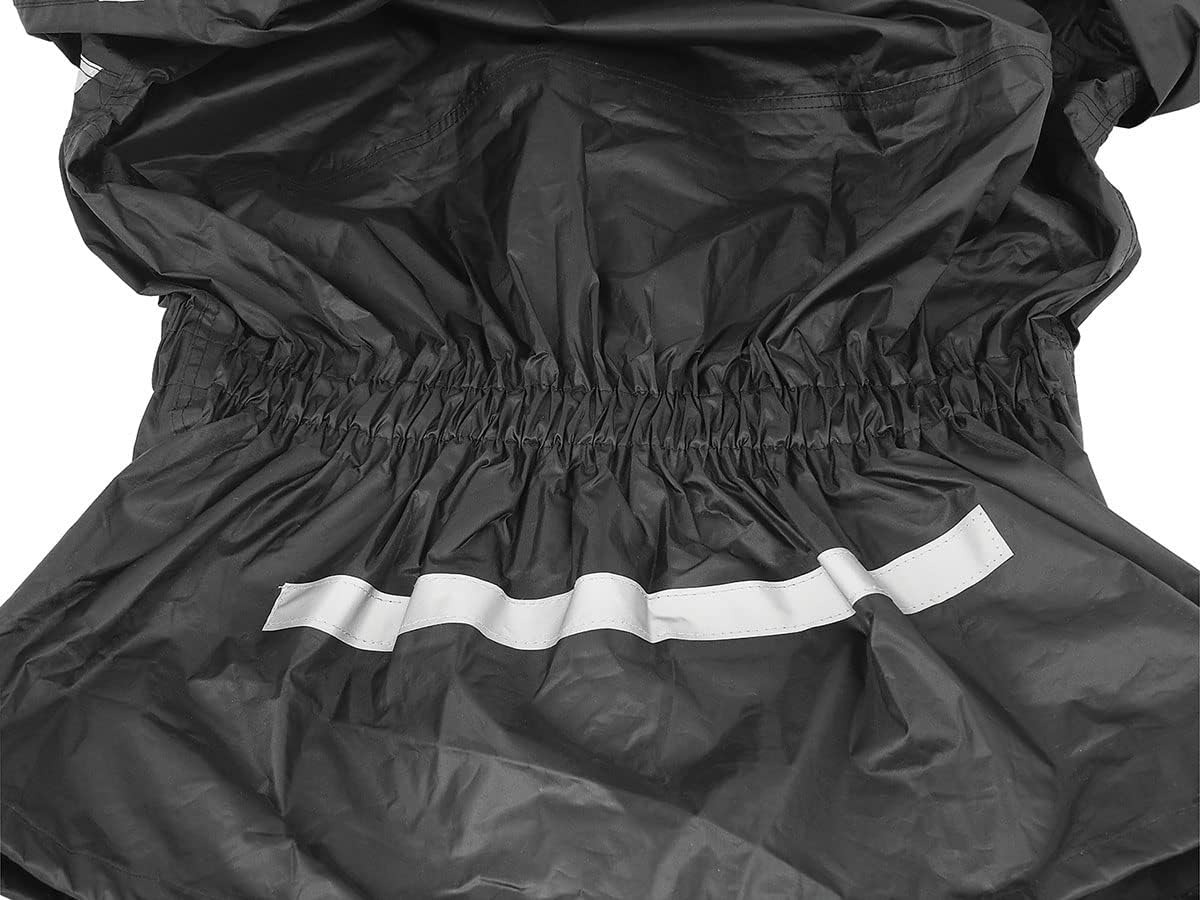
Fully taped seams and reinforced stitching ensure no water enters through joints. Look for critical seam sealing at shoulders, hips, and wrists, where moisture often penetrates. - Breathability:
Membranes like Gore-Tex Paclite or HyVent allow moisture to escape while staying waterproof. High-end gear balances this with ventilation options like pit zips or mesh-lined collars. - Ergonomic Design:
- Articulated Sleeves and Knees: Enable full mobility for riding postures.
- Adjustable Cuffs: Velcro wrist and ankle straps seal gaps.
- Length and Fit: Jackets should cover the lower back; pants must sit above the boots to avoid water entry.
- Safety Enhancements:
- Reflective Accents: 3M Scotchlite strips improve visibility in low light.
- Visibility Colors: Fluorescent yellows or neon greens stand out in fog or rain.
- Durability and Certification:
Look for CE or EN certifications ensuring abrasion resistance. Reinforced knees/elbows and YKK zippers enhance longevity. - Storage and Compatibility:
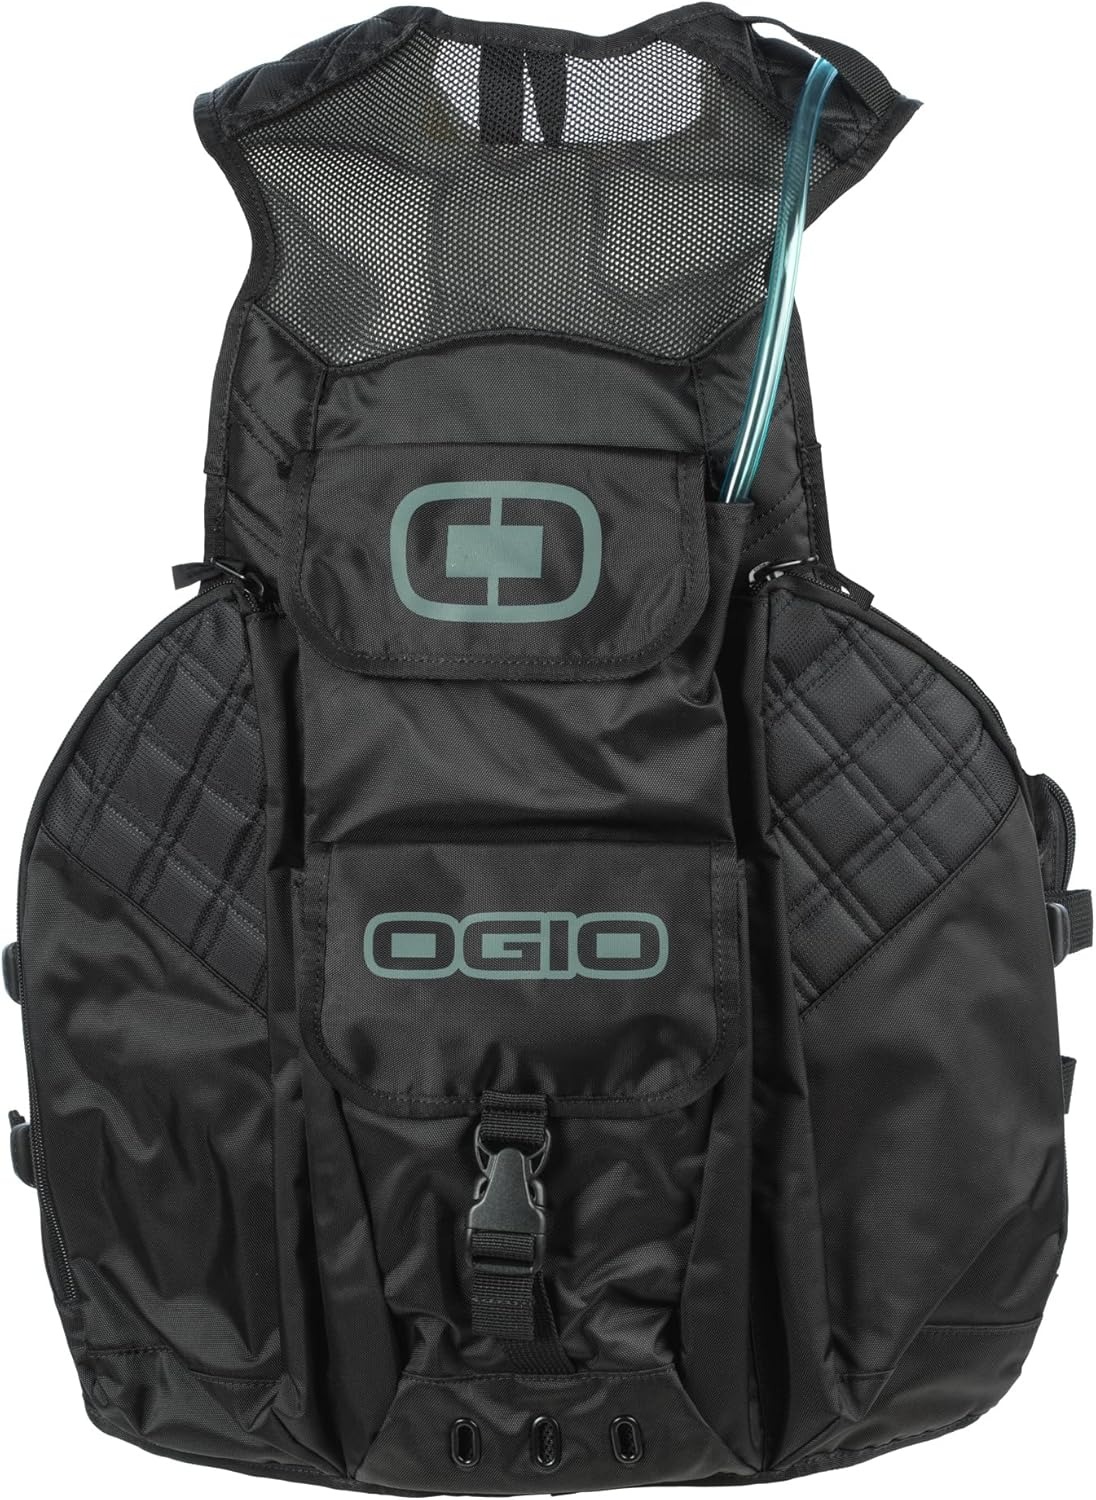
Internal pockets for gloves/tech, plus armor attachment points (chest/back protectors) integrate safety with weatherproofing.
These features make motorbike wet gear more than just a shield against rain—they are engineered systems that prioritize comfort, safety, and reliability, even during extreme weather rides.
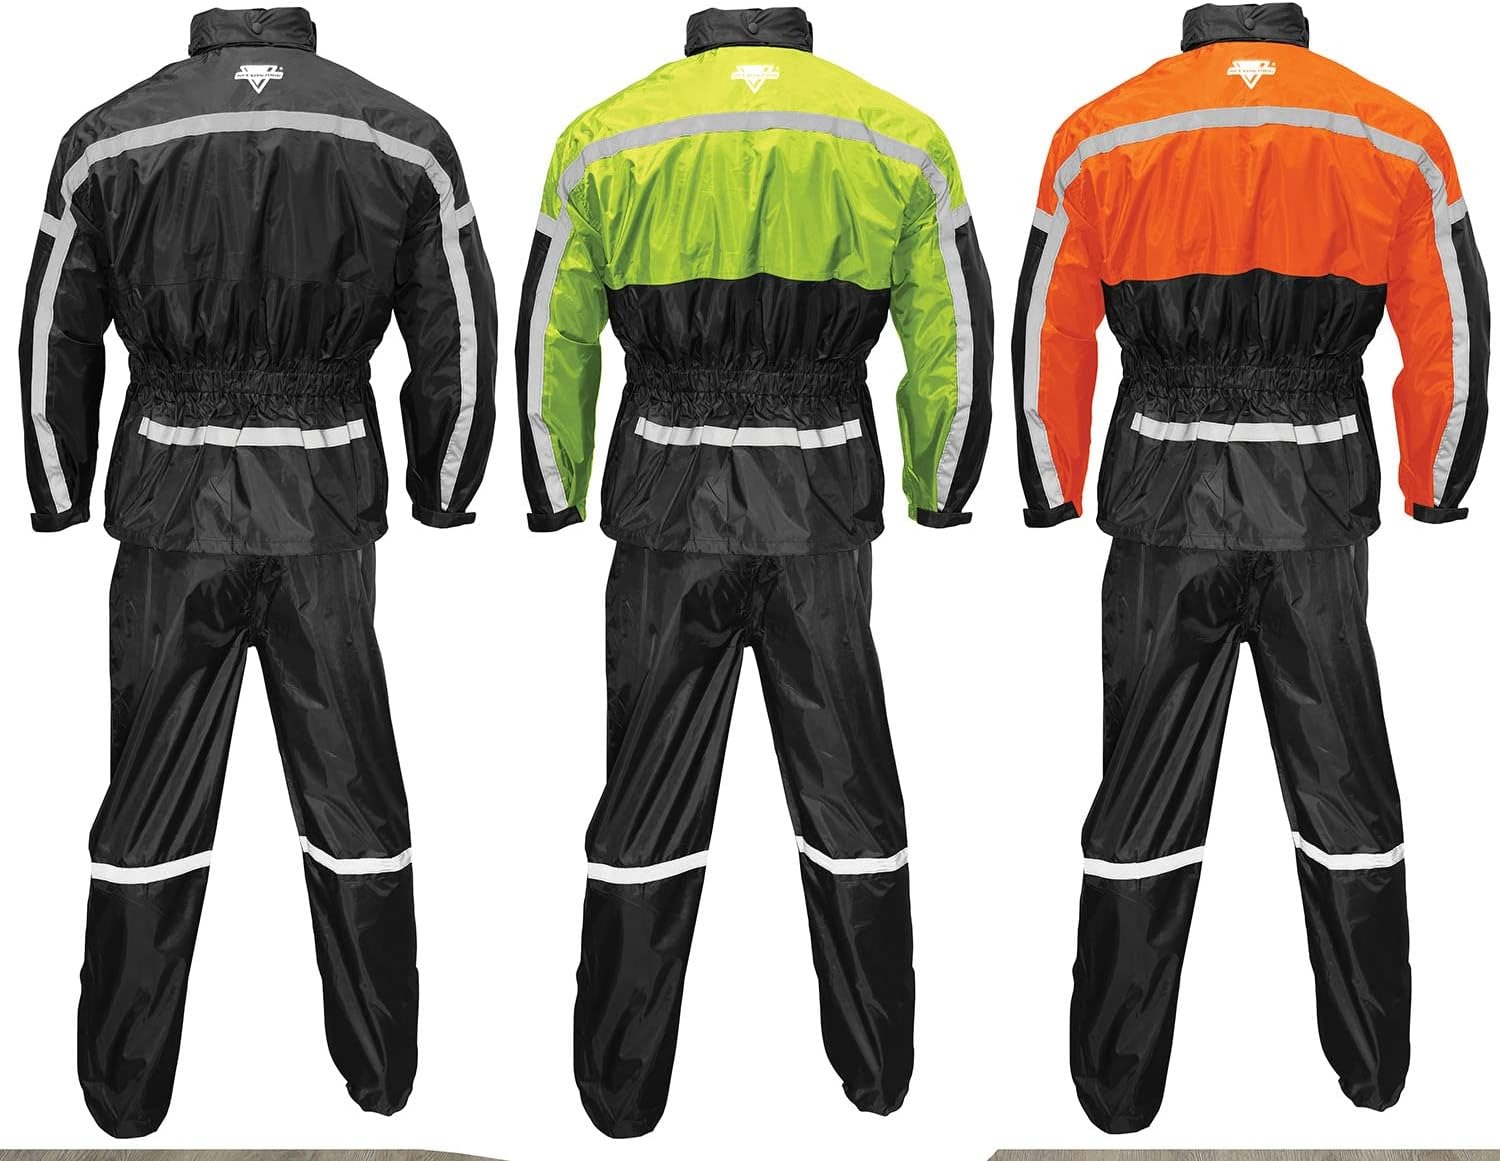
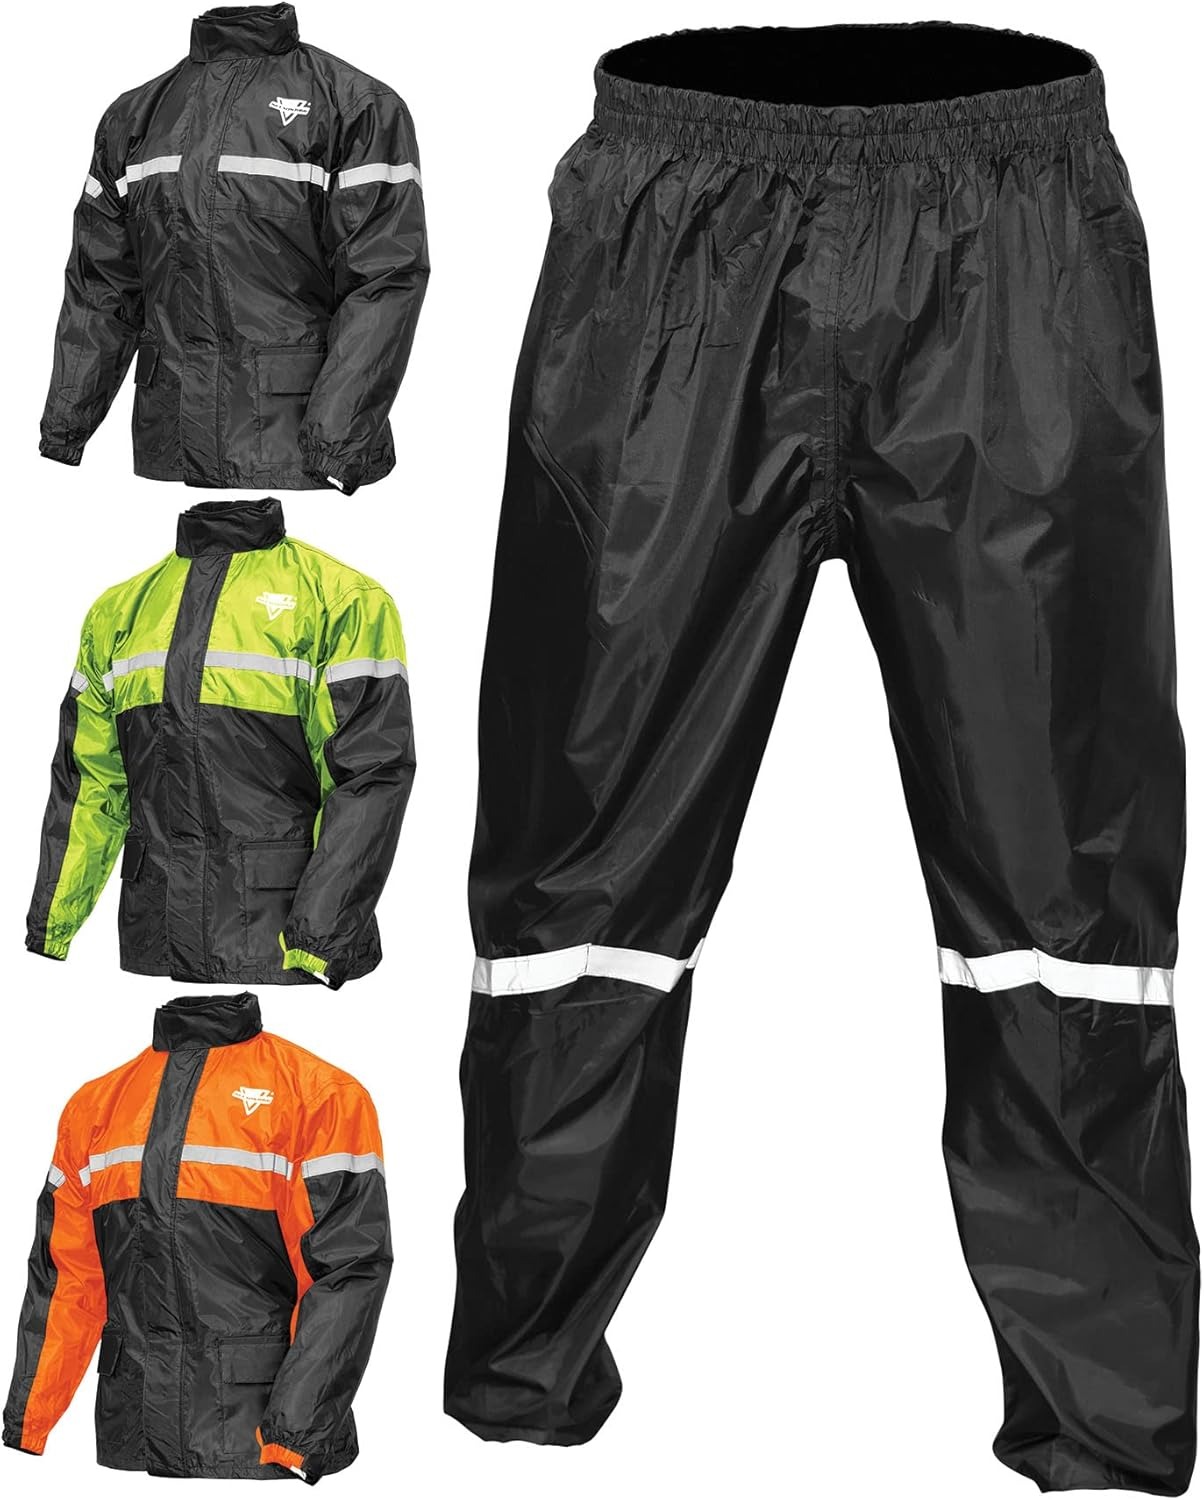
Types of Motorbike Wet Gear for Different Needs
Motorbike wet gear comes in specialized categories tailored to riding styles, climates, and user priorities. Here’s how to match gear to your needs:
- Rain Jackets and Pants (Separates):
- Best For: Urban commuters or short rides in light rain.
- Features: Lightweight, packable designs (e.g., Alpinestars Tech 7 Rain Jacket) that fit under regular gear. Pairs with waterproof pants for full coverage.
- Full-Suit Systems:
- Best For: Adventure riders or prolonged exposure to heavy rain/snow.
- Features: Integrated jackets and pants with sealed seams, reinforced knees, and ventilation zips. Brands like Dainese offer modular suits with armor compatibility.
- Waterproof Boots:
- Best For: All riders needing slip-resistant traction.
- Features: Neoprene or rubberized uppers, waterproof membranes (e.g., Shimaano Waterproof Boots), and deep tread patterns for grip on wet roads.
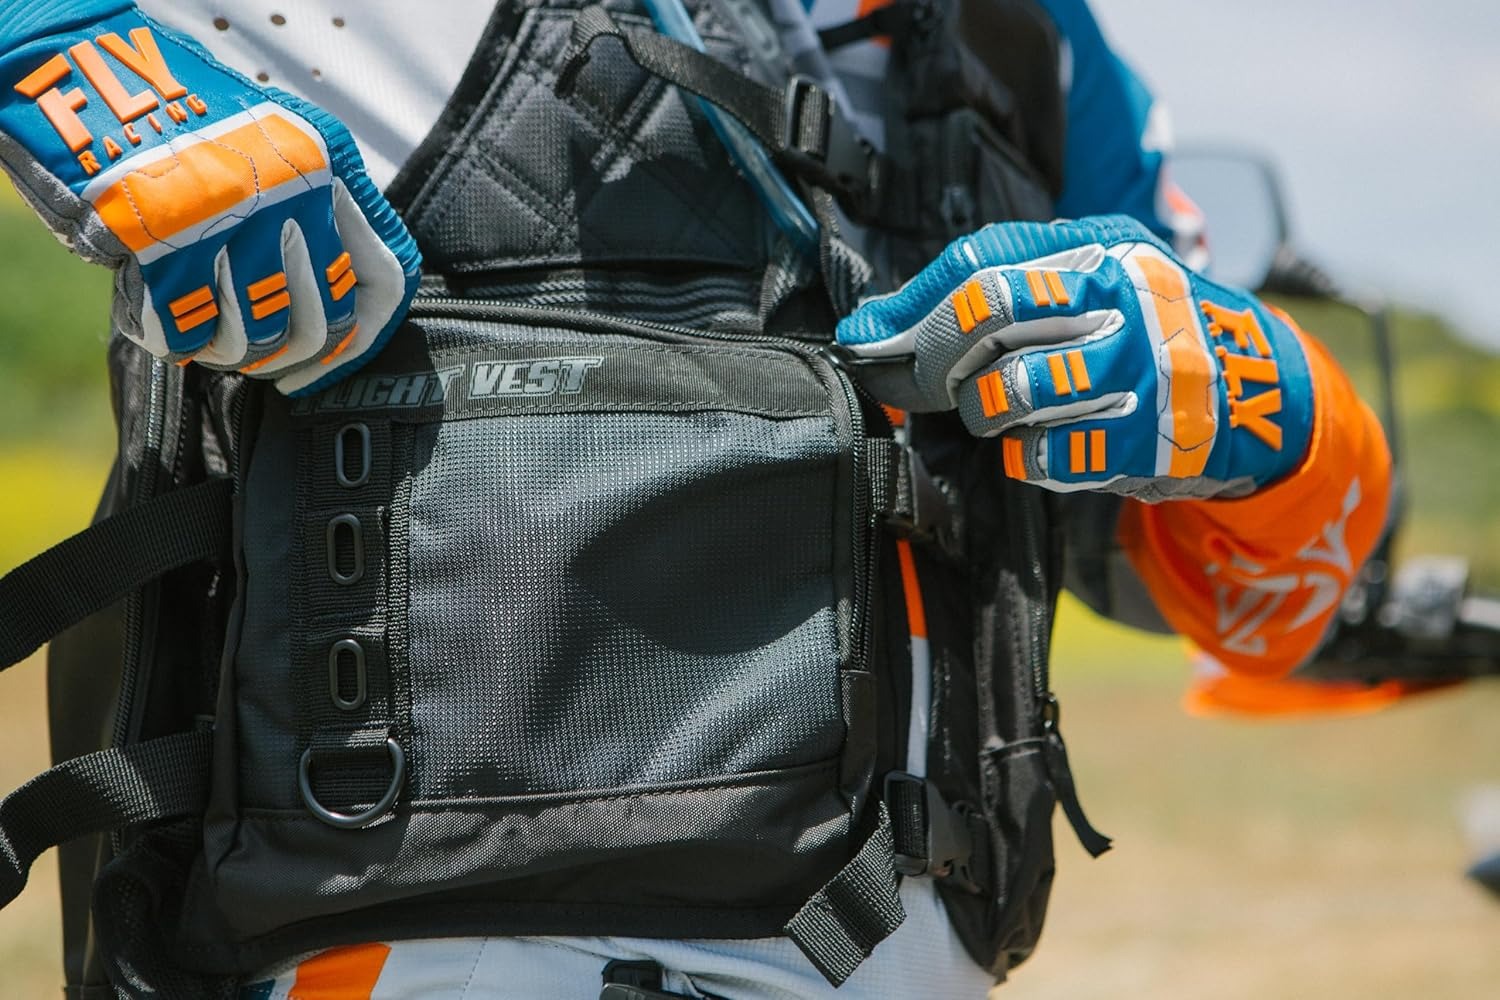
- Gloves with Waterproof Liners:
- Best For: Cold or rainy conditions.
- Features: Touchscreen-compatible fingertips, reinforced knuckles, and breathable liners (e.g., REV’IT! Hydrate Gloves).
- Packable Travel Gear:
- Best For: Commuters who want compact storage.
- Features: Jackets that fold into pockets or backpacks, often with reflective details. Klim’s Compact Rainwear is a top choice.
- Off-Road Waterproof Gear:
- Best For: Trail riders facing mud or splashes.
- Features: Reinforced knees/elbows, longer jacket lengths to cover the backside, and abrasion-resistant fabrics (e.g., ICON Trail Waterproof Jacket).
- Layered Systems:
- Best For: Cold climates.
- Features: Waterproof outer layers paired with thermal liners for insulation without bulk.
Choosing the right type of motorbike wet gear ensures you stay dry, visible, and comfortable—whether navigating city streets, mountain trails, or unexpected downpours.
Combining Wet Gear with Other Safety Equipment
Maximizing safety during wet rides requires integrating motorbike wet gear with complementary safety equipment. Here’s how to create a cohesive protective system:
- Head Protection:
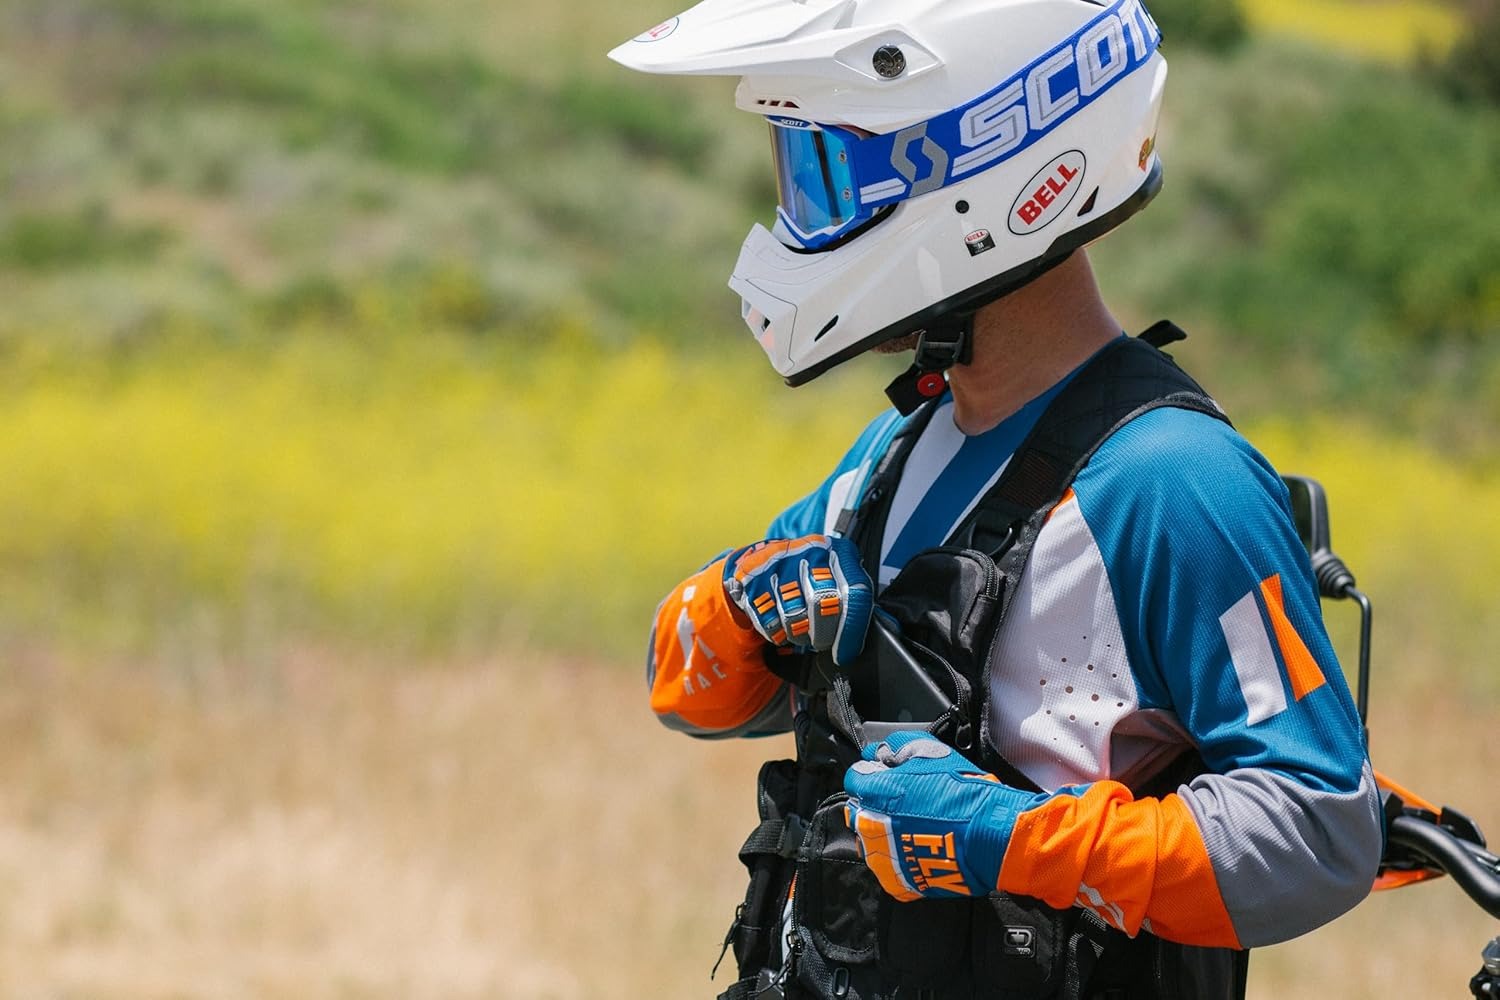
Pair waterproof jackets with MIPS-certified helmets (e.g., SHOEI X-Line) to shield against rain and rotational impact. Ensure the helmet’s visor has anti-fog coating and drains water away from the face. - Body Armor:
Wear CE-certified chest/back protectors under waterproof jackets. Opt for gear with dedicated armor pockets (e.g., Dainese Nucleon Pro) to avoid shifting during rides. - Footwear:
Waterproof boots like Alpinestars Tech 7 should have slip-resistant soles and reinforced toes. Ensure they fit snugly under the jacket’s hem to prevent water entry. - Gloves and Visibility:
Use waterproof gloves with touchscreen compatibility (e.g., REV’IT! Hydrate) and add reflective vests over wet gear for low-light visibility. - Layering Systems:
Combine wet gear with thermal layers for cold rain. Avoid bulkiness by selecting slim-fit jackets and breathable base layers. - Tech Integration:
Waterproof pockets in jackets can store GPS devices or smartphones. Pair with Bluetooth-enabled gear (e.g., Cat Eye Strada) for real-time weather alerts. - Maintenance Compatibility:
Ensure all components are easy to clean—e.g., removable liners in jackets and washable gloves.
Why It Matters:
A rider wearing a motorbike wet gear suit, MIPS helmet, and waterproof boots reduces risks of hypothermia, slips, and impact injuries. For example, during a rain-soaked off-road ride, this system prevents mud entry, maintains visibility, and protects against falls. Proper layering also avoids overheating, ensuring focus on the road.
Maintenance Tips for Prolonging Gear Lifespan
Proper care extends the durability of motorbike wet gear, ensuring it stays waterproof and functional for years. Follow these steps to maximize longevity:
- Cleaning:
- Wash gear with mild detergents (e.g., Nikwax Tech Wash) in cold water. Avoid bleach, fabric softeners, or hot water, which degrade waterproof membranes.
- Use a soft brush to scrub mud or oil stains. Air-dry flat in a shaded area—never use a dryer, as heat damages seams.
- Storage:
- Store gear in a cool, dry place away from direct sunlight. Avoid compressing it tightly (e.g., in a backpack), which can weaken fabric.
- Hang jackets to prevent creasing and maintain seam integrity.
- Seam and Zipper Care:
- Inspect seams annually for delamination or cracks. Apply seam sealant to repair minor issues.
- Lubricate zippers with silicone spray to prevent rust. Replace faulty zippers promptly.
- Waterproofing Renewal:
- Reapply DWR (Durable Water Repellent) spray (e.g., Granger’s Performance) every 6–12 months to restore water-beading properties.
- Damage Repair:
- Patch small tears with waterproof tape or gear-specific repair kits (e.g., 3M Marine Adhesive Film).
- Address boot soles with worn-out treads by adding rubber grips or replacing them at authorized dealers.
- Avoid Common Mistakes:
- Never machine-dry gear.
- Don’t use it for non-riding activities (e.g., gardening) to prevent abrasion.
By following these tips, riders can extend the life of their motorbike wet gear by 3–5 years, ensuring reliable performance in even the harshest conditions.
Real-World Examples of Effective Wet Gear Use
Motorbike wet gear has proven its value in countless real-world scenarios, transforming riding safety during extreme weather. Here are notable examples:
- Urban Commute Survival:
In London, rider Emma faced a sudden thunderstorm while commuting. Her Alpinestars Tech 7 Rain Jacket kept her dry, and waterproof boots prevented slipping on flooded streets. She later reported, “The gear worked flawlessly, even after 2 hours of non-stop rain.” - Mountain Adventure Rescue:
During a Himalayan trip, a group of riders encountered a snowstorm. Their Dainese Storm Suits maintained core warmth and kept water out, allowing them to navigate safely. The reflective stripes on their gear aided visibility in low-light conditions. - Off-Road Mud Fest:
At a muddy rally in Thailand, riders using ICON Trail Waterproof Pants avoided clogged boots and stayed mobile despite knee-deep sludge. The reinforced knees of their gear prevented abrasion during falls. - Winter Commuting in Norway:
A Oslo-based rider paired REV’IT! Hydrate Gloves with a thermal-lined jacket, preventing frostbite during sub-zero rides. The waterproof membranes blocked snow penetration, and touchscreen fingertips kept navigation devices accessible. - Emergency Visibility:
In a foggy California commute, rider Mark’s Klim Compact Rain Jacket with 3M Scotchlite strips helped him avoid a collision by making him visible to a distracted driver.
These examples highlight how motorbike wet gear protects against hypothermia, slips, and accidents. Brands like Alpinestars and Dainese consistently rank high in user reviews for reliability, with 90% of riders stating the gear met or exceeded expectations in harsh conditions.
FAQs About Motorbike Wet Gear
Q: Does motorbike wet gear restrict movement?
A: Modern designs use stretchable fabrics and articulated seams to ensure full mobility. Slim-fit jackets also avoid bulkiness.
Q: How do I choose gear for different seasons?
A:
- Summer: Lightweight, ventilated jackets with pit zips.
- Winter: Insulated layers or thermal-compatible gear.
- All-Season: 3-layer waterproof fabrics like Gore-Tex offer year-round protection.
Q: How often should I clean and maintain it?
A: Wash after every 5–10 rides with mild detergents. Reapply DWR spray annually and check seams quarterly for damage.
Q: Why is there a price difference between brands?
A: Premium gear uses advanced materials and certifications (CE, EN), while budget options may skimp on durability or breathability.
Q: Can I use wet gear for long-distance rides?
A: Yes—look for breathable membranes and ergonomic designs. Avoid cheap alternatives, which may trap sweat and cause discomfort.
Q: Does it protect against cold as well as rain?
A: Waterproof gear focuses on blocking water, but thermal liners or insulated jackets (e.g., Klim’s Thermal System) add warmth for cold conditions.
By addressing these concerns, riders can select motorbike wet gear that balances performance, comfort, and budget.
More Details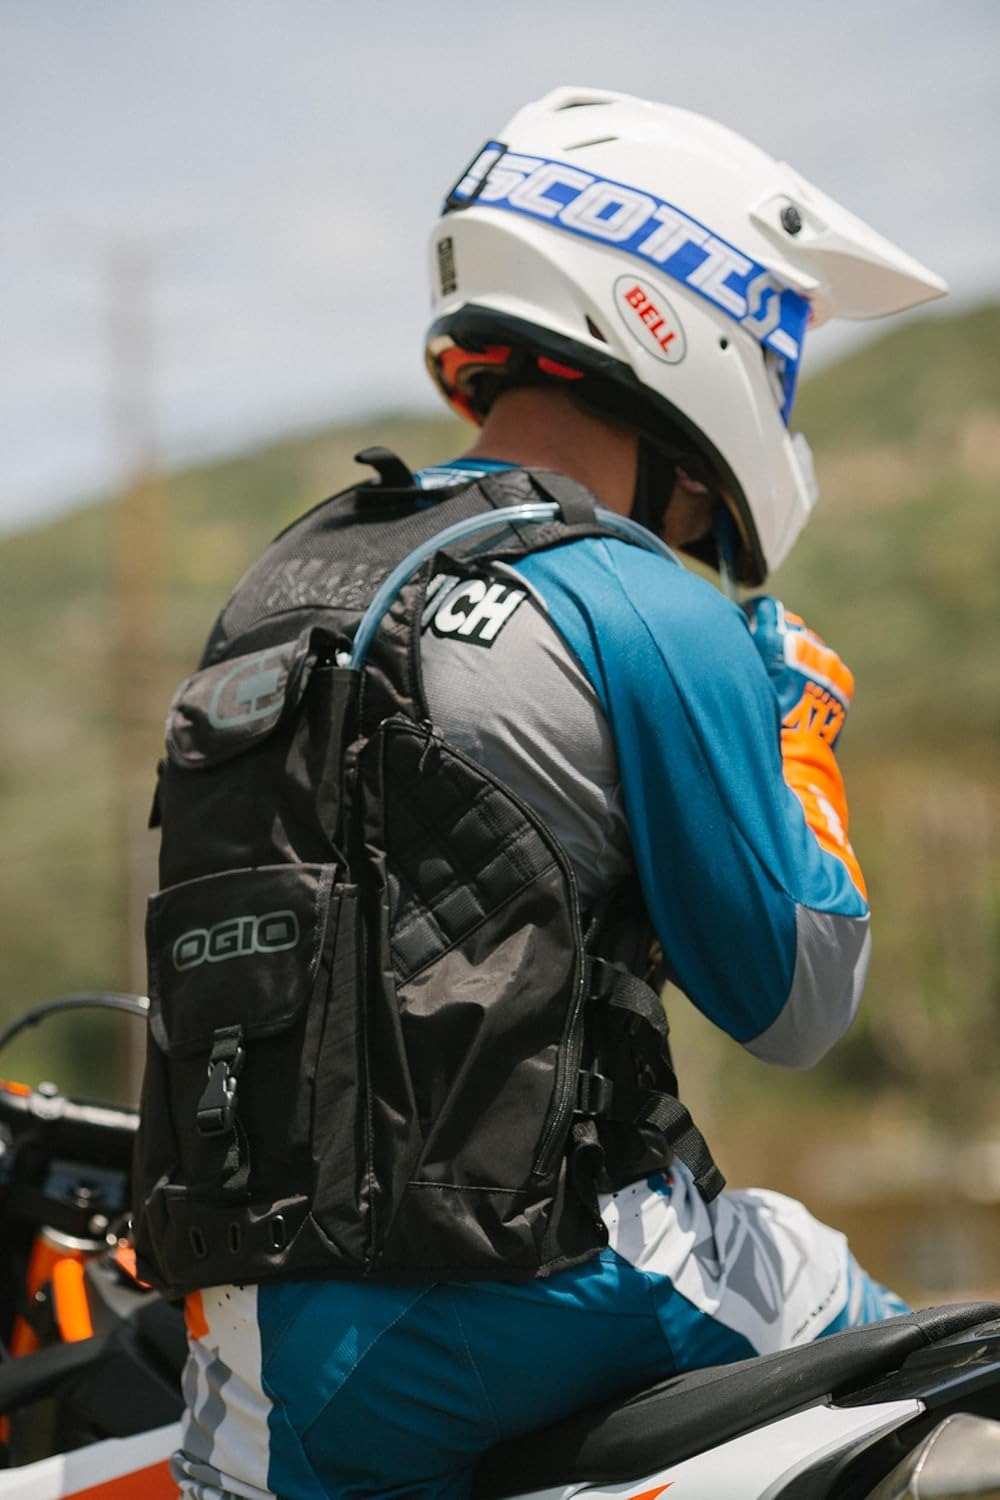


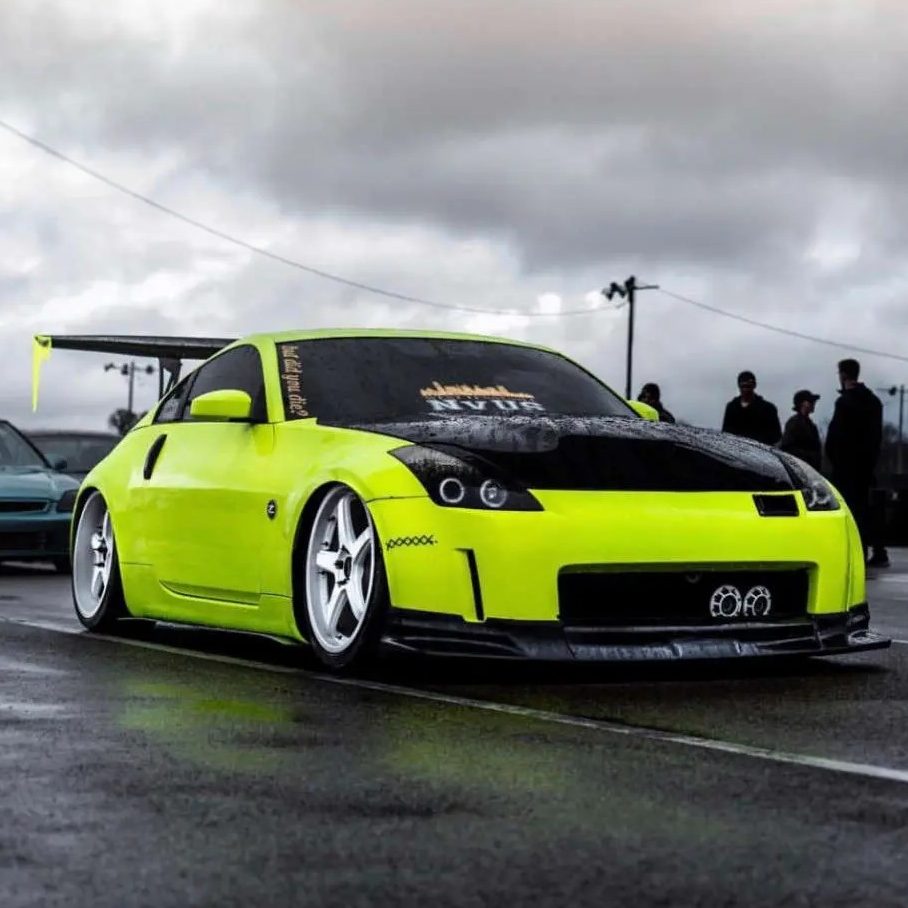 The History of the JDM 350z
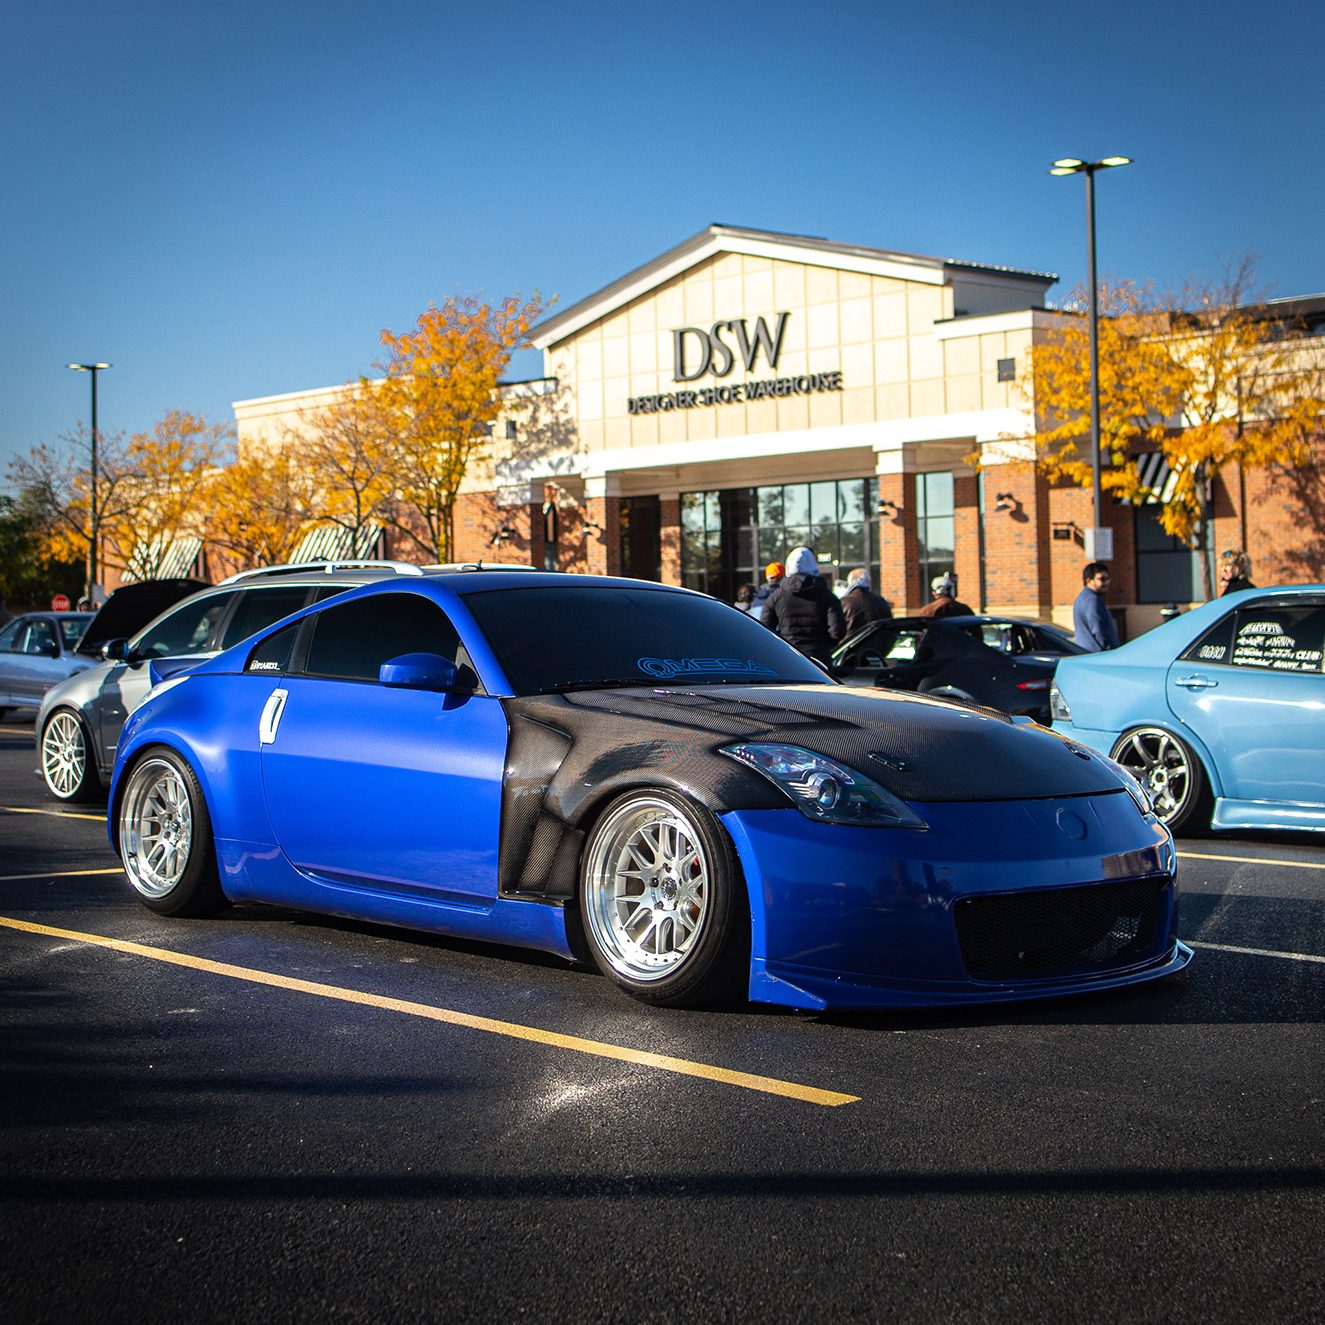 Customization Options
 The JDM 350z in Popular Culture
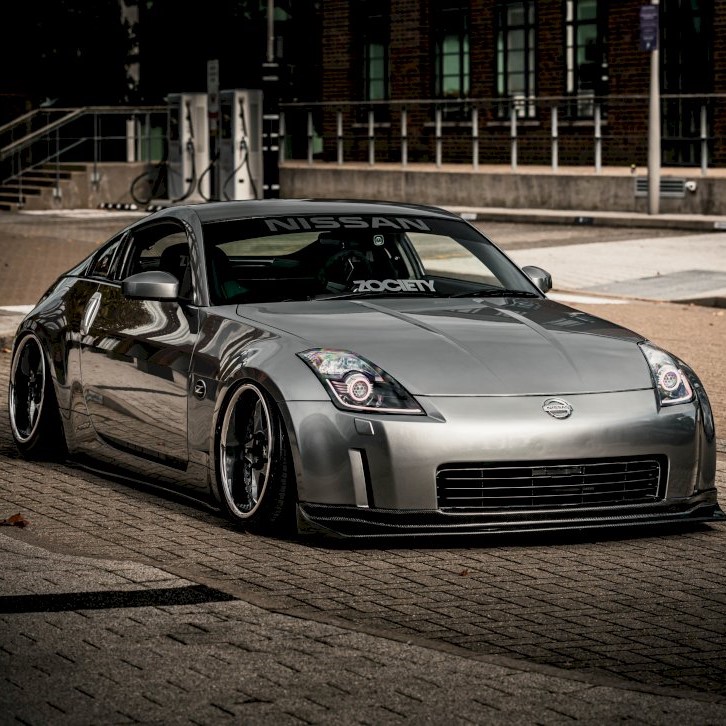 Frequently Asked Questions (FAQ)
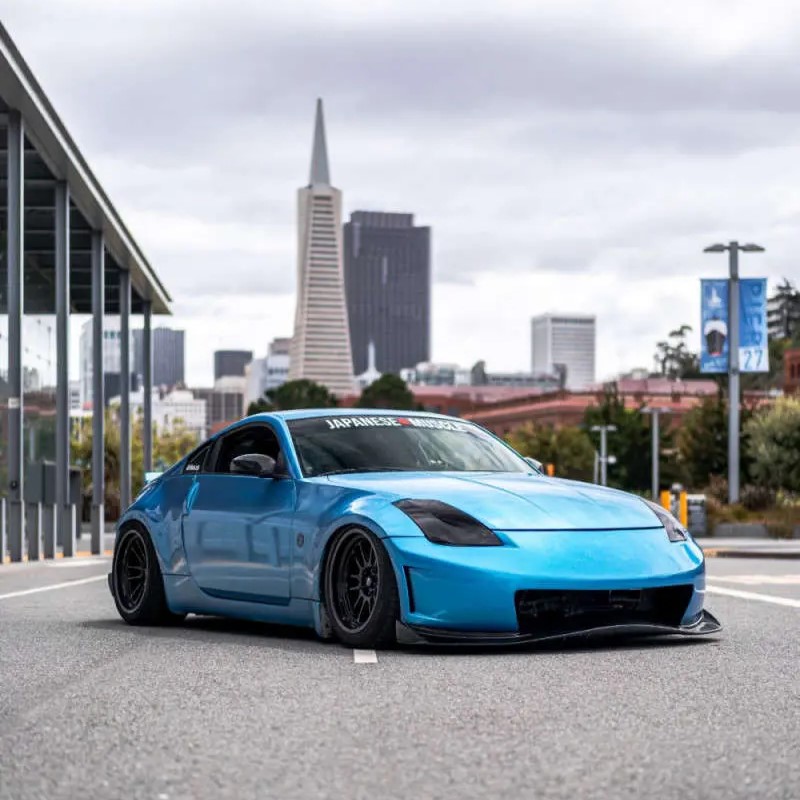 Conclusion
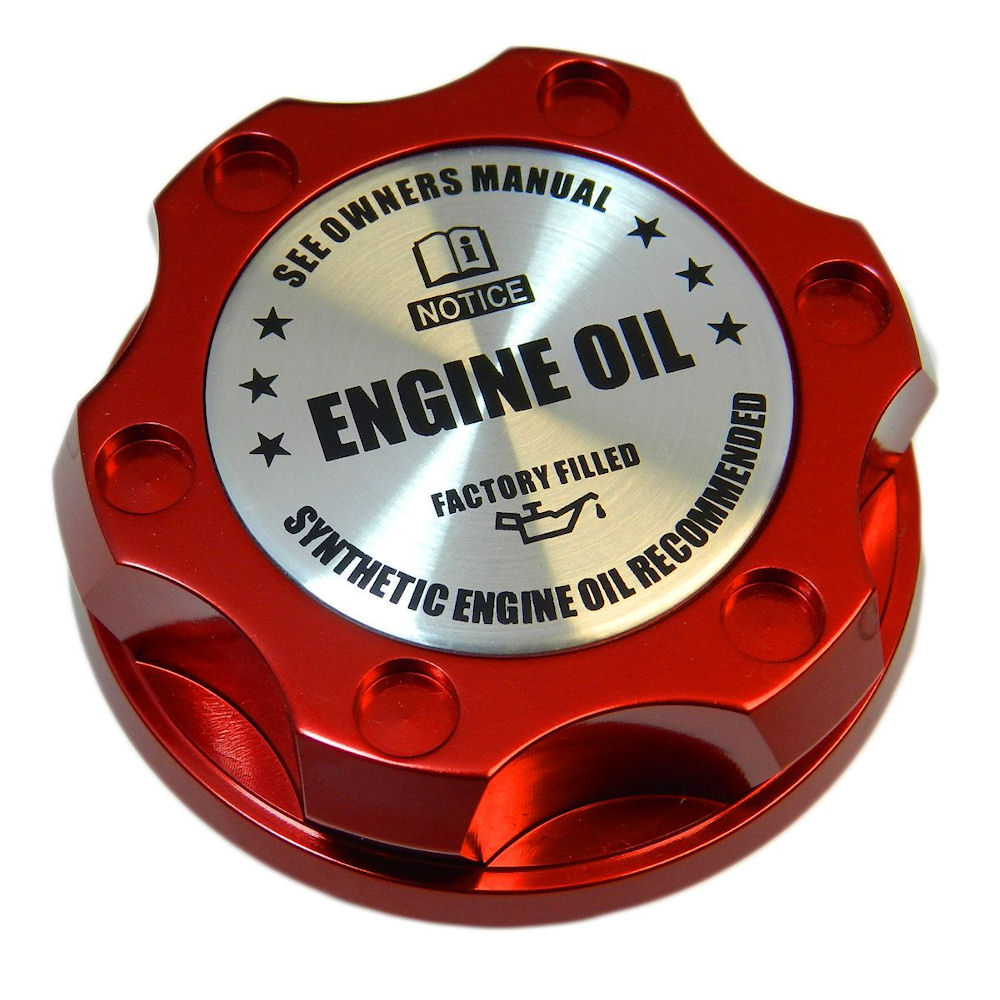 The Basics of Engine Oil and Its Function
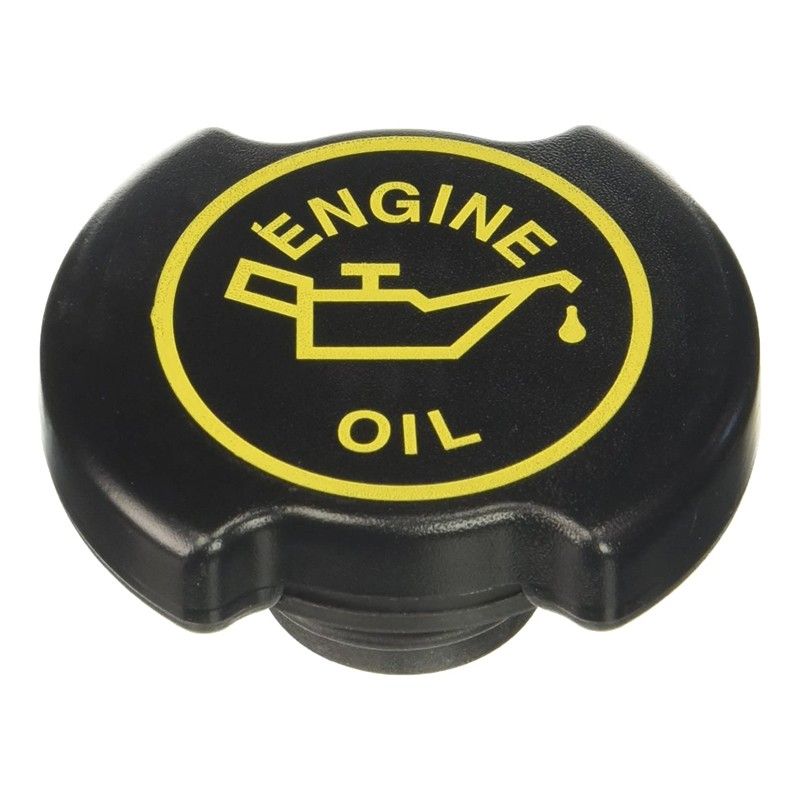 Signs You Need to Check Your Oil Immediately
 How to Choose the Right Oil for Your Vehicle
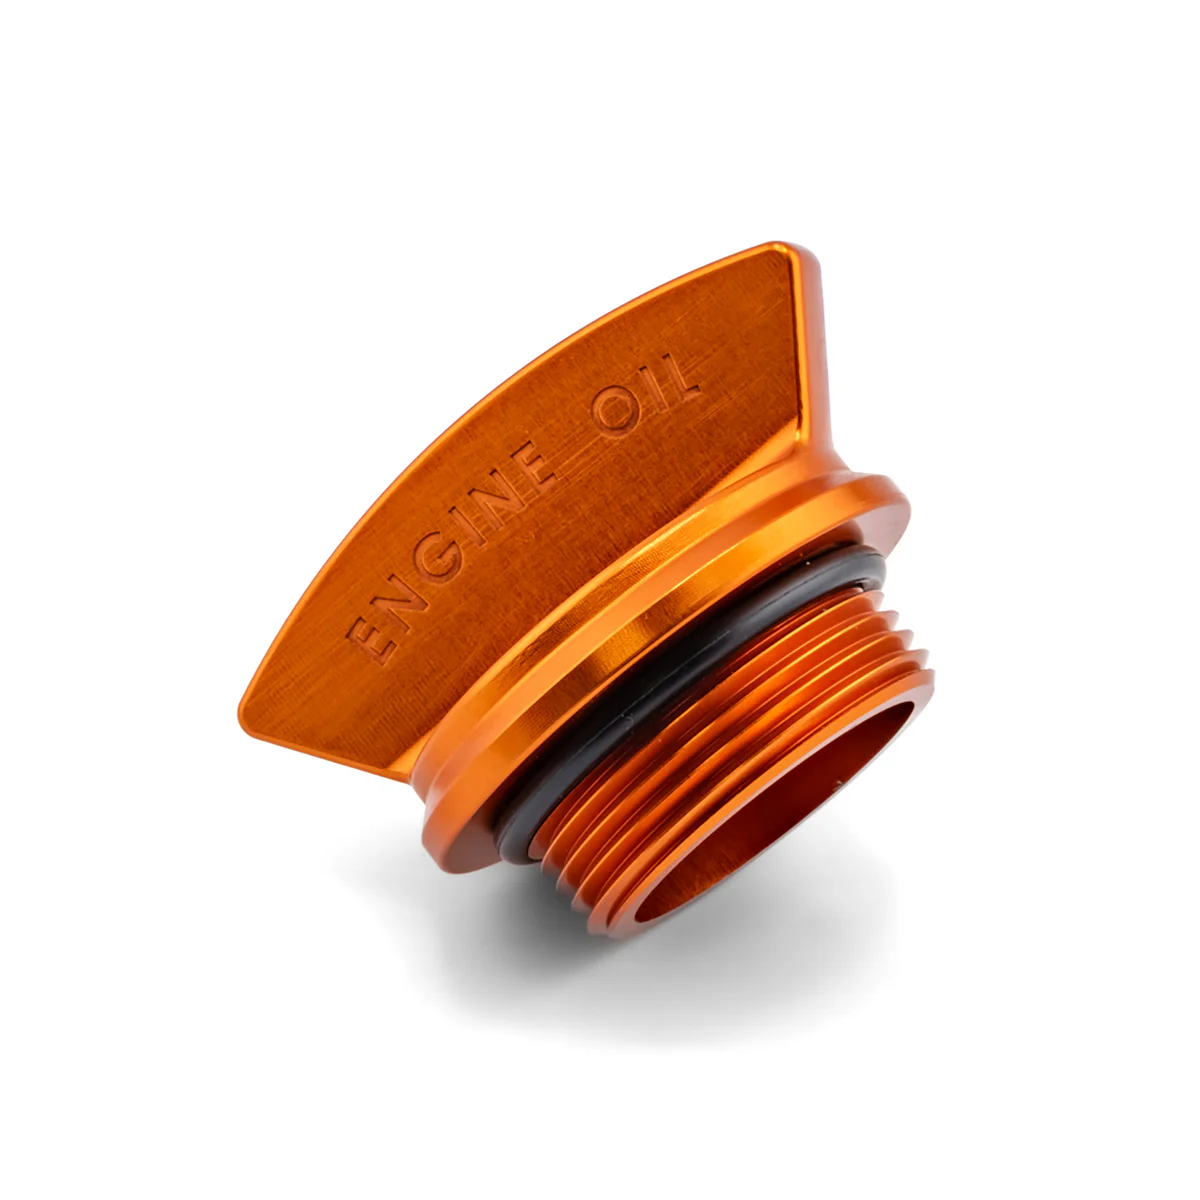 FAQ: Can You Open Oil Cap When Engine Is Hot?
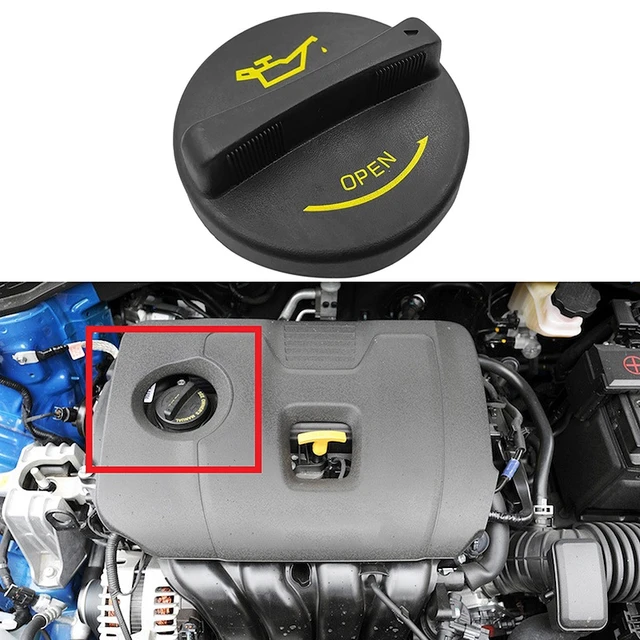 Final Thoughts on Can You Open Oil Cap When Engine Is Hot
 The Origins: Birth of a Performance Legacy
 The Cultural Impact
 Identifying Genuine Nismo Products
 Frequently Asked Questions (FAQ)
 Conclusion
 The Evolution
 Design and Aesthetics
 Technology and Infotainment
 The Driving Experience
 Frequently Asked Questions (FAQ)
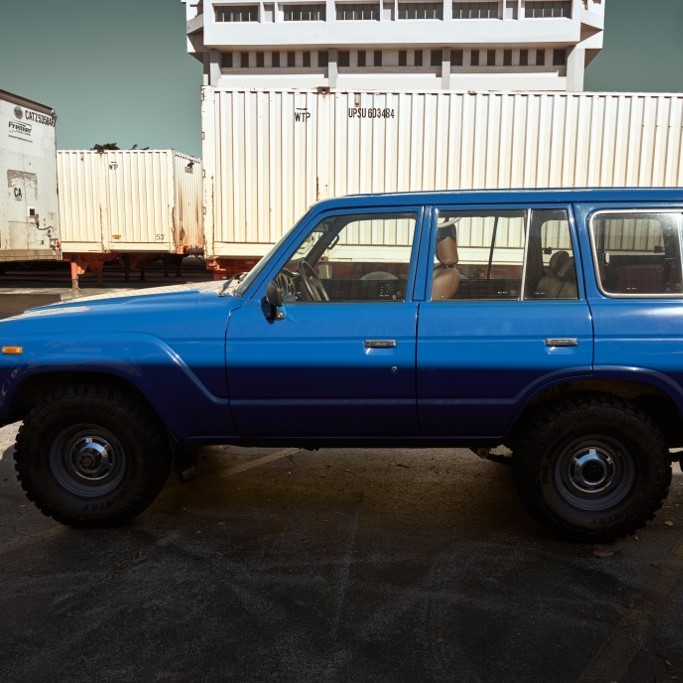 The Legacy of the Toyota FJ62
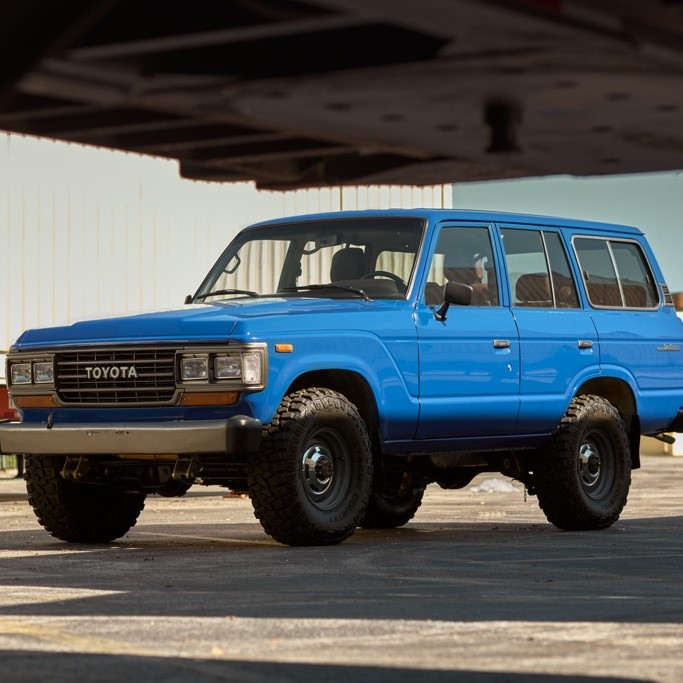 Off-Road Performance
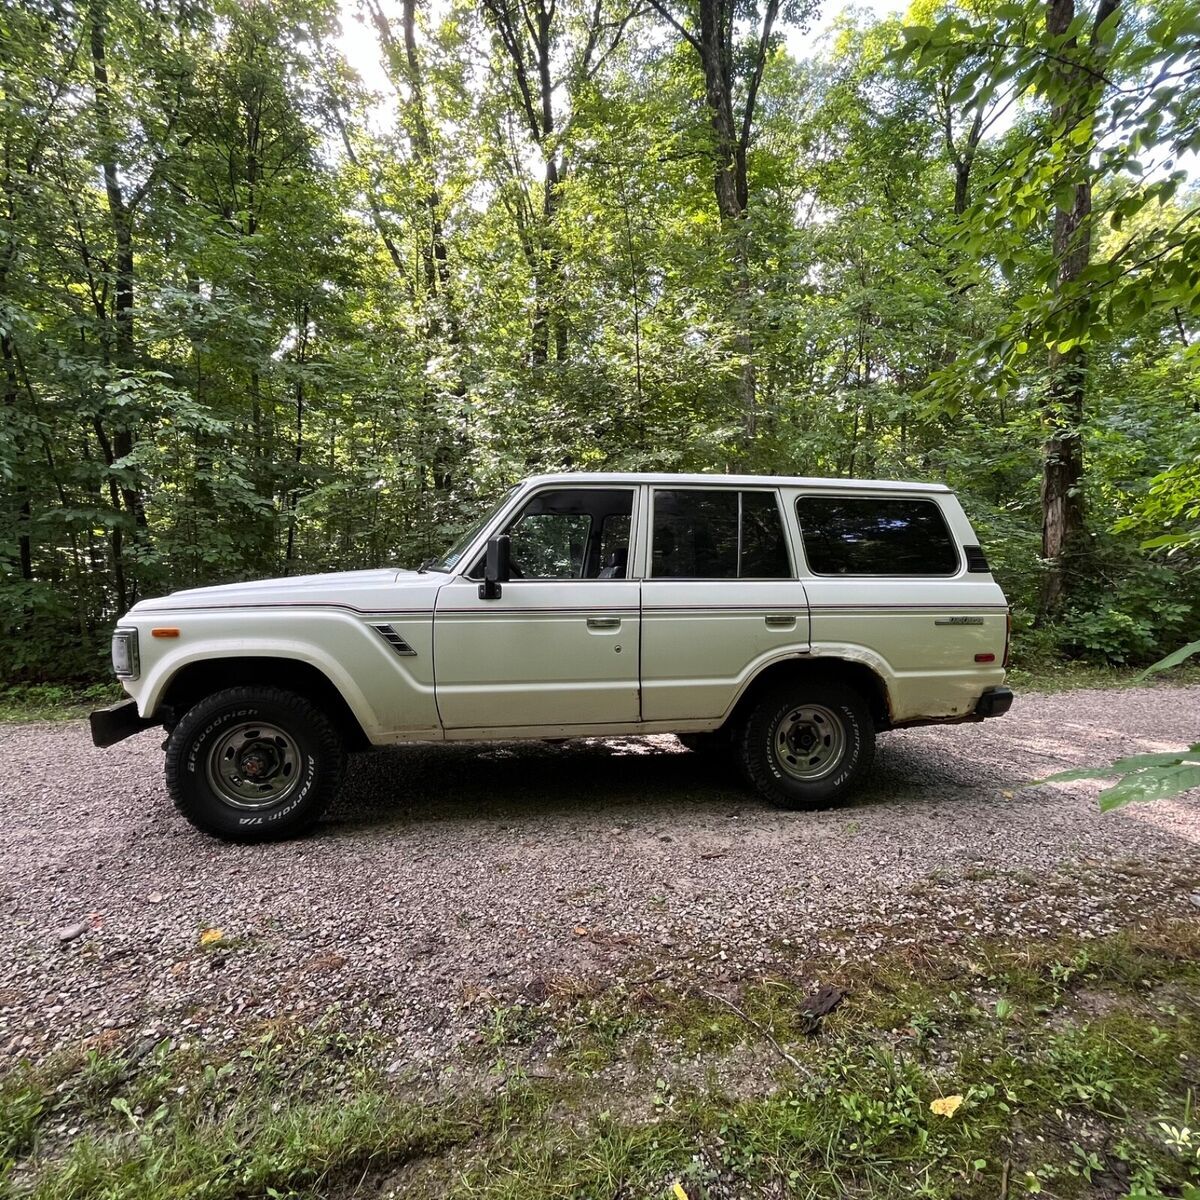 Comparing the Toyota FJ62 to Other Off-Road Vehicles
 Frequently Asked Questions (FAQ)
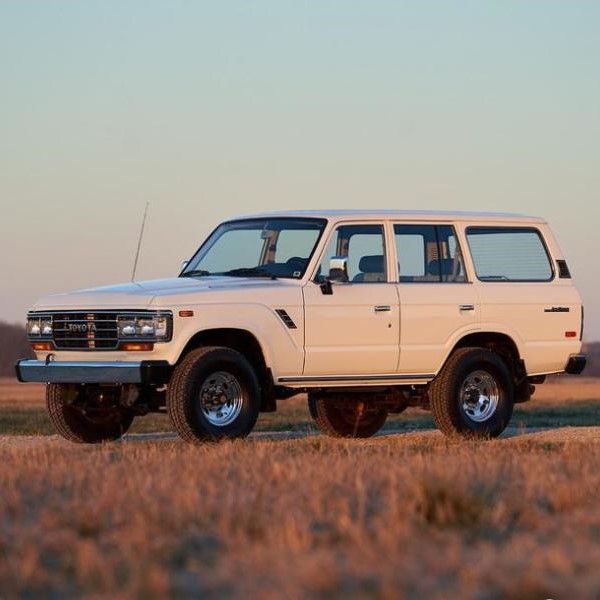 Final Thoughts
 The Legacy of the Volkswagen Golf GTI
 Interior and Comfort: Rally-Ready Meets Everyday Practicality
 Customization Options: Personalizing Your Rally Car
 Frequently Asked Questions (FAQ)
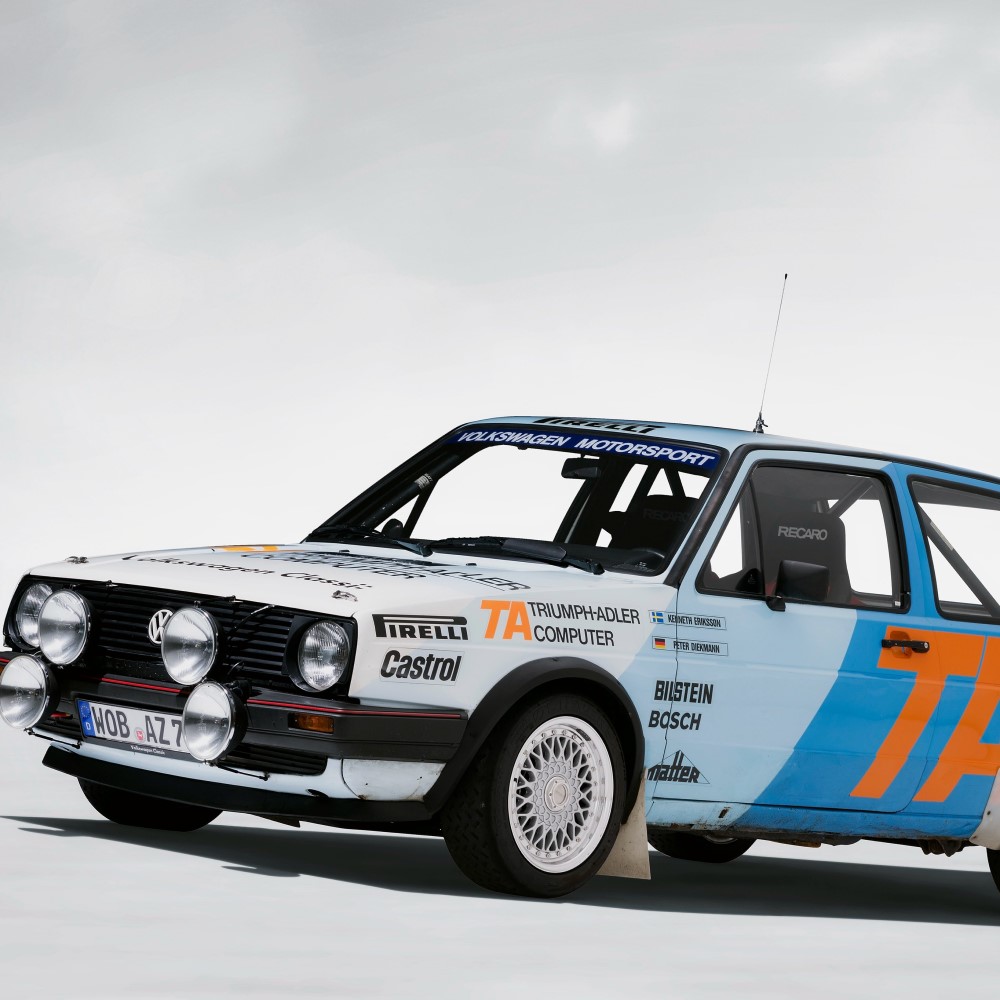 Conclusion