Aug 13, 2024
Pocket Bikes and Adults: Separating Fact from Fiction
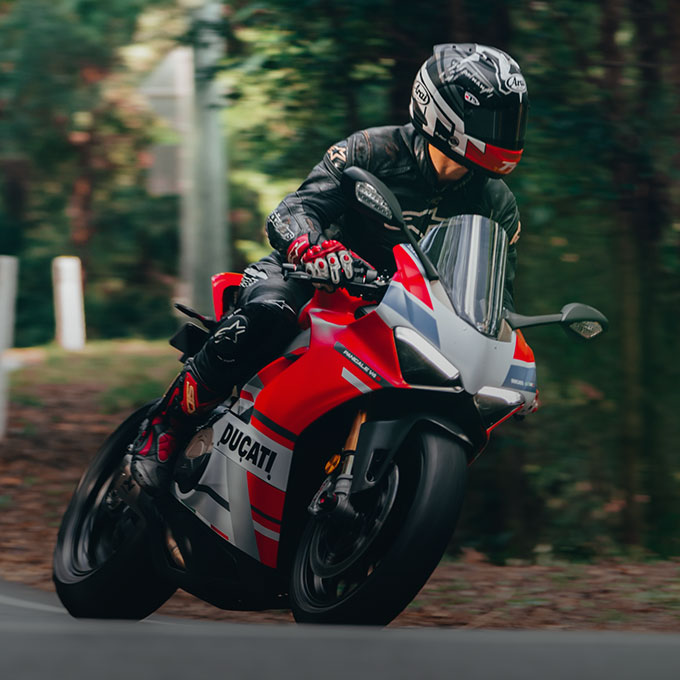
Pocket bikes, with their compact size and zippy nature, often evoke images of children zooming around on miniature motorcycles. However, the question lingers: can adults ride pocket bikes too? The answer is a resounding yes, but it’s crucial to understand the nuances and considerations before hopping on one. In this comprehensive guide, we’ll delve into the world of pocket bikes and adults, exploring safety, legality, and the sheer fun factor involved.
Understanding Pocket Bikes: A Mini Marvel
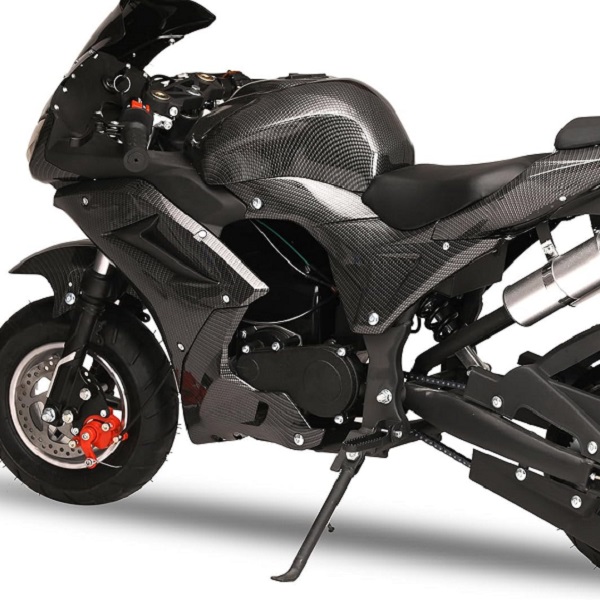
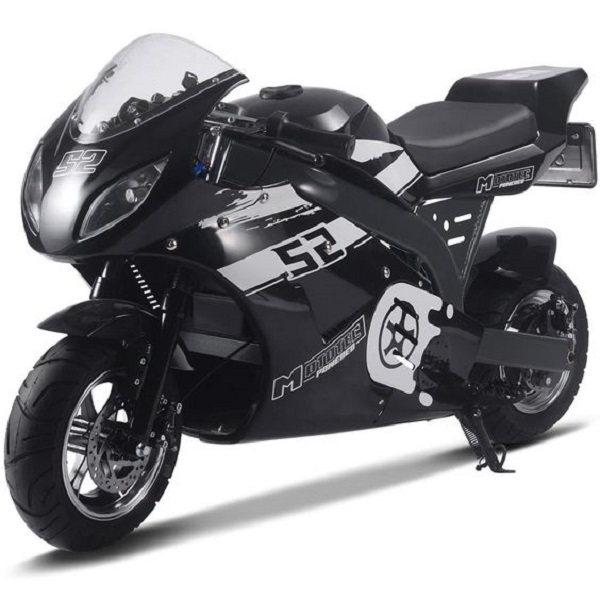
Pocket bikes, also known as mini motos or mini motorcycles, are scaled-down versions of traditional motorcycles. They typically feature small engines, ranging from 40cc to 125cc, and compact frames designed for maneuverability and agility. These pint-sized powerhouses can reach speeds of up to 40-50 mph, offering an exhilarating riding experience.
Adults and Pocket Bikes: A Perfect Fit?
While pocket bikes are often associated with children, they are not exclusively designed for them. In fact, many adults enjoy the thrill and excitement of riding these miniature motorcycles. The compact size and lightweight nature of pocket bikes make them relatively easy to handle and maneuver, even for those with limited riding experience.
Furthermore, pocket bikes can be a fun and affordable way for adults to experience the joy of motorcycling without the hefty price tag and complexities of full-sized motorcycles. They are also a great option for those with limited space, as they can be easily stored and transported.
Safety First: Essential Precautions
While pocket bikes offer a thrilling ride, safety should always be the top priority. Adults considering riding pocket bikes must take certain precautions to ensure a safe and enjoyable experience.
Wear Protective Gear
Always wear a helmet, gloves, sturdy shoes, and other protective gear to minimize the risk of injury in case of a fall or accident.
Choose the Right Location
Avoid riding pocket bikes on public roads or in areas with heavy traffic. Instead, opt for designated tracks, private property, or other safe and controlled environments.
Ride Responsibly
Obey all traffic laws and regulations, even when riding on private property. Be mindful of others and avoid reckless behavior that could endanger yourself or others.
Maintain Your Bike
Regularly inspect and maintain your pocket bike to ensure it is in good working condition. Check the tires, brakes, engine, and other components before each ride.
Legality: Know the Rules
Before riding a pocket bike, it’s crucial to familiarize yourself with the local laws and regulations regarding their use. In many areas, pocket bikes are not street legal and can only be operated on private property or designated tracks. Failure to comply with these regulations can result in fines, penalties, or even the confiscation of your bike.
The Fun Factor: Unleashing the Thrill
Beyond safety and legality, riding a pocket bike can be an incredibly fun and exhilarating experience for adults. The compact size and nimble handling allow for quick maneuvers and sharp turns, providing a unique sense of freedom and excitement.
Moreover, pocket bikes can be a great way to bond with friends and family. Organizing a group ride or friendly race can create lasting memories and foster a sense of camaraderie.
Choosing the Right Pocket Bike
When selecting a pocket bike, consider the following factors:
-
Engine Size: Choose an engine size that suits your experience level and riding style. Smaller engines are generally easier to handle, while larger engines offer more power and speed.
-
Frame Size: Ensure the frame size is appropriate for your height and build. A comfortable and ergonomic fit is essential for a safe and enjoyable ride.
-
Features: Consider additional features that may enhance your riding experience, such as suspension, disc brakes, or electric start.
-
Budget: Pocket bikes come in a wide range of prices. Set a budget and choose a bike that offers the best value for your money.
Riding a pocket bike can be a thrilling and rewarding experience for adults. However, it’s essential to prioritize safety, understand the legal implications, and choose the right bike for your needs. By taking the necessary precautions and following the rules, you can unleash the fun and excitement of pocket bikes while staying safe and responsible.

Pocket Bikes: Not Just for Kids Anymore
While pocket bikes might have a reputation as children’s toys, their appeal extends far beyond the playground. Adults of all ages are discovering the unique thrill and excitement these pint-sized powerhouses offer. Let’s explore why pocket bikes are capturing the hearts of grown-ups everywhere.
Nostalgia and Fun: Reliving Childhood Dreams
For many adults, riding a pocket bike can evoke a sense of nostalgia, harkening back to carefree childhood days spent zipping around on bicycles or smaller motorized vehicles. The sheer fun and excitement of riding a pocket bike can reignite that childlike sense of wonder and adventure.
Adrenaline Rush: A Pocket-Sized Thrill
Pocket bikes, despite their compact size, pack a punch when it comes to adrenaline. The sensation of speed and agility, combined with the low center of gravity, provides a unique and exhilarating experience that’s hard to replicate with larger motorcycles.
Accessibility and Affordability: Motorcycling for Everyone
Pocket bikes offer a more accessible and affordable entry point into the world of motorcycling. Their lower price point and easier maintenance compared to full-sized motorcycles make them an attractive option for adults who want to experience the thrill of riding without breaking the bank.
Community and Camaraderie: Bonding Over Bikes
Pocket bikes have fostered a vibrant and passionate community of riders, both young and old. From organized races and events to casual meetups and group rides, pocket biking offers a fantastic opportunity to connect with like-minded individuals and share a common passion.
Learning and Skill Development: Honing Your Riding Abilities
While pocket bikes may be smaller in size, they still require skill and control to operate safely and effectively. Riding a pocket bike can help adults develop essential motor skills, improve coordination, and enhance their overall riding abilities. These skills can even translate to riding larger motorcycles in the future.
Stress Relief and Mental Well-being: Ride Your Worries Away
The wind in your hair, the open road, the thrill of the ride – all of these elements contribute to a sense of freedom and stress relief. Riding a pocket bike can be a fantastic way to escape the pressures of everyday life, clear your mind, and focus on the present moment.
Tips for Adult Pocket Bike Enthusiasts
If you’re an adult considering riding a pocket bike, here are some additional tips to keep in mind:
-
Invest in Quality Gear: Don’t skimp on safety. Purchase a high-quality helmet, gloves, and other protective gear designed specifically for motorcycling.
-
Start Slow and Steady: Familiarize yourself with the controls and handling of your pocket bike in a safe and controlled environment before venturing out on more challenging terrain.
-
Join a Community: Connect with other pocket bike enthusiasts online or in your local area. Sharing experiences, tips, and knowledge can enhance your riding experience and foster a sense of belonging.
-
Respect the Limits: Understand the capabilities and limitations of your pocket bike. Avoid pushing it beyond its limits or attempting stunts that could lead to accidents.
-
Have Fun: Most importantly, remember to have fun! Pocket bikes are all about enjoying the thrill of the ride and embracing the sense of adventure.
Pocket Bike Racing: Fueling the Competitive Spirit
For those seeking an adrenaline-pumping challenge, pocket bike racing offers a thrilling and competitive outlet. Organized races and events provide a platform for riders to showcase their skills, test their bikes, and experience the rush of competition.
-
Local Tracks and Events: Many local tracks and organizations host pocket bike races and events, providing opportunities for riders of all skill levels to participate.
-
National and International Competitions: For the most dedicated and skilled riders, national and international pocket bike racing circuits offer a chance to compete against the best in the world.
Conclusion: Pocket Bikes – A World of Possibilities
Pocket bikes are no longer just for kids. Adults are discovering the unique joys and benefits of these miniature motorcycles, from the nostalgia and adrenaline rush to the accessibility and community.
So, whether you’re a seasoned rider looking for a new challenge or a beginner seeking an affordable and exciting way to experience motorcycling, don’t dismiss the pocket bike. Embrace the adventure, take the necessary precautions, and get ready to unleash your inner child on the open road (or track!).
Remember: With the right mindset, safety measures, and a dash of enthusiasm, pocket bikes can open up a world of possibilities for adults seeking a thrilling and fulfilling riding experience.