Jul 16, 2025
White Wall Tires Motorcycle: Elevate Your Ride with Timeless Style
Motorcycle enthusiasts constantly seek ways to enhance the aesthetics and performance of their rides. Among the many modifications available, one that stands out is the installation of white wall tires. While they evoke a classic vibe, white wall tires motorcycle also contribute to a unique identity for those who ride. They combine vintage aesthetics with modern functionality, making them an appealing choice for newcomers and seasoned riders alike. This article will delve into the history of white wall tires motorcycle, their cultural significance, benefits, and how they can elevate your motorcycle ride.
The History of White Wall Tires
Origins of White Wall Tires
White wall tires have a long and storied history that dates back to the early 20th century. Invented in 1914, the first mass-produced white wall tire came from the Goodyear Tire & Rubber Company. Their unique design incorporated a white rubber stripe, making them different from traditional solid black tires. Initially, they aimed to create a more stylish and upscale option for luxury vehicles. As automobiles became more accessible, white walls quickly spread across various vehicle types, including motorcycles. This shift marked the beginning of an era where tires became not just functional components but also style statements.
Evolution Over the Decades
Over the decades, the design of white wall tires motorcycle evolved significantly. In the 1920s and 1930s, they became synonymous with the luxury and glamour of the era, frequently seen on classic cars and high-end motorcycles. They were a status symbol during this time, representing sophistication and style. As the automotive industry progressed, manufacturers began to offer various types of white wall tires. These included variations in width and patterns, catering to changing consumer preferences. However, even as styles changed and new tire technologies emerged, the charm of white wall tires remained intact, making appearances in various cultural contexts, from films depicting vintage Americana to modern custom motorcycle builds.
Cultural Significance of White Wall Tires
A Symbol of Nostalgia
The presence of white wall tires on a motorcycle evokes a powerful sense of nostalgia. They remind many riders of the golden age of motorcycles, when iconic models ruled the roads. The sight of a classic bike with white walls can transport one back to simpler times, filled with freedom and adventure. This nostalgia is often tied to personal experiences, such as memories of family road trips or significant moments in life. Many enthusiasts adore this retro appeal, often associating it with a rebellious spirit. This longing for the past reflects a broader desire to connect with history and celebrate the roots of motorcycle culture. As society evolves, the nostalgia associated with these tires offers a comforting reminder of values such as independence and the thrill of exploration.
Connecting to a Community
Riding a motorcycle with white wall tires motorcycle can also foster a sense of belonging among enthusiasts. The classic look draws attention, often sparking conversations and camaraderie among riders. Motorcycle rallies and meet-ups frequently see members showcasing their diverse bikes, and those with white walls often stand out in a crowd. Events where riders gather to share their passions provide an opportunity for storytelling, drawing upon experiences, adventures, and the shared love of the open road. In this way, white wall tires transcend mere aesthetics, creating connections across different demographics. They act as a unifying factor, bringing together riders from various backgrounds who share a common appreciation for both the art of motorcycling and the nostalgia that comes with it.
The Benefits of White Wall Tires
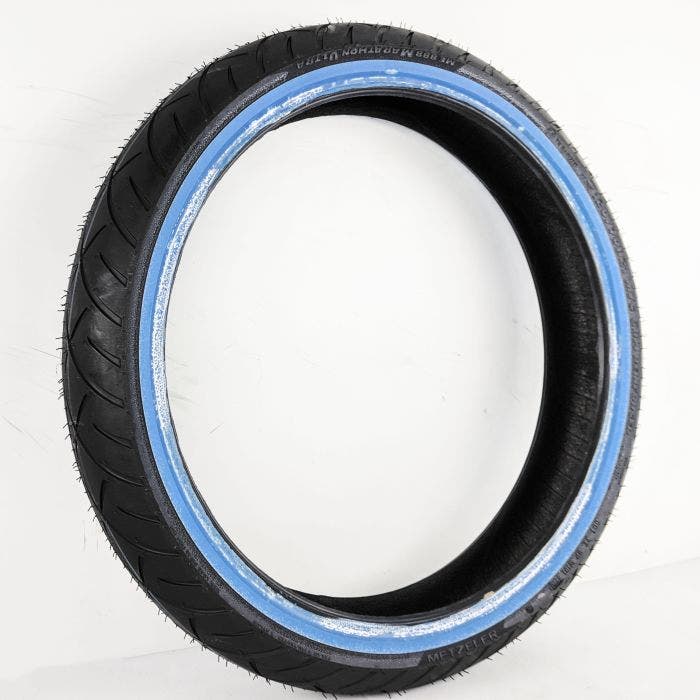
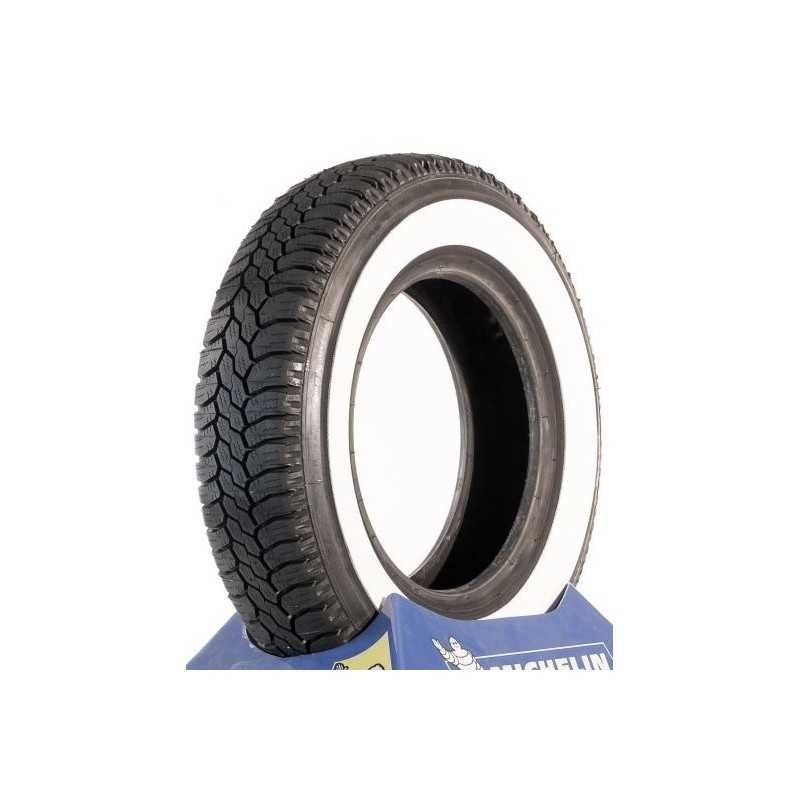
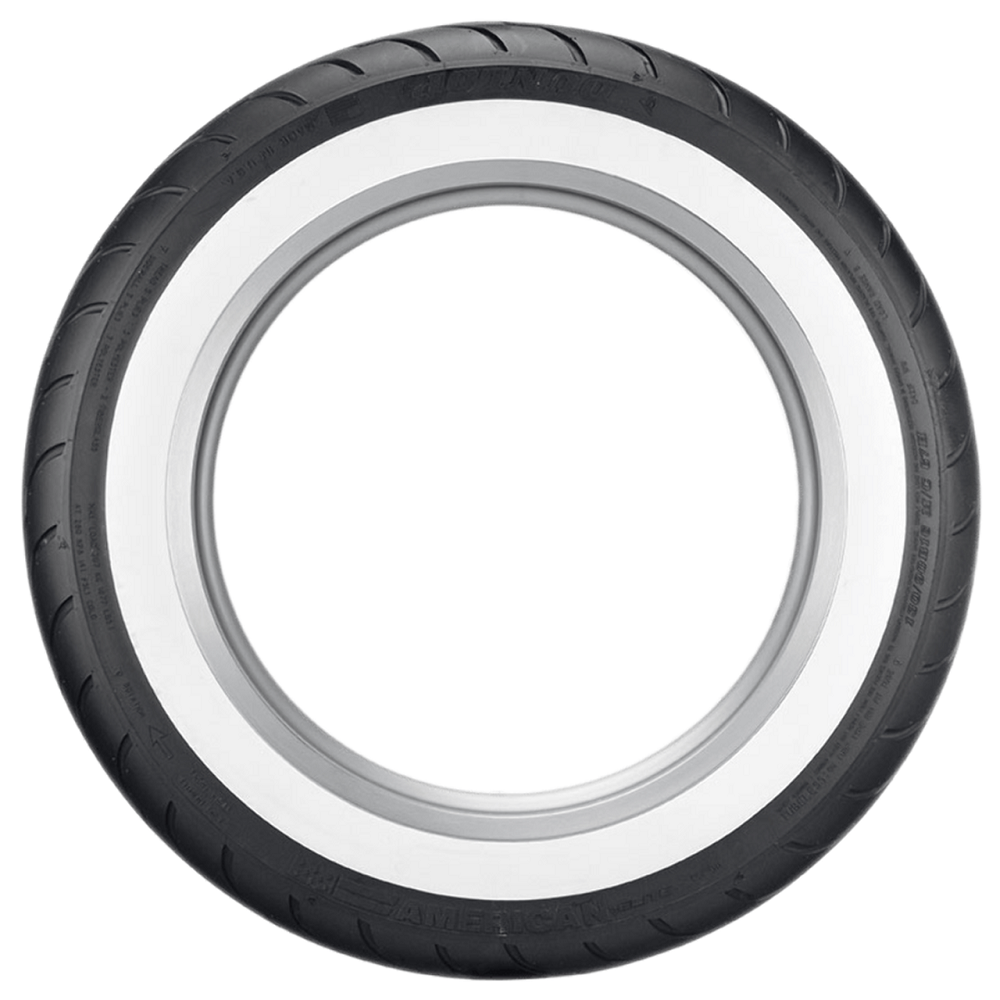
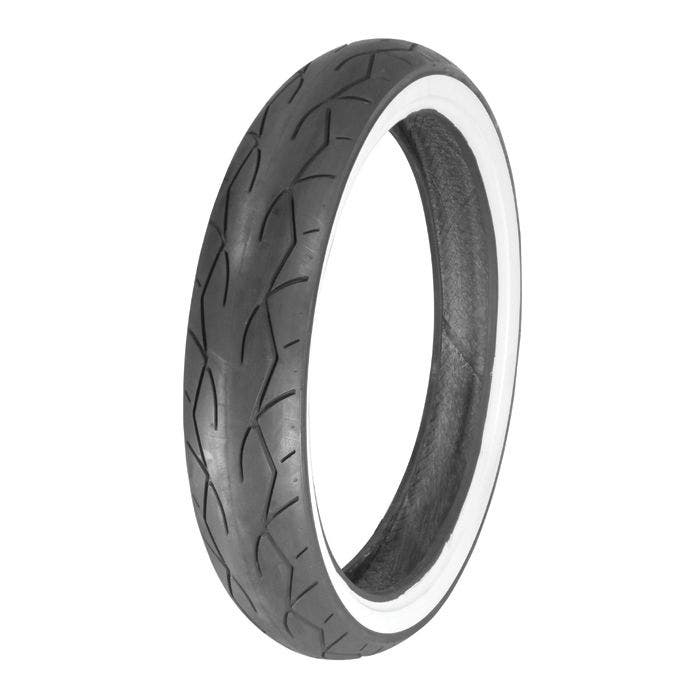
Aesthetic Appeal
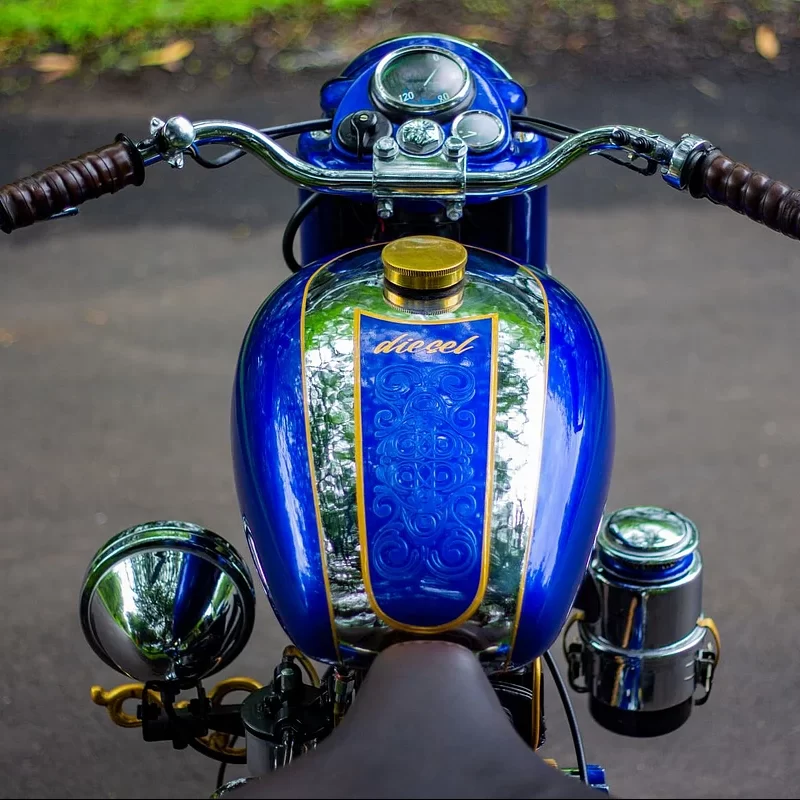
One of the most compelling reasons to install white wall tires on a motorcycle is their aesthetic appeal. The contrast between the dark rubber and the bright white stripe is eye-catching and adds sophistication to any bike. This striking feature enhances the overall look of the motorcycle, serving as an elegant detail that draws the gaze of onlookers. Riders who want to make a statement will find white walls enhance their motorcycle’s visual impact, allowing for a degree of personalization that reflects their unique style. This aesthetic allure not only captures attention but also helps riders feel a strong connection to their machine, as the visual sophistication often breeds a sense of pride.
Enhanced Visibility
Another practical benefit of white wall tires is enhanced visibility. The white stripe on the tire tends to shine brightly, especially during night rides or in low-light conditions. This enhanced visibility can increase a rider’s safety by making them more noticeable to other motorists. As roads become busy, having a distinct set of tires can mitigate the risk of accidents. The safety aspect of white wall tires provides both functional benefits and added peace of mind when navigating various traffic conditions. Furthermore, increased visibility can lead to fewer near-misses and more confidence for the rider, contributing to a more enjoyable riding experience overall.
Installing White Wall Tires
Choosing the Right Tire
When considering installing white wall tires on a motorcycle, selecting the right tires for your specific model is crucial. Tire options vary widely based on sizing, width, and design. Researching the proper specifications for your bike can help ensure optimal performance and safety. It’s important to balance aesthetics and functionality by choosing tires that complement your riding style. For example, consider whether you plan to use your motorcycle primarily for cruising or if you intend to take longer journeys. Each type of riding may require different tire characteristics, from grip to durability, making this step vital for achieving the best performance from your motorcycle.
Installation Process
Installing white wall tires is a straightforward process, but it’s essential to approach it with care. If you are experienced, you might consider a DIY installation. However, if you are unsure, seeking professional help is a good option. A skilled mechanic can ensure that the tires are installed correctly and balanced appropriately. Proper installation is critical, as it affects the overall performance of the motorcycle. Additionally, discussing your motorcycle’s particular needs with a professional can provide valuable insights regarding tire pressure and maintenance tips tailored to your model. Following the installation, riders should regularly maintain their tires, cleaning them to keep the white walls bright and free from dirt. This routine helps ensure both aesthetics and safety remain top-notch.
Maintenance of White Wall Tires
Keeping Them Clean
Maintaining white wall tires requires special attention to keep them looking pristine. The white rubber walls can easily accumulate dirt and grime, which detracts from their appearance. Simple cleaning solutions, such as soap and water or specialized tire cleaners, can be effective in restoring their brightness. Establishing a simple yet efficient cleaning routine can transform the task into a quick and rewarding chore. Riders can use a soft brush or cloth to gently scrub the white walls while being careful not to damage the rubber itself. Riders who take pride in their motorcycles often find the effort worth it; there is a certain satisfaction that comes with maintaining an attractive, well-kept ride.
Inspecting for Wear and Tear
Regularly inspecting white wall tires for wear and tear is crucial for safety and performance. Riders should check for cracks, punctures, or uneven wear. These issues can compromise the structural integrity of the tire and affect handling. Identifying potential problems early can save money in the long run and ensure a safer riding experience. In addition to visual inspection, keeping an eye on tire pressure can help maintain optimal performance. Many experienced riders even recommend doing a quick tire check before each ride, creating a habit that promotes safety. This proactive approach enables riders to enjoy their journeys to the fullest, knowing their tires are in top condition.
Customization Opportunities
Pairing with Accessories
White wall tires provide an excellent base for further customization and personalization of a motorcycle. Riders can pair these tires with various accessories to enhance their bike’s overall style. For example, custom rims, handlebars, or paint jobs can create a distinctive look that reflects the rider’s personality. The options are limitless; from retro emblems to contemporary graphic designs, riders can find ways to incorporate white walls into a larger aesthetic vision for their bike. This attention to detail allows for a unique riding experience tailored to individual taste. Many enthusiasts enjoy this creative process, celebrating the art of motorcycle customization while making their bikes truly their own.
Joining the Trend
As white wall tires gain popularity, they become part of a larger trend in motorcycle culture focused on individual expression. Trends such as vintage styling, retro fashion, and personalization reflect a growing desire for riders to differentiate their bikes from the standard. This includes seeking out unique accessories, colors, and styles that resonate with personal identity. By embracing white wall tires, riders are not just enhancing their motorcycles—they are joining a movement in the motorcycle community that values creativity and expressiveness. This movement invites riders to explore their uniqueness, forging connections with others who appreciate the finer details of motorcycle culture.

Conclusion
In conclusion, white wall tires motorcycle celebrate the timeless charm of motorcycle culture while enhancing both aesthetics and functionality. Their rich history connects riders to a golden age of motorcycling, fostering nostalgia while enabling self-expression. The benefits of enhanced visibility, aesthetic appeal, and customization opportunities make white wall tires a practical choice for modern motorcycle enthusiasts. For riders looking to elevate their motorcycles, installing white wall tires adds an elegant touch that turns heads and sparks conversations on the open road. Whether you are new to riding or a seasoned veteran, consider adding this classic design element to your ride. Embrace the style, connect with a community, and enjoy every mile you travel. With white wall tires, your motorcycle can transcend the ordinary, becoming a true reflection of your character and passion for the road. So gear up, get out there, and elevate your ride with the timeless style of white wall tires!
More Details


 Understanding Spark Plug Socket
 Benefits of Using the Correct Spark Plug Socket
 Common Mistakes When Choosing Spark Plug Socket
 Top Recommended Spark Plug Sockets for Various Sizes
 Conclusion: Mastering the Spark Plug Socket Size for Optimal Engine Health


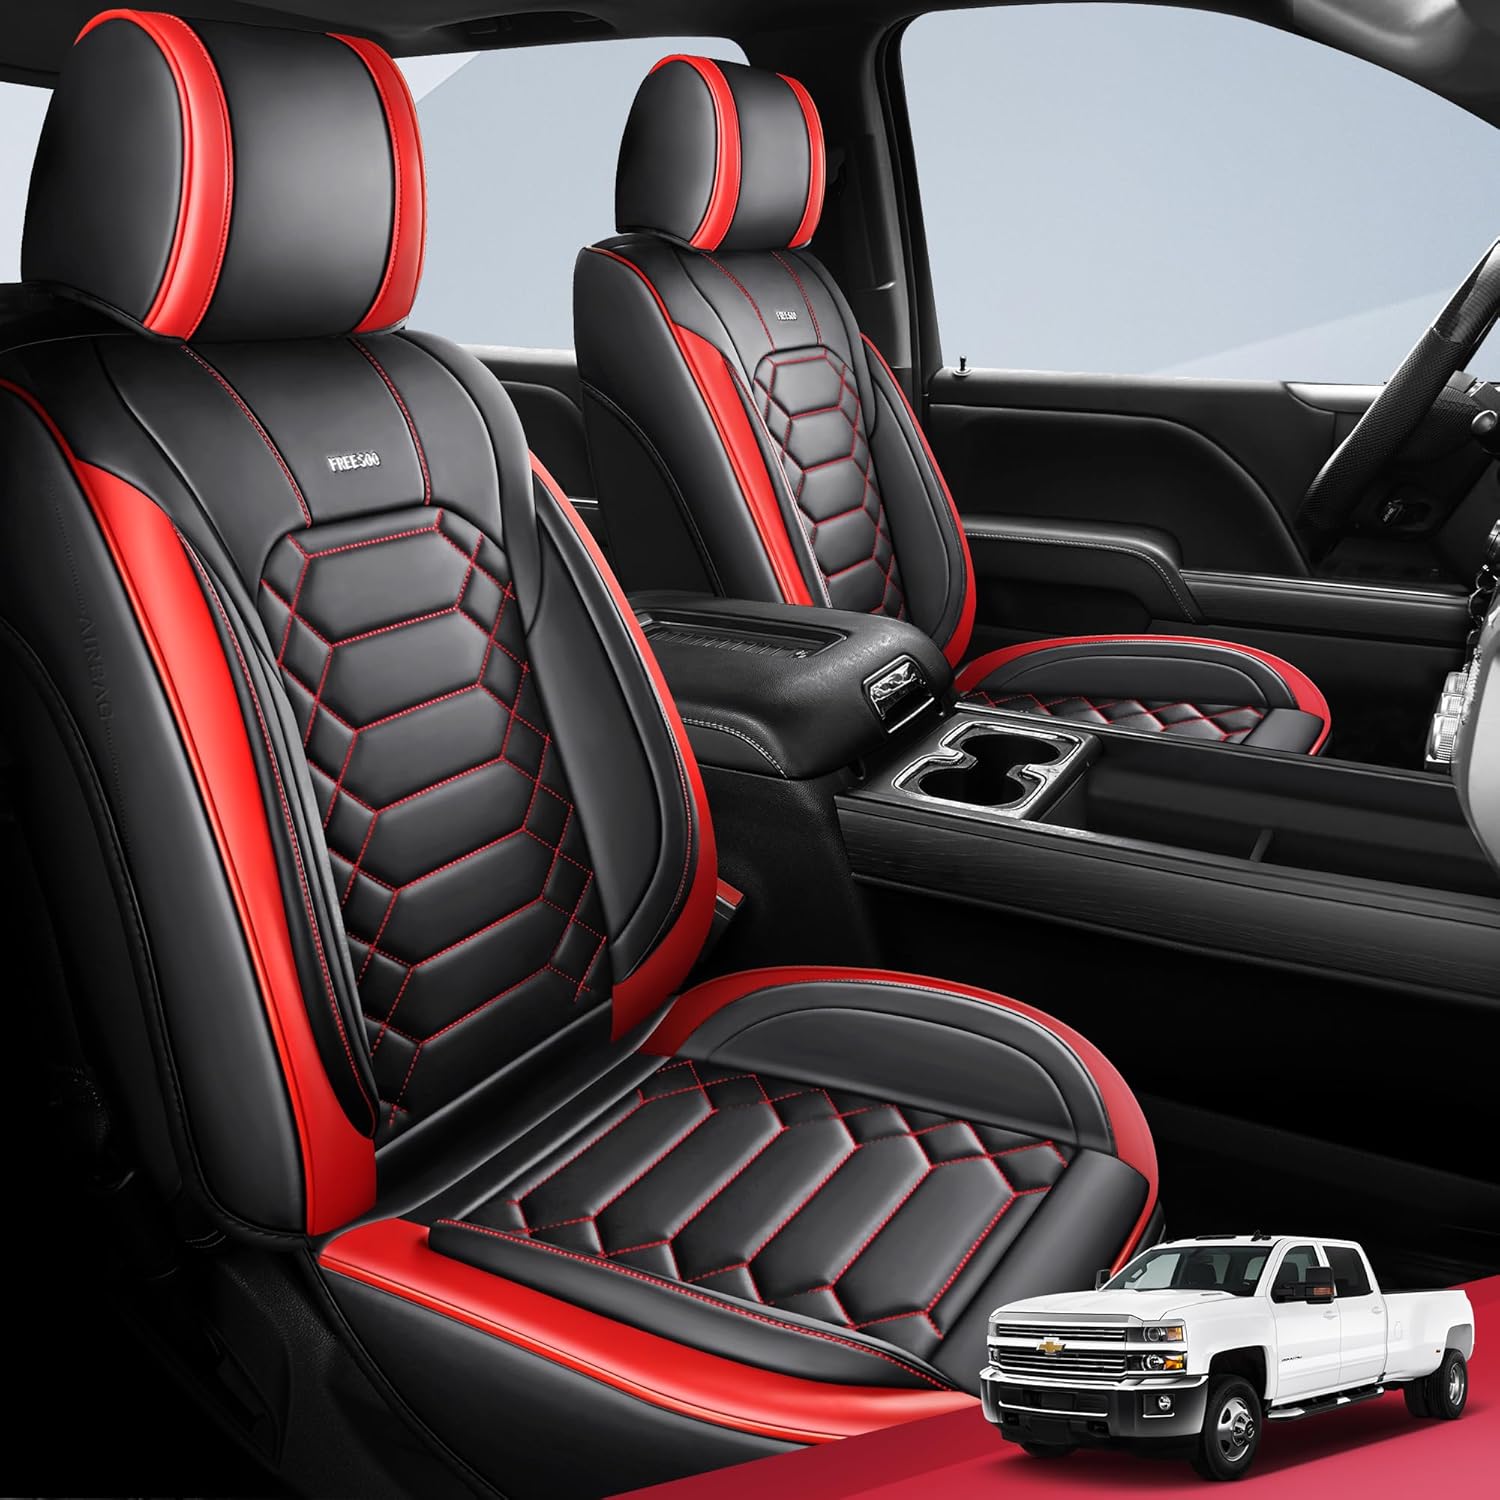 Why Choose Leather Seat Covers?
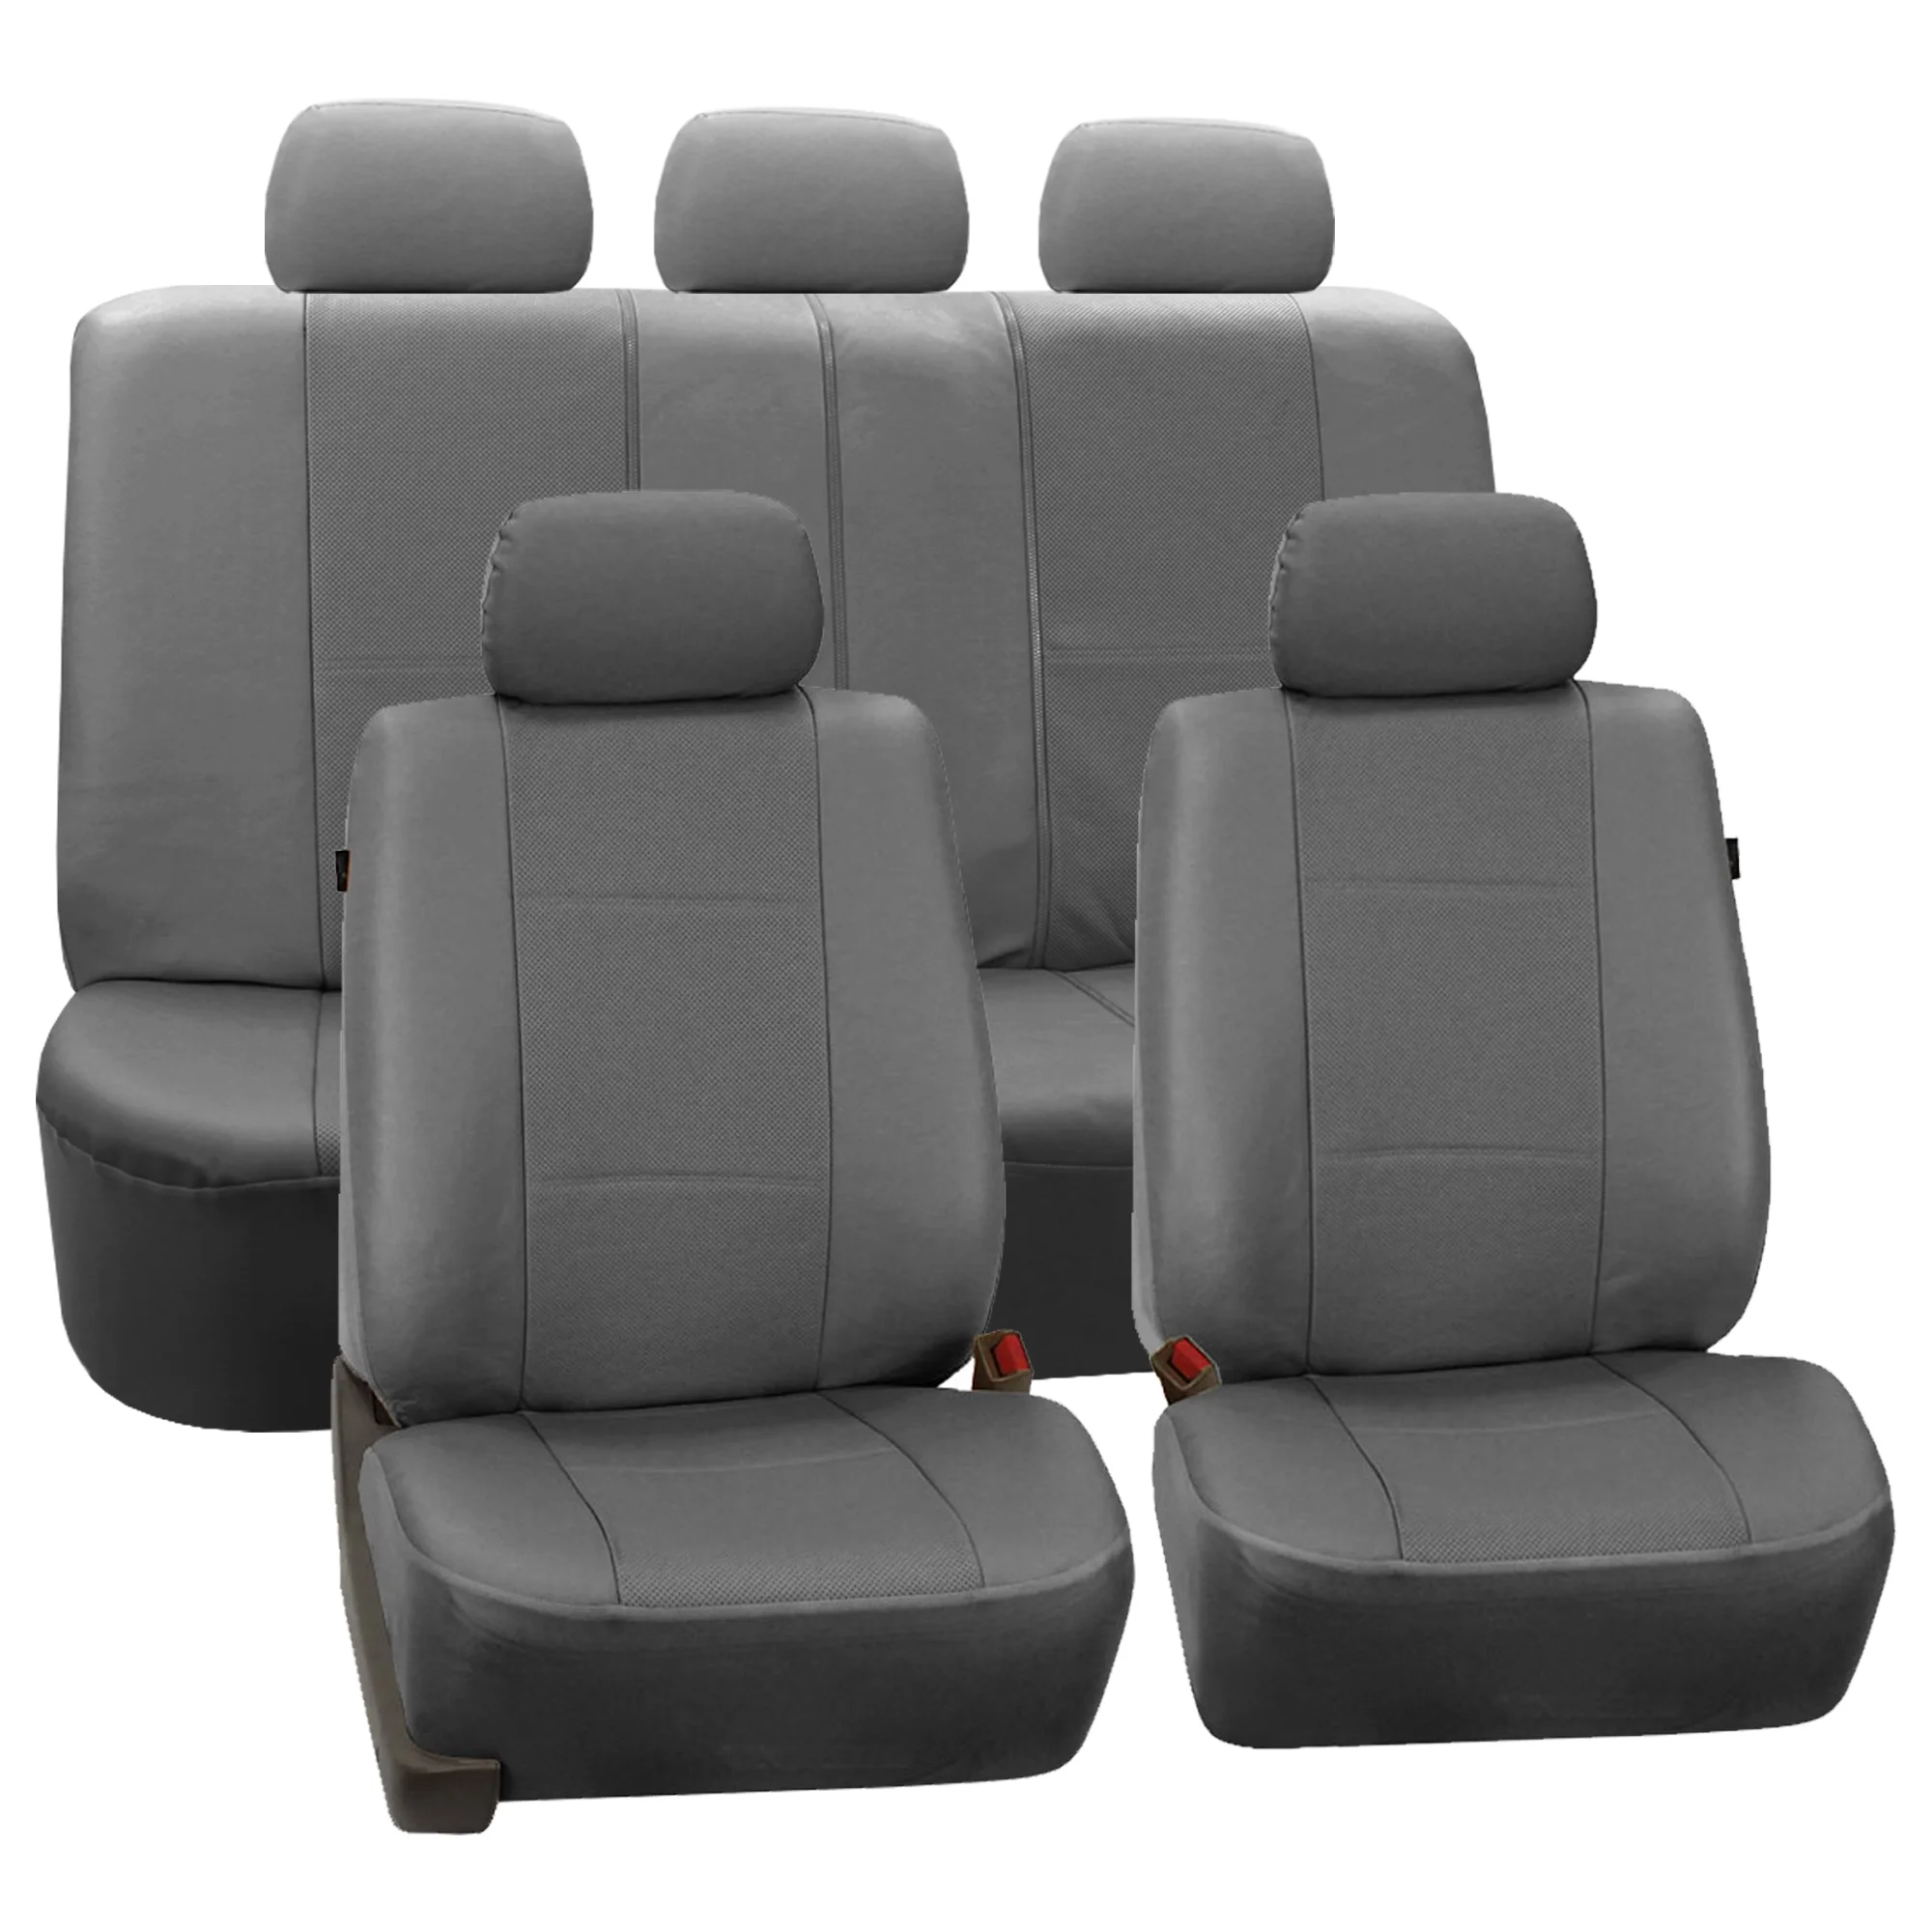 Key Features to Look for in Leather Seat Covers
 How to Choose the Right Leather Seat Covers for Your Truck
 Maintenance and Care for Leather Seat Covers
 Frequently Asked Questions About Leather Seat Covers