Apr 1, 2025
A Guide: How Long Should You Keep a Motorcycle Helmet?
The Importance of Helmet Lifespan
The lifespan of a motorcycle helmet is critical for safety. Knowing how long to keep a helmet can mean the difference between effective protection and risking harm. Over time, helmets lose their ability to absorb impact, which can be fatal in a crash. This is why understanding the importance of helmet lifespan is paramount.
A helmet with compromised integrity won’t provide the necessary defense during an accident. Consequently, riders must be vigilant about the age and condition of their helmets. Regular helmet updates are as vital as routine bike maintenance. Just as you wouldn’t ride on worn-out tires, you shouldn’t ride with an outdated helmet.
Motorcycle enthusiasts should recognize the importance of a helmet’s lifespan not just for legal compliance but as an investment in their personal safety. The threat of injury or even death doesn’t discriminate based on experience, and a well-maintained, timely replaced helmet can be the deciding factor in survivability. So, understanding how long to keep a motorcycle helmet is not just about guidelines. It’s about embracing a safety-first mindset.
Factors Influencing Motorcycle Helmet Longevity
Material Degradation Over Time
Motorcycle helmets are not built to last forever. The materials used, such as the outer shell and inner foam, can degrade over time. Factors like sunlight exposure and the chemicals in sweat can break down the materials, reducing a helmet’s effectiveness. For example, the sun’s UV rays can weaken the helmet’s plastic, while the inner lining can compress and lose its ability to absorb shock.
Wear and Tear Through Regular Use
Every time you ride with your helmet, it undergoes some level of wear and tear. The straps and fasteners can become stretched or worn, affecting fit and safety. The visor can acquire scratches that impair vision. Even taking the helmet on and off can cause micro-damage over time, which can add up and impact the overall performance of your helmet.
Impact on Helmet Integrity from Accidents
A single accident can compromise a helmet’s structure significantly. Even if there are no visible signs of damage, the force of impact can cause internal damage to the foam and other protective materials. After a crash, helmet integrity may be compromised, making it essential to replace the helmet immediately. Keeping a motorcycle helmet after an accident can endanger your life.
The Manufacturer’s Perspective on Helmet Replacement
When it comes to helmet replacement, manufacturers provide clear guidelines. They know when their products are likely to start losing efficacy. For safety, they set recommended replacement timelines. These guidelines help riders decide when to replace their helmets. Adhering to them ensures riders maintain optimal protection levels.
Recommended Replacement Timelines
Most helmet makers suggest replacing helmets every 3 to 5 years. Even with no accidents, normal wear can impair helmet safety. Usage, storage conditions, and care impact how long a helmet stays safe. Always check the manufacturer’s advice for your specific helmet model.
Warranty and Quality Assurance
Manufacturers often offer a warranty that can last from 1 to 5 years. This period aligns with the helmet’s expected prime. Warranties cover defects but not normal wear or damage from a crash. For quality assurance, buy helmets with a warranty and replace them within the recommended time frame. This practice ensures you ride with a helmet that’s both safe and covered against unexpected flaws.
Recognizing Signs of Aging in Your Helmet
To maintain safety, recognizing when your motorcycle helmet is aging is crucial. This ensures that you can replace it before it becomes ineffective in protecting you. Here we will delve into what to look out for.
Visual Inspections for Damage
Regular visual checks can reveal a lot about your helmet’s condition. Look for cracks, dents, or any deformation of the shell. Examine the surface for signs of UV damage, which might show as fading or brittleness. Check the straps for fraying or stretching. Don’t forget to look at the visor for scratches that could impair your vision. Any visible damage is a clear sign your helmet needs replacing.
Internal Checks for Cushioning and Support
Apart from external appearance, internal condition matters too. The cushioning inside a helmet can deteriorate with time. Press on the padding; if it doesn’t resume its shape quickly, it’s wearing out. Inspect the foam for crumbling or stiffening, as this affects shock absorption. Ensure the support structure holds tight and the helmet sits snugly on your head. If the internal parts slide or move, this is a serious concern for safety. Keeping these checks in mind helps you understand how long should you keep a motorcycle helmet.
Advances in Helmet Technology and Materials
Motorcycle helmets have seen technological advancements that enhance both protection and durability. From lightweight composites to smart sensors, materials and tech play key roles in extending helmet life.
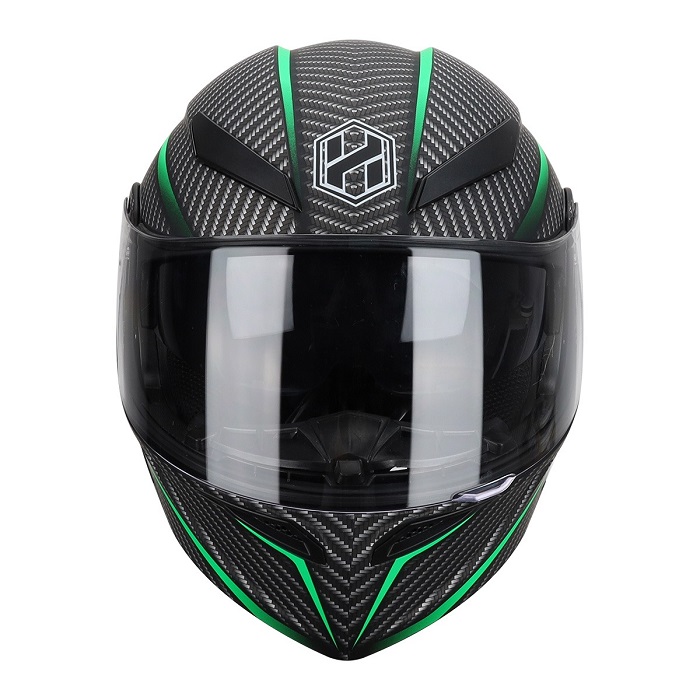
Innovations Extending Helmet Life
Cutting-edge materials like carbon fiber and multi-density EPS foam increase helmet longevity. These resist wear and mitigate impact better. Coatings that repel UV rays also help maintain helmet integrity over time. Look for helmets with these advanced features, as they promise a longer service life while providing superior protection. Moreover, anti-microbial linings can reduce degradation from sweat, keeping the helmet fresh and structurally sound. Manufacturers are constantly innovating, and riders benefit by getting more years out of their helmets.
When to Upgrade for Safety Features
Safety evolves, so must our gear. New helmets come with improved fit systems, better ventilation, and enhanced impact technologies. When your helmet lacks in these areas, or when new standards are set, consider upgrading. For example, if a new helmet comes with built-in communication or crash sensor technology that yours lacks, it might be time for a change. These features can greatly increase rider safety, making the investment in a new helmet worthwhile. Also, when your helmet’s certification is nearing expiry, or it no longer meets the latest safety standards, replacement is essential. Keep these factors in mind to understand how long should you keep a motorcycle helmet.
Proper Maintenance to Prolong Helmet Life
Maintaining your motorcycle helmet properly can extend its service life and maintain its protective qualities. There are several key practices you should adopt to ensure your helmet remains as effective as the day you first put it on. This section will outline the essential cleaning techniques and storage tips that contribute to prolonging the life of your motorcycle helmet.
Cleaning Practices
Keeping your motorcycle helmet clean is not just about aesthetics; it’s crucial for its longevity and functionality. Here’s how to do it right:
- Wipe Exterior Gently: Use a soft cloth and mild soap to clean the helmet’s shell. Avoid harsh chemicals that can degrade the material.
- Clean the Visor: Remove the visor and wash it with warm water and mild soap. Dry it with a soft cloth to prevent scratches.
- Treat the Interior: Remove any removable padding and wash it according to the manufacturer’s instructions. For non-removable linings, use helmet cleaning sprays.
- Air Dry Thoroughly: Never use a hair dryer or place the helmet in direct sunlight. Let it air dry in a cool, shaded area.
- Check for Odors: If your helmet starts to smell, it could be a sign of bacteria build-up. Use an anti-bacterial spray to neutralize odors.
Always refer to your helmet’s manual for specific cleaning recommendations as procedures may vary based on materials.
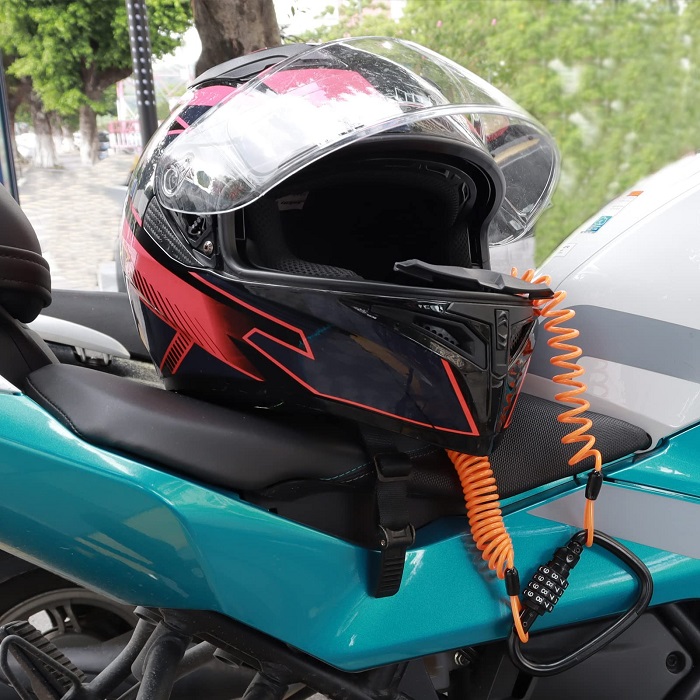
Storage Tips to Prevent Damage
How you store your motorcycle helmet when not in use can also affect its lifespan. Here are some tips to keep it in top shape:
- Avoid Extreme Temperatures: Store your helmet in a cool, dry place. Extreme heat or cold can damage the helmet’s materials.
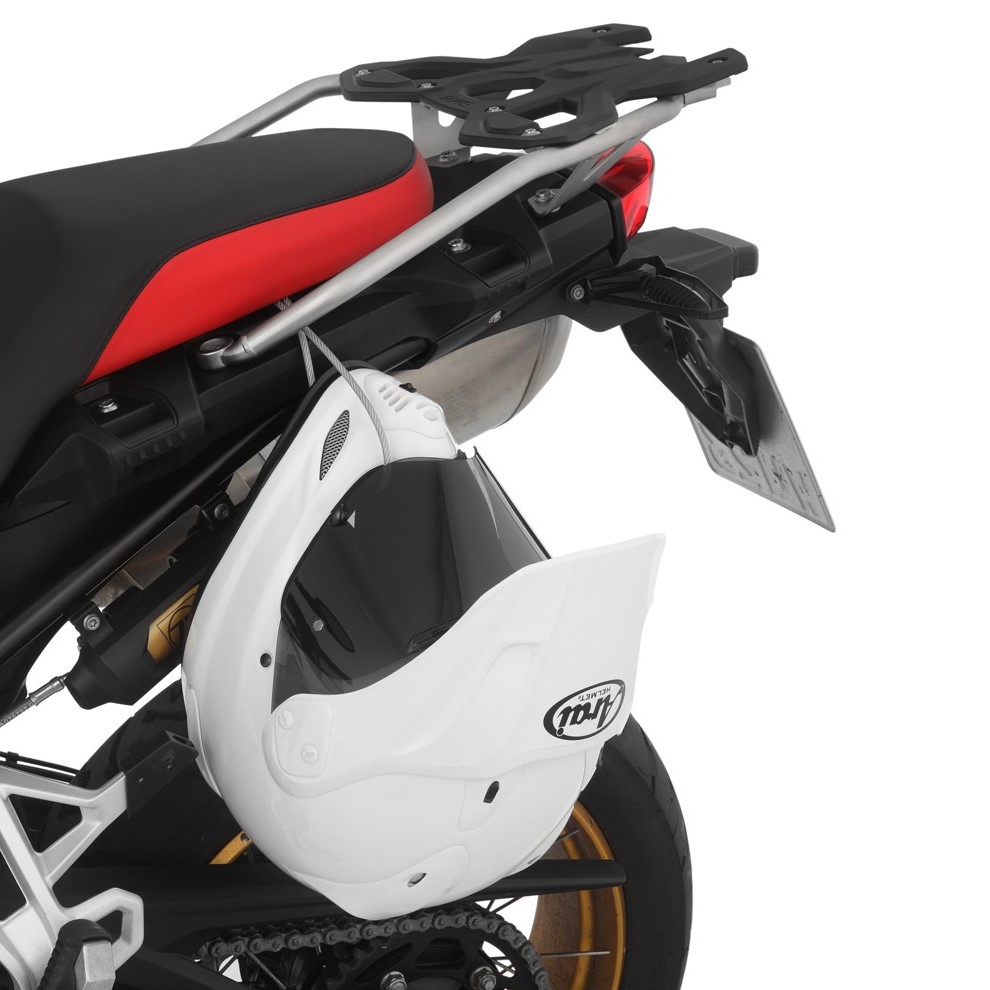
- Use a Helmet Bag: Protect your helmet from dust and scratches by using a helmet bag or case.
- Keep It Away from Chemicals: Fumes from gasoline, cleaning agents, and paint can deteriorate helmet materials. Store it in an area free from such exposures.
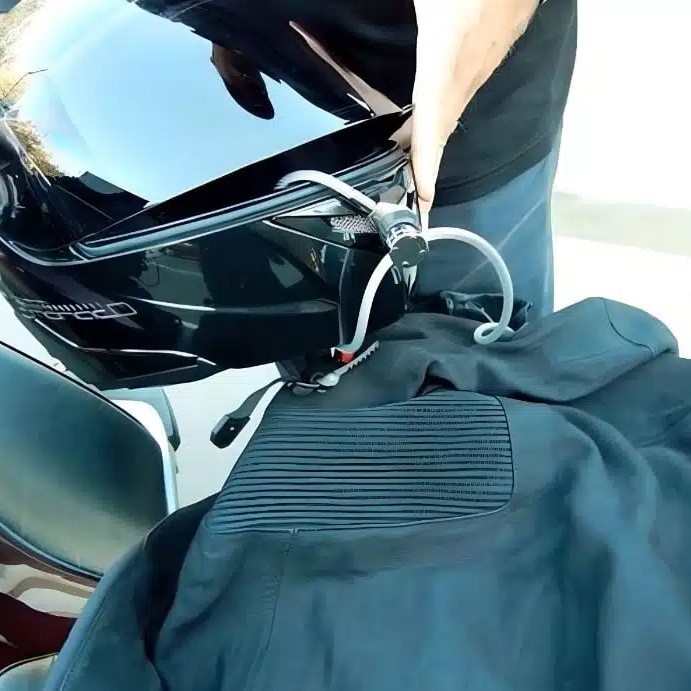
- Avoid Putting Pressure on It: Don’t hang your helmet on a motorcycle mirror or handle, as this can deform the cushioning.
By following these cleaning practices and storage tips, you can ensure your motorcycle helmet remains in optimal condition for as long as possible, always ready to provide you with the safety you need when riding.
Remember, knowing how long should you keep a motorcycle helmet depends on good maintenance as well as the other factors previously mentioned. Keep this information in mind to stay safe and get the most out of your investment.
Regulatory Standards and Safety Certifications
The longevity of your motorcycle helmet is also bound by regulatory standards and safety certifications. These are vital factors for helmet replacement frequency.
Understanding Certification Expiry
Safety certifications on motorcycle helmets have an expiry date. You need to know these dates. They indicate when a helmet may not meet current safety standards anymore. Look inside your helmet for a label with certification details. This label shows the standard the helmet meets and its expiry date. After this date, the helmet may not provide adequate protection. Experts recommend replacing your helmet once its certification expires.
How Certifications Affect Replacement Frequency
Riders should replace helmets according to certification expiry to ensure safety. For instance, some certifications last for 5 years from the helmet’s production date. After that, the materials might degrade, making the helmet less effective. Always replace your helmet before the certification runs out. Doing so will help keep you safe on the road. Staying aware of these factors plays a big part in understanding how long should you keep a motorcycle helmet.
More Details