Mar 12, 2025
What to Look for in a Motorcycle Helmet: Essential Safety Features
Importance of a Quality Helmet for Rider Safety
A quality motorcycle helmet is a rider’s lifeline. It protects your head in the event of a crash, potentially saving your life. When considering what to look for in a motorcycle helmet, remember that the right helmet can significantly reduce the risk of serious injury. It’s not just about obeying the law; it’s about making a smart choice for your safety.
Every time you ride, a helmet guards against head injuries. A severe impact to an unprotected head can lead to traumatic brain injuries or worse. By wearing a helmet, you shield yourself from debris, wind, and noise, staying focused on the road. Furthermore, a good helmet gives you visibility in harsh weather, which is critical for safe riding.
Riders wearing quality helmets are less likely to suffer from long-term consequences after accidents. With this in mind, it’s clear that investing in a top-notch helmet is not an option but a necessity for all riders. Ensure what you choose has passed rigorous safety tests and meets the established helmet safety standards and certifications.
The benefits of a quality helmet go beyond safety. It conveys a responsible image to other motorists, setting a positive example. In many places, riding without a helmet is illegal, and non-compliance can lead to fines or legal issues.
Lastly, a good helmet can enhance the overall riding experience. Comfort and fit are essential for long rides, and a helmet equipped with features like sun visors and Bluetooth technology can bring convenience and enjoyment to your journey. Keep these points in mind while searching for what to look for in a motorcycle helmet.
Understanding Helmet Safety Standards and Certifications
When you’re figuring out what to look for in a motorcycle helmet, grasp the safety standards and certifications. These represent the helmet’s ability to protect you in a crash. There are several safety standards you might see on helmet labels.
DOT Certification
In the United States, the Department of Transportation (DOT) sets standards. Helmets must meet these to be legal. Look for the DOT sticker on the back of the helmet. It means the helmet has passed impact, penetration tests, and more.
ECE Certification
Europe follows the ECE standard, similar to DOT. If you ride in Europe, or buy a helmet made there, look for an ECE sticker. ECE includes tests for visor quality too.
Snell Certification
Snell is a non-profit in the US. Their standards are more rigorous than the government’s. Helmets that meet Snell standards offer top protection. These helmets go through more intense testing.
Additional Certifications
Some helmets might have more certifications like SHARP or ASTM. These represent higher safety levels. The more stickers of approval, the better it is.
Remember, certifications are crucial. They show the helmet can protect you as it should. Always check for these certifications when you’re picking out a motorcycle helmet. Make sure the helmet fits well too. A helmet’s safety features only work if it fits properly on your head.
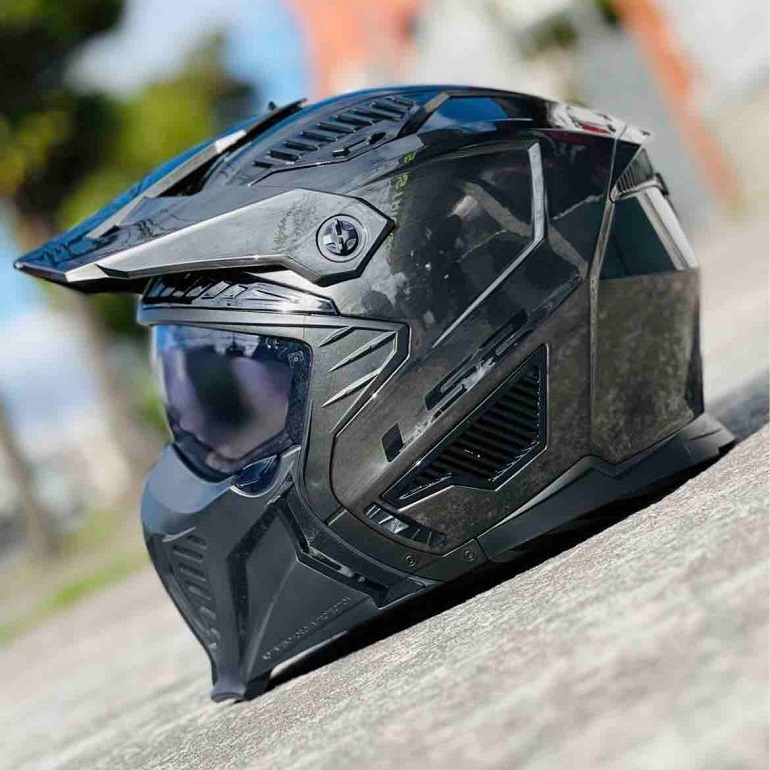
Essential Components of a Motorcycle Helmet
When exploring what to look for in a motorcycle helmet, consider its essential components. These parts work together to provide maximum protection and comfort. Each component plays a vital role in rider safety.
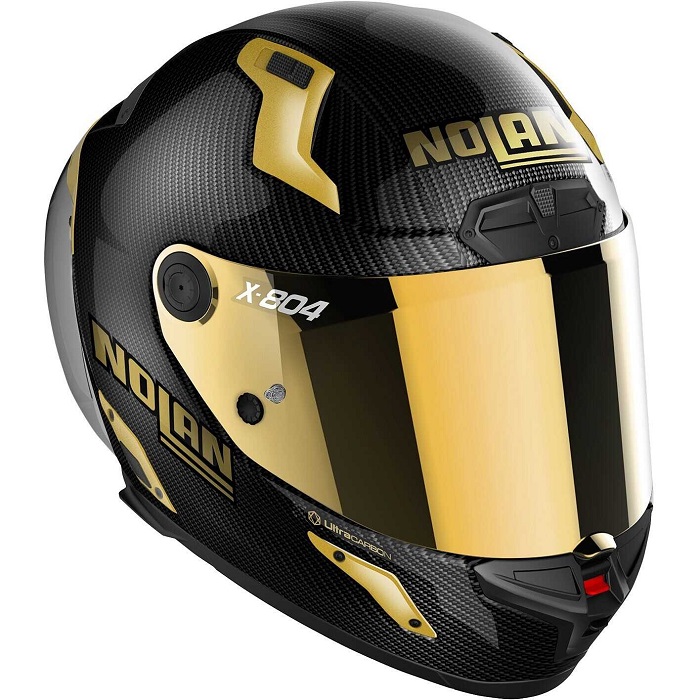
Outer Shell Material and Construction
The first line of defense in a motorcycle helmet is the outer shell. This part absorbs the first impact during a crash. It is made of strong materials like polycarbonate, fiberglass, or carbon fiber. These materials help disperse the force of a collision. The construction should be sturdy and able to resist abrasion.
Impact Absorbing Liner
Beneath the outer shell is the impact-absorbing liner, usually made of expanded polystyrene (EPS) foam. This layer absorbs the shock from impacts. It reduces the force transmitted to your head, minimizing potential damage. Look for a dense, well-constructed liner for effective protection.
Comfort Padding and Fit
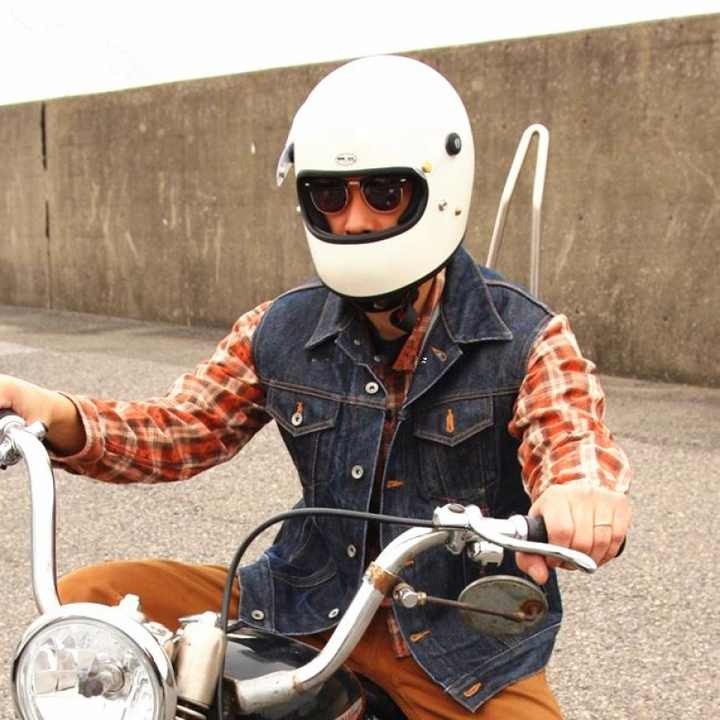
Inside the helmet, comfort padding ensures a snug fit. This padding can be removable and washable. A helmet must fit well to work properly. It should be tight enough to stay on your head during a crash but comfortable for long rides. Make sure to try on various sizes to find the perfect fit.
Retention System: Straps and Buckles
Finally, a good retention system is crucial. It keeps the helmet secured to your head. Look for sturdy straps and easy-to-use buckles that can withstand pull. They should allow you to adjust the fit around your chin and neck. A helmet’s straps should be easy to fasten and release, even with gloves on.
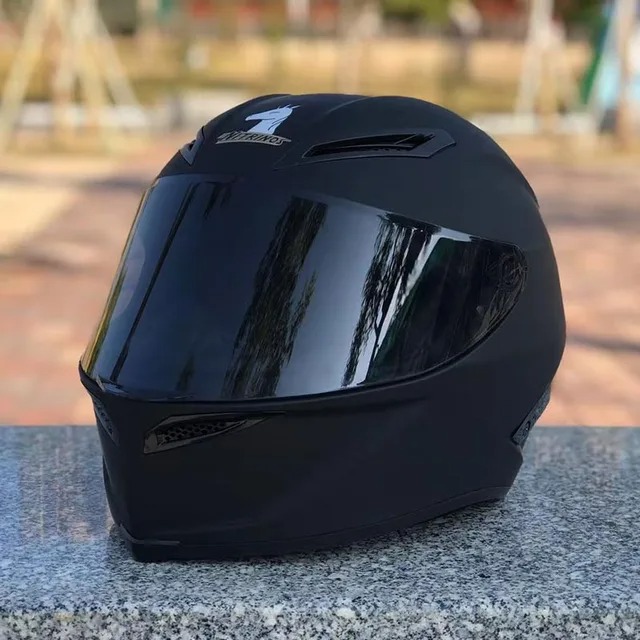
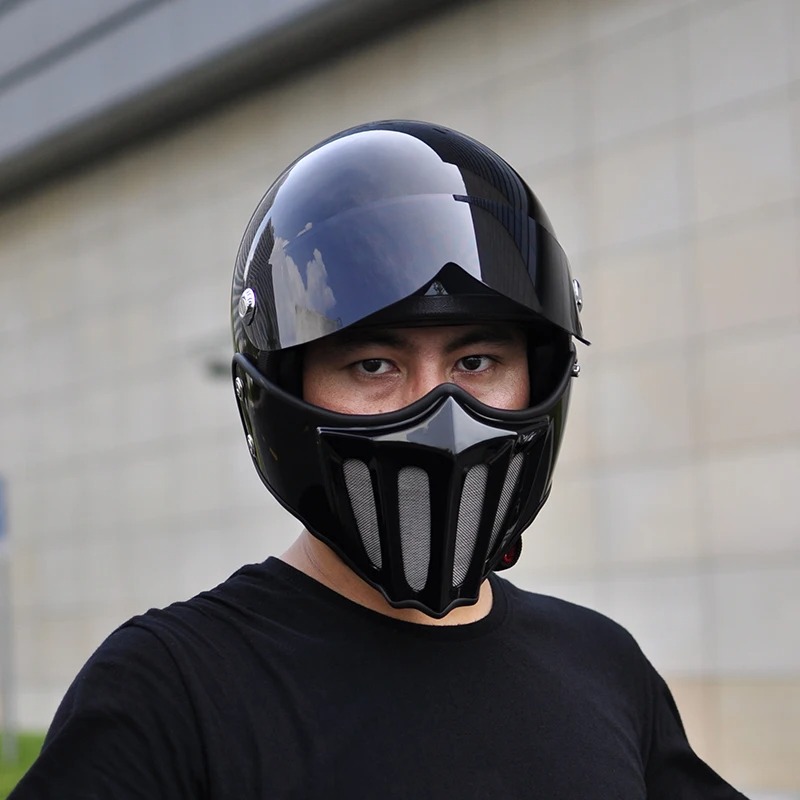
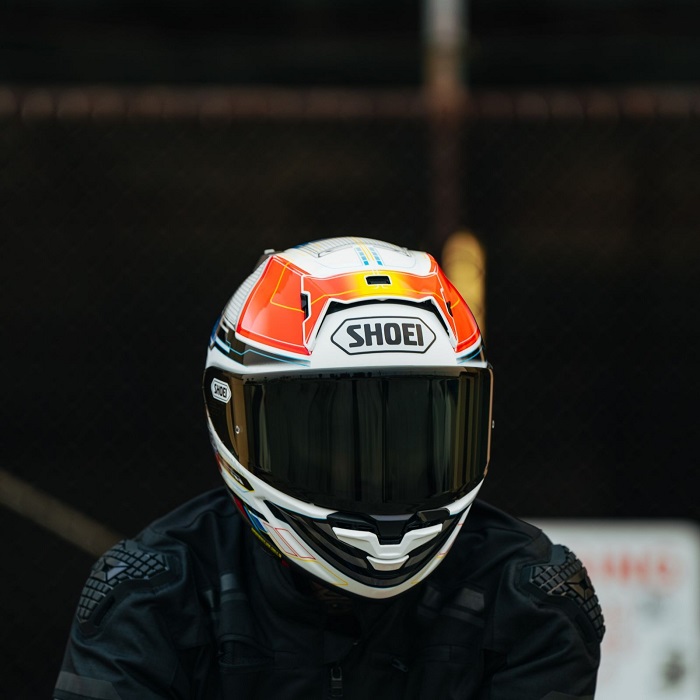
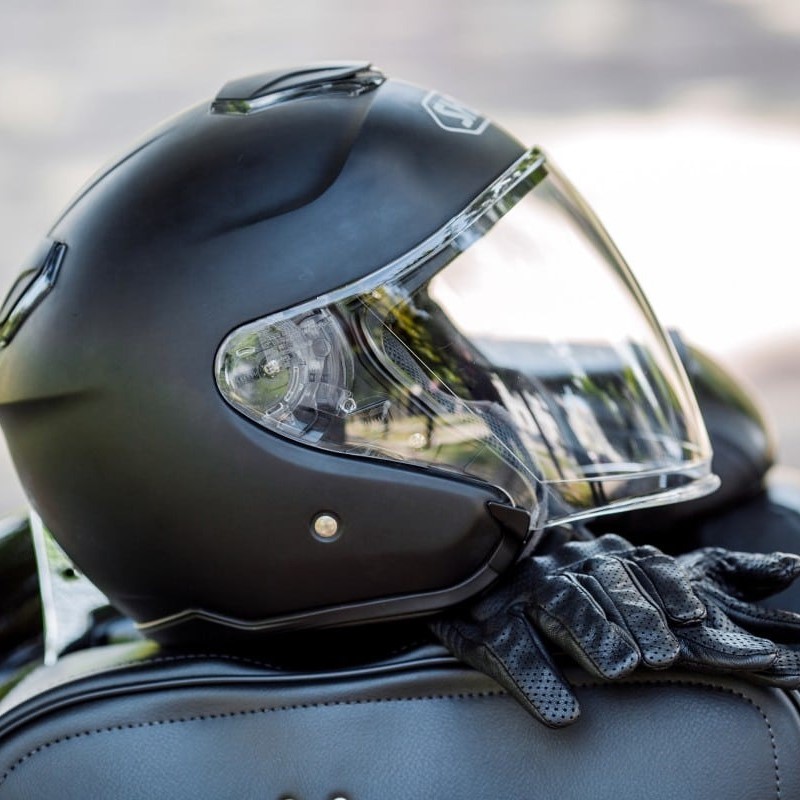
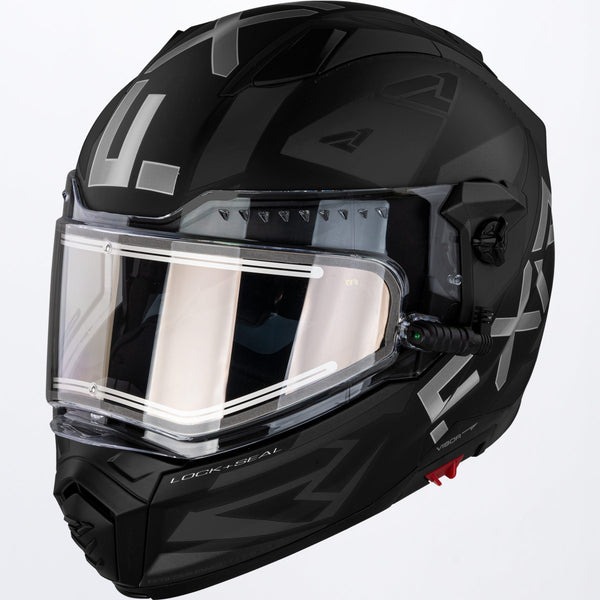
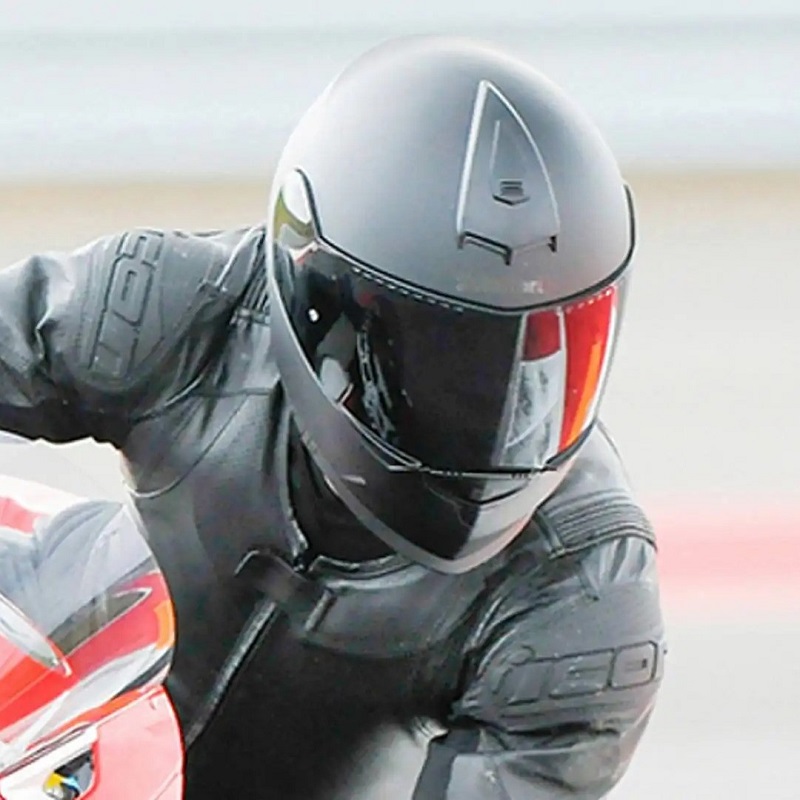
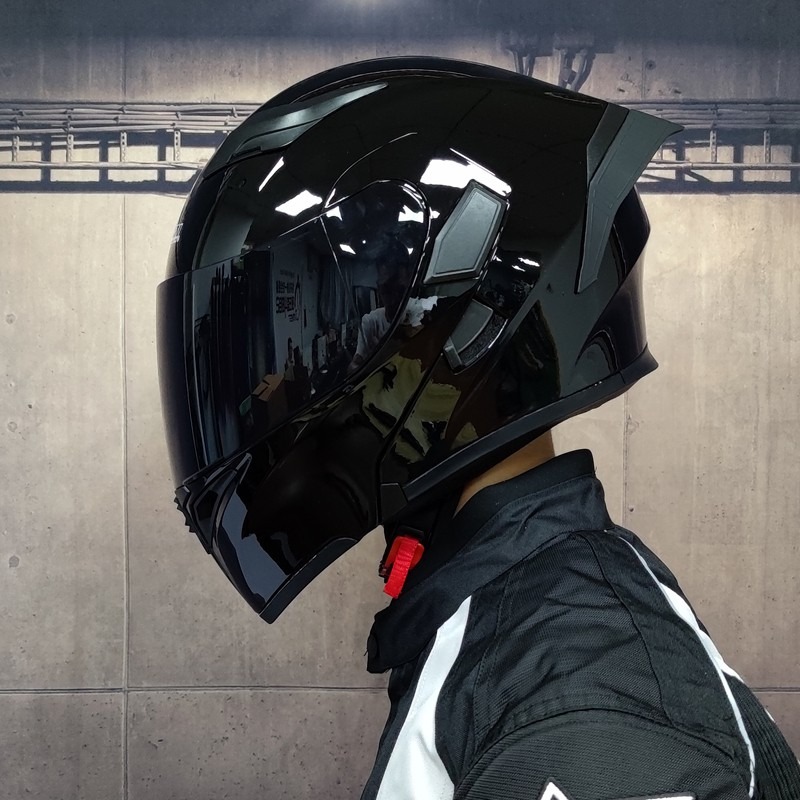
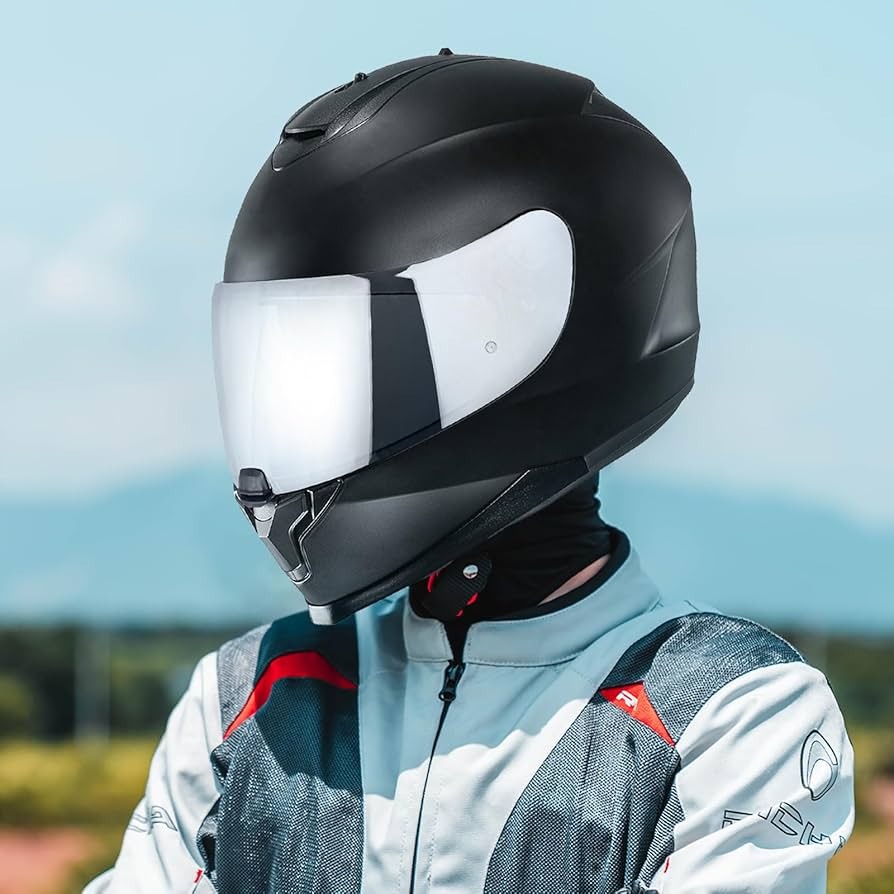
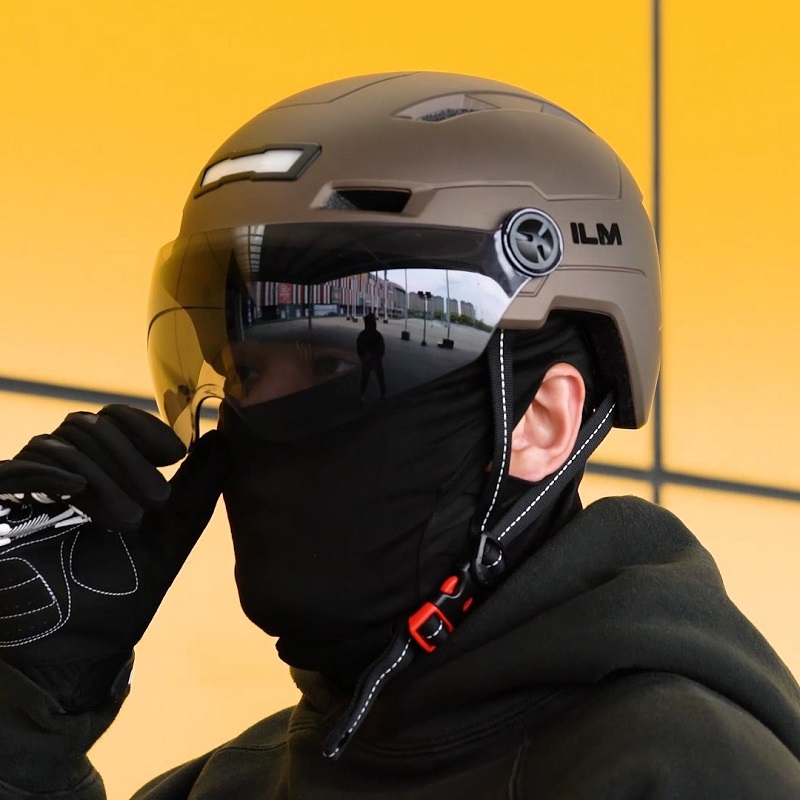
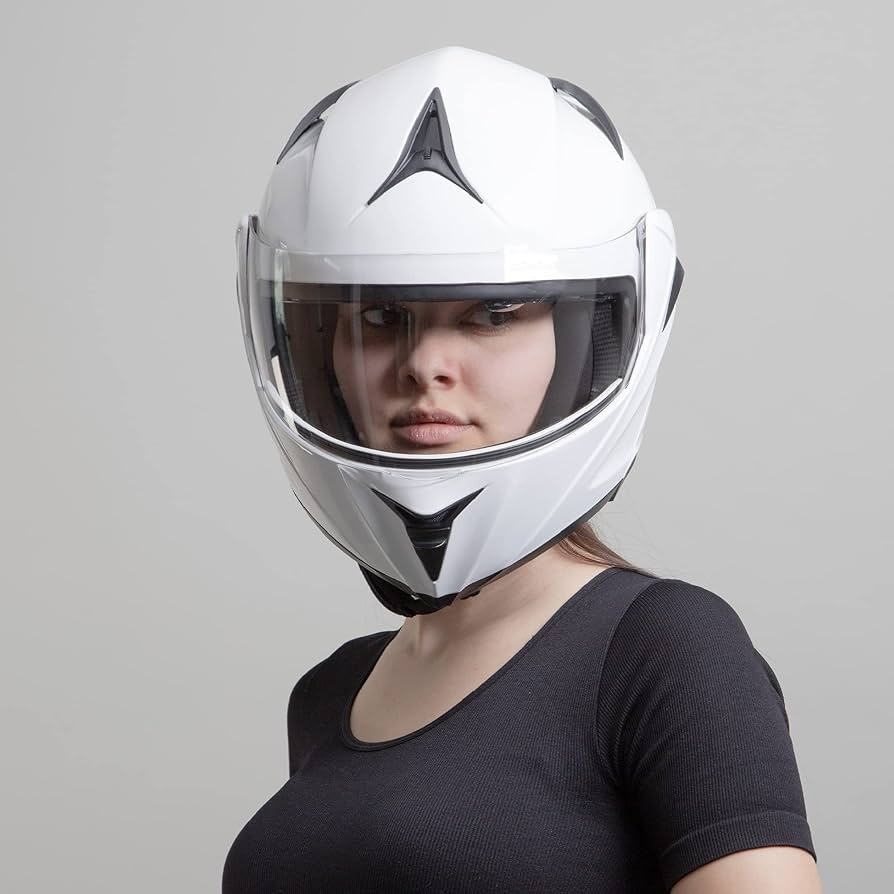
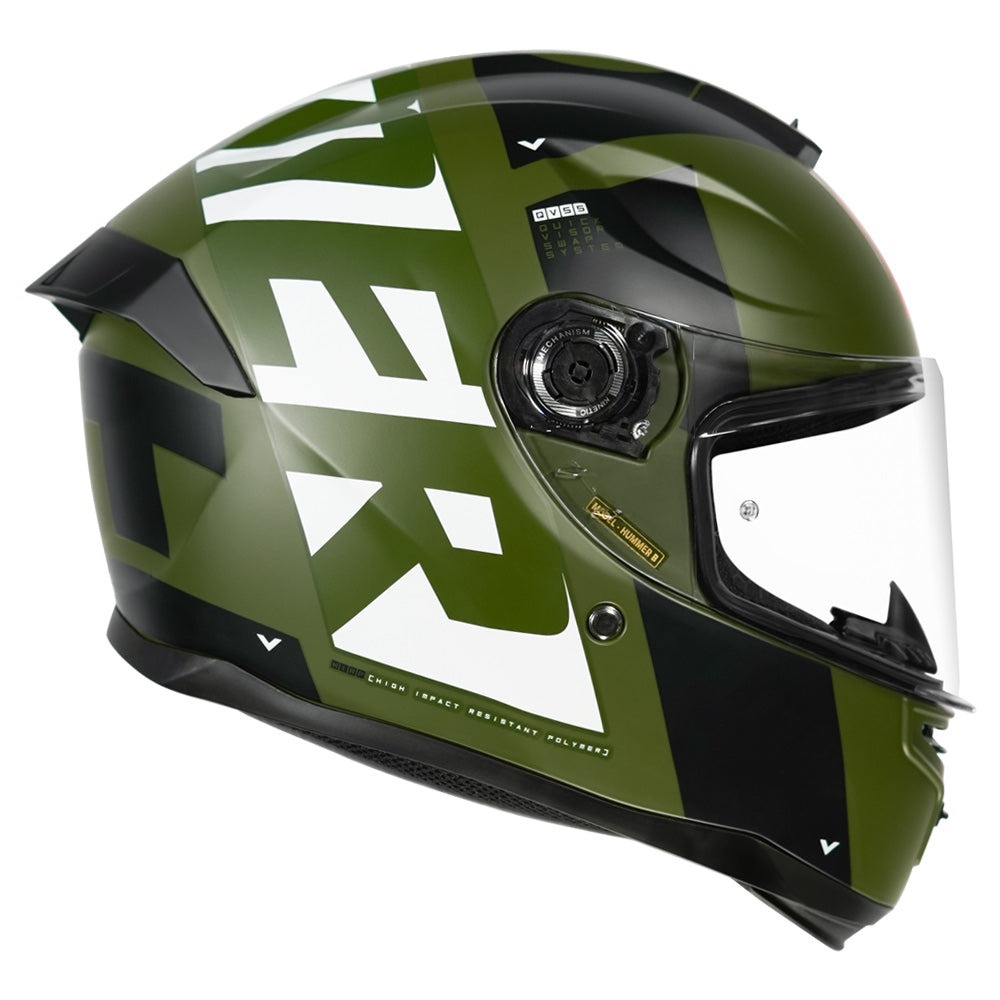
Visor and Face Shield: Clarity and Protection

When pinpointing what to look for in a motorcycle helmet, don’t overlook the visor and face shield. They’re not just about looks; they offer critical clarity and protection. Let’s break down why these features are important.
Clarity of Vision
The visor is the window to your road safety. It should be clear, without distortions, so you can see the road ahead perfectly. A visor with anti-fog and anti-scratch properties is a solid choice. It must be resistant to scratches to maintain clear vision during rides. Also, the ability to swap visors quickly for different lighting conditions is handy.
Eye and Face Protection
A robust face shield protects you from dust, debris, and bugs. It helps keep your vision unobstructed while protecting your face in an accident. Ensure the face shield seals well against the helmet. This protects you from rain and wind, adding to comfort on long rides.
UV Ray Defense
Exposure to UV rays can be harmful. Choose a visor with UV protection to shield your eyes and skin during sunny rides. This protective feature provides an extra layer of safety for your vision and long-term eye health.
Finding the right motorcycle helmet means looking for one that keeps you safe and comfortable. The visor and face shield are essential in providing clear sight and protection from the elements, making them key factors in deciding which helmet to buy.
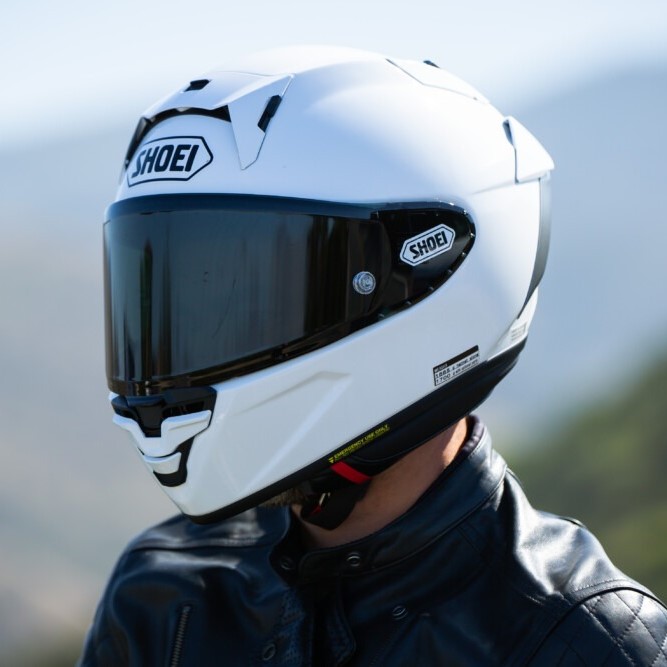
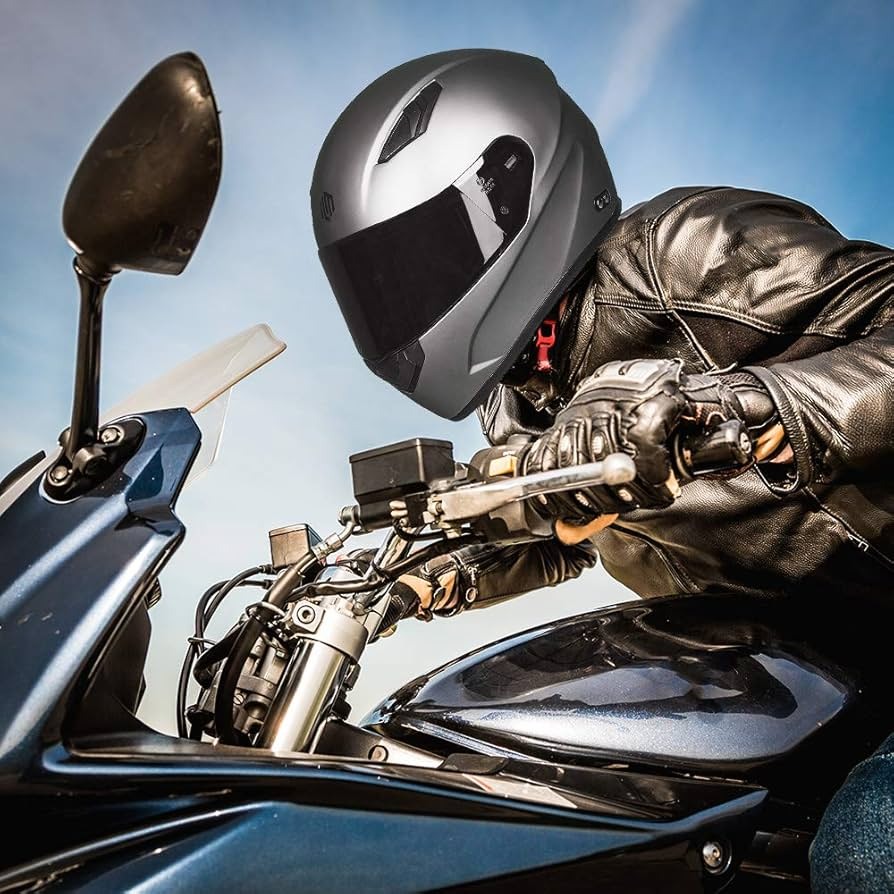
Ventilation: Airflow and Comfort
When diving into what to look for in a motorcycle helmet, consider the ventilation system. It is key to keeping you cool and comfortable, especially on long rides or in warm weather. A well-ventilated helmet helps to draw fresh air in and expel heat and moisture out, preventing the visor from fogging up and ensuring a clear view. Here’s what to focus on:
Effective Air Intake
Look for helmets with sizeable front vents. These allow a good flow of fresh air into the helmet. Adjustable vents are best—they let you control the amount of air that comes in.
Exhaust Ports for Heat
Not just intake, but having exhaust ports at the back is also essential. They expel hot air, keeping the inside cool. A proper balance between intake vents and exhaust ports prevents heat buildup.
Internal Air Channels
Helmets with built-in air channels distribute the airflow evenly throughout. This feature ensures that the entire head is kept cool, not just certain parts.
Breathable Liner
A breathable liner works alongside the vents. It helps soak up moisture and keeps your head dry. Look for liners that are anti-microbial and easy to remove for washing.
Comfort During Ride
With adequate ventilation, you can focus on the ride without discomfort. It reduces the risk of overheating and helps maintain concentration—both crucial for safe riding. Remember, a stuffy helmet can distract you, so opt for one with a strong airflow system.
Weight and Ergonomics: Balancing Protection and Comfort
When considering what to look for in a motorcycle helmet, weight and ergonomics play a vital role. A helmet that’s too heavy can cause neck fatigue on longer rides, reducing your alertness and comfort. While a lightweight helmet enhances comfort, it must not compromise on safety features. Advanced materials such as carbon fiber can offer a favorable balance, providing both durability and a lighter weight.
Importance of Lightweight Design
A heavy helmet can strain your neck muscles, making long trips exhausting. Lightweight helmets minimize this strain, allowing you to ride longer with less fatigue. Look for helmets that distribute weight evenly across your head and shoulders for the best experience.
Ergonomic Features for a Better Fit
An ergonomic design ensures the helmet fits the contours of your head properly. This makes it more effective in protecting you during a crash. Helmets with adjustable interior pads offer a more personalized fit, improving overall safety and comfort. Ensure the design complements your riding posture for maximum protection.
Impact on Riding Performance
A well-designed, lightweight helmet can improve your performance on the road. It helps with maintaining a stable head position and reduces the drag that can come from bulkier designs. This ergonomical advantage often leads to a more enjoyable riding experience.
Maintaining Protection Standards
Regardless of weight, your helmet must meet safety standards. Check for certifications like DOT, ECE, or Snell to ensure your lightweight helmet does not sacrifice protection for comfort. Again, the right balance between weight, comfort, and safety is what defines a quality motorcycle helmet.
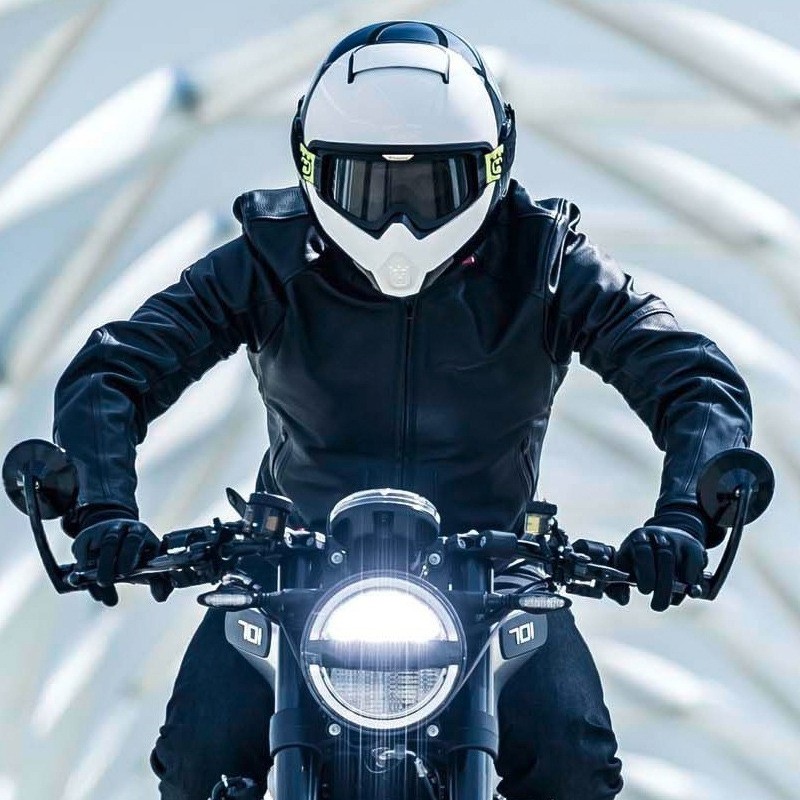
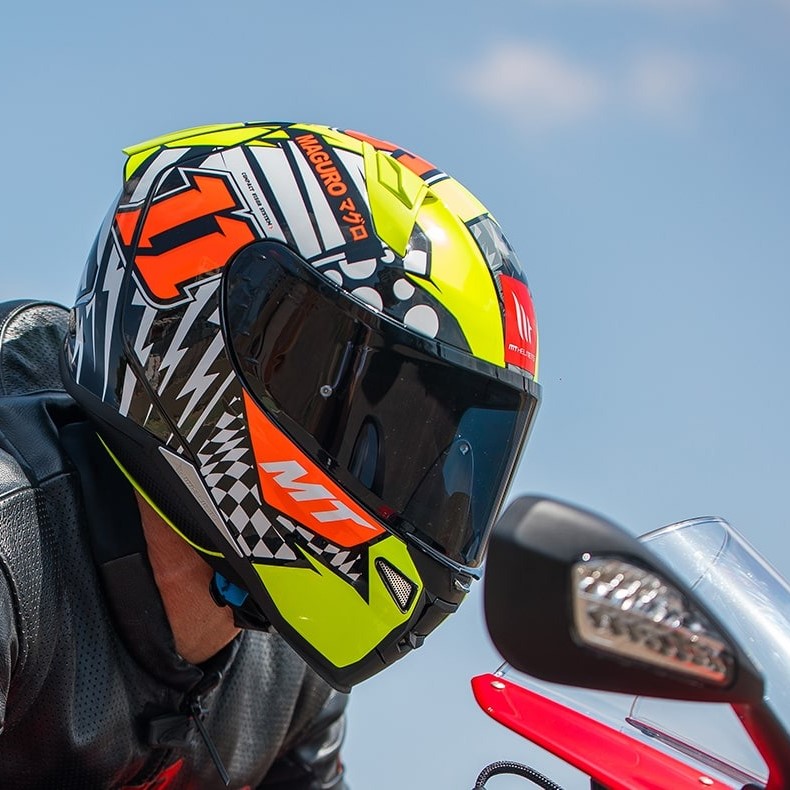
Additional Features: Bluetooth, Cameras, and Sun Visors
When considering what to look for in a motorcycle helmet, extra features like Bluetooth, cameras, and sun visors add value. They increase convenience and enhance your riding experience. Here’s why these additions can be significant:
Bluetooth for Communication and Entertainment
Bluetooth technology in helmets allows for hands-free calls. It connects to your phone or GPS device. You can enjoy music or speak with fellow riders, all without taking your hands off the handlebars. Look for helmets with built-in Bluetooth or ones compatible with Bluetooth systems.
Cameras for Safety and Sharing
Helmet cameras capture your ride, which is excellent for sharing and reviewing. They can act as evidence in case of an incident. Some helmets come with integrated cameras, while others support mounting one. Make sure the camera is light and doesn’t affect helmet balance.
Sun Visors for Eye Protection
A helmet with a sun visor protects your eyes from glare. It makes riding in bright sunlight safer. Look for visors that are easy to adjust, even with gloves on. Some visors are retractable or can be changed for tinted versions to suit different light conditions.
Adding these features can improve your rides significantly. But remember, they should not compromise the helmet’s primary purpose: protection. As you explore the additional features, ensure they meet safety standards and do not hinder the helmet’s fit or comfort. Your helmet should still feel secure and comfortable, even with these upgraded options. Keep this in mind as you decide on what to look for in a motorcycle helmet.
More Details